KSIX smart your tech RELOJ DESPERTADOR KSIX CON CARGADOR
Ksix Digital Alarm Clock with Qi Wireless Charger User Manual
Model: RELOJ DESPERTADOR KSIX CON CARGADOR
Introduction
This manual provides detailed instructions for the setup, operation, and maintenance of your Ksix Digital Alarm Clock with Qi Wireless Charger. Please read this manual thoroughly before using the device to ensure proper function and longevity.
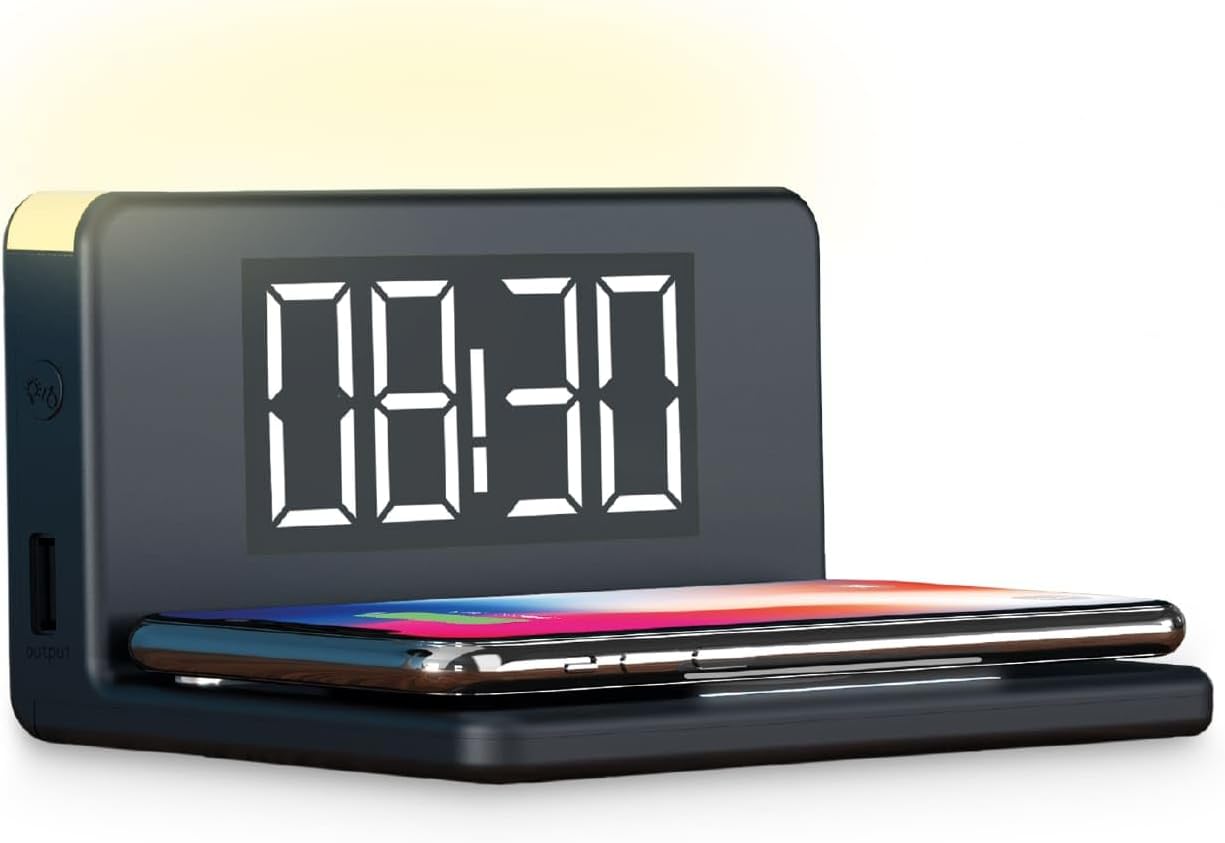
Image: The Ksix Digital Alarm Clock with Qi Wireless Charger, displaying the time 08:30 and a smartphone charging wirelessly on its base.
Package Contents
- Ksix Digital Alarm Clock with Qi Wireless Charger
- Micro USB Cable
Setup
- Power Connection: Connect the provided Micro USB cable to the alarm clock's power input port and plug the other end into a compatible USB power adapter (not included). The device will power on and the display will illuminate.
- Initial Time Setting: Upon first power-up, the time display may flash. Refer to the "Setting Time" section for instructions on how to set the current time.
Operating Instructions
1. Setting Time
Specific buttons for time setting are not detailed in the product information. Typically, alarm clocks feature dedicated buttons or a combination of buttons (e.g., "SET", "MODE", "TIME") to adjust the time. Look for buttons on the back or side of the device. Press and hold the "SET" or "TIME" button until the hour display flashes. Use the "+" or "-" buttons to adjust the hour, then press "SET" or "TIME" again to move to minutes. Repeat the process for minutes. Press "SET" or "TIME" one last time to confirm.
2. Setting Alarms
The device supports dual alarms. To set an alarm, locate the "ALARM" or "AL1/AL2" button. Press and hold the alarm button until the alarm time display flashes. Use the "+" or "-" buttons to set the desired hour and minute for the alarm. Press the alarm button again to confirm. You may also find options to select an alarm sound (e.g., radio or buzzer) and activate/deactivate the alarm.
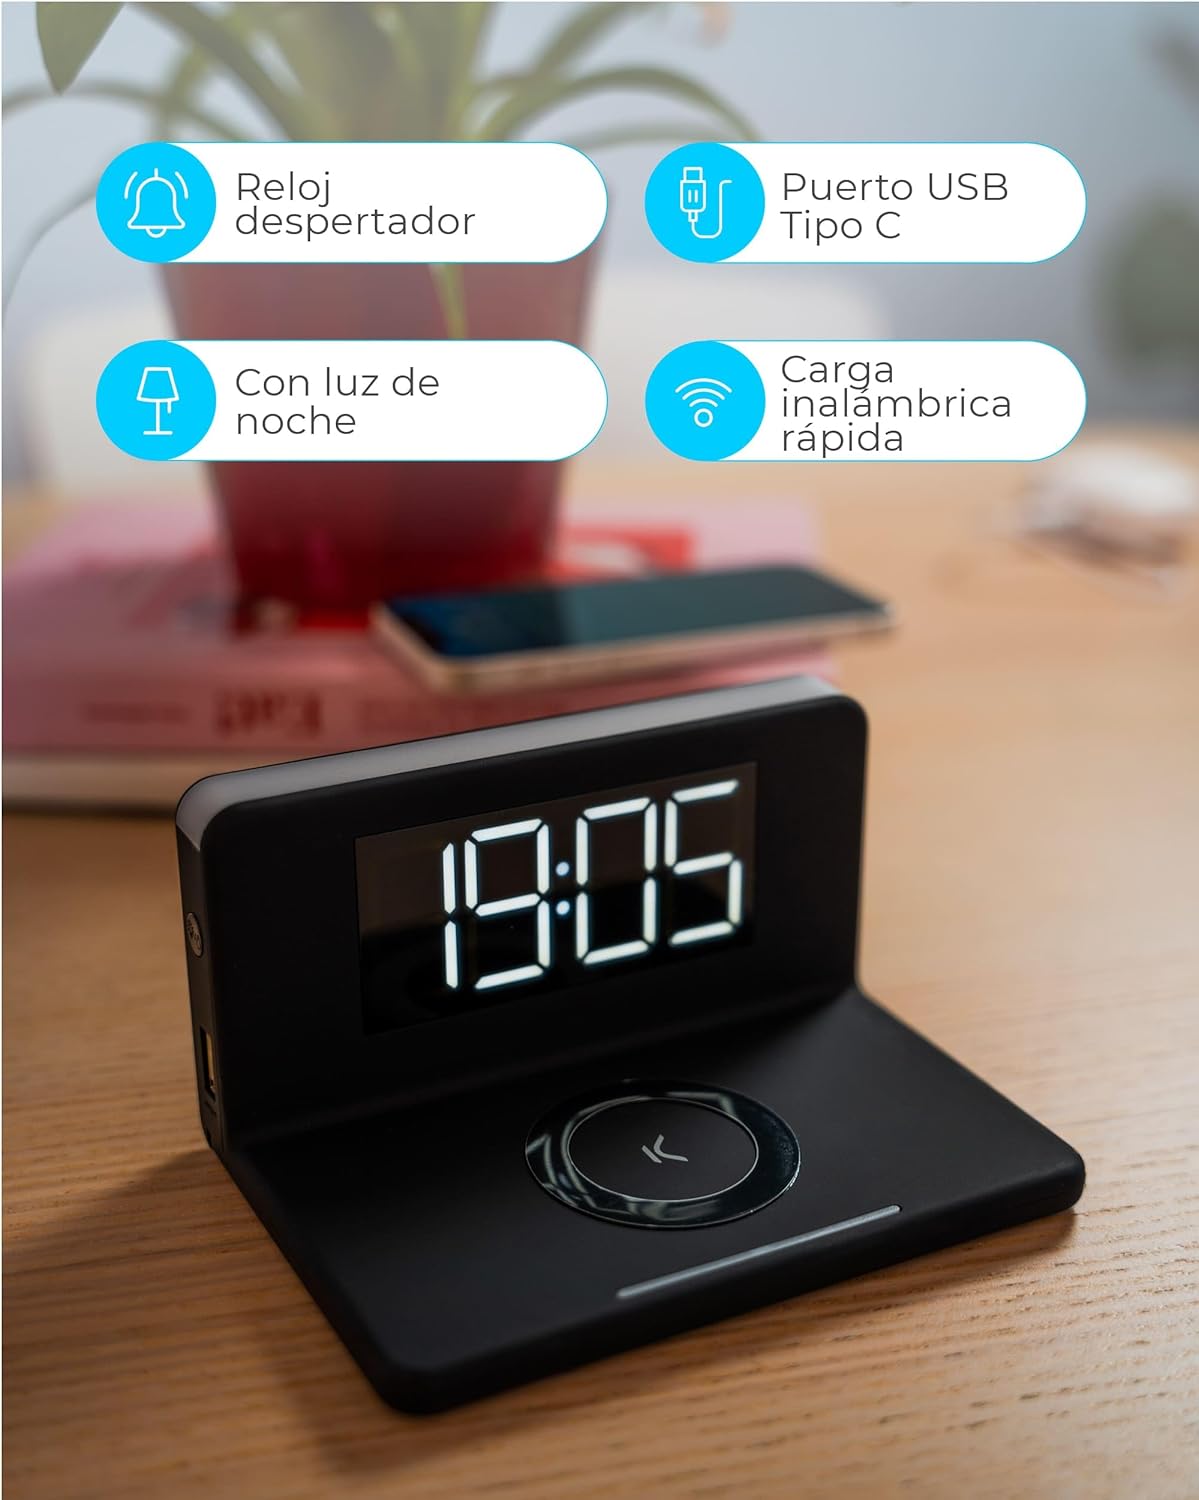
Image: An overview of the Ksix alarm clock's features, including alarm clock function, USB Type-C port, night light, and fast wireless charging.
3. Wireless Charging (Qi)
Place your Qi-compatible smartphone on the designated wireless charging pad on top of the alarm clock. Ensure the phone is centered on the pad for optimal charging. The device supports 10W fast wireless charging for compatible Android and Apple devices.
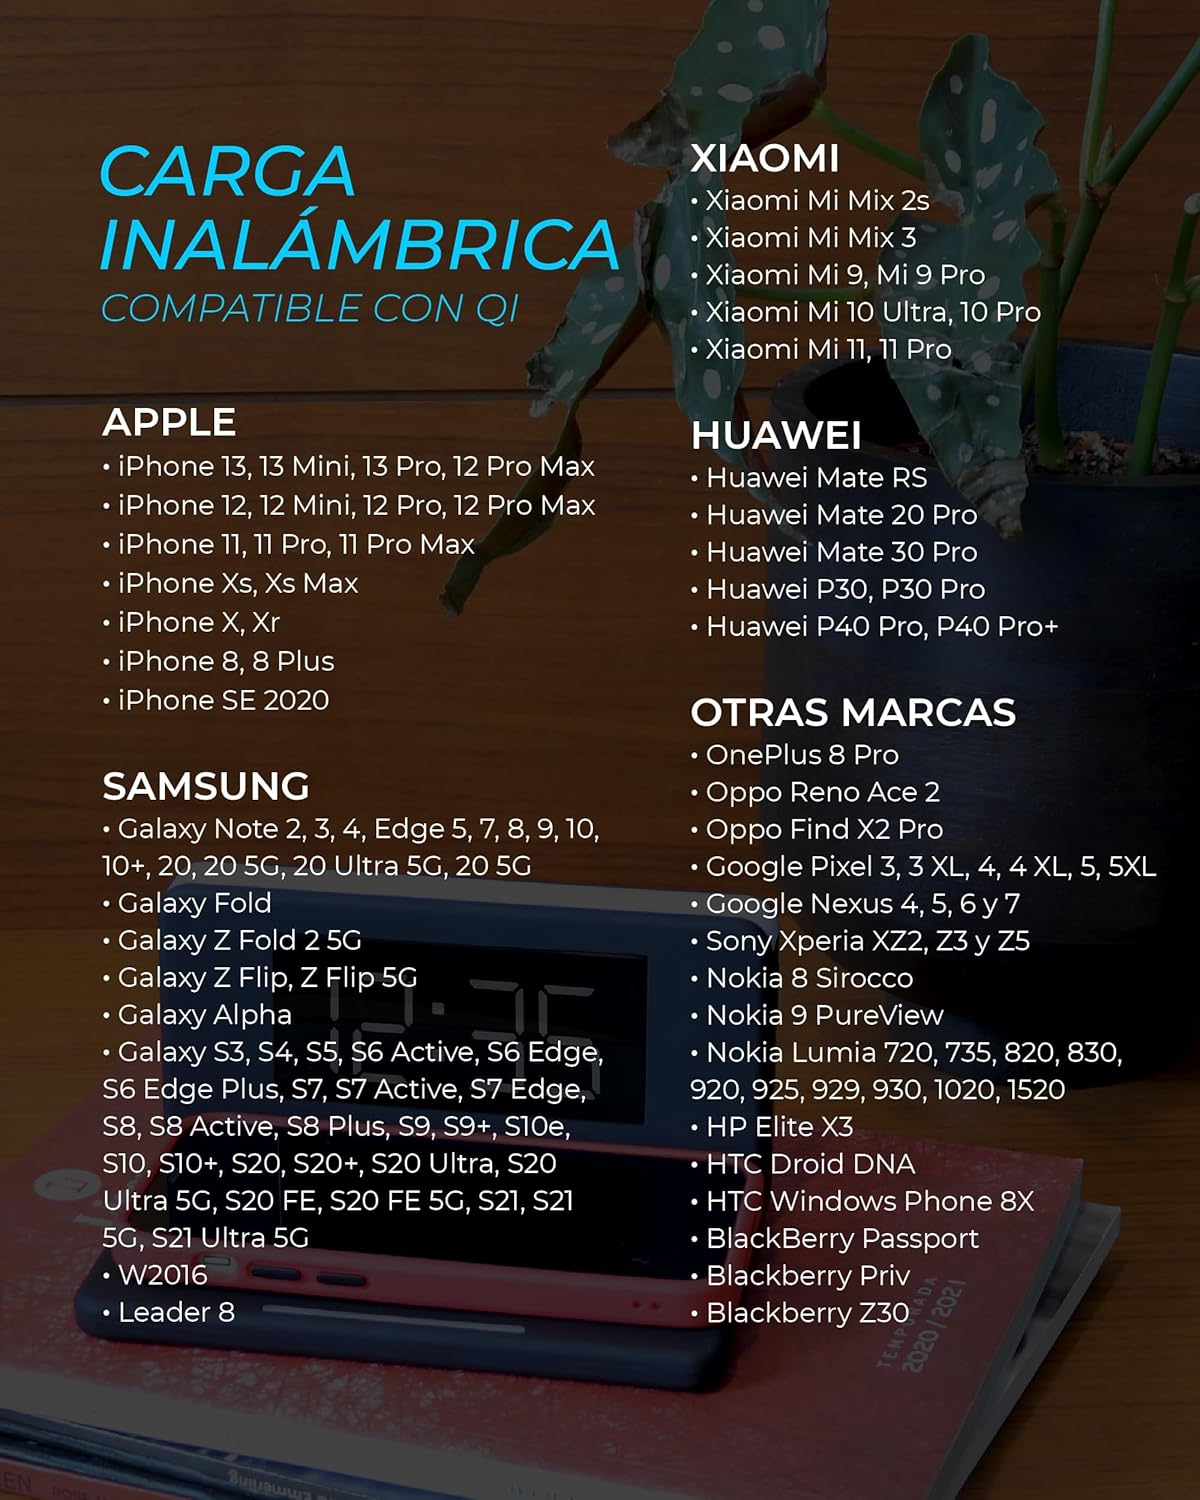
Image: A list of compatible devices for Qi wireless charging, including various models from Apple, Samsung, Xiaomi, Huawei, and other brands.
4. USB Charging
The alarm clock features both a USB Type-C port and a standard USB-A port for charging additional devices. Connect your device's charging cable to the appropriate USB port on the side of the alarm clock to initiate charging.
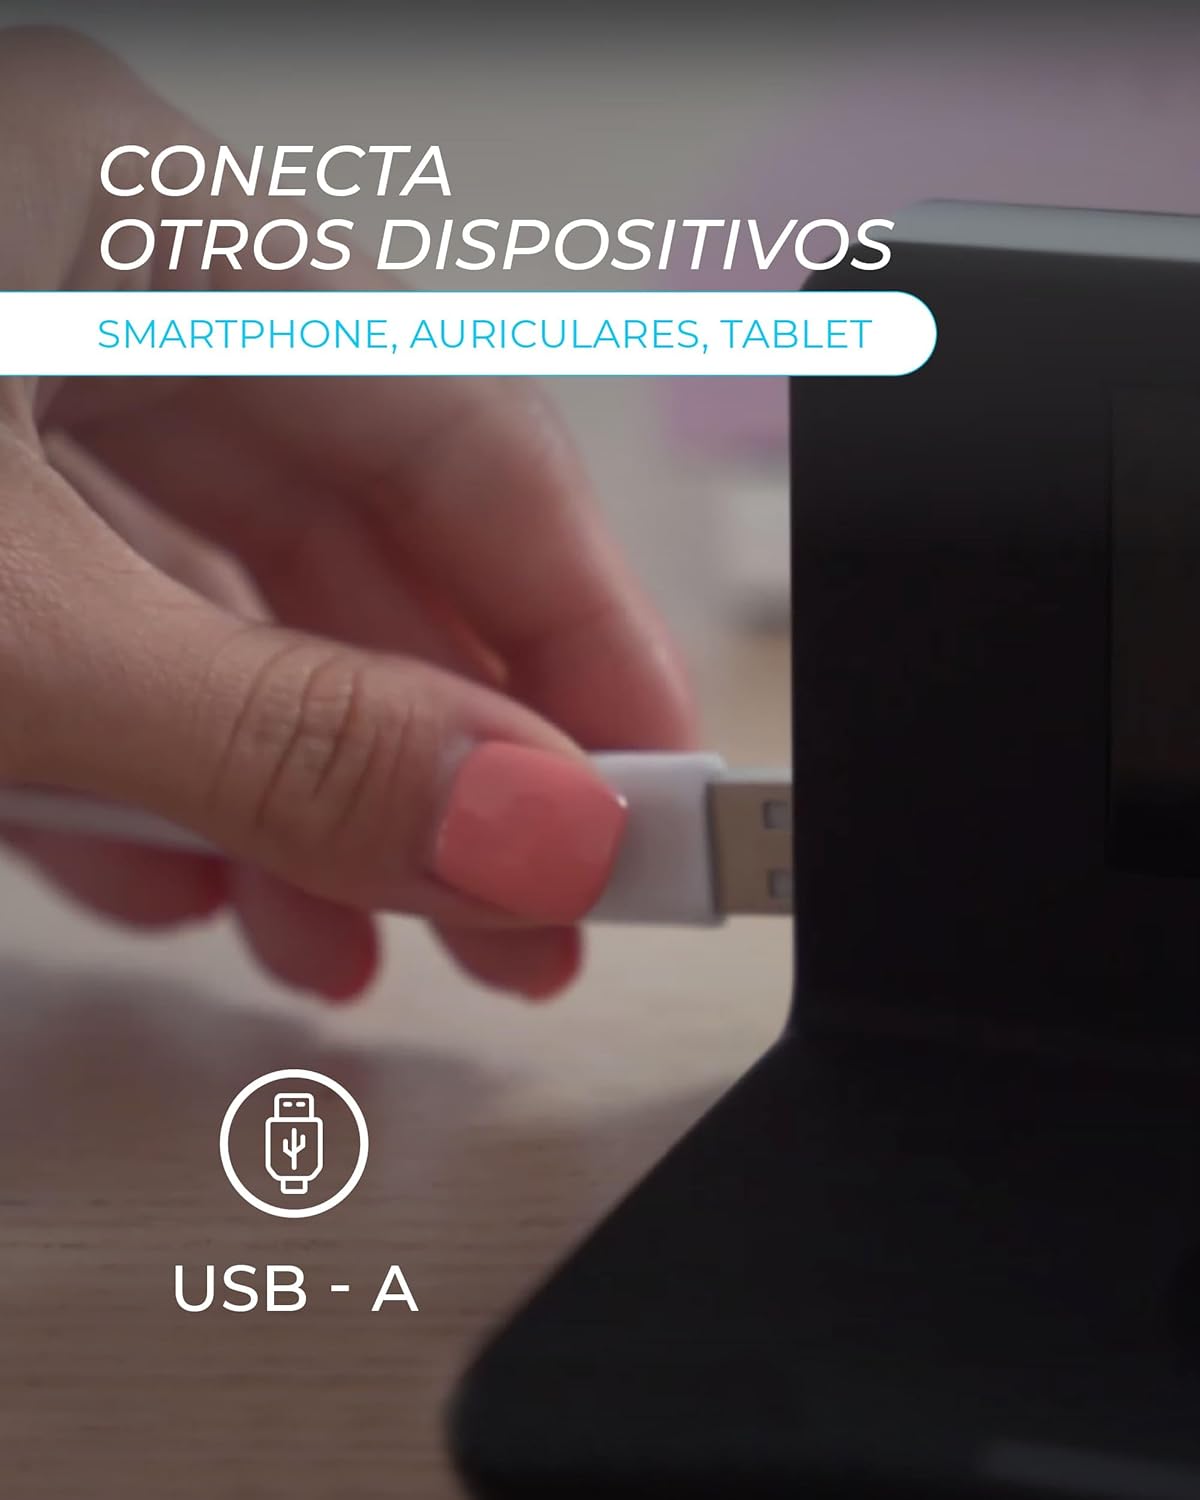
Image: A hand connecting a USB-A cable to the side port of the alarm clock, illustrating the ability to charge other devices like smartphones, headphones, or tablets.
5. Night Light Function
The integrated night light offers 3 adjustable intensity levels. Locate the light control button (often indicated by a light bulb icon). Press the button repeatedly to cycle through the different brightness levels (ambient, night, intense) and to turn the light off.
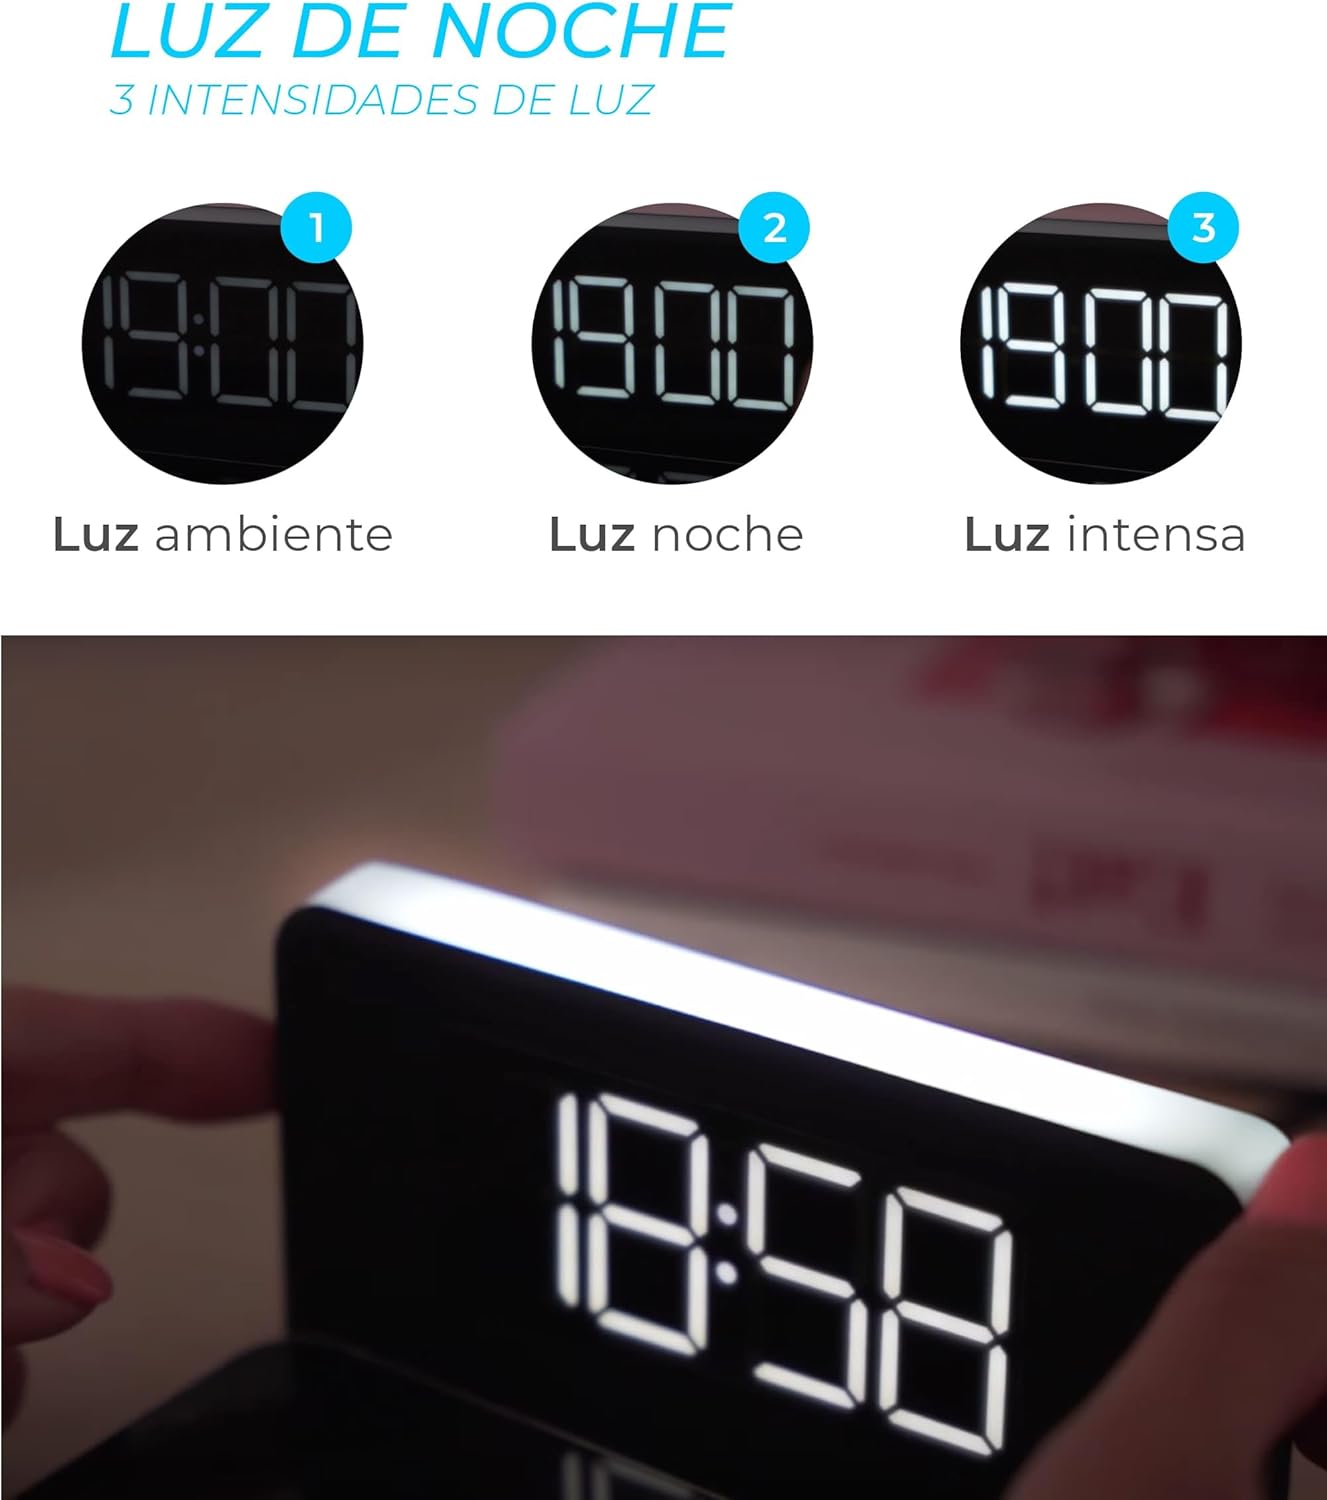
Image: Three circular icons showing different light intensities (ambient, night, intense) for the night light feature, with an image of the alarm clock's light illuminated.
6. Snooze Function
When an alarm sounds, press the snooze button (often a large button on top or front) to temporarily silence the alarm. The snooze function typically extends the sleep duration by 5 minutes. This can usually be activated twice.
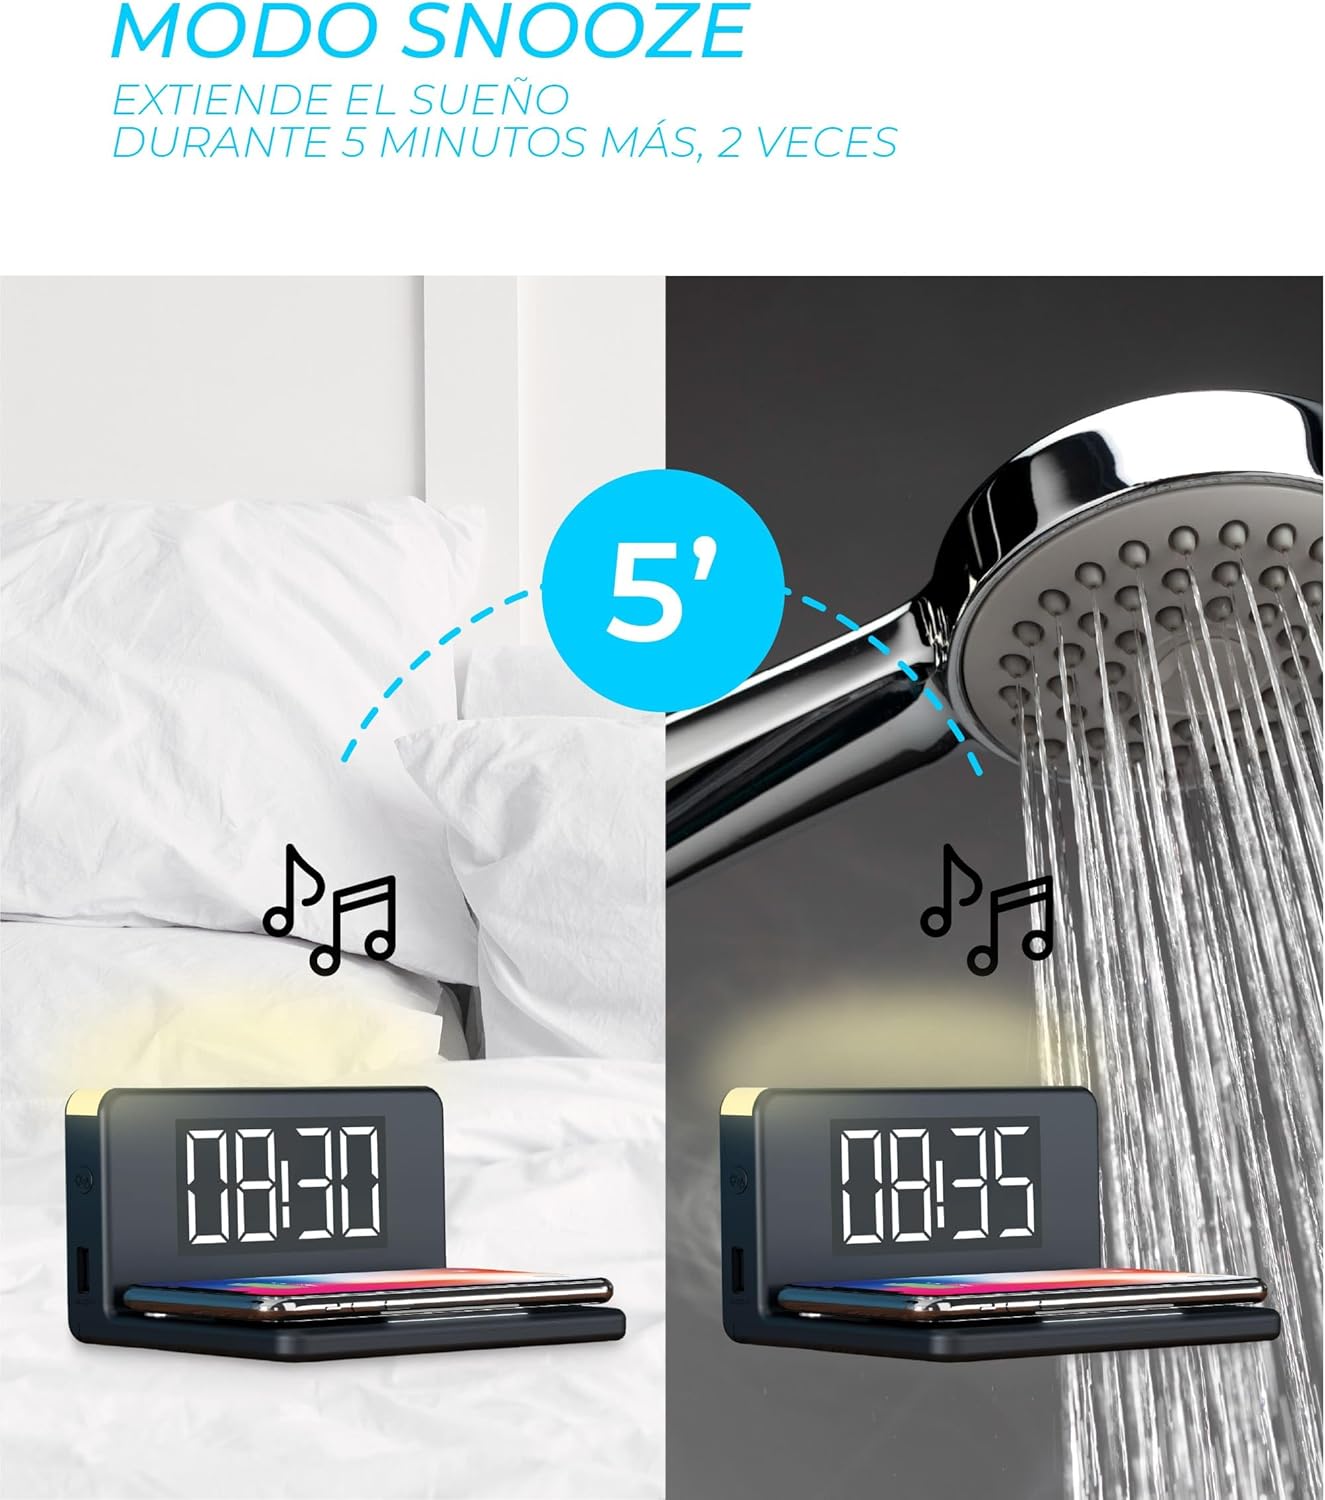
Image: A visual representation of the snooze mode, showing the alarm clock at 08:30 and then at 08:35 after snoozing, with musical notes indicating sound.
7. Radio Function
The alarm clock includes a radio function. To tune into your favorite radio station, locate the radio control buttons (e.g., "FM", "SCAN", "TUNE+/-"). Press the "FM" button to activate the radio. Use the "SCAN" button to automatically search for stations or "TUNE+/-" to manually adjust the frequency. Volume controls are typically separate.
Maintenance
- Cleaning: Use a soft, dry cloth to clean the surface of the alarm clock. Avoid abrasive cleaners or solvents.
- Storage: Store the device in a cool, dry place away from direct sunlight and extreme temperatures when not in use for extended periods.
- Power: Always disconnect the power cable before cleaning or performing any maintenance.
Troubleshooting
| Problem | Possible Cause | Solution |
|---|---|---|
| Display is off or flickering. | Power connection issue, faulty cable, or internal malfunction. | Ensure the Micro USB cable is securely connected to both the alarm clock and the power adapter. Try a different USB cable or power adapter. If the issue persists, contact support. |
| Wireless charging not working. | Phone not Qi-compatible, misaligned on pad, phone case too thick, or foreign objects present. | Verify your phone supports Qi wireless charging. Reposition the phone on the charging pad. Remove thick phone cases. Ensure no metal objects are between the phone and the pad. |
| USB charging not working. | Cable issue, device not compatible, or power supply insufficient. | Try a different USB cable. Ensure the device you are trying to charge is compatible with USB charging. Check if the power adapter connected to the alarm clock provides sufficient power. |
| Difficulty setting time/alarm. | Unfamiliarity with controls, incorrect button sequence. | Refer to the "Operating Instructions" section for detailed steps. Experiment with pressing and holding buttons, then using adjustment buttons. |
| Night light intensity changes automatically. | Possible sensor issue or internal malfunction. | Ensure the device is not exposed to rapidly changing light conditions. If the issue persists, contact support. |
Specifications
| Feature | Detail |
|---|---|
| Brand | KSIX smart your tech |
| Model Name | RELOJ DESPERTADOR KSIX CON CARGADOR |
| Product Dimensions (W x D x H) | 140mm x 100mm x 75mm (approx.) |
| Weight | 150 g |
| Wireless Charging Output | 10W Fast Charging (Qi compatible) |
| USB Ports | 1x USB Type-C, 1x Standard USB-A |
| Display Type | Digital LED |
| Night Light | 3 adjustable intensity levels |
| Power Source | Cable Electric (Micro USB) |
| Material | Plastic |
| Included Components | Alarm Clock, Micro USB Cable |
Warranty and Support
This product is covered by a standard manufacturer's warranty. For specific warranty details, please refer to the documentation included with your purchase or contact KSIX customer support. For technical assistance or further inquiries, please visit the official KSIX website or contact their customer service department.
Manufacturer: ATLANTIS
Brand: KSIX smart your tech
Ask a question about this manual
Ask about setup, troubleshooting, compatibility, parts, safety, or missing instructions. Manuals+ will review the question and use this page’s manual context to help answer it.