Introduction
This manual provides instructions for the Calvas replacement remote control, designed for use with various Hitachi air conditioner models including RAS-35YHA, RAS-18CH5, RAS-24CH5, RAS18CH1, RAS24CH1, and RAS-18YH4. Please read this manual carefully before using the remote control to ensure proper operation and to maximize its lifespan.
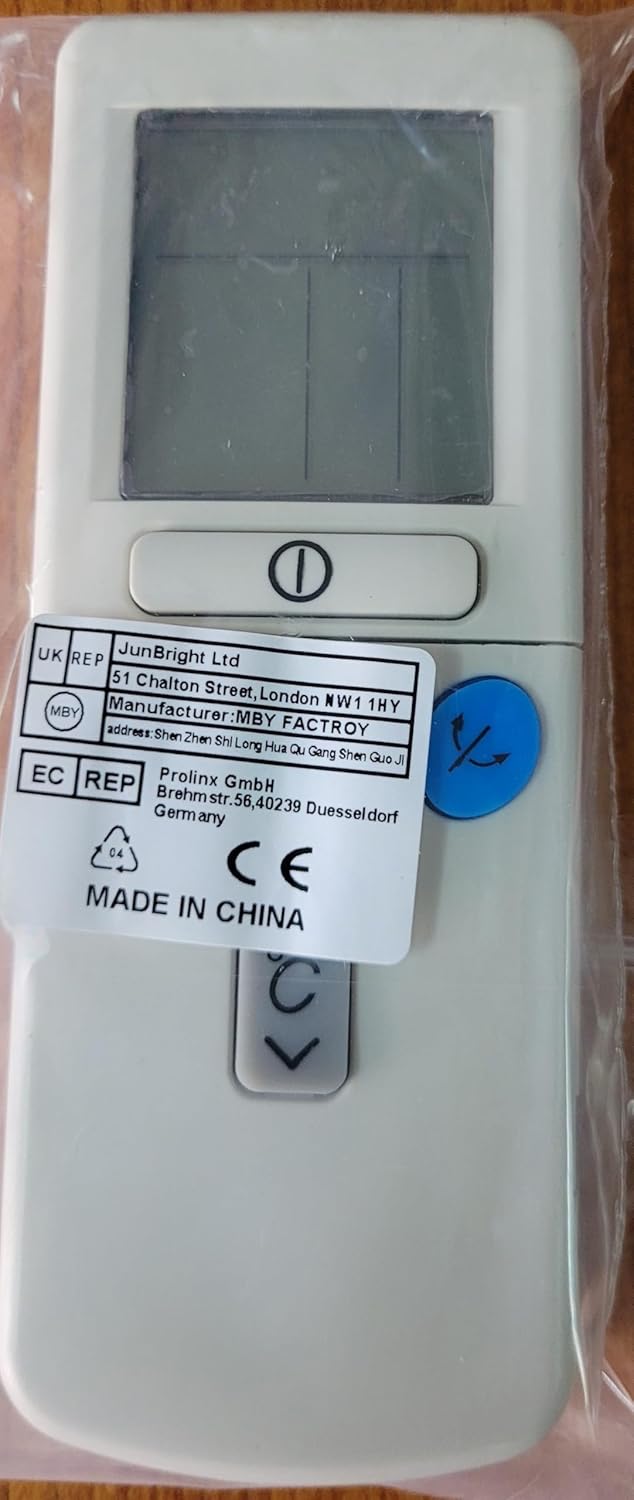
Figure 1: Front view of the remote control, showing the display and primary buttons.
Setup
1. Battery Installation
The remote control requires two AAA batteries (not included). Follow these steps to install them:
- Locate the battery compartment cover on the back of the remote control.
- Slide the cover downwards or press the latch and lift to open.
- Insert two new AAA batteries, ensuring the positive (+) and negative (-) terminals match the diagrams inside the compartment.
- Replace the battery compartment cover, sliding it back into place until it clicks securely.

Figure 2: Back view of the remote control, showing the battery compartment area and regulatory labels.
Note:
- Do not mix old and new batteries, or different types of batteries.
- Remove batteries if the remote control will not be used for an extended period to prevent leakage.
2. Initial Use
This remote control is a direct replacement and typically does not require programming. Point the remote control towards your Hitachi air conditioner and press the Power button to test its functionality.
Operating Instructions
Familiarize yourself with the buttons and their functions for optimal control of your air conditioner.

Figure 3: Close-up of the remote control's digital display and key operational buttons.
Button Functions:
- Power Button (␟): Turns the air conditioner ON or OFF.
- Temperature Up/Down Buttons (↑↓): Adjusts the desired temperature setting.
- Mode Button (★): Cycles through operating modes such as Cool, Heat, Fan, Dry, and Auto.
- Fan Speed Button (☸): Adjusts the fan speed (e.g., Low, Medium, High, Auto).
- Swing/Louvre Button (↷): Controls the direction of the airflow or activates the swing function.
- Digital Display: Shows the current temperature setting, operating mode, fan speed, and other indicators.
Note: Specific button icons and functions may vary slightly based on the air conditioner model. Refer to your air conditioner's manual for detailed explanations of each mode and function.
Maintenance
Cleaning the Remote Control
To maintain the remote control's appearance and functionality:
- Wipe the surface with a soft, dry cloth.
- For stubborn dirt, lightly dampen the cloth with water and a mild detergent, then wipe dry immediately.
- Do not use abrasive cleaners, alcohol, or corrosive liquids, as these can damage the remote's finish or internal components.
Battery Replacement
Replace batteries when the remote control's range decreases, the display becomes dim, or it stops responding. Refer to the "Battery Installation" section for instructions. Always dispose of used batteries responsibly according to local regulations.
Storage
If the remote control will not be used for an extended period (e.g., several months), remove the batteries to prevent potential leakage and damage to the device.
Troubleshooting
If you encounter issues with your remote control, refer to the following common problems and solutions:
| Problem | Possible Cause | Solution |
|---|---|---|
| Remote control not responding. |
|
|
| Display is dim or blank. |
|
|
| Air conditioner does not respond to specific functions. |
|
|
Specifications
| Brand | Calvas |
| Model (Remote Control) | B07R6X5PK1 (ASIN) / CLS-D41D8CD98F00B204E9800998ECF8427E (Part Number) |
| Compatible Air Conditioner Models | Hitachi RAS-35YHA, RAS-18CH5, RAS-24CH5, RAS18CH1, RAS24CH1, RAS-18YH4 |
| Connectivity Technology | Infrared (Kızılötesi) |
| Maximum Range | 10 meters |
| Battery Type | 2 x AAA batteries (Alkaline recommended) |
| Product Weight | 90 Grams |
| Special Feature | Digital Display |
Warranty and Support
This product is typically covered by a standard manufacturer's warranty against defects in materials and workmanship. For specific warranty details, please refer to the product packaging or contact your retailer. For technical support or inquiries, please reach out to the seller or manufacturer through the platform where the product was purchased.
Please retain your proof of purchase for warranty claims.