1. Introduction
This manual provides detailed instructions for the installation, operation, and maintenance of the ASHATA PCI-E 1 to 4 Adapter Card (Model PCE4PCE-A01). This expansion kit is designed to address the need for additional PCI-E 1X slots in desktop computers, allowing for the connection of multiple PCI-E devices via a USB 3.0 cable. It is compatible with Windows and Linux operating systems.

Figure 1.1: Overview of the ASHATA PCI-E 1 to 4 Adapter Card and its components.
2. Product Overview
2.1 Components
The ASHATA PCI-E 1 to 4 Adapter Card package includes the following items:
- 1 x Main PCI-E Card (PCE4PCE-A01)
- 1 x Device PCI Card (PCE2PCI-N01)
- 1 x USB 3.0 Cable

Figure 2.1: Main PCI-E Card, Device PCI Card, and USB 3.0 Cable.
2.2 Features
- PCI-E 1X Multi-Interface: Expands a single PCI-E 1X slot into multiple (three or four) PCI-E 1X slots.
- Two-Part Design: Consists of a main card installed on the motherboard and a device card connected via a USB 3.0 cable.
- Flexible Installation: The device card can be placed directly in a chassis slot or connected remotely.
- System Compatibility: Supports Windows and Linux operating systems.
- Optimized Bandwidth: While using USB 3.0 for connection, the PCI-E 1X slots operate in Gen2 mode, even if the original slot was Gen1, providing improved performance.
3. Specifications
| Product Name | PCI-E 1 to 4 Adapter Card |
| Product Model | PCE4PCE-A01 |
| PCB Color | Blue |
| Product Interface | PCI-E 1X |
| Hardware Interface | PCI, USB 3.0 |
| Support System | Windows, Linux |
| Dimensions (L x W x H) | Approx. 12 x 8.3 x 1.5 cm (4.72 x 3.27 x 0.59 inches) |
| Weight | Approx. 49 g (1.73 oz) |
4. Setup Instructions
Follow these steps to properly install the ASHATA PCI-E 1 to 4 Adapter Card into your system.
- Power Off System: Ensure your computer is completely powered off and disconnected from the power source before opening the chassis.
- Open Chassis: Carefully open your computer's chassis to access the motherboard.
- Locate PCI-E Slot: Identify an available PCI-E x1 slot on your motherboard. For optimal performance, a PCI-E 2.0 or higher slot is recommended.
- Install Main Card: Insert the main PCI-E card (PCE4PCE-A01) firmly into the chosen PCI-E x1 slot on the motherboard. Ensure it is seated correctly.
- Connect Device Card: Connect the device PCI card (PCE2PCI-N01) to the main card using the provided USB 3.0 cable.
- Secure Device Card: The device card can be secured in an available expansion slot on your chassis or placed in a suitable location within the chassis, depending on your setup.
- Power Connection: Ensure any necessary power connections (e.g., SATA power) are made to the main card if required by your system or the devices you intend to connect.
- Close Chassis: Once all connections are secure, close your computer's chassis.
- Power On System: Reconnect the power source and power on your computer.

Figure 4.1: Main card, device card, and USB cable for connection.
Important Note: Do not insert the PCI card reversely. Incorrect insertion can cause damage to the card and/or your motherboard.
5. Operating Instructions
After successful installation, your operating system (Windows or Linux) should automatically detect the new PCI-E slots.
- Device Recognition: Upon booting, the system will recognize the expanded PCI-E slots. You may need to install drivers for the specific PCI-E devices you connect to these new slots, as per their respective manufacturers' instructions.
- Connecting Devices: Insert your PCI-E 1X compatible devices (e.g., sound cards, network cards, capture cards) into the available slots on the device card.
- Bandwidth Considerations: While the adapter provides multiple slots, the total bandwidth is shared. For high-bandwidth applications, consider the theoretical bandwidth of USB 3.0 (5 Gbps or 625 MB/s) and the potential for shared bandwidth across multiple devices. The individual PCI-E 1X slots will operate in Gen2 mode.
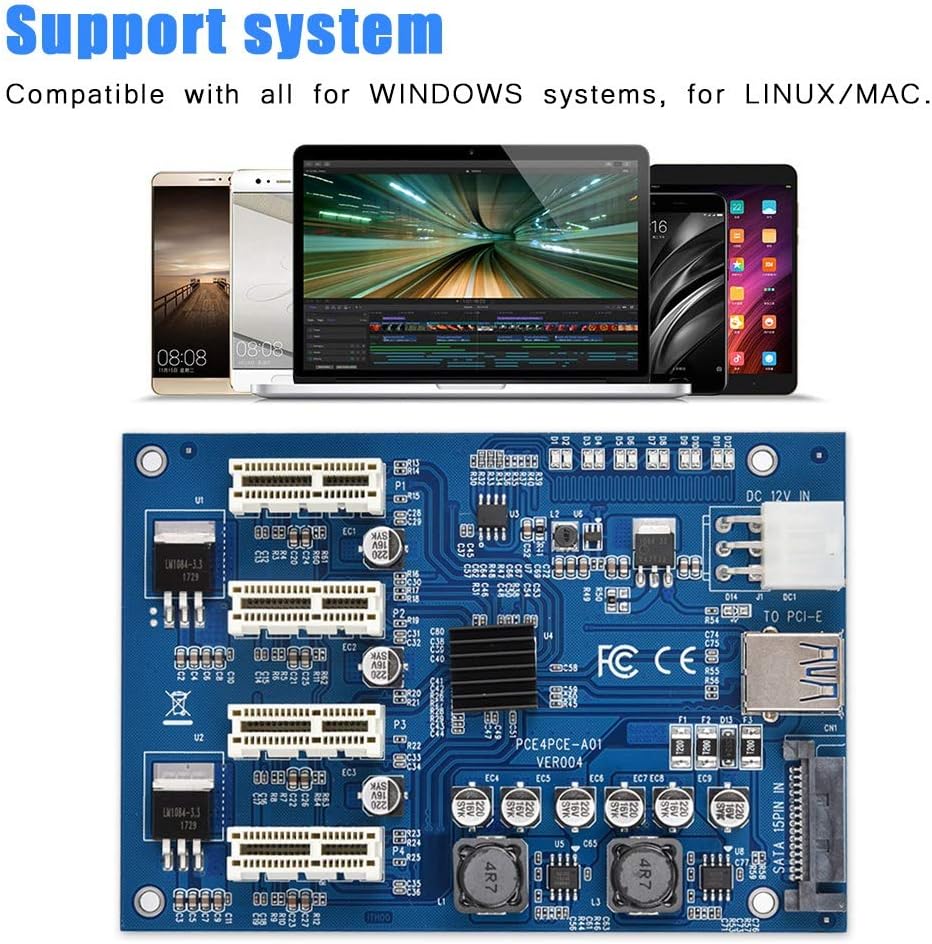
Figure 5.1: The adapter card is compatible with Windows and Linux systems.
6. Maintenance
The ASHATA PCI-E 1 to 4 Adapter Card is designed for reliable operation with minimal maintenance.
- Keep Clean: Periodically inspect the card and its slots for dust accumulation. Use compressed air to gently clean any dust to ensure proper airflow and prevent overheating.
- Secure Connections: Ensure all cables and cards remain securely seated to prevent intermittent connectivity issues.
- Environmental Conditions: Operate the card within standard computer operating temperatures and humidity levels. Avoid extreme conditions.
7. Troubleshooting
If you encounter issues with your ASHATA PCI-E 1 to 4 Adapter Card, refer to the following common troubleshooting steps:
- Device Not Detected:
- Ensure the main PCI-E card is fully seated in the motherboard's PCI-E x1 slot.
- Verify the USB 3.0 cable connecting the main card and device card is securely attached at both ends.
- Check if any additional power connections (e.g., SATA power) are required and properly connected.
- Confirm the PCI-E device inserted into the adapter card is correctly seated and has its necessary drivers installed.
- Intermittent Device Functionality:
- This could be due to loose connections. Power off your system and re-seat both the main card, device card, and the USB 3.0 cable.
- Ensure the PCI-E devices connected are not drawing excessive power beyond the adapter's capabilities or the system's power supply.
- Check for updated drivers for your PCI-E devices and your motherboard's chipset.
- System Instability/Crashes:
- Ensure the PCI card was not inserted reversely during installation, as this can cause severe damage.
- Verify your power supply unit (PSU) has sufficient wattage to support all connected components, including the new PCI-E devices.
- Test the adapter with one PCI-E device at a time to isolate if a specific device is causing the issue.
8. Warranty and Support
8.1 Warranty Information
ASHATA products typically come with a standard manufacturer's warranty. Please refer to the product packaging or the official ASHATA website for specific warranty terms and conditions applicable to your region and purchase date. Keep your proof of purchase for warranty claims.
8.2 Customer Support
For technical assistance, troubleshooting, or further inquiries regarding your ASHATA PCI-E 1 to 4 Adapter Card, please contact ASHATA customer support through their official website or the retailer from whom you purchased the product.
- ASHATA Official Website: Visit ASHATA Store on Amazon
- Email Support: Refer to the official website for contact email addresses.