Important Safeguards
When using electrical appliances, basic safety precautions should always be followed to reduce the risk of fire, electric shock, and/or injury to persons, including the following:
- Read all instructions.
- Do not touch hot surfaces. Use handles or knobs.
- To protect against electric shock, do not place cord, plug, or coffee maker in water or other liquid.
- Close supervision is necessary when any appliance is used by or near children.
- Unplug from outlet when not in use and before cleaning. Allow to cool before putting on or taking off parts, and before cleaning the appliance.
- Do not operate any appliance with a damaged cord or plug, or after the appliance malfunctions or has been dropped or damaged in any manner. Contact customer service for examination, repair, or adjustment.
- The use of accessory attachments not recommended by the appliance manufacturer may result in fire, electric shock, or injury to persons.
- Do not use outdoors.
- Do not let cord hang over edge of table or counter, or touch hot surfaces.
- Do not place on or near a hot gas or electric burner, or in a heated oven.
- To disconnect, turn any control to "off," then remove plug from wall outlet.
- Do not use appliance for other than intended use.
- The carafe is designed for use with this appliance. It must never be used on a range top.
- Do not place a hot carafe on a wet or cold surface.
- Do not use a cracked carafe or a carafe having a loose or weakened handle.
- Do not clean carafe with cleansers, steel wool pads, or other abrasive material.
Parts and Features
Familiarize yourself with the components of your Proctor Silex FrontFill Drip Coffee Maker for optimal use.
- FrontFill™ Water Reservoir: Designed for easy filling without moving the unit.
- Swing-Open Brew Basket: Provides convenient access for adding coffee grounds and filters.
- 12-Cup Glass Carafe: Durable borosilicate glass carafe with measurement markings.
- Carafe Handle Storage: The carafe handle stores neatly inside the base, saving kitchen space.
- Water Level Indicator: Clear markings on the side to easily see water levels.
- On/Off Switch with Indicator Light: Illuminates when the coffee maker is on.
- Auto Pause & Pour: Allows you to pour a cup mid-brew without drips.

Image: Easy to Fill Design. This image shows a hand pouring water into the FrontFill™ water reservoir, highlighting the convenience of its design. The swing-open brew basket is also visible, ready for coffee grounds.
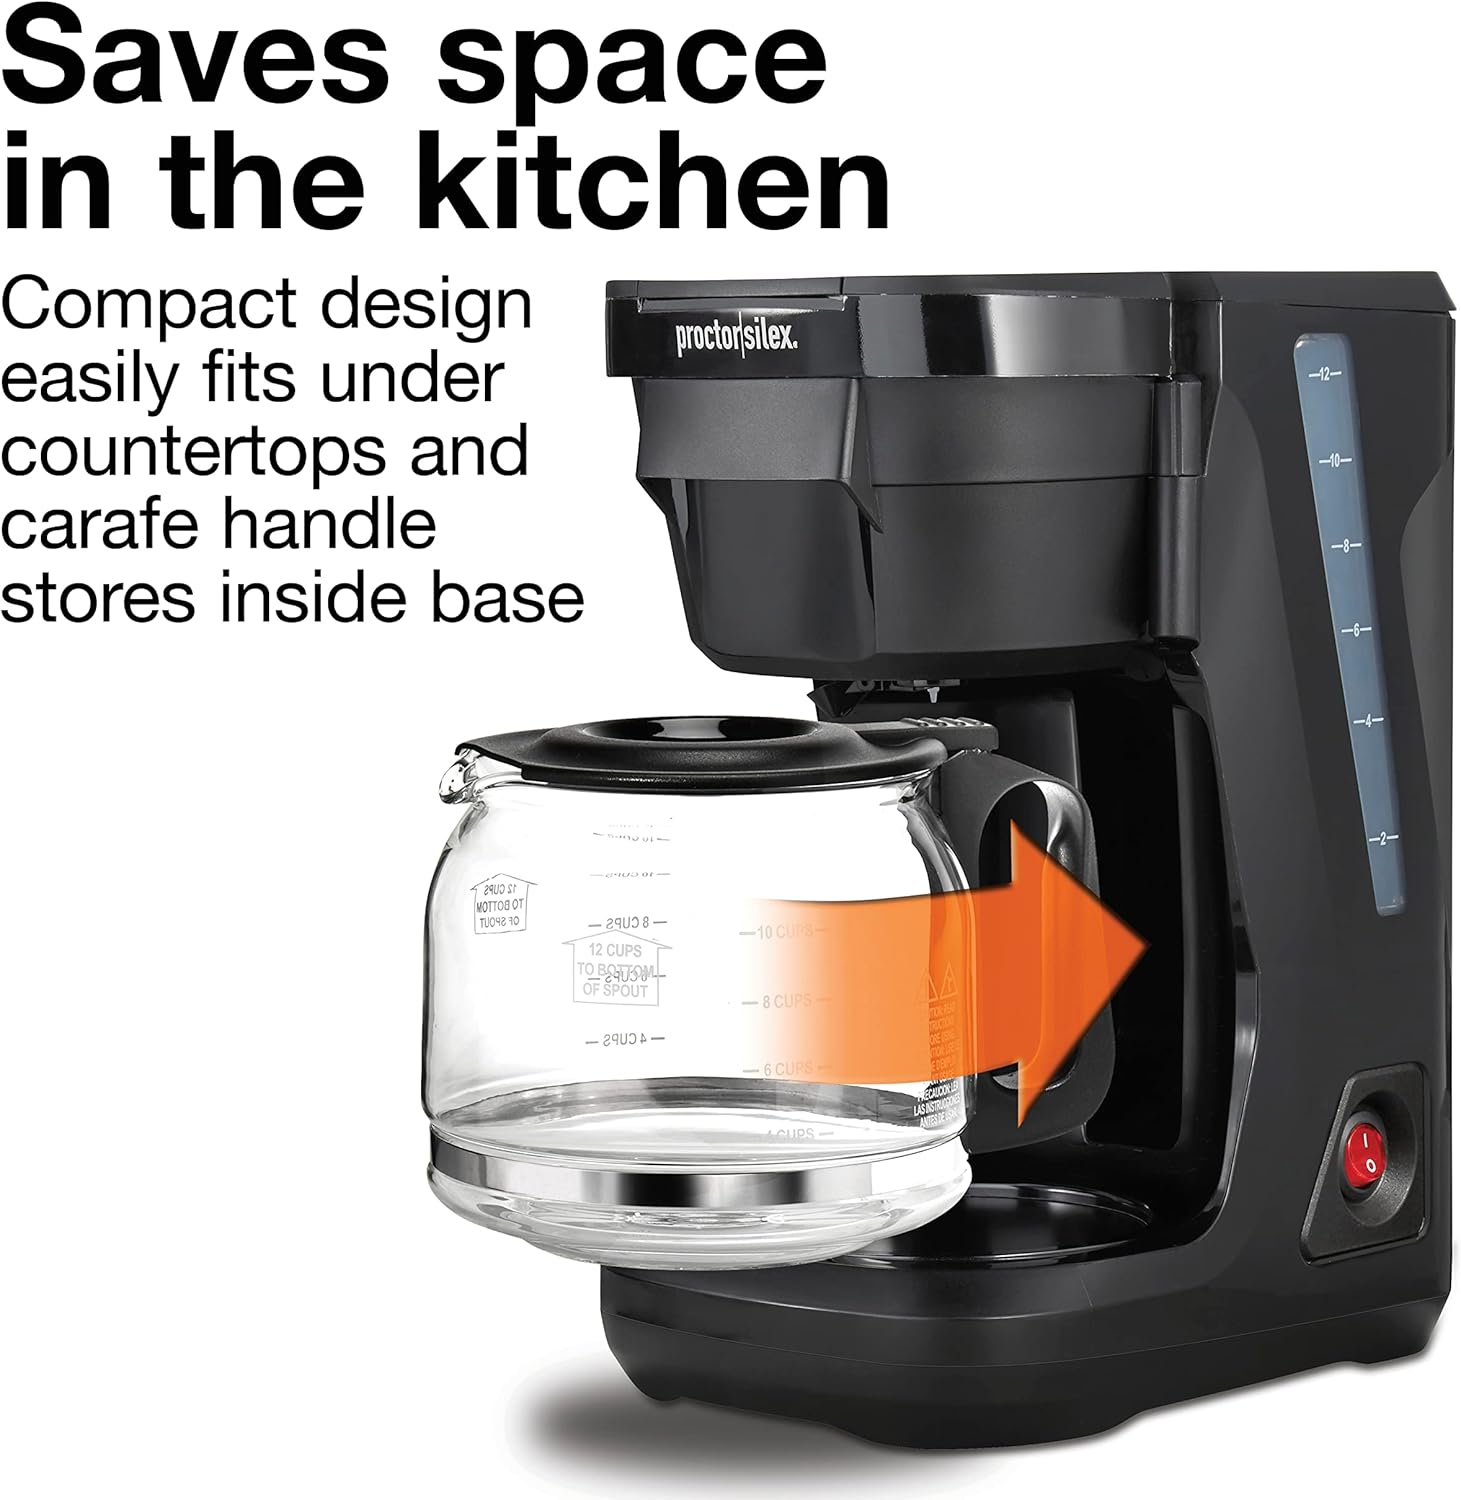
Image: Space-Saving Design. The coffee maker is shown with its carafe handle tucked into the base, demonstrating how it conserves kitchen space and fits under cabinets. An orange arrow indicates the carafe's movement into the base.
Setup
Before First Use:
- Wash the carafe and brew basket in hot, soapy water or in the dishwasher.
- Wipe the exterior of the coffee maker with a soft, damp cloth.
- Run a full brew cycle with water only (no coffee grounds) to clean the internal components.
Operating Instructions
Brewing Coffee:
- Fill Water Reservoir: Open the FrontFill™ water reservoir. Carefully pour fresh, cold water into the reservoir, observing the water level indicator on the side. Pour slowly to avoid splashing or overfilling.
- Add Coffee Grounds: Swing open the brew basket. Place a paper filter (cone-shaped) into the brew basket. Add your desired amount of ground coffee. Close the brew basket securely.
- Place Carafe: Ensure the glass carafe is placed correctly on the warming plate.
- Start Brewing: Plug the coffee maker into a standard electrical outlet. Press the On/Off switch. The indicator light will illuminate, signaling that brewing has begun.
- Auto Pause & Pour: If you wish to pour a cup before the brewing cycle is complete, simply remove the carafe. The flow of coffee will automatically pause. Replace the carafe within 20 seconds to resume brewing and prevent overflow.
- Enjoy: Once brewing is complete, the coffee maker will keep the coffee warm on the warming plate. The indicator light will remain on until the unit is manually turned off.
Smart Plug Compatibility:
This coffee maker is compatible with smart plugs, allowing for easy integration into your smart home routine. Simply plug the coffee maker into a smart plug and use your smart home app to schedule brewing times or turn the unit on/off remotely.

Image: Auto Pause & Pour Feature. This image illustrates the Auto Pause & Pour feature, showing a hand removing the carafe while coffee is still brewing. This allows for pouring a cup without drips.
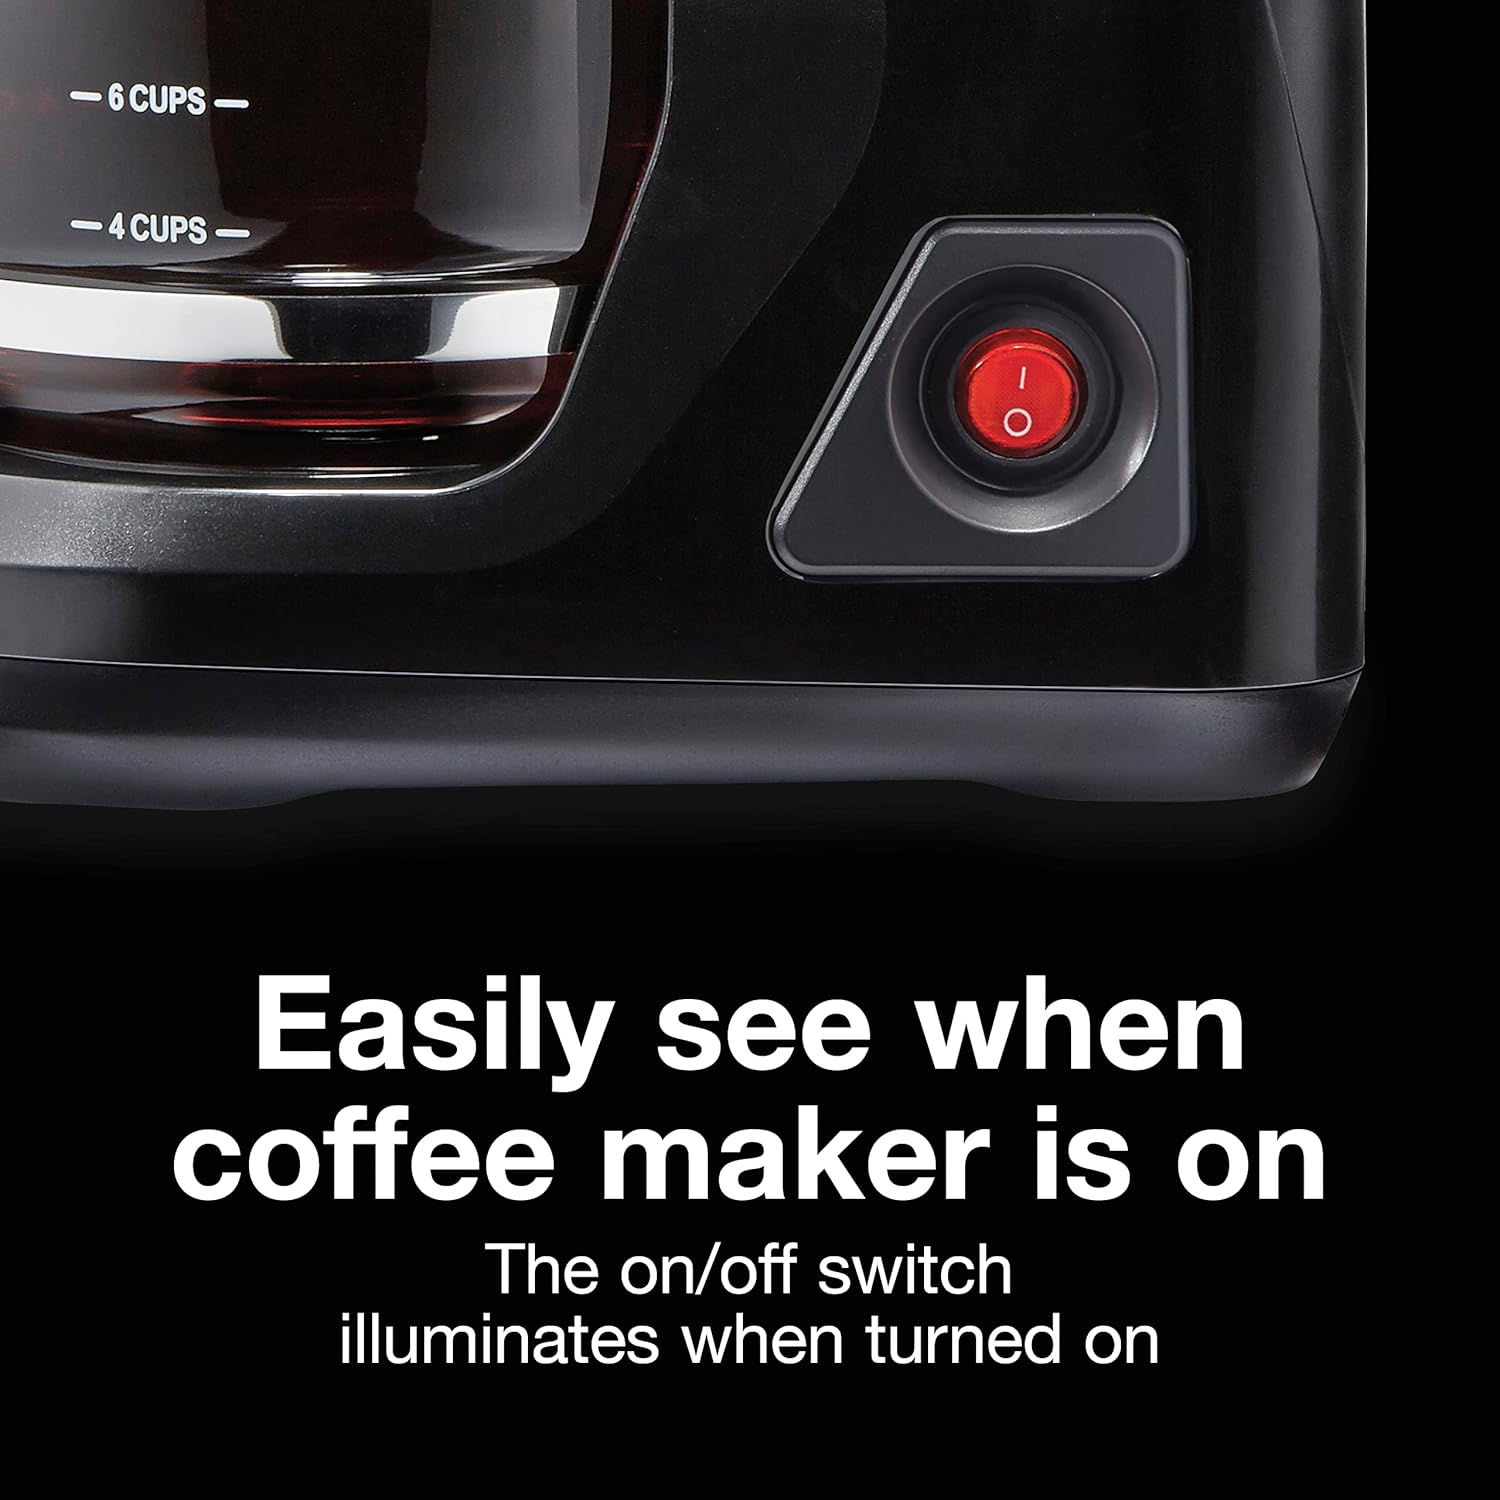
Image: On/Off Indicator Light. A close-up view of the coffee maker's On/Off switch, which is illuminated in red, indicating that the appliance is currently operating.

Image: Smart Plug Compatibility. The coffee maker is shown connected to a smart plug, which is then plugged into a wall outlet, demonstrating its compatibility with smart home systems.
Cleaning and Maintenance
Regular cleaning ensures optimal performance and extends the life of your coffee maker.
- Daily Cleaning: After each use, discard used coffee grounds and paper filter. Wash the glass carafe and Lift & Clean brew basket in hot, soapy water or place them in the dishwasher.
- Exterior Cleaning: Wipe the exterior of the coffee maker with a soft, damp cloth. Do not use abrasive cleaners or scouring pads.
- Descaling (Mineral Deposit Removal): Over time, mineral deposits (calcium) can build up in your coffee maker. To remove these, fill the water reservoir with 1 cup of white vinegar and 2 cups of cold water. Place an empty paper filter in the brew basket. Place the empty carafe on the warming plate. Turn on the coffee maker and allow half of the mixture to brew through. Turn off the coffee maker and let it soak for at least 15 minutes. Turn the coffee maker back on and brew the remaining mixture. Discard the mixture and rinse the carafe. Run 2-3 full cycles with fresh, cold water only to flush out any remaining vinegar.

Image: Easy to Clean Components. This image displays the durable borosilicate glass carafe and the Lift & Clean brew basket placed inside a dishwasher, emphasizing their dishwasher-safe design for easy cleaning.
Troubleshooting
If your coffee maker is not functioning as expected, consult the following common issues and solutions:
- Coffee Not Brewing:
- Ensure the coffee maker is plugged in and the On/Off switch is illuminated.
- Check that the water reservoir has sufficient water.
- Verify the carafe is correctly positioned on the warming plate.
- Coffee Grounds in Brewed Coffee:
- Ensure the paper filter is properly seated in the brew basket and not folded over.
- Use the correct size and type of paper filter for drip coffee makers.
- Avoid overfilling the brew basket with coffee grounds.
- Slow Brewing or Clogging:
- Mineral deposits may have built up. Perform a descaling cycle as described in the "Cleaning and Maintenance" section.
- Water Leaking:
- Ensure the water reservoir is not overfilled.
- Check that the carafe is not cracked or damaged.
- Verify the brew basket is properly closed.
Specifications
| Brand | Proctor Silex |
| Model Name | Proctor Silex FrontFill |
| Item Model Number | 43680G |
| Color | Black and Silver |
| Product Dimensions | 9"D x 6"W x 11"H |
| Capacity | 12 Cups (96 Fluid Ounces) |
| Coffee Maker Type | Drip Coffee Machine |
| Operation Mode | Manual |
| Coffee Input Type | Ground |
| Is Dishwasher Safe | Yes (Carafe and Brew Basket) |
| Voltage | 120V |
| Item Weight | 3.2 pounds |
| UPC | 022333436806 |

Image: Product Dimensions. A visual representation of the Proctor Silex FrontFill Compact 12 Cup Coffee Maker with its key dimensions (height, width, depth) labeled for easy reference.
Warranty and Support
Limited Warranty:
This Proctor Silex coffee maker comes with a 3-Year Limited Warranty. Please refer to the warranty card included in your product packaging for full details on coverage and terms. Keep your purchase receipt as proof of purchase for warranty claims.
Customer Support:
For product assistance, troubleshooting, or warranty inquiries, please contact Proctor Silex Customer Service:
- Website: Visit the official Proctor Silex website for FAQs and support resources.
- Phone: Refer to your product manual or the Proctor Silex website for the most current customer service contact number.
Please have your model number (43680G) and date of purchase ready when contacting support.

