1. Introduction
This manual provides instructions for the ASHATA 480P HD Webcam, designed for use with laptops and desktops. This device features a built-in microphone, 360-degree rotation, and plug-and-play functionality for easy setup and use in video calls and broadcasting.
2. Package Contents
Please verify that all items are present in your package:
- ASHATA 480P HD Webcam (Camera Body)
3. Specifications
| Feature | Detail |
|---|---|
| Model Number | ASHATAnds5wyfcig-02 |
| Video Capture Resolution | 480p (640x480 pixels) |
| Effective Still Resolution | 12.0 Megapixels |
| Photo Sensor Technology | CMOS |
| Connectivity Technology | USB |
| Built-in Microphone | Yes, sound absorption, up to 10 meters range |
| Rotation Angle | 360 degrees left & right, 30 degrees up & down |
| Lens Type | Optical Lens, Zoom |
| Focus Type | Manual Focus |
| White Balance | Auto |
| Color Correction | Auto |
| Operating System Compatibility | Windows (Windows 10, XP, 2003, 7, 8, Vista 32bit) |
| Compatible Devices | Laptop, Desktop |
| Item Weight | 0.07 Kilograms |
4. Setup
4.1 Connecting the Webcam
The ASHATA 480P HD Webcam is a plug-and-play device, requiring no additional driver installation for most operating systems.
- Connect the USB cable from the webcam to an available USB port on your computer (laptop or desktop).
- The operating system will automatically detect and install the necessary drivers. This process may take a few moments.
- Once installed, the webcam is ready for use with compatible applications.

Image: The ASHATA 480P HD Webcam connected via its USB cable.
4.2 Mounting the Webcam
The webcam features a versatile clip-on base designed for various placements:
- On a Monitor/Laptop Screen: Open the clip and securely attach it to the top edge of your screen. Adjust the angle for optimal viewing.
- On a Desktop: Place the webcam on a flat surface. The clip base can be folded to provide a stable stand.

Image: Illustration of the webcam being placed on a desktop and clamped onto a PC screen.
4.3 System Compatibility
The webcam supports various Windows operating systems, ensuring broad compatibility for most users.

Image: Visual representation of the webcam's compatibility with various Windows operating systems.
5. Operating Instructions
5.1 Using the Webcam for Video Calls and Recording
Once connected and recognized by your computer, the webcam can be used with various video communication and recording applications.
- Open your preferred video conferencing software (e.g., Skype, Zoom, Microsoft Teams) or video recording application.
- In the application's settings, select the ASHATA 480P HD Webcam as your video input device.
- Ensure the built-in microphone is also selected as your audio input device if you wish to use it.
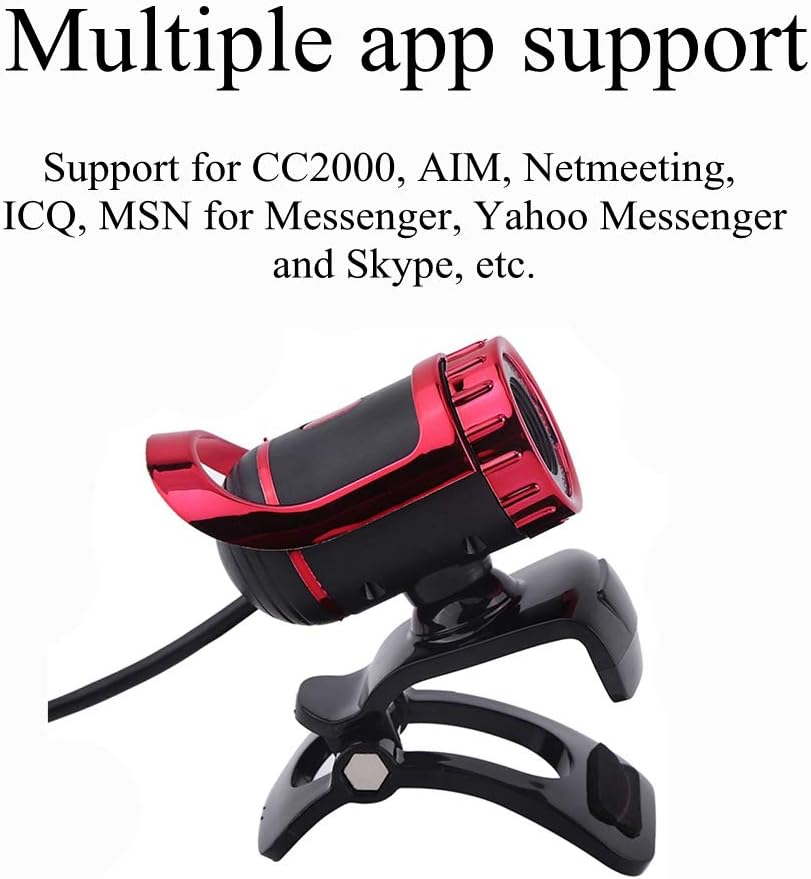
Image: The webcam is compatible with a range of communication applications.
5.2 Adjusting the Webcam Angle
The webcam offers flexible positioning to achieve the best viewing angle:
- The camera head can rotate 360 degrees horizontally (left and right).
- The camera head can tilt 30 degrees vertically (up and down).
- Manually adjust the lens for focus if needed.

Image: Diagram illustrating the 360-degree horizontal and 30-degree vertical rotation capabilities of the webcam.
5.3 Using the Built-in Microphone
The integrated microphone features sound absorption technology, allowing your voice to be heard clearly up to 10 meters away.
- Ensure the microphone is selected as the default audio input in your computer's sound settings and within your communication application.
- For optimal audio quality, speak clearly and avoid placing the webcam too far from your position.

Image: Visual representation highlighting the webcam's built-in sound-absorbing microphone.
6. Maintenance
- Cleaning: Use a soft, dry cloth to clean the webcam lens and body. Avoid abrasive cleaners or solvents.
- Storage: When not in use, store the webcam in a clean, dry place away from extreme temperatures and direct sunlight.
- Cable Care: Do not bend or crimp the USB cable excessively to prevent damage.
7. Troubleshooting
- No Image/Video:
- Ensure the USB cable is securely connected to both the webcam and the computer.
- Try connecting the webcam to a different USB port.
- Restart your computer.
- Verify that the webcam is selected as the video input device in your application's settings.
- No Sound/Poor Audio Quality:
- Confirm that the built-in microphone is selected as the audio input device in your computer's sound settings and your application.
- Check your computer's volume settings and ensure the microphone is not muted.
- Ensure you are within the 10-meter effective range of the microphone.
- Blurry Image:
- Clean the webcam lens with a soft, dry cloth.
- Adjust the manual focus ring on the lens until the image is clear.
- Ensure adequate lighting in your environment.
- Webcam Not Detected:
- Disconnect and reconnect the webcam.
- Try a different USB port.
- Check your computer's Device Manager (Windows) to see if the webcam is listed and if there are any driver issues.
- Ensure your operating system is compatible (Windows 7/8/10/XP/2003/Vista 32bit).
8. Warranty and Support
For warranty information or technical support, please refer to the documentation included with your purchase or contact ASHATA customer service directly. Contact details can typically be found on the manufacturer's official website or through your retailer.