BATURU T-388
BATURU T-388 Kids Walkie Talkies Instruction Manual
Model: T-388 | Brand: BATURU
Introduction
Thank you for choosing BATURU Kids Walkie Talkies. This manual provides essential information for the safe and effective use of your new communication devices. These walkie talkies are designed for children aged 3 and up, offering a fun and reliable way to stay connected during various activities. Please read these instructions carefully before use.
Product Features
- 3-Mile Crystal-Clear Range: Maintain strong signals across backyards, parks, and neighborhoods for uninterrupted communication.
- Smart Auto-Off: Automatically powers off after 90 minutes of inactivity to conserve battery life.
- Crystal-Clear Sound: Advanced noise-filtering technology and enhanced speakers ensure loud, clear conversations.
- Keypad Lock: Hold the Menu button for 3 seconds to lock settings, preventing accidental channel changes.
- Durable Design: Engineered to withstand drops and rough outdoor play.
- Find-Me Now! Call Alert: Press the call button to activate a loud locator beep on any walkie talkie, helping to locate lost devices.
- Built-in Flashlight: Provides illumination for low-light conditions or nighttime adventures.
- 22 Channels: Offers multiple channels for private conversations.
Package Contents
- 3 x BATURU Kids Walkie Talkies (Blue, Pink, Green)
Video: This video demonstrates the BATURU 3-pack walkie talkies for kids, showcasing the different colors included in the package.
Setup Instructions
- Battery Installation:
- Locate the battery compartment on the back of each walkie talkie.
- Open the compartment cover.
- Insert 4 AAA batteries into each unit, ensuring correct polarity (+/-).
- Close the battery compartment cover securely.
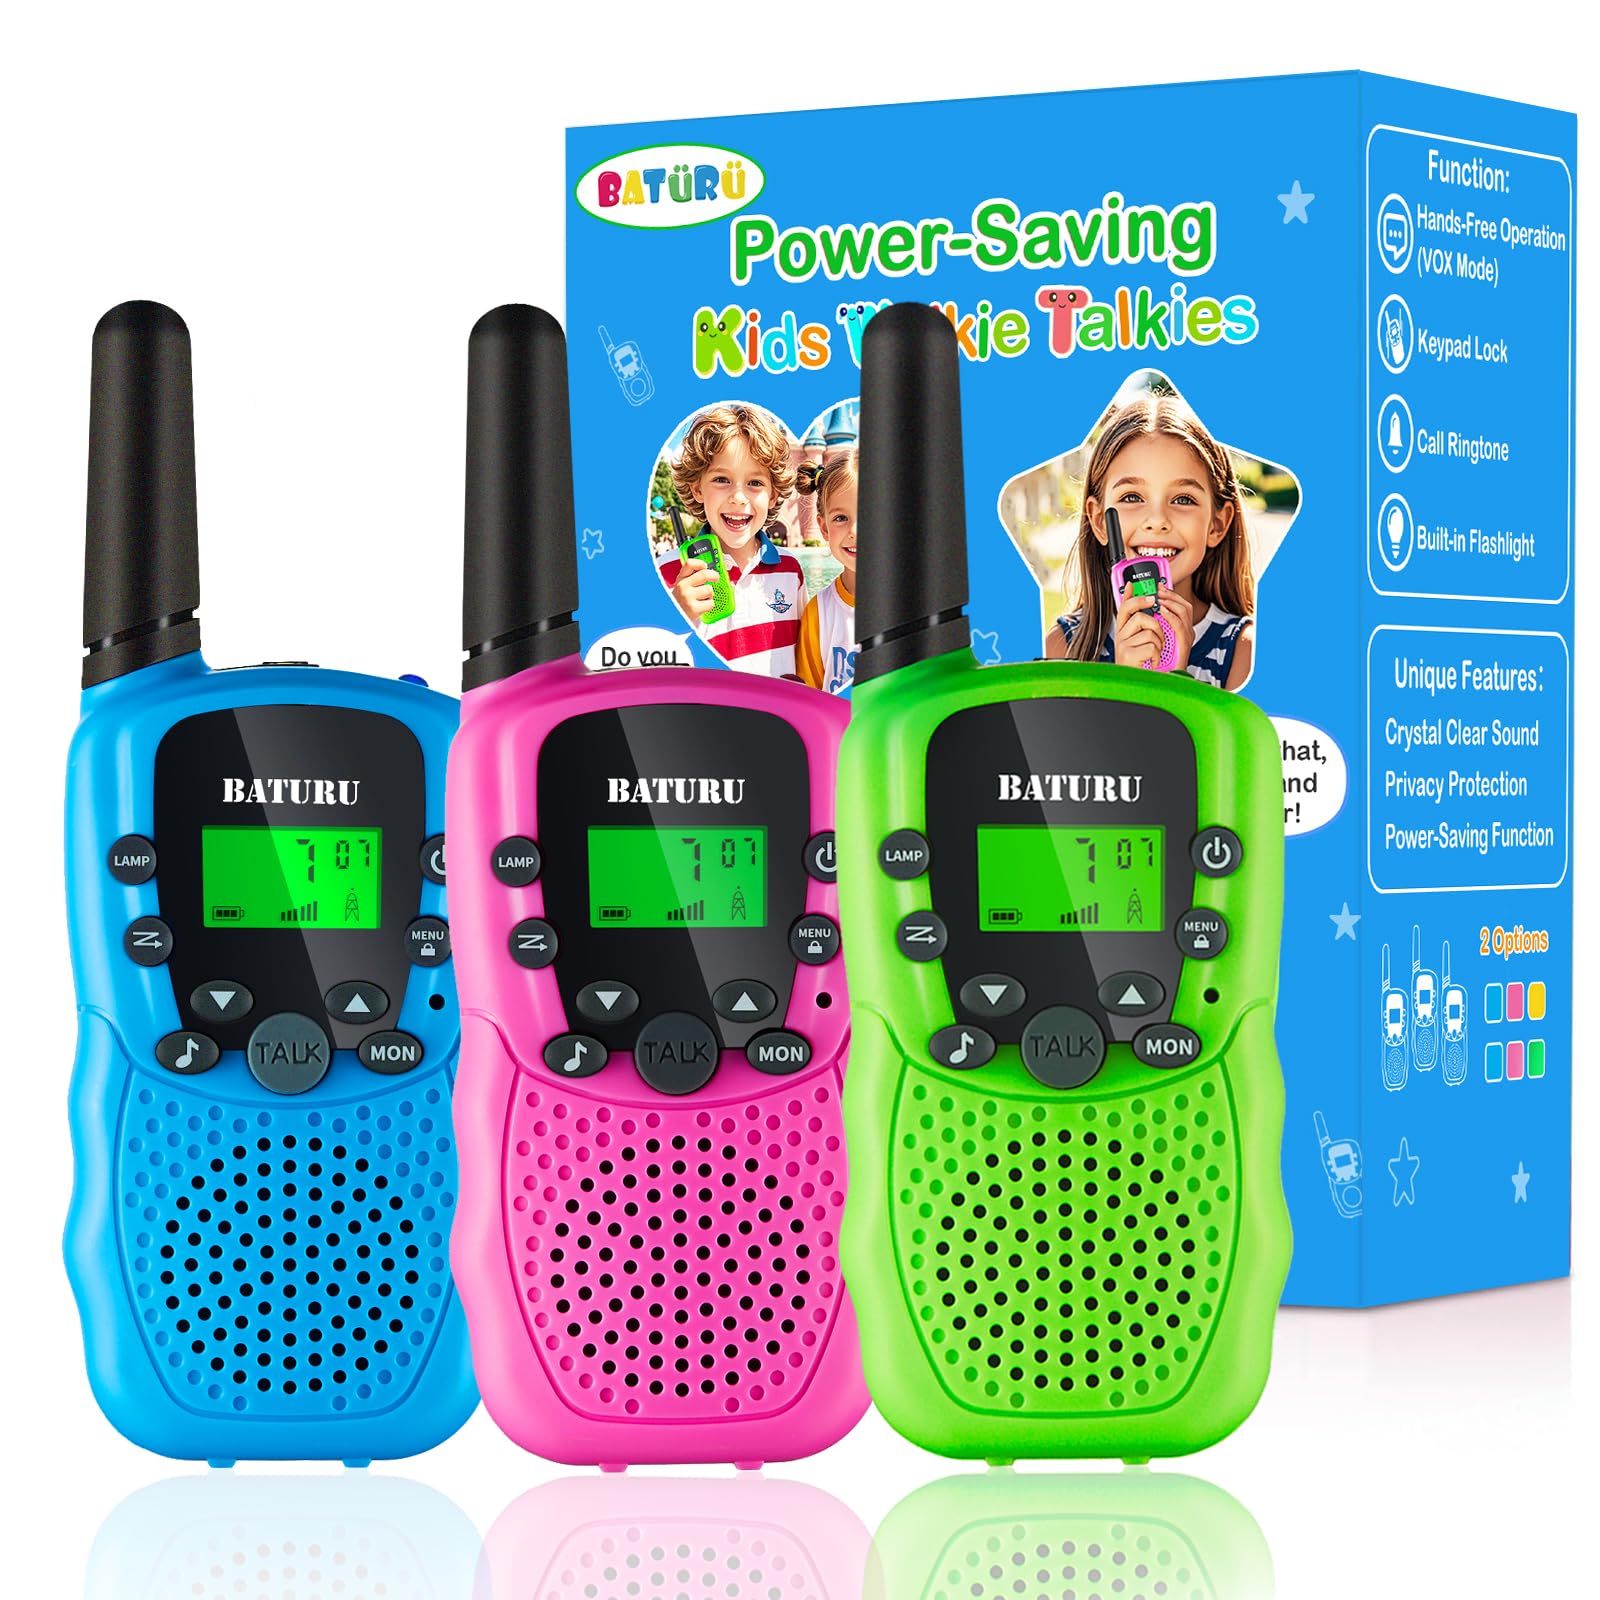
Image: A BATURU walkie talkie with its battery compartment open, showing where to insert the 4 AAA batteries.
- Powering On/Off:
- Press and hold the power button (
 ) for a few seconds until the screen lights up.
 - To power off, press and hold the power button again until the screen turns off.
- Press and hold the power button (
- Setting Channels:
- Press the Menu button () once. The channel number will flash on the display.
- Use the Up () or Down () buttons to select your desired channel (1-22).
- Press the Talk button or Menu button again to confirm your selection.
- Ensure all walkie talkies are set to the same channel for communication.

Image: A visual guide to the walkie talkie buttons, highlighting channel selection and keypad lock features.
- Press the Menu button (
Operating Instructions
- Talking (Push-to-Talk):
- Press and hold the Talk button () while speaking into the microphone.
- Release the Talk button when you are finished speaking to listen for a response.
- Press and hold the Talk button (
- Volume Adjustment:
- Use the Up () or Down () buttons to adjust the speaker volume.

Image: An illustration highlighting the clear sound quality of the walkie talkies, featuring a high-quality microphone and a 0.5W clear speaker.
- Use the Up (
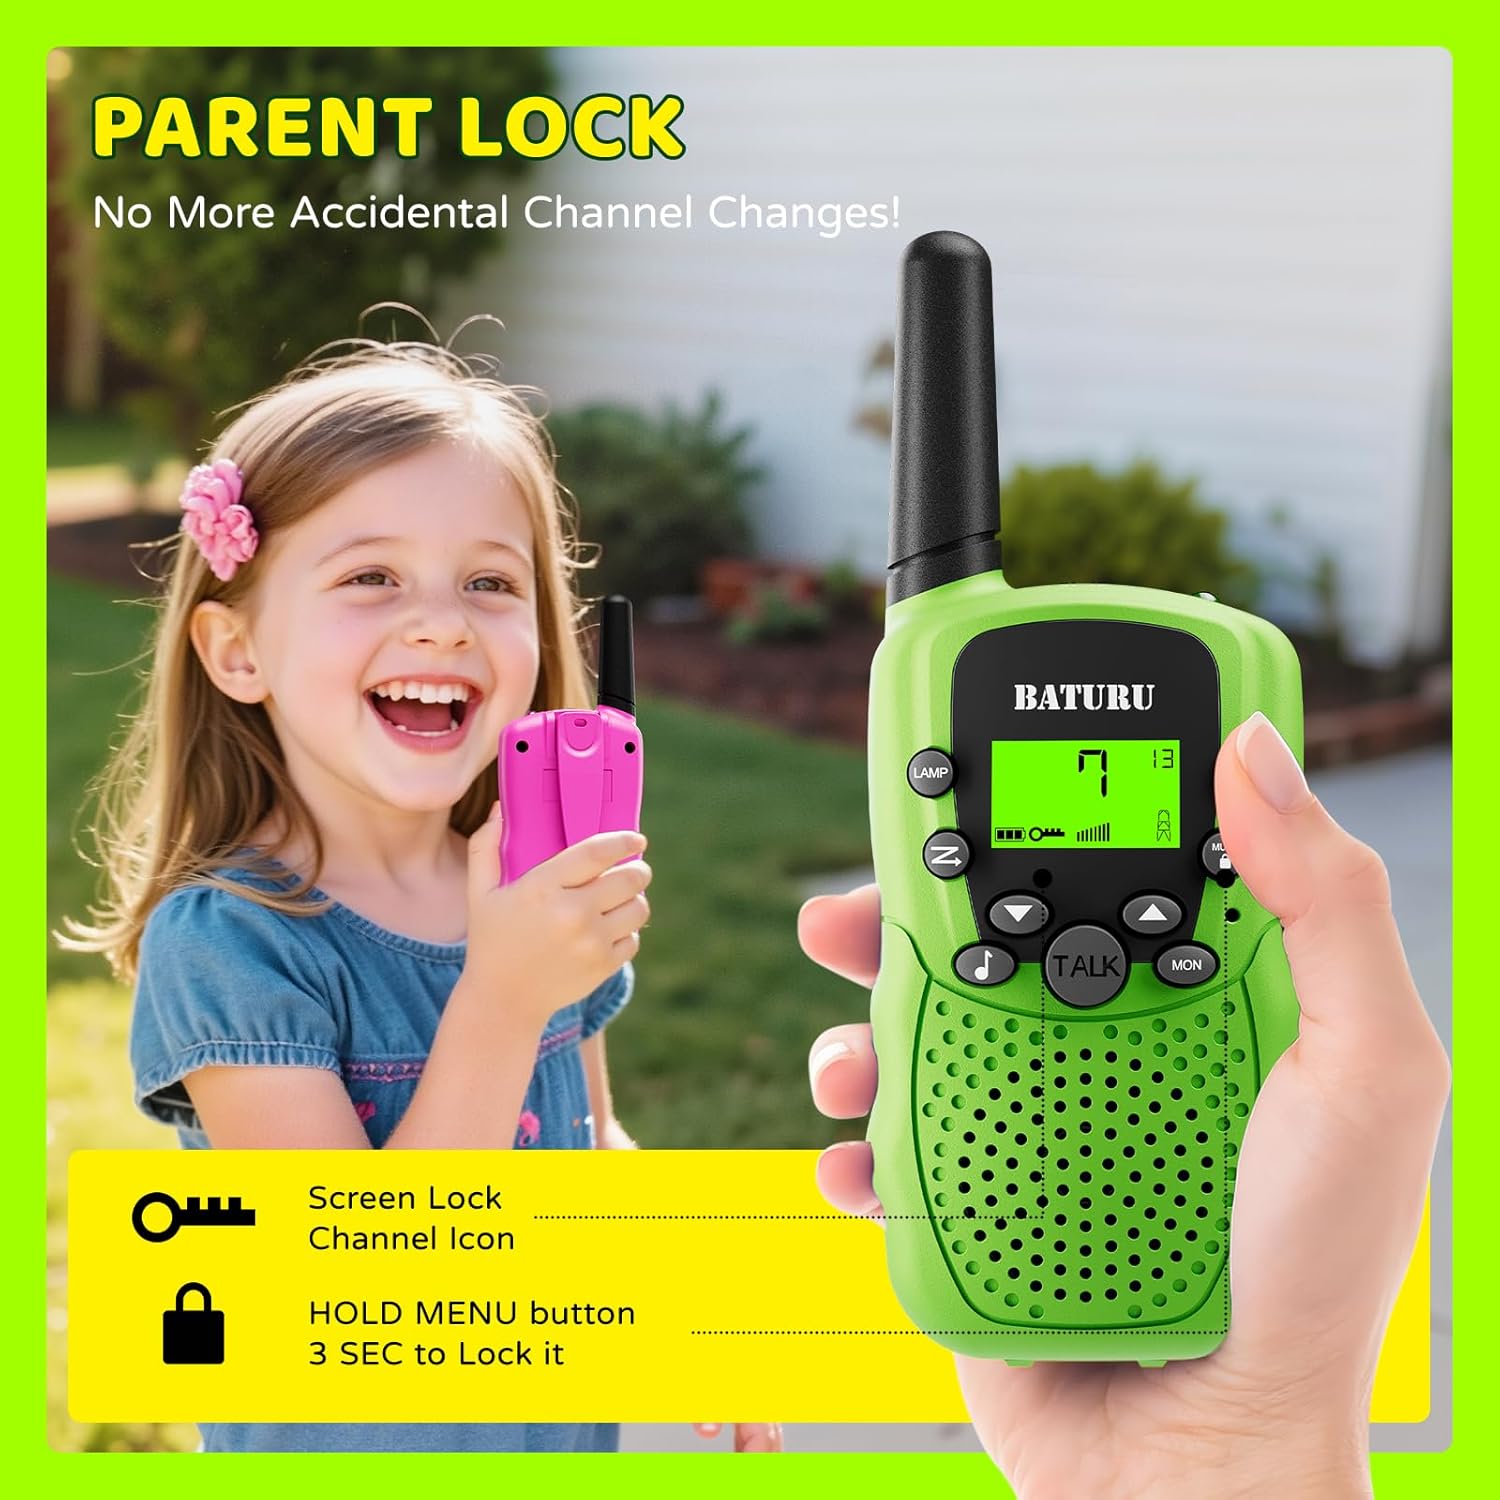
- Keypad Lock:
- To prevent accidental changes to settings, press and hold the Menu button for approximately 3 seconds until a lock icon appears on the display.
- To unlock, press and hold the Menu button again for 3 seconds.
Image: A child holding a green walkie talkie, demonstrating the keypad lock feature to prevent accidental changes.
- Flashlight Function:
- Press the Lamp button () to turn the built-in flashlight on or off.
Video: This video demonstrates the flashlight feature of the walkie talkies, showing its utility in low-light conditions.
- Press the Lamp button (
- Call Alert Function:
- Press the Call button () to send an audible alert to other walkie talkies on the same channel.

Image: An illustration showing how the call alert feature can be used to locate a walkie talkie.
- Press the Call button (
- Automatic Power-Off:
- The walkie talkies are equipped with an automatic power-off feature that activates after 90 minutes of inactivity to conserve battery life.
- VOX (Voice Operated Exchange) Mode:
- This feature allows hands-free communication. To activate, press the Menu button twice until 'VOX' appears on the screen. Use the Up/Down buttons to select a sensitivity level (1-3, with 3 being most sensitive). Press Talk or Menu to confirm.
- When VOX is active, the walkie talkie will transmit automatically when it detects your voice.

Image: A child using the walkie talkie in hands-free VOX mode while climbing, showing the convenience of the belt clip.
Maintenance
- Cleaning: Use a soft, damp cloth to clean the exterior of the walkie talkies. Do not use harsh chemicals or abrasive cleaners.
- Battery Care: Remove batteries if the devices will not be used for an extended period to prevent leakage.
- Storage: Store the walkie talkies in a cool, dry place away from direct sunlight and extreme temperatures.
Troubleshooting
| Problem | Solution |
|---|---|
| No power | Check battery installation and replace with fresh AAA batteries if needed. Ensure the power button is pressed and held until the screen lights up. |
| Cannot communicate with other units | Verify that all walkie talkies are set to the same channel. Ensure you are within the effective range. |
| Poor sound quality/static | Adjust the volume. Move closer to the other unit. Ensure there are no major obstructions (e.g., thick walls, large metal structures) between units. |
| Buttons not responding | Check if the keypad lock is activated. Press and hold the Menu button for 3 seconds to unlock. |
Specifications
- Model Number: T-388
- Dimensions: 5.7 x 2.1 x 1 inches
- Weight: 9.1 ounces
- Batteries: 4 AAA batteries required per unit (not included)
- Number of Channels: 22
- Frequency Range: 462.5625 - 462.7125MHz, 467.5625 - 467.7125MHz
- Talking Range Maximum: 3 Kilometers (approximately 1.86 miles)
- Special Features: Automatic Squelch, Battery Saver Mode, Keypad Lock, Lightweight, Noise Reduction, Built-in Flashlight
- Water Resistance Level: Not Water Resistant
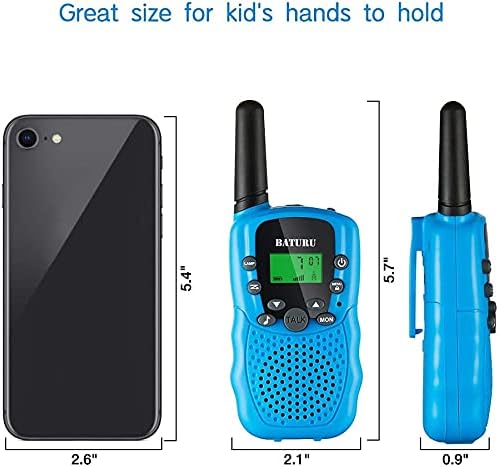
Image: A diagram illustrating the compact dimensions of the BATURU walkie talkie, shown next to a smartphone for scale.
Safety Information
- Choking Hazard: This product contains small parts and is not suitable for children under 3 years old.
- Battery Safety: Do not mix old and new batteries. Do not mix alkaline, standard (carbon-zinc), or rechargeable (nickel-cadmium) batteries. Insert batteries with correct polarity. Remove exhausted batteries promptly.
- Volume: Avoid prolonged exposure to loud volumes, which may cause hearing damage.
- Water Exposure: These walkie talkies are not water resistant. Avoid exposure to water or moisture.
- Supervision: Adult supervision is recommended during use, especially for younger children.
Warranty and Support
BATURU products are designed for quality and durability. For any questions, concerns, or support needs regarding your walkie talkies, please refer to the retailer's return policy or contact BATURU customer service through the official channels provided at the point of purchase. Please retain your proof of purchase for any warranty claims.