1. Important Safety Information
Please read these instructions carefully before using the appliance and keep them for future reference. Incorrect operation can lead to damage to the appliance and injury to the user.
- Always ensure the appliance is placed on a stable, heat-resistant surface.
- Do not immerse the appliance, cord, or plug in water or other liquids.
- Keep children and pets away from the appliance during operation.
- Do not touch hot surfaces. Use oven mitts or gloves when handling hot items.
- Unplug the appliance from the power outlet when not in use and before cleaning.
- Ensure proper ventilation around the oven during use.
- Do not operate the appliance with a damaged cord or plug. Contact customer service for repairs.
- Only use accessories recommended by the manufacturer.
2. Product Overview
The Steba DG 40 is a versatile multifunction steam oven designed for various cooking methods, including hot steam, convection, and traditional top/bottom heat. It features a generous 37-liter capacity and a powerful 2100-watt heating element, making it suitable for a wide range of culinary tasks.
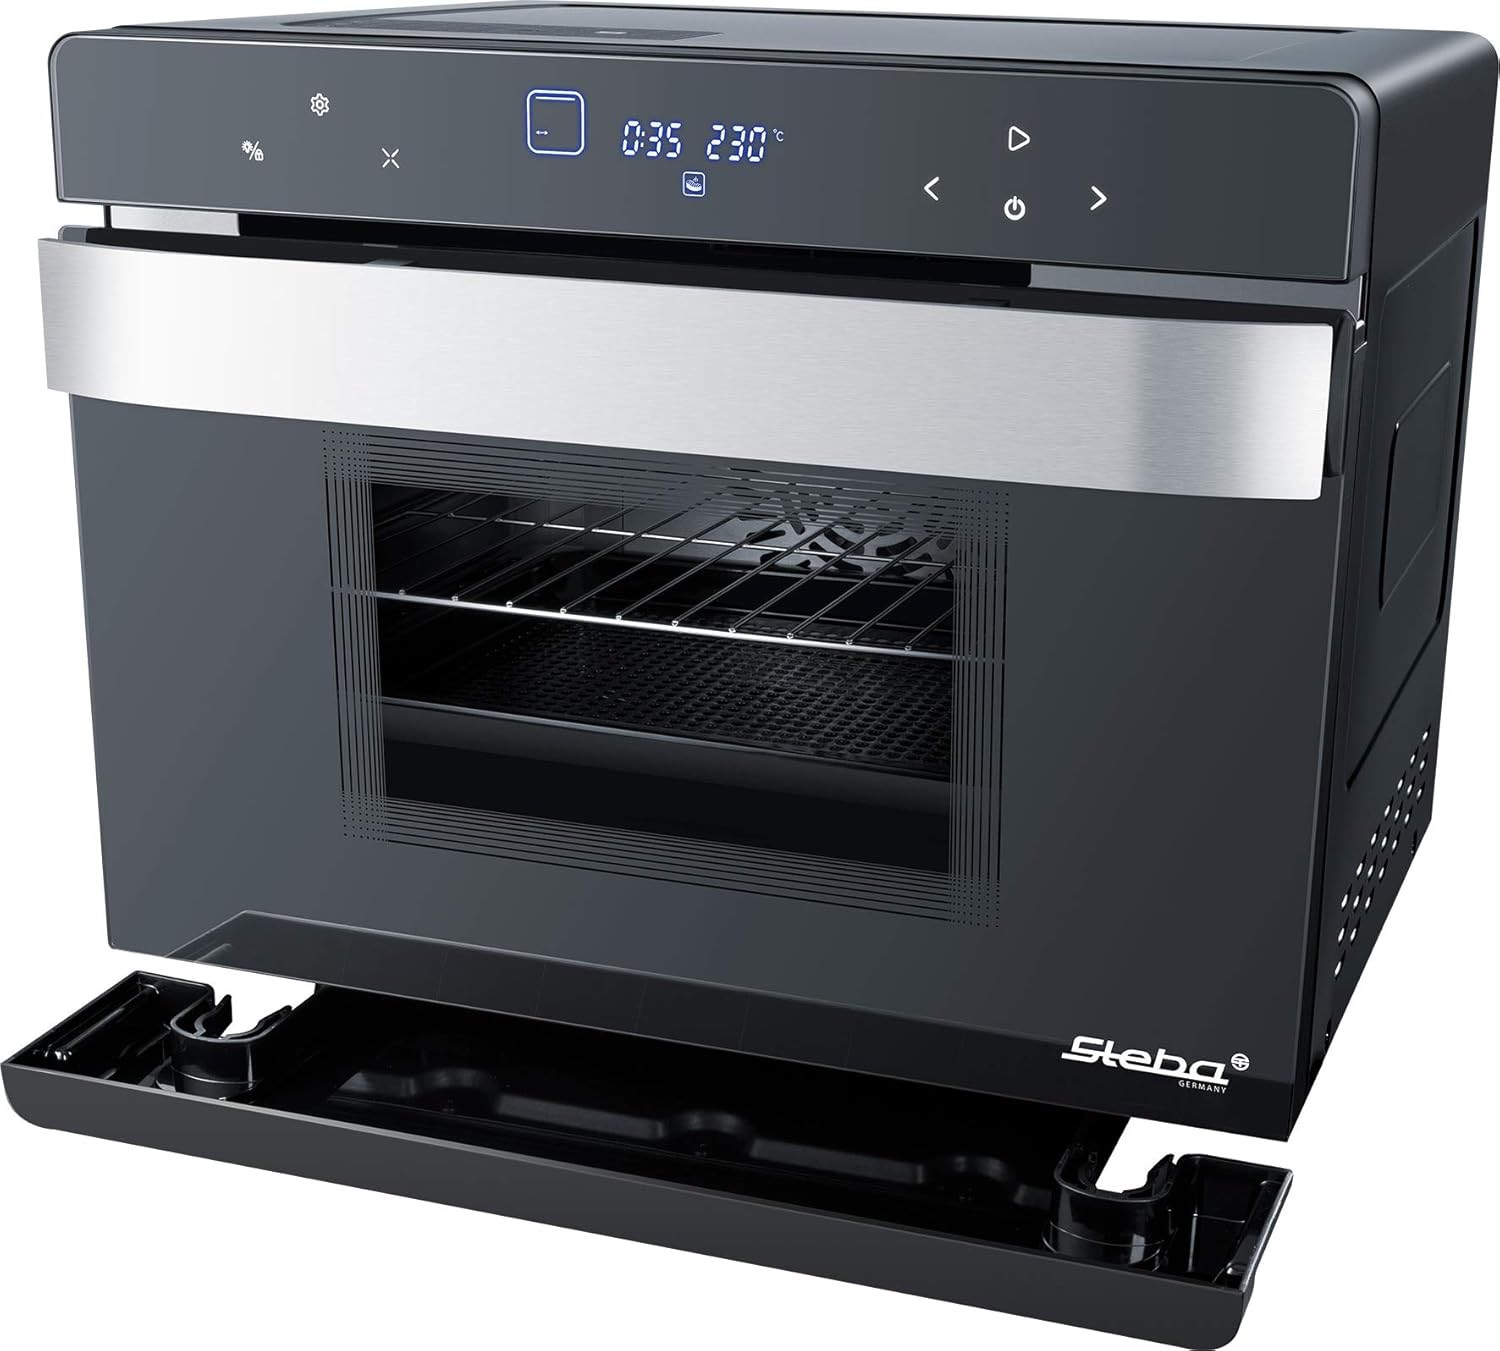
Figure 2.1: Front view of the Steba DG 40 Multifunction Steam Oven, showcasing its sleek design and digital control panel.
Key Features:
- Hot Steam Function: For gentle and rapid cooking.
- Capacity: Approximately 37 liters interior volume.
- Energy Efficiency: Effective casing insulation for low energy consumption.
- Programs: 49 automatic programs for baking, drying, steaming, and more.
- DIY Program: Customizable cooking settings.
- Rotisserie: Capable of roasting up to 2 chickens.
- Heating Modes: Top and bottom heat, hot air (convection), hot steam.
- Temperature Control: Adjustable up to 230 °C.
- Timer: 7-hour timer function.
- Water Tank: 1450 ml capacity for steam generation.
3. Setup
3.1 Unpacking
- Carefully remove the oven from its packaging.
- Remove all packaging materials, including any protective films or tapes from the interior and exterior of the appliance.
- Check for any damage during transit. If damage is found, do not operate the appliance and contact your retailer.
3.2 Placement
- Place the oven on a flat, stable, and heat-resistant countertop.
- Ensure there is adequate space (at least 10 cm) around the appliance for proper ventilation. Do not place it directly against a wall or under cabinets that could be damaged by heat or steam.
- Avoid placing the oven near water sources or flammable materials.

Figure 3.1: Dimensions of the Steba DG 40 oven for proper placement.
3.3 Initial Cleaning
- Wipe the interior and exterior surfaces of the oven with a damp cloth.
- Wash the included accessories (baking sheet, grill rack, rotisserie spit) with warm soapy water, rinse, and dry thoroughly.
- Before first use, run the oven empty for approximately 15 minutes at 200°C to burn off any manufacturing residues. Ensure the room is well-ventilated during this process.
3.4 Water Tank Filling
- Locate the water tank, typically on the side or front of the appliance.
- Remove the water tank and fill it with clean, fresh drinking water up to the maximum fill line. Do not use distilled water or other liquids.
- Reinsert the water tank securely into its position.
3.5 Power Connection
- Plug the power cord into a grounded electrical outlet.
- Ensure the voltage rating of the appliance matches your local power supply.
4. Operating Instructions
4.1 Control Panel Overview
The Steba DG 40 features an intuitive digital control panel. While specific button functions may vary, common controls include power on/off, mode selection, temperature adjustment, timer settings, and program selection. Refer to the display for current settings and status indicators.
4.2 Basic Operation
- Power On: Press the power button to turn on the oven.
- Select Mode: Use the mode selection buttons to choose your desired cooking function (e.g., Steam, Convection, Top/Bottom Heat).
- Set Temperature: Adjust the temperature using the temperature control buttons. The maximum temperature is 230°C.
- Set Timer: Use the timer buttons to set the desired cooking duration, up to 7 hours.
- Start Cooking: Press the start button to begin the cooking process.
4.3 Using Automatic Programs
The oven comes with 49 pre-set automatic programs for various dishes. Select the desired program from the menu, and the oven will automatically set the optimal temperature and cooking time. Consult the recipe book (if included) for details on each program.
4.4 DIY Program
The DIY program allows you to customize and save your preferred cooking settings for frequently prepared dishes. Follow the on-screen prompts to set temperature, time, and cooking mode, then save your custom program.
4.5 Rotisserie Function
The rotisserie function is ideal for roasting poultry or larger cuts of meat, ensuring even cooking and a crispy exterior.
- Securely attach the food (e.g., up to two chickens) to the rotisserie spit.
- Insert the rotisserie spit into the designated slots inside the oven.
- Select the rotisserie cooking mode and set the desired temperature and time.
- Place a drip tray below the food to catch juices and fats.

Figure 4.1: Oven interior showing the rotisserie spit and baking tray.
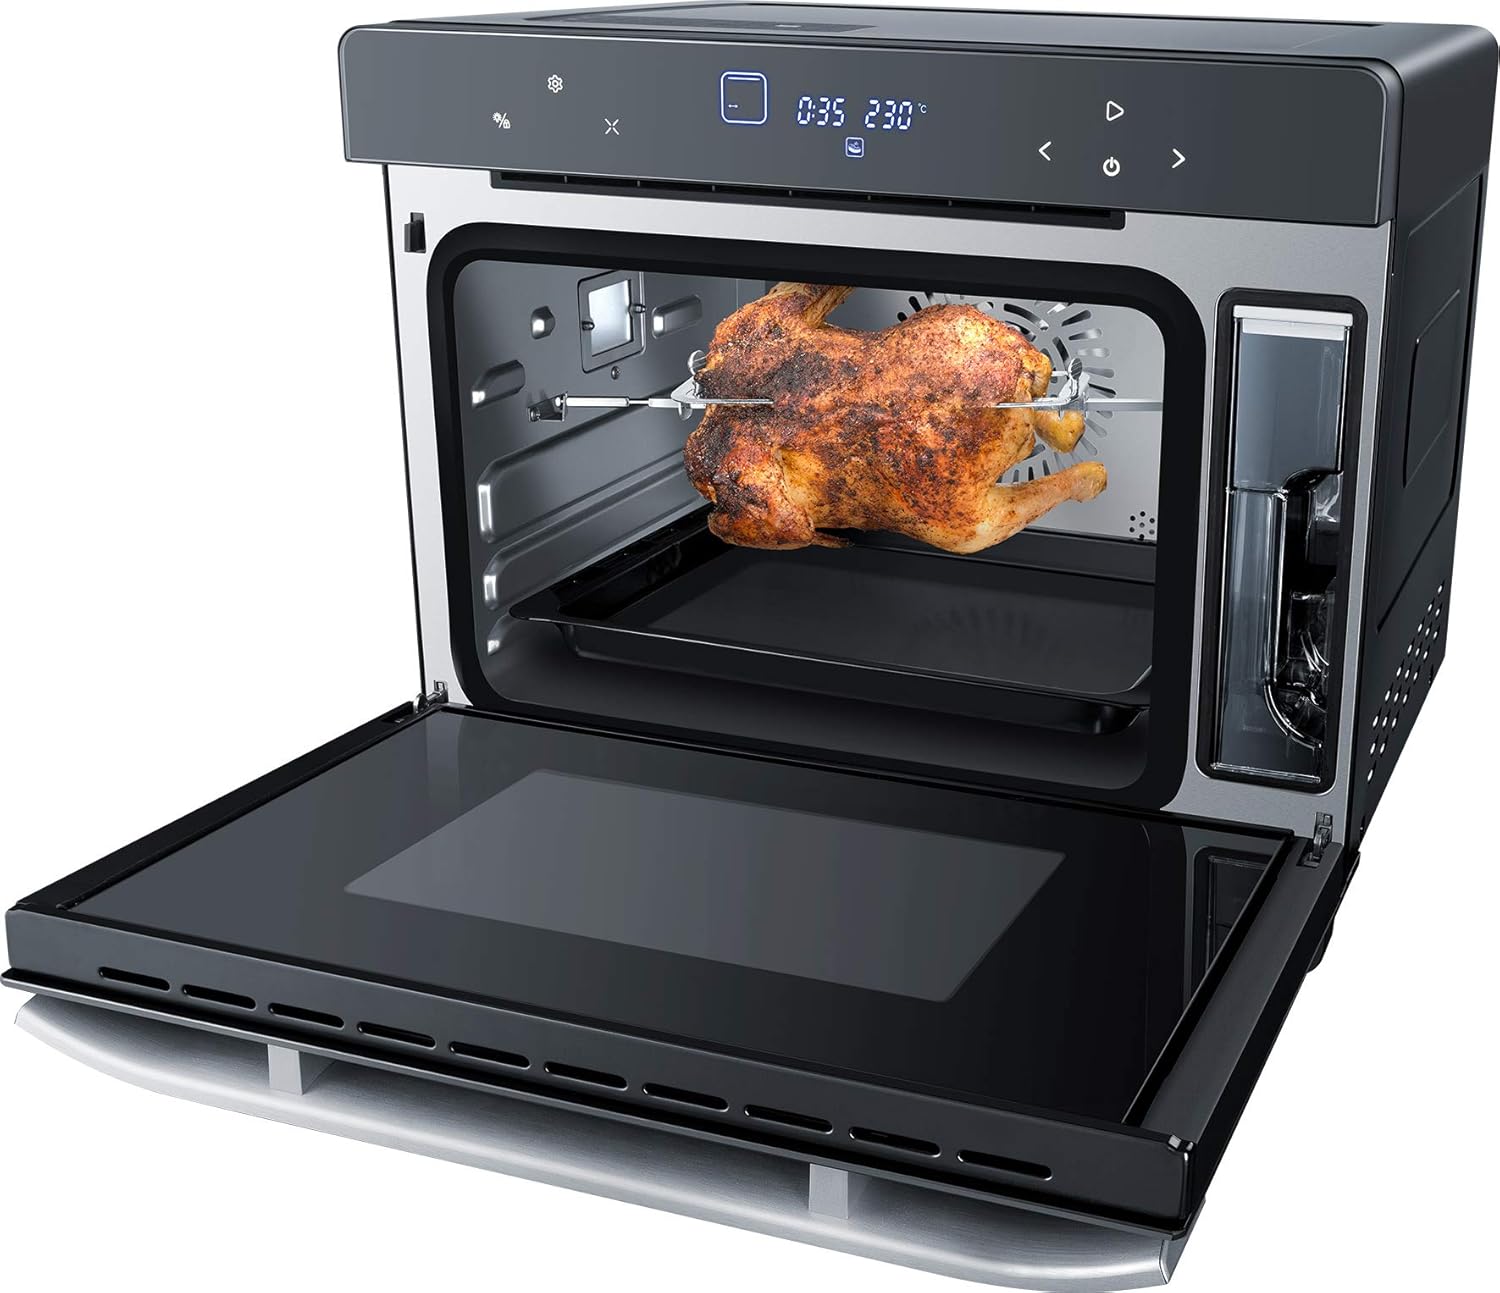
Figure 4.2: Roasted chicken cooking on the rotisserie inside the oven.

Figure 4.3: A roast cooking on a tray within the oven.

Figure 4.4: Croissants baking on a rack inside the oven.
5. Maintenance and Cleaning
5.1 General Cleaning
- Always unplug the oven and allow it to cool completely before cleaning.
- Wipe the exterior with a damp cloth and mild detergent. Do not use abrasive cleaners or harsh chemicals.
- Clean the interior with a damp cloth and a small amount of mild dish soap. For stubborn stains, a non-abrasive oven cleaner suitable for steam ovens may be used, following the product instructions carefully.
- Remove and wash the baking sheet, grill rack, and rotisserie spit in warm soapy water.
- Ensure all parts are dry before reassembling or storing the oven.
5.2 Water Tank Cleaning and Descaling
- Regularly empty and clean the water tank to prevent mineral buildup.
- For descaling, use a descaling solution specifically designed for steam ovens or a mixture of water and white vinegar (1:1 ratio). Follow the descaling instructions provided in the full manual or by the manufacturer.
- The oven features automatic defrosting, simplifying the process of thawing frozen foods.
6. Troubleshooting
If you encounter issues with your Steba DG 40 oven, please refer to the following common troubleshooting steps:
- Oven not turning on: Check if the power cord is securely plugged into a working outlet. Ensure the main power switch (if present) is on.
- No steam production: Verify that the water tank is filled with water and correctly inserted. Check for any blockages in the steam nozzle.
- Food not cooking evenly: Ensure food is placed centrally and not overcrowding the oven. Check if the selected temperature and cooking mode are appropriate for the dish.
- Error codes on display: If an error code appears, consult the full user manual for specific meanings and solutions. If the issue persists, contact customer support.
7. Specifications
| Feature | Specification |
|---|---|
| Brand | Steba |
| Model | DG 40 |
| Color | Stainless Steel |
| Capacity | 37 Liters |
| Electric Power | 2100 Watts |
| Heating Method | Convection, Hot Steam |
| Fuel Type | Electric |
| Installation Type | Countertop |
| Defrosting | Automatic Defrost |
| Special Features | Hot Steam, 49 Automatic Programs, DIY Program, Rotisserie |
| Timer Function | Available (7 hours) |
| Door Opening Direction | Front |
| Finish | Polished |
| Item Weight | 4.5 Kilograms |
| Manufacturer | Steba |
| Global Trade Identification Number (GTIN) | 04011833001153 |
| Product Type Name | Multifunction Steam Oven |
| Included Components | Sheet metal, stainless steel, plastic |
| ASIN | B07R254XWD |
For detailed energy efficiency information, please refer to the official EPREL database: https://eprel.ec.europa.eu/qr/1878745
8. Warranty and Support
This Steba DG 40 Multifunction Steam Oven comes with a manufacturer's warranty. Please refer to the warranty card included with your product for specific terms and conditions, including the warranty period and coverage details. Keep your proof of purchase for any warranty claims.
Customer Support:
For technical assistance, spare parts, or warranty inquiries, please contact Steba customer service. Contact information can typically be found on the manufacturer's official website or in the product packaging.
Manufacturer: Steba