1. Introduction
This manual provides essential information for the proper setup, operation, and maintenance of your LANRUO GPD MicroPC 2. Please read this manual thoroughly before using the device to ensure optimal performance and longevity.

Figure 1: GPD MicroPC 2 Handheld Industrial Laptop
The GPD MicroPC 2 is a compact, 7-inch handheld industrial laptop designed for professional operations and portability. It features a 1080P display, Intel i3-N300 CPU, 16GB LPDDR5 RAM, and a 512GB SSD, running on Windows 11 Home OS.
2. Package Contents
Verify that all items are present in the package:
- GPD MicroPC 2 Unit
- USB-C to USB-C Charging Cables (2)
- USB-C Power Adapter
- HDMI Cable
- Stylus Pen
- Stylus Pen USB-C Charging Cable
- Extra Stylus Pen Tips with Removal Tool
- USB Dongle (for additional USB ports)
- Windows 11 Pro USB Drive (for OS reinstallation and drivers)
- Quick Start Guide / Thank You Card
3. Device Layout and Ports
Familiarize yourself with the physical components and connectivity options of your MicroPC 2.
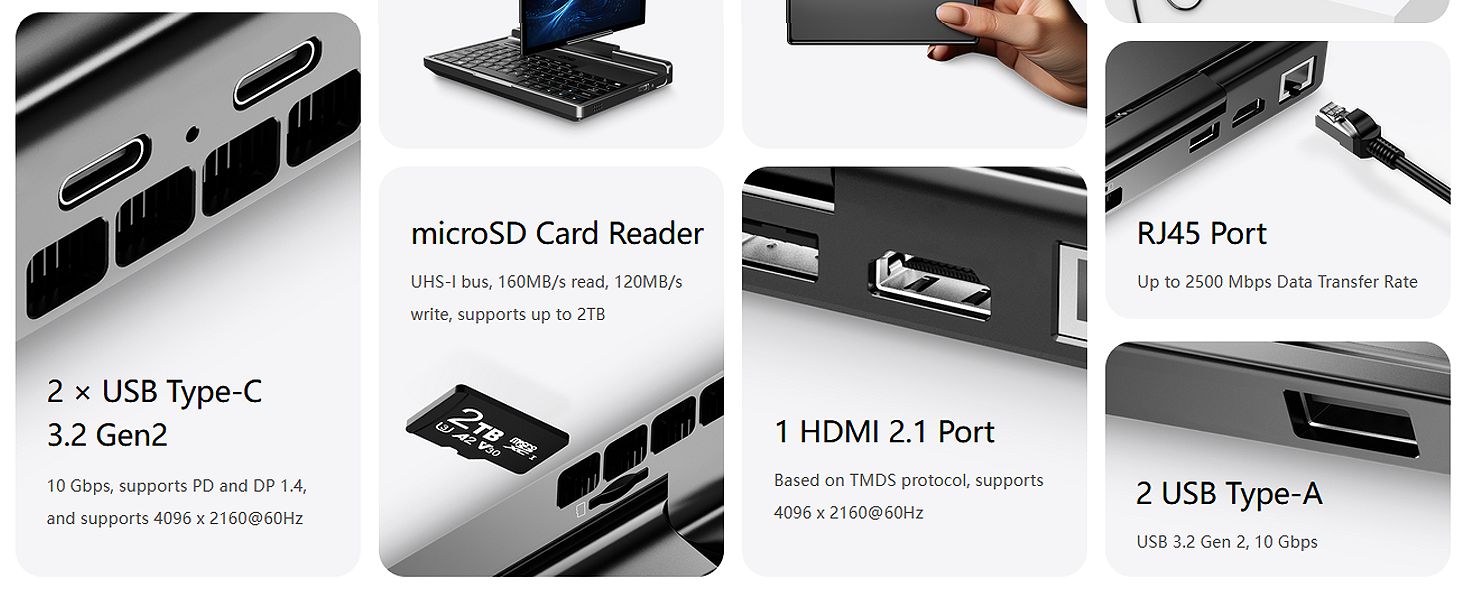
Figure 2: Port Layout
The device integrates a comprehensive set of ports for versatile connectivity.
- Display: 7-inch Retina LTPS touchscreen, 1080P resolution, 16:9 aspect ratio, 314ppi, 60Hz refresh rate, 500nit brightness, DC dimming.
- Keyboard: Full QWERTY keyboard with ergonomic, wedge-shaped metal-dome keys and backlighting.
- Pointing Devices: Integrated touchpad and 3D mouse.
- USB-C Ports (2): USB 3.2 Gen2 Type-C, supporting 10Gbps data transfer, Power Delivery (PD) fast-charging, and DisplayPort 1.4 (DCI 4K output up to 4096 x 2160/60Hz).
- HDMI Port (1): HDMI 2.1, supporting resolutions up to 4096 x 2160/60Hz.
- USB-A Ports (2): USB 3.2 Gen2 Type-A.
- microSD Card Reader: UHS-I bus, 160MB/s read, 120MB/s write, supports up to 2TB.
- RJ45 Port: 2.5G Ethernet, up to 2500 Mbps data transfer rate.
- Audio: 3.5mm Headphone/Microphone combo jack.
- Hinge: T-shaped hinge allows 180-degree counter-clockwise screen rotation for tablet mode.
4. Setup and First Use
- Charging: Connect the MicroPC 2 to the power adapter using one of the provided USB-C cables. Ensure the device is fully charged before first use. The charging indicator light will show charging status.
- Power On: Press and hold the Power Button (which may also include a fingerprint sensor) located on the device.
- Initial Setup: Follow the on-screen instructions to complete the Windows 11 Home (or Pro) setup process, including language, region, network connection, and user account creation.
- Network Connection: Connect to a Wi-Fi 6 network or use an Ethernet cable via the RJ45 port for internet access.
- Stylus Pen: Charge the stylus pen using its dedicated USB-C cable. The pen can be used for precise input on the touchscreen.
5. Operating Instructions
5.1 Basic Operation
- Power On/Off: Press the Power Button to turn on. To turn off, go to Start Menu > Power > Shut down.
- Sleep Mode: Briefly press the Power Button to enter/exit sleep mode.
- Volume Control: Use the dedicated volume buttons (if present) or the Windows sound settings.
- Brightness Adjustment: Use the function keys (e.g., Fn + Fx) or Windows display settings.
5.2 Using Tablet Mode
The MicroPC 2 features a T-shaped hinge that allows the screen to rotate 180 degrees counter-clockwise, enabling a tablet-like experience.
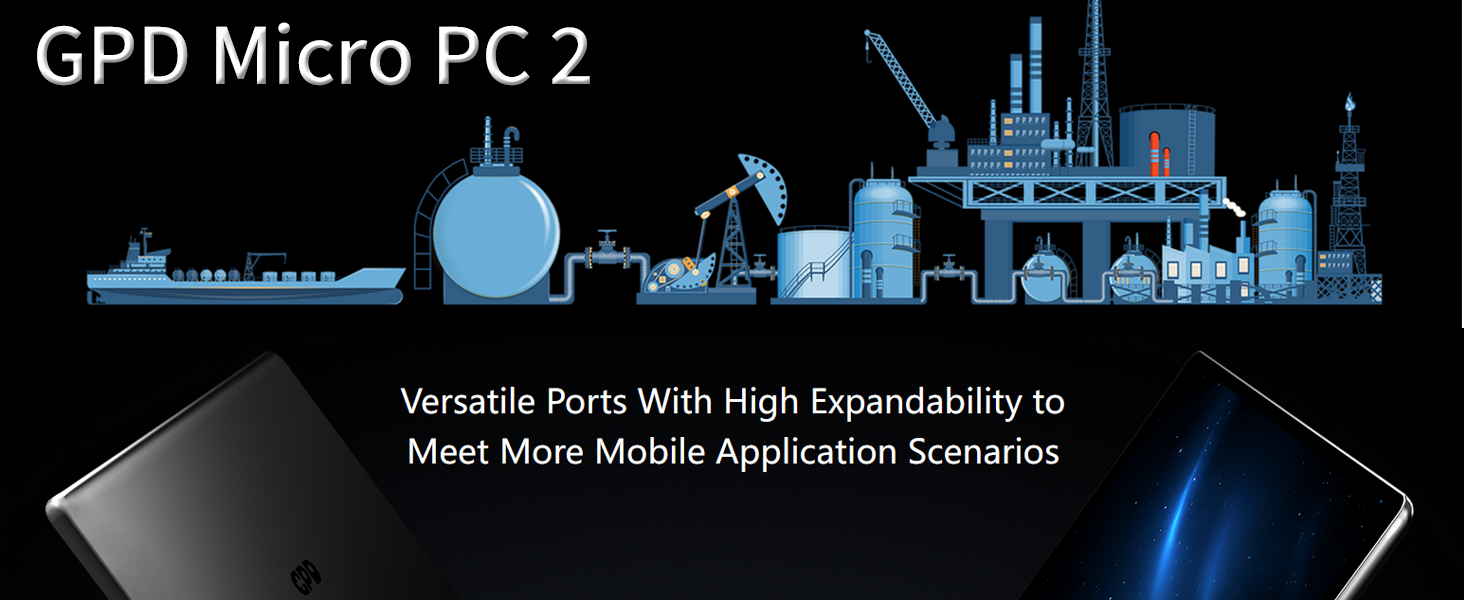
Figure 3: Screen Rotation for Tablet Mode
Rotate the screen to fold it flat against the keyboard, transforming the device into a compact tablet. Windows will automatically switch to tablet mode for optimized touch interaction.
5.3 External Display Connection
You can connect up to three external 4K/60Hz monitors simultaneously when the internal display is disabled.
- Connect external monitors via the HDMI 2.1 port and/or the USB 3.2 Gen2 Type-C ports (which support DisplayPort 1.4).
- Adjust display settings in Windows (Right-click desktop > Display settings) to configure multiple displays (extend, duplicate, or second screen only).
6. Specifications
| Feature | Description |
|---|---|
| Processor | Intel i3-N300 (8 E-Cores/8 Threads, 0.8 GHz Base, up to 3.8 GHz Max Turbo) |
| Graphics | Intel UHD Graphics (up to 1.25 GHz Max Turbo, DirectX 12.1, OpenGL 4.6) |
| Display | 7-inch Retina LTPS Touchscreen, 1080P (1920x1080), 16:9, 314ppi, 60Hz, 500nit, DC Dimming |
| RAM | 16GB LPDDR5 |
| Storage | 512GB SSD (PCIe 4.0 NVMe 2280) |
| Operating System | Windows 11 Home (Upgradeable to Pro with included USB drive) |
| Wireless Connectivity | Wi-Fi 6, Bluetooth 5.2 |
| Ports | 2x USB 3.2 Gen2 Type-C (PD, DP 1.4), 1x HDMI 2.1, 2x USB Type-A, 1x microSD Card Reader, 1x RJ45 (2.5G), 3.5mm Audio Jack |
| Battery | 3200 mAh (Approx. 5 hours average usage) |
| Dimensions | 171.2mm x 110.8mm x 23.5mm |
| Weight | 490 grams |
7. Maintenance
- Cleaning: Use a soft, dry cloth to clean the device. For the screen, use a microfiber cloth and a screen-safe cleaning solution. Avoid harsh chemicals.
- Software Updates: Regularly check for and install Windows updates to ensure system stability and security.
- Battery Care: To prolong battery life, avoid extreme temperatures and do not let the battery fully discharge frequently.
- Storage Management: Periodically clear unnecessary files and applications to maintain optimal performance.
8. Troubleshooting
- Device Not Powering On: Ensure the device is fully charged. If the issue persists, try connecting to a different power outlet or USB-C port.
- Screen Not Responding: If the touchscreen is unresponsive, try restarting the device. For minor glitches, a soft reset (holding the power button for 10 seconds) may resolve the issue.
- Connectivity Issues (Wi-Fi/Bluetooth): Check that Wi-Fi and Bluetooth are enabled in Windows settings. Restart the device and your router/Bluetooth accessory if problems persist.
- Slow Performance: Close unnecessary applications, check for background processes, and ensure sufficient free storage space. Consider running a system diagnostic.
- OS Reinstallation: An included USB drive contains Windows 11 Pro and necessary drivers for system reinstallation if required. Refer to the on-screen instructions during the reinstallation process.
9. Warranty and Support
LANRUO provides a two-year warranty service for all GPD devices purchased through official channels. This warranty covers manufacturing defects and hardware malfunctions under normal use conditions.
For technical assistance, software support, or warranty claims, please contact LANRUO customer service through the retailer where the product was purchased or visit the official LANRUO support website.
Please retain your proof of purchase for warranty validation.