1. Introduction and Overview
Thank you for choosing the Naviforce NF9160-BRB Quartz Analog-Digital Watch. This manual provides detailed instructions to help you understand and operate your watch effectively. This timepiece features a durable alloy case, a high-quality genuine leather strap, and a precise quartz movement for accurate timekeeping. It combines both analog and digital displays, offering versatility and multiple functions.
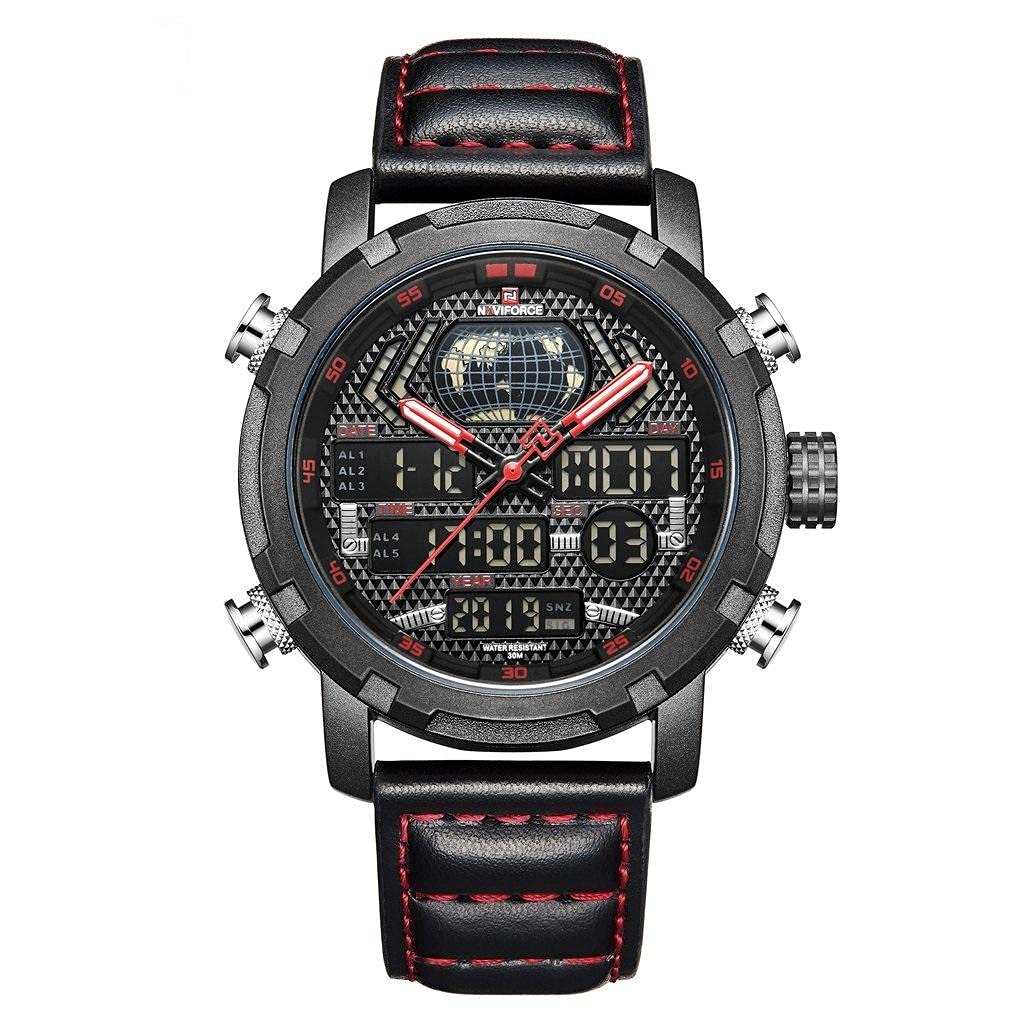
Image: Naviforce NF9160-BRB watch, showcasing its dual analog and digital display, black leather strap with red stitching, and multiple function buttons.
Key features include a dual time zone display, a backlit LCD screen for visibility in low light, an alarm function, and a stopwatch. Please read this manual carefully to ensure proper use and maintenance of your watch.
2. Setup
2.1 Initial Inspection
Upon unpacking, inspect the watch for any visible damage. Ensure all protective films are removed from the watch face and strap.
2.2 Adjusting the Strap
The genuine leather strap is adjustable. Fasten the buckle securely but comfortably around your wrist. Avoid overtightening to prevent discomfort or damage to the strap.
3. Operating Instructions
Your Naviforce NF9160-BRB watch features multiple buttons for various functions. Refer to the diagram below for button identification (if available on your model, otherwise refer to the general descriptions).
3.1 Setting Analog Time
- Pull out the crown (the knob on the right side of the watch case) to the first or second click position (depending on the model).
- Rotate the crown to move the analog hands to the desired time.
- Push the crown back in to its original position to start the analog movement.
3.2 Setting Digital Time and Date
The digital display shows hours, minutes, seconds, day, and date. It supports both 12-hour and 24-hour formats.
- Press the MODE button (usually bottom-left) repeatedly to cycle through the different modes: Time, Alarm, Stopwatch.
- When in Time mode, press and hold the RESET button (usually top-left) until the seconds start flashing. This indicates you are in setting mode.
- Press the START button (usually top-right) to adjust the flashing value (seconds, minutes, hours, date, month, day of week).
- Press the MODE button to move to the next setting item.
- To switch between 12-hour and 24-hour format, adjust the hour setting past 12 AM/PM or 24.
- Once all settings are correct, press the RESET button again to exit setting mode.
3.3 Alarm Function
To set the alarm:
- Press the MODE button until you reach the Alarm mode (indicated by 'AL' or a bell icon).
- Press and hold the RESET button until the alarm hour starts flashing.
- Use the START button to adjust the hour.
- Press the MODE button to move to the minute setting, then use START to adjust minutes.
- Press RESET to confirm and exit alarm setting.
To activate/deactivate the alarm, press the START button while in Alarm mode. An alarm icon will appear/disappear to indicate its status.
3.4 Stopwatch Function
To use the stopwatch:
- Press the MODE button until you reach the Stopwatch mode (indicated by 'ST' or 'CH').
- Press the START button to begin timing.
- Press START again to pause the timing.
- Press RESET to clear the stopwatch to zero.
3.5 Backlight
To illuminate the digital display in dark conditions, press the LIGHT button (usually bottom-right). The advanced energy-saving LCD backlight will activate for a few seconds.
4. Maintenance
4.1 Cleaning
Wipe the watch case and crystal with a soft, dry cloth. For the leather strap, use a slightly damp cloth and allow it to air dry. Avoid using harsh chemicals or abrasive materials.
4.2 Water Resistance
This watch is water resistant up to 3 BAR (30 meters). This means it can withstand splashes or brief immersion in water. It is NOT suitable for bathing, swimming, diving, or any activities involving prolonged water exposure or high-pressure water. Ensure the crown is fully pushed in before any contact with water.
4.3 Battery Replacement
The quartz movement is powered by a battery. When the digital display fades or the watch stops keeping accurate time, the battery may need replacement. It is recommended to have the battery replaced by a qualified watch technician to ensure proper sealing and water resistance.
4.4 Storage
When not in use, store your watch in a cool, dry place, away from direct sunlight and extreme temperatures. Avoid exposing the watch to strong magnetic fields.
5. Troubleshooting
- Watch not keeping accurate time: Check if the crown is fully pushed in. If the digital display is dim or blank, the battery may need replacement.
- Digital display is blank: The battery may be depleted. Replace the battery.
- Buttons not responding: Ensure the watch is not in a locked mode (if applicable to your specific model). Try resetting the digital display by following the setting instructions. If issues persist, a battery replacement might be necessary.
- Condensation inside the watch: This indicates a loss of water resistance. Avoid further contact with water and seek professional service immediately to prevent damage to the movement.
6. Specifications
| Model Number | NF9160-BRB |
| Movement | Precise Quartz Movement (Japanese Original Digital Movement) |
| Display Type | Analog-Digital Dual Display |
| Case Material | Durable Alloy (Environmentally friendly plated) |
| Strap Material | High-Quality Genuine Leather |
| Case Diameter | 4.5 cm |
| Case Thickness | 1.5 cm |
| Band Width | 2.2 cm |
| Band Length | 26 cm (Adjustable) |
| Weight | 93 grams |
| Water Resistance | 3 BAR (30 meters) - Not for bathing or swimming |
| Functions | Time (Analog & Digital), Date, Day, Alarm, Stopwatch (0.01s), Backlight, Luminous Hands, 12/24H Format |
7. Warranty and Support
Your Naviforce NF9160-BRB watch comes with a warranty card included in the package. Please refer to the warranty card for specific terms and conditions, including coverage period and service procedures.
For any technical support or service inquiries not covered in this manual, please contact your retailer or the official Naviforce customer service. Keep your purchase receipt and warranty card for future reference.