Introduction
This manual provides instructions for the proper installation, operation, and maintenance of your HVAC Premium 14x14 inch Extruded Aluminum Adjustable Surface Mount Supply Ceiling HVAC Air Grille. Please read these instructions carefully before installation and retain this manual for future reference.
Safety Information
- Always wear appropriate personal protective equipment (PPE) such as gloves and eye protection during installation.
- Ensure the power to the HVAC system is turned off before beginning any installation or maintenance.
- Handle the grille carefully to avoid cuts from sharp edges.
- Ensure the mounting surface is structurally sound and capable of supporting the grille's weight.
Product Overview
The HVAC Premium 14x14 inch air grille is designed for surface mounting on ceilings to provide adjustable airflow for HVAC systems. Constructed from high-quality extruded aluminum, it offers durability and resistance to rust. The grille features re-configurable sections, allowing for easy adjustment of airflow direction.

Figure 1: Front view of the HVAC Premium 14x14 inch adjustable aluminum air grille.
Dimensions
The grille is sized for a duct opening of 14 inches wide by 14 inches high. The outer dimensions of the grille, including the frame, are approximately 15.125 inches by 15.125 inches.
Installation
- Prepare the Opening: Ensure the duct opening in the ceiling measures 14 inches by 14 inches and is clean and free of debris.
- Position the Grille: Place the grille over the duct opening, aligning the mounting holes on the grille frame with the desired screw locations on the ceiling surface.
- Secure the Grille: Using appropriate screws (not included) for your ceiling material, fasten the grille securely to the surface through the pre-drilled holes. Do not overtighten.
Operation: Airflow Adjustment
This air grille features re-configurable sections that allow you to easily adjust the airflow direction to 1-way, 2-way, 3-way, or 4-way patterns.
- Identify Sections: The grille consists of multiple individual louver sections.
- Remove Sections: Gently lift and remove the desired louver sections from their slots within the grille frame.
- Rotate and Reinsert: Rotate the removed sections to the desired orientation for airflow (e.g., all in one direction for 1-way, opposing directions for 2-way, etc.). Carefully reinsert the sections into their respective slots, ensuring they are seated properly.

Figure 2: The grille with removable louver sections, demonstrating re-configurability.

Figure 3: Example of 1-way airflow configuration.
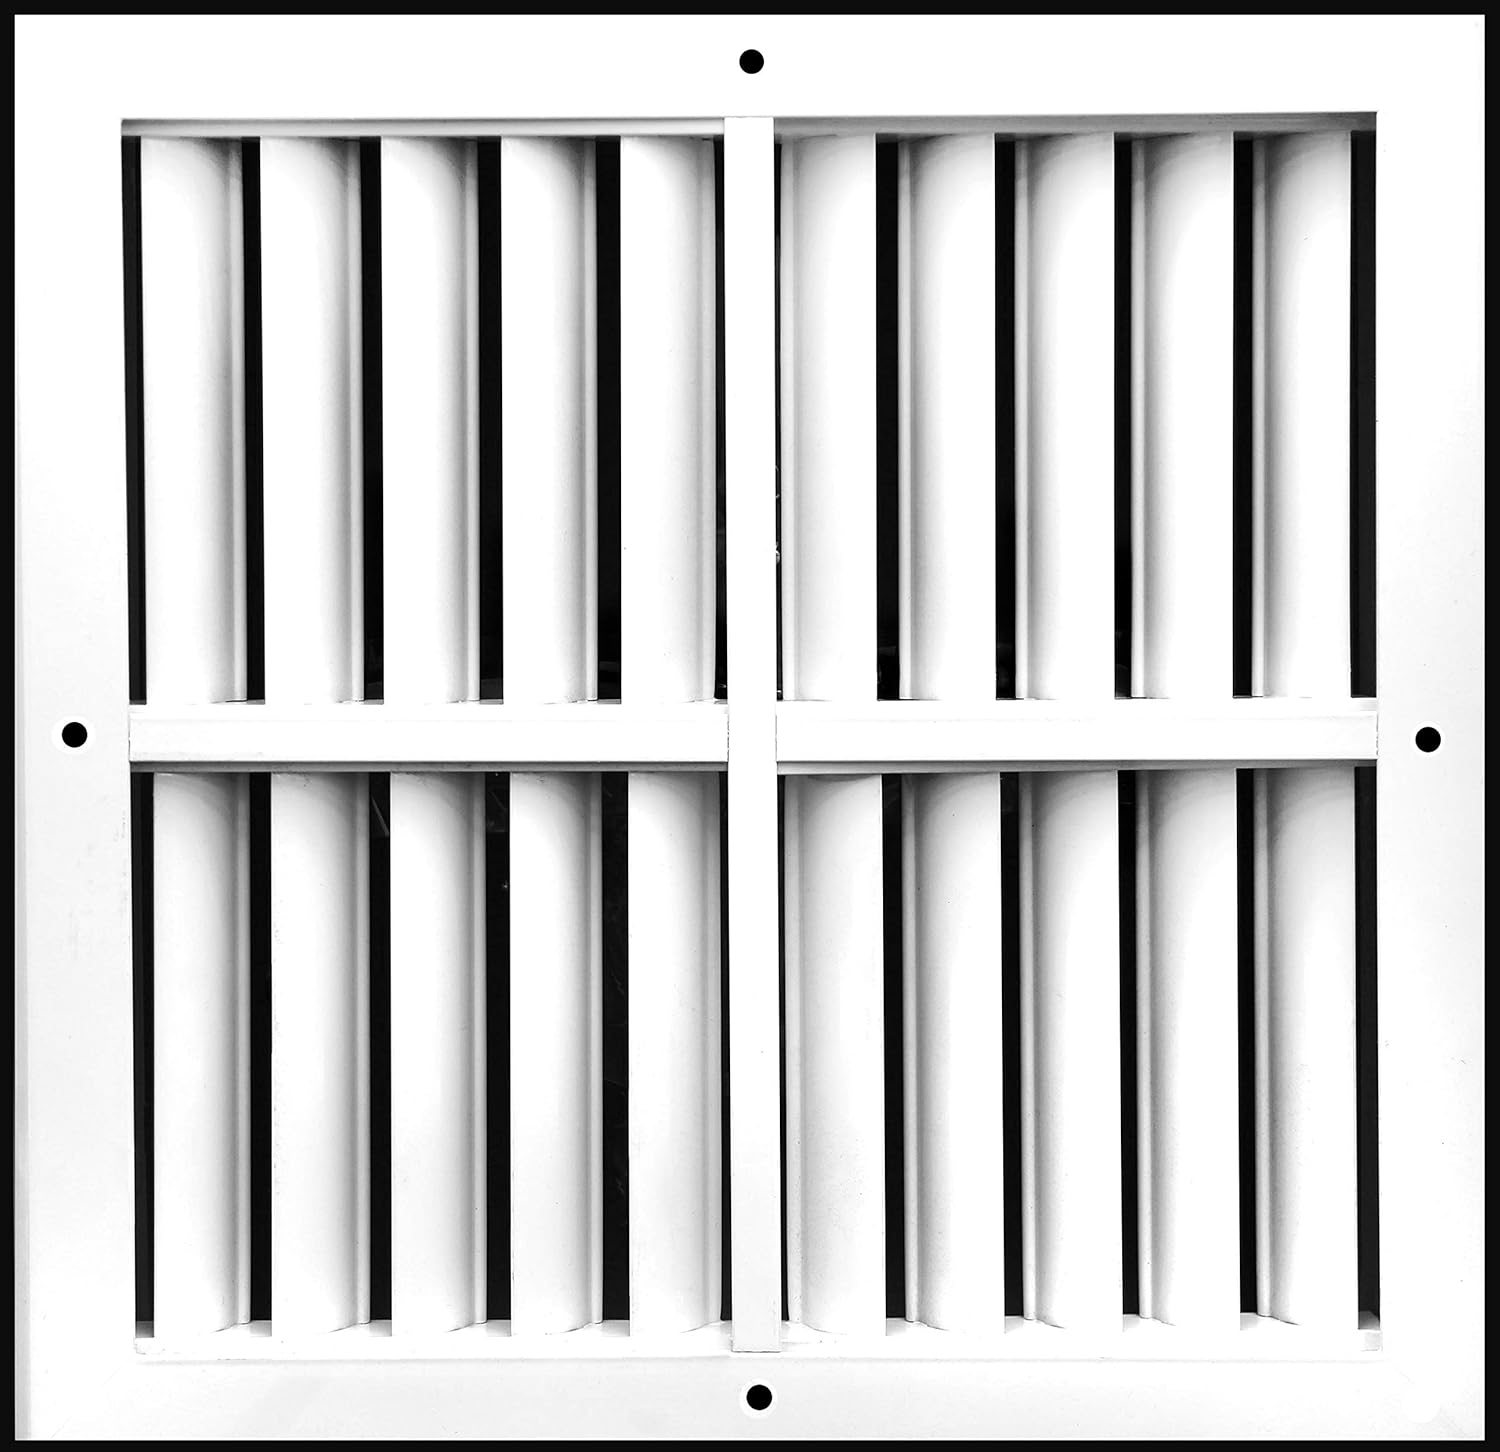
Figure 4: Example of 2-way airflow configuration.
Maintenance
To maintain optimal performance and appearance, periodic cleaning is recommended.
- Cleaning: Use a soft, damp cloth to wipe down the grille surface. For stubborn dirt, a mild soap solution can be used. Avoid abrasive cleaners or harsh chemicals, as these may damage the aluminum finish.
- Inspection: Periodically check the grille for any loose screws or damage. Tighten screws as needed.
Troubleshooting
- Reduced Airflow: Ensure the louver sections are correctly installed and not obstructed. Check the HVAC system's filter and ductwork for blockages.
- Loose Grille: If the grille feels loose, check and tighten the mounting screws.
Specifications
| Manufacturer | HVAC Premium |
| Duct Opening Size | 14 inches (width) x 14 inches (height) |
| Outer End Dimensions | 15.125 inches x 15.125 inches |
| Material | Extruded Aluminum |
| Mounting Type | Surface Mount |
| Item Weight | 2.2 pounds |
| Package Dimensions | 15.5 x 15.5 x 2.25 inches |
| ASIN | B07QJZ86XX |
Warranty and Support
For warranty information or technical support, please contact HVAC Premium directly through their official website or customer service channels. Retain your purchase receipt for any warranty claims.