
1. Introduction
Thank you for purchasing the Tristar ST-8921 Handheld Garment Steamer. This manual provides essential information for the safe operation, maintenance, and care of your appliance. Please read these instructions thoroughly before first use and keep them for future reference.

Image 1.1: Tristar ST-8921 Handheld Garment Steamer in operation.
2. Safety Instructions
Always observe basic safety precautions when using electrical appliances to reduce the risk of fire, electric shock, and personal injury.
- Ensure the voltage indicated on the appliance matches your local mains voltage before connecting.
- Do not immerse the appliance, power cord, or plug in water or other liquids.
- Keep the appliance out of reach of children and pets.
- Always unplug the appliance from the power outlet before filling with water, cleaning, or when not in use.
- Use caution when handling hot steam. Keep hands and face away from the steam nozzle.
- Do not direct steam at people, animals, or electrical appliances.
- Only use the appliance for its intended purpose as described in this manual.
- Do not operate the appliance if the cord or plug is damaged, or if the appliance malfunctions or has been dropped or damaged in any way.
3. Product Components
Familiarize yourself with the parts of your Tristar ST-8921 garment steamer:
- Main Steamer Unit with Steam Nozzle
- Removable Water Tank
- Power Button/Indicator Light
- Steam Trigger
- Measuring Cup (included)
- Brush Attachment (included)
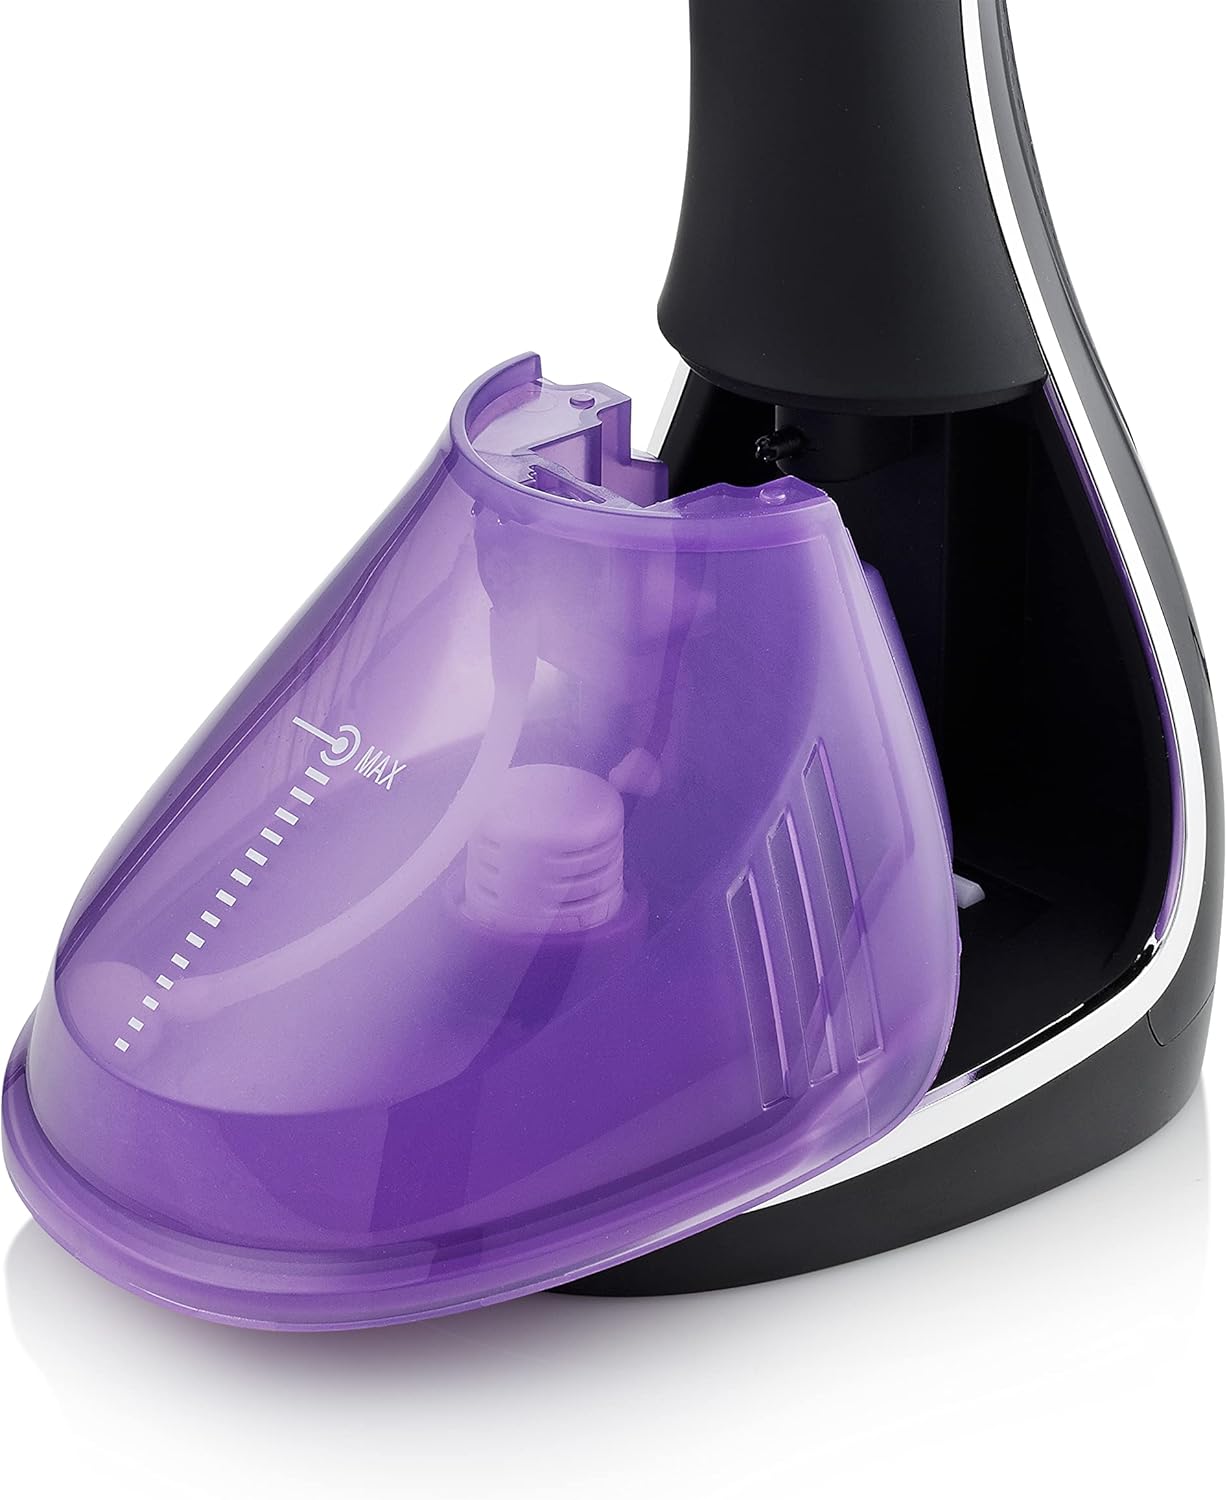
Image 3.1: Removable water tank.

Image 3.2: Included measuring cup.

Image 3.3: Included brush attachment.
4. Setup
4.1. Filling the Water Tank
- Ensure the steamer is unplugged from the power outlet.
- Remove the water tank from the main unit.
- Open the water tank cap.
- Using the provided measuring cup, fill the water tank with distilled or demineralized water up to the 'MAX' line. Do not overfill.
- Close the water tank cap securely and reattach the tank to the main unit until it clicks into place.
4.2. Attaching Accessories
If desired, attach the brush accessory by aligning it with the steam nozzle and pressing firmly until it locks into position. This attachment is useful for thicker fabrics or removing lint.
5. Operating Instructions
5.1. Powering On and Heating
- Plug the power cord into a suitable electrical outlet.
- Press the power button. The indicator light will illuminate, signaling that the steamer is heating up.
- The steamer will be ready for use in approximately 45 seconds when the indicator light changes or stops flashing (refer to specific model indicator behavior).
5.2. Steaming Garments
- Hang the garment on a hanger.
- Hold the steamer upright and press the steam trigger to release steam.
- Gently glide the steam nozzle over the fabric, moving from top to bottom. For stubborn wrinkles, hold the fabric taut with your free hand.
- For delicate fabrics, maintain a slight distance between the nozzle and the fabric.
- Release the steam trigger to stop steaming.

Image 5.1: Proper technique for steaming a shirt.
5.3. ECO Mode
The steamer may feature an ECO mode for reduced steam output and energy consumption. Refer to the control panel for the ECO mode indicator and activation method.

Image 5.2: Control panel with ECO mode indicator.
6. Maintenance and Cleaning
Regular maintenance ensures optimal performance and extends the lifespan of your steamer.
6.1. After Each Use
- Unplug the steamer and allow it to cool completely.
- Remove the water tank and empty any remaining water.
- Wipe the exterior of the steamer with a soft, damp cloth. Do not use abrasive cleaners.
6.2. Descaling
Over time, mineral deposits can build up inside the steamer, especially if tap water is used. To descale:
- Mix a solution of equal parts white vinegar and water.
- Fill the water tank with this solution.
- Plug in the steamer and allow it to heat up.
- Steam the solution until the tank is empty.
- Repeat the process with clean water to rinse out any vinegar residue.
- Perform descaling monthly or more frequently depending on water hardness and usage.
6.3. Storage
Store the steamer in a cool, dry place, away from direct sunlight and moisture. Ensure the water tank is empty before storage.
7. Troubleshooting
If you encounter issues with your steamer, consult the following table before contacting support:
| Problem | Possible Cause | Solution |
|---|---|---|
| No steam produced | Water tank is empty; Steamer not heated; Blocked nozzle; Pump issue. | Fill water tank; Wait for indicator light; Clean nozzle; Contact support if pump issue persists. |
| Water leakage | Water tank not properly seated; Overfilled tank; Condensation. | Ensure tank is securely attached; Do not overfill; This is normal for some condensation. |
| Steamer makes ticking sound but no steam | Air in pump; Low water level. | Ensure water tank is full. Try tilting the steamer gently to help prime the pump. If issue persists, contact support. |
| Power indicator not lighting up | Not plugged in; Power outlet issue; Appliance malfunction. | Check power connection; Test outlet with another device; Contact support. |
8. Specifications
Key technical specifications for the Tristar ST-8921 Handheld Garment Steamer:
| Feature | Specification |
|---|---|
| Brand | Tristar |
| Model Number | ST-8921 |
| Wattage | 1600 Watt |
| Voltage | 220V |
| Heating Time | 45 Seconds |
| Item Weight | 1 Kilogram |
| Product Dimensions (L x W x H) | 14L x 8W x 34H Centimeter |
| Included Components | Measuring cup, Instruction manual |
| Country of Origin | China |
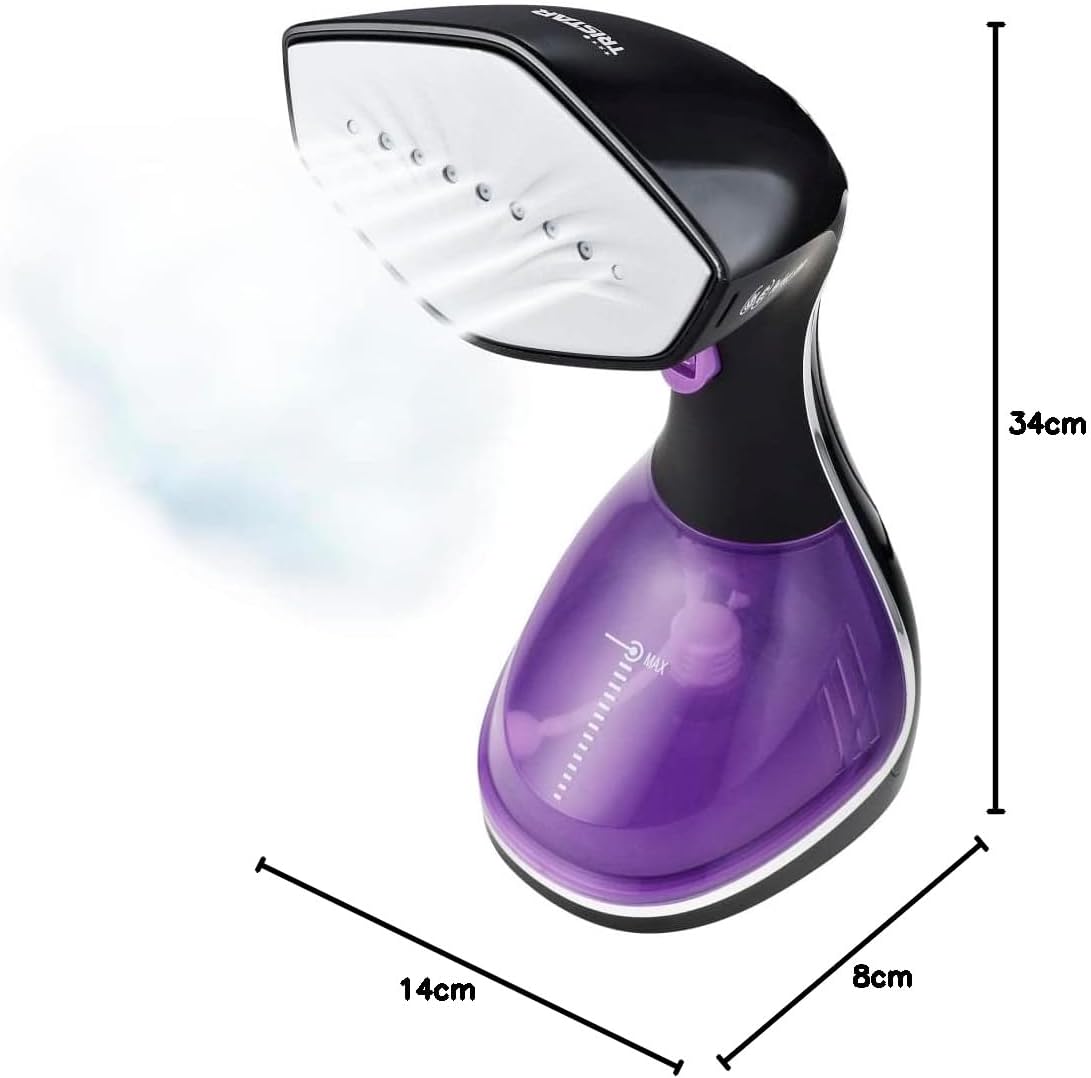
Image 8.1: Tristar ST-8921 Garment Steamer dimensions.
9. Warranty and Support
Tristar offers a warranty period for spare parts availability in the EU for 2 years. For warranty claims, technical support, or further assistance, please refer to the contact information provided with your purchase or visit the official Tristar website.
Please retain your proof of purchase for any warranty claims.


