1. Introduction
Thank you for choosing the IKT BYCZ623 Bottom Loading Water Dispenser with Built-in Ice Maker. This appliance provides convenient access to cold and room temperature water, along with the ability to produce ice cubes. This manual contains important information regarding the installation, operation, maintenance, and troubleshooting of your new water dispenser. Please read it thoroughly before use and retain it for future reference.
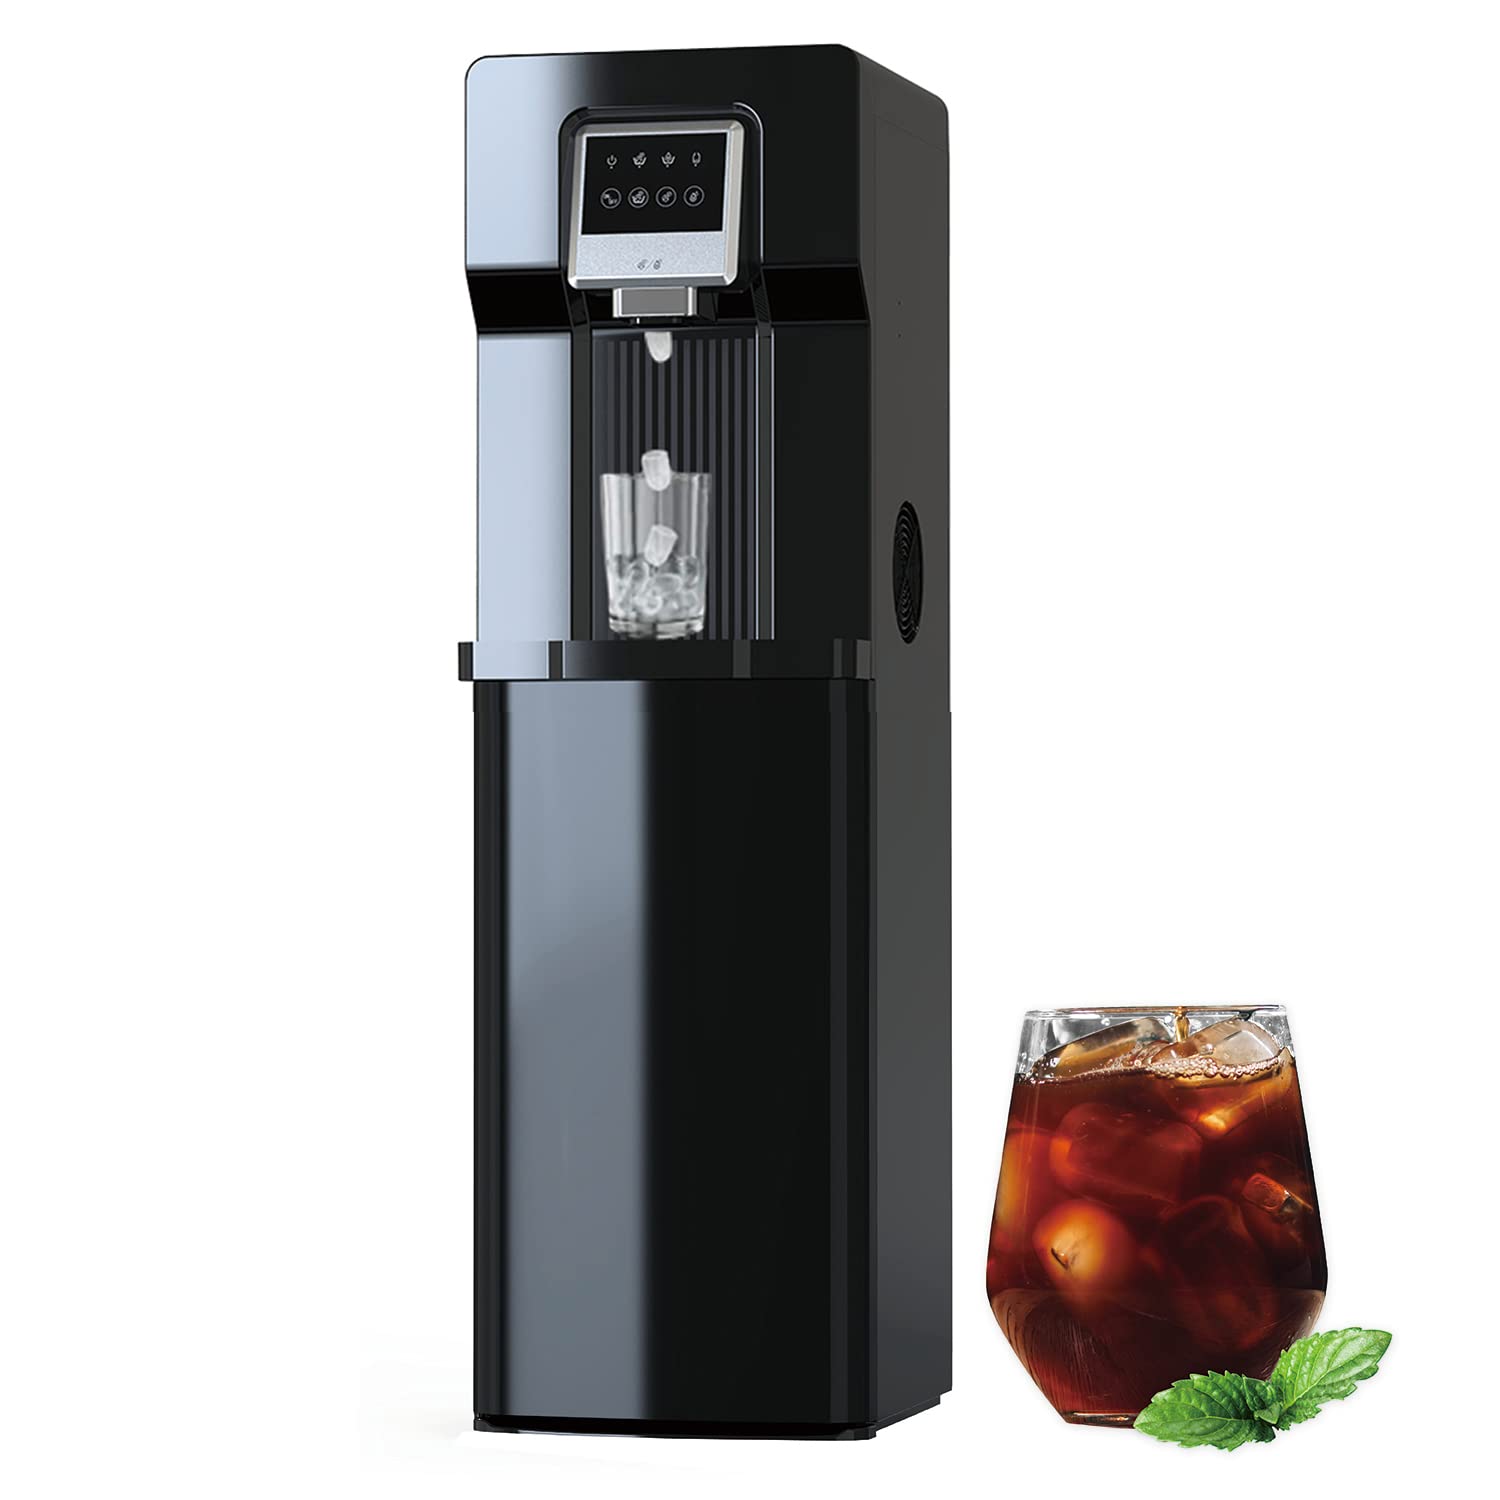
Image 1.1: The IKT BYCZ623 Bottom Loading Water Dispenser with Ice Maker.
2. Important Safety Instructions
To reduce the risk of fire, electric shock, or injury, always follow basic safety precautions when using this appliance:
- Read all instructions before using the appliance.
- Do not operate any appliance with a damaged cord or plug, or after the appliance malfunctions or has been damaged in any manner.
- Ensure the appliance is properly grounded.
- Do not immerse the cord, plug, or any part of the appliance in water or other liquids.
- Keep children away from the appliance.
- Unplug the appliance before cleaning or performing any maintenance.
- Use only bottled water suitable for water dispensers.
- This appliance is designed for indoor use only.
3. Setup and Installation
3.1 Unpacking
- Carefully remove the water dispenser from its packaging.
- Remove all packing materials, including tape and protective film.
- Inspect the appliance for any damage during transit. If damaged, do not operate and contact customer support.
3.2 Placement
- Place the water dispenser on a flat, stable surface.
- Ensure there is adequate ventilation around the unit, especially at the back and sides.
- Avoid placing the unit in direct sunlight or near heat sources.
- Allow the unit to stand upright for at least 2 hours before plugging it in to allow refrigerants to settle.
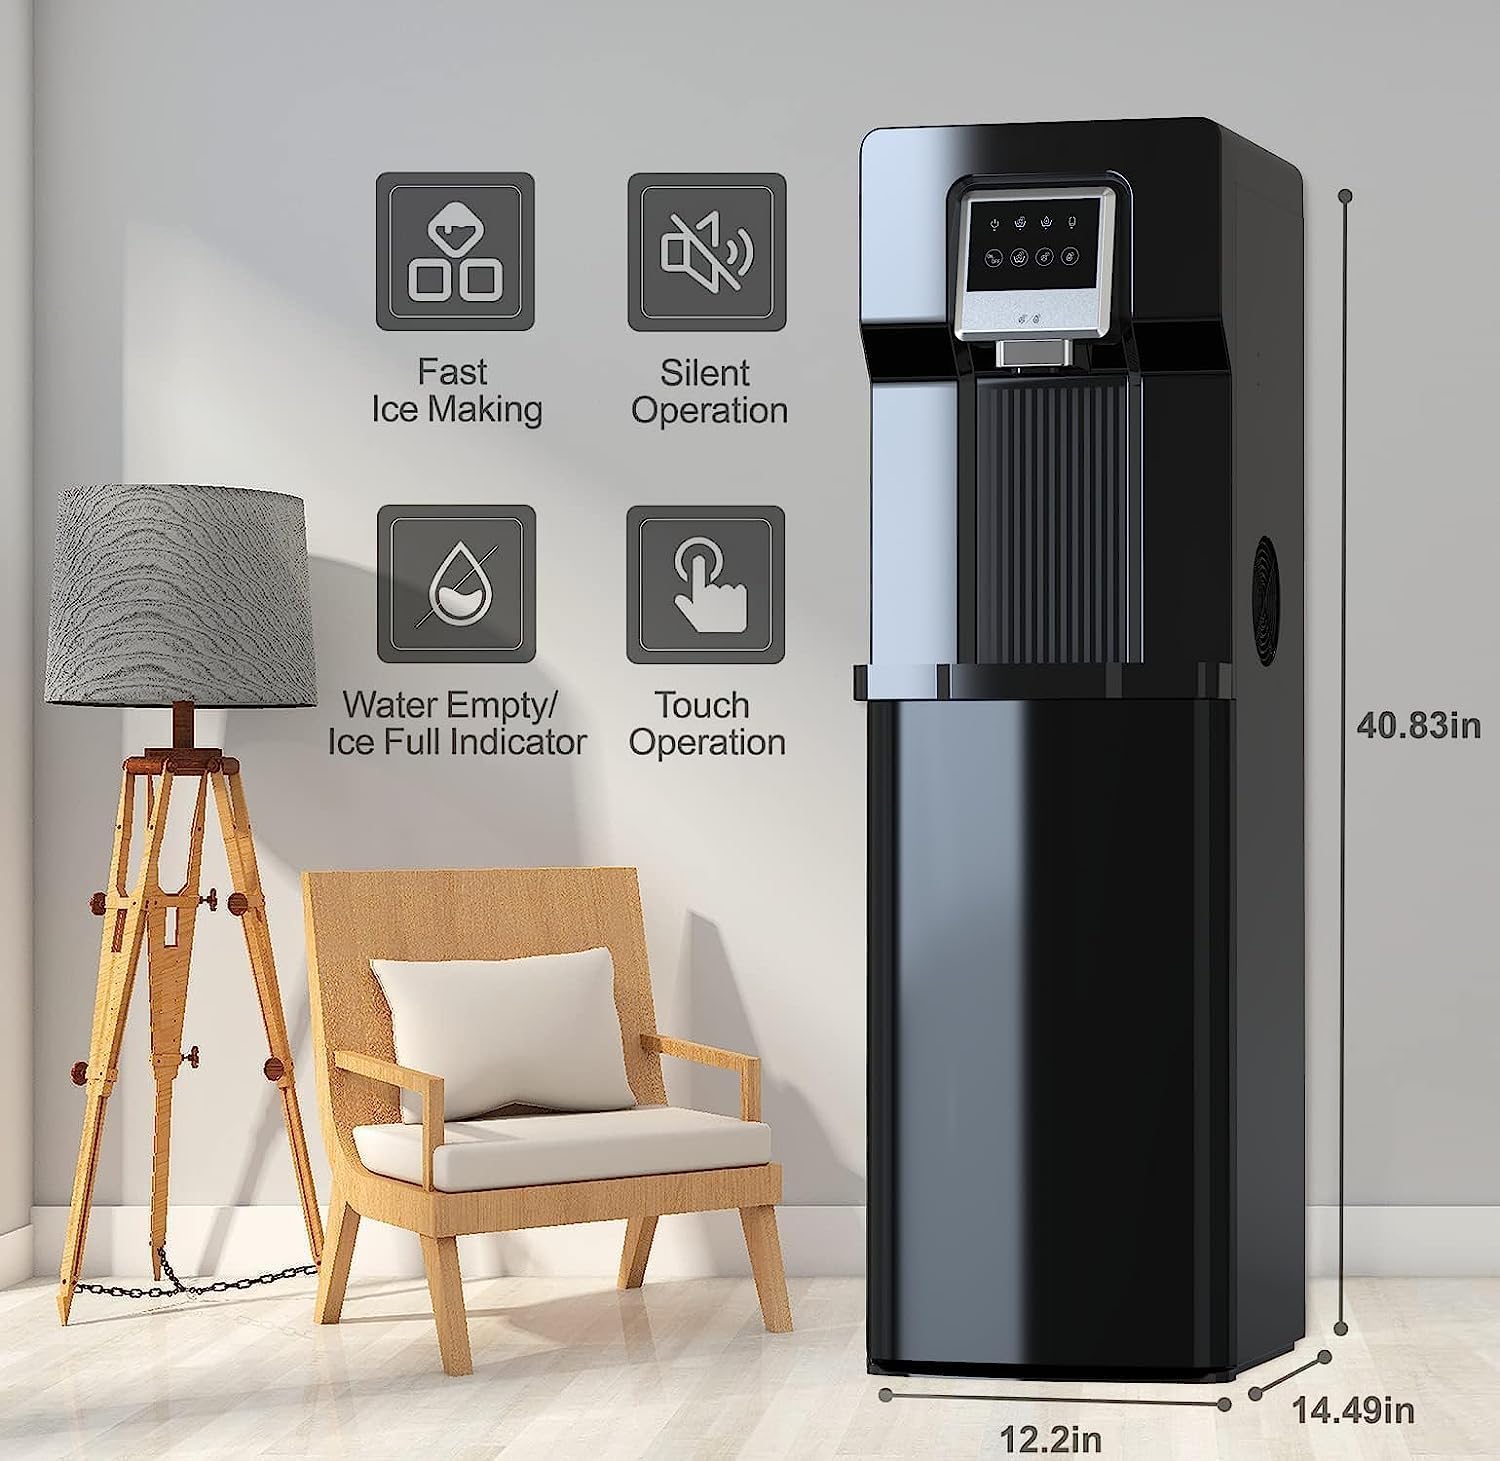
Image 3.1: Product dimensions for proper placement. The unit measures approximately 14.5"D x 12.2"W x 40.85"H.
3.3 Water Bottle Installation (Bottom Load)
This dispenser features a convenient bottom-loading design, eliminating the need to lift heavy water bottles.
- Open the lower cabinet door of the dispenser.
- Place a new 3 or 5-gallon water bottle onto the floor of the cabinet.
- Insert the retractable siphon tube into the water bottle. Ensure the tube reaches the bottom of the bottle for optimal water draw.
- Close the cabinet door securely.
- Plug the dispenser into a grounded electrical outlet.

Image 3.2: Placing the water bottle into the bottom loading compartment.

Image 3.3: The retractable siphon being inserted into the water bottle for fast and easy bottle replacement.
4. Operating Instructions
4.1 Control Panel Overview
The dispenser features an electronic digital control panel for easy operation.

Image 4.1: Close-up of the control panel with indicator lights and buttons for power, ice making, cold water, and water refill.
4.2 Dispensing Cold Water
To dispense cold water:
- Ensure the cold water making function is activated (refer to the control panel).
- Place a glass or container under the water spout.
- Press the cold water dispensing button. Release the button when the desired amount of water is dispensed.
4.3 Making Ice
The built-in ice maker produces bullet-shaped ice cubes.
- The ice maker takes approximately 6-8 minutes to produce 9 ice cubes per cycle, depending on ambient temperature.
- The unit can store up to 0.7 lbs of ice and has a daily production capacity of up to 18 lbs.
- Note: The dispenser does not keep ice frozen. Ice will melt and the water will be recycled for new ice production.
To activate ice making, press the 'Make Ice' button on the control panel.

Image 4.2: Freshly made ice cubes dispensed into a glass.
4.4 Dispensing Room Temperature Water
To dispense room temperature water, simply press the water outlet button without activating the cold water making function. This unit does not provide hot water.
5. Maintenance
Regular maintenance ensures optimal performance and longevity of your water dispenser.
5.1 Cleaning the Removable Drip Tray
The drip tray collects spills and condensation and should be cleaned regularly.
- Gently pull the drip tray forward to remove it from the dispenser.
- Empty any collected water.
- Wash the drip tray with mild soap and warm water.
- Rinse thoroughly and dry completely before reinserting.

Image 5.1: The removable drip tray being detached for cleaning.
5.2 General Cleaning
- Unplug the dispenser before cleaning.
- Wipe the exterior surfaces with a soft, damp cloth. Do not use abrasive cleaners or solvents.
- Clean the water spout regularly to prevent mineral buildup.
5.3 Descaling
Over time, mineral deposits can accumulate inside the water tanks. Descaling is recommended every 3-6 months, depending on water hardness.
- Unplug the dispenser and remove the water bottle.
- Drain all water from the cold water tank.
- Prepare a descaling solution (e.g., a mixture of white vinegar and water, or a commercial descaling agent).
- Pour the solution into the water reservoir and allow it to sit for 30 minutes to an hour.
- Drain the solution completely.
- Rinse the tanks thoroughly with clean water several times to remove any residual descaling solution.
- Reinstall the water bottle and plug in the dispenser.
6. Troubleshooting
Before contacting customer service, please refer to the following table for common issues and solutions.
| Problem | Possible Cause | Solution |
|---|---|---|
| No water dispensing | Water bottle empty or not properly installed. | Replace the water bottle or ensure the siphon tube is correctly inserted. |
| No cold water | Cold water function not activated or recently activated. | Ensure the cold water button is pressed. Allow time for the water to cool (up to 1 hour for initial cooling). |
| Ice not forming | Ice making function not activated, water level low, or ice bin full. | Press the 'Make Ice' button. Check water bottle level. Empty the ice bin if full. The unit has an auto shut-off system if water is low or ice bin is full. |
| Water leaking | Water bottle cap not sealed properly or siphon tube not seated. | Check the water bottle for cracks or a loose cap. Re-seat the siphon tube firmly. |
| Unusual noise | Unit not level or normal compressor operation. | Ensure the unit is on a flat, stable surface. Some compressor noise is normal during cooling/ice making cycles. |
7. Specifications
The following are the technical specifications for the IKT BYCZ623 Water Dispenser with Ice Maker:
| Feature | Detail |
|---|---|
| Brand | IKT |
| Model Number | BYCZ623 |
| Color | Black |
| Material | Plastic |
| Capacity | 3 Gallons (water bottle, not included) |
| Product Dimensions (D x W x H) | 14.5" x 12.2" x 40.85" |
| Installation Type | Countertop (refers to placement, unit is floor-standing) |
| Access Location | Bottom Load |
| Number of Settings | 1 (for water dispensing) |
| Power Source | Corded Electric |
| Ice Making Time | 6-8 minutes per cycle (9 cubes) |
| Daily Ice Capacity | 18 lbs |
| Ice Storage Capacity | 0.7 lbs |
| Water Temperatures | Cold, Room Temperature (No Hot Water) |
| Certifications | ETL Approved |
8. Warranty and Support
For warranty information or technical support, please refer to the warranty card included with your product or contact IKT customer service directly. Please have your model number (BYCZ623) and purchase date available when contacting support.


