1. Product Overview
This manual provides detailed information for the labwork Ignition Switch with Key, a direct replacement component designed for specific Yamaha Rhino models. It is crucial to verify your vehicle's model and compare it with the old parts before installation to ensure proper fitment and functionality. This package includes one ignition switch and one key, manufactured from premium materials to ensure reliable performance.
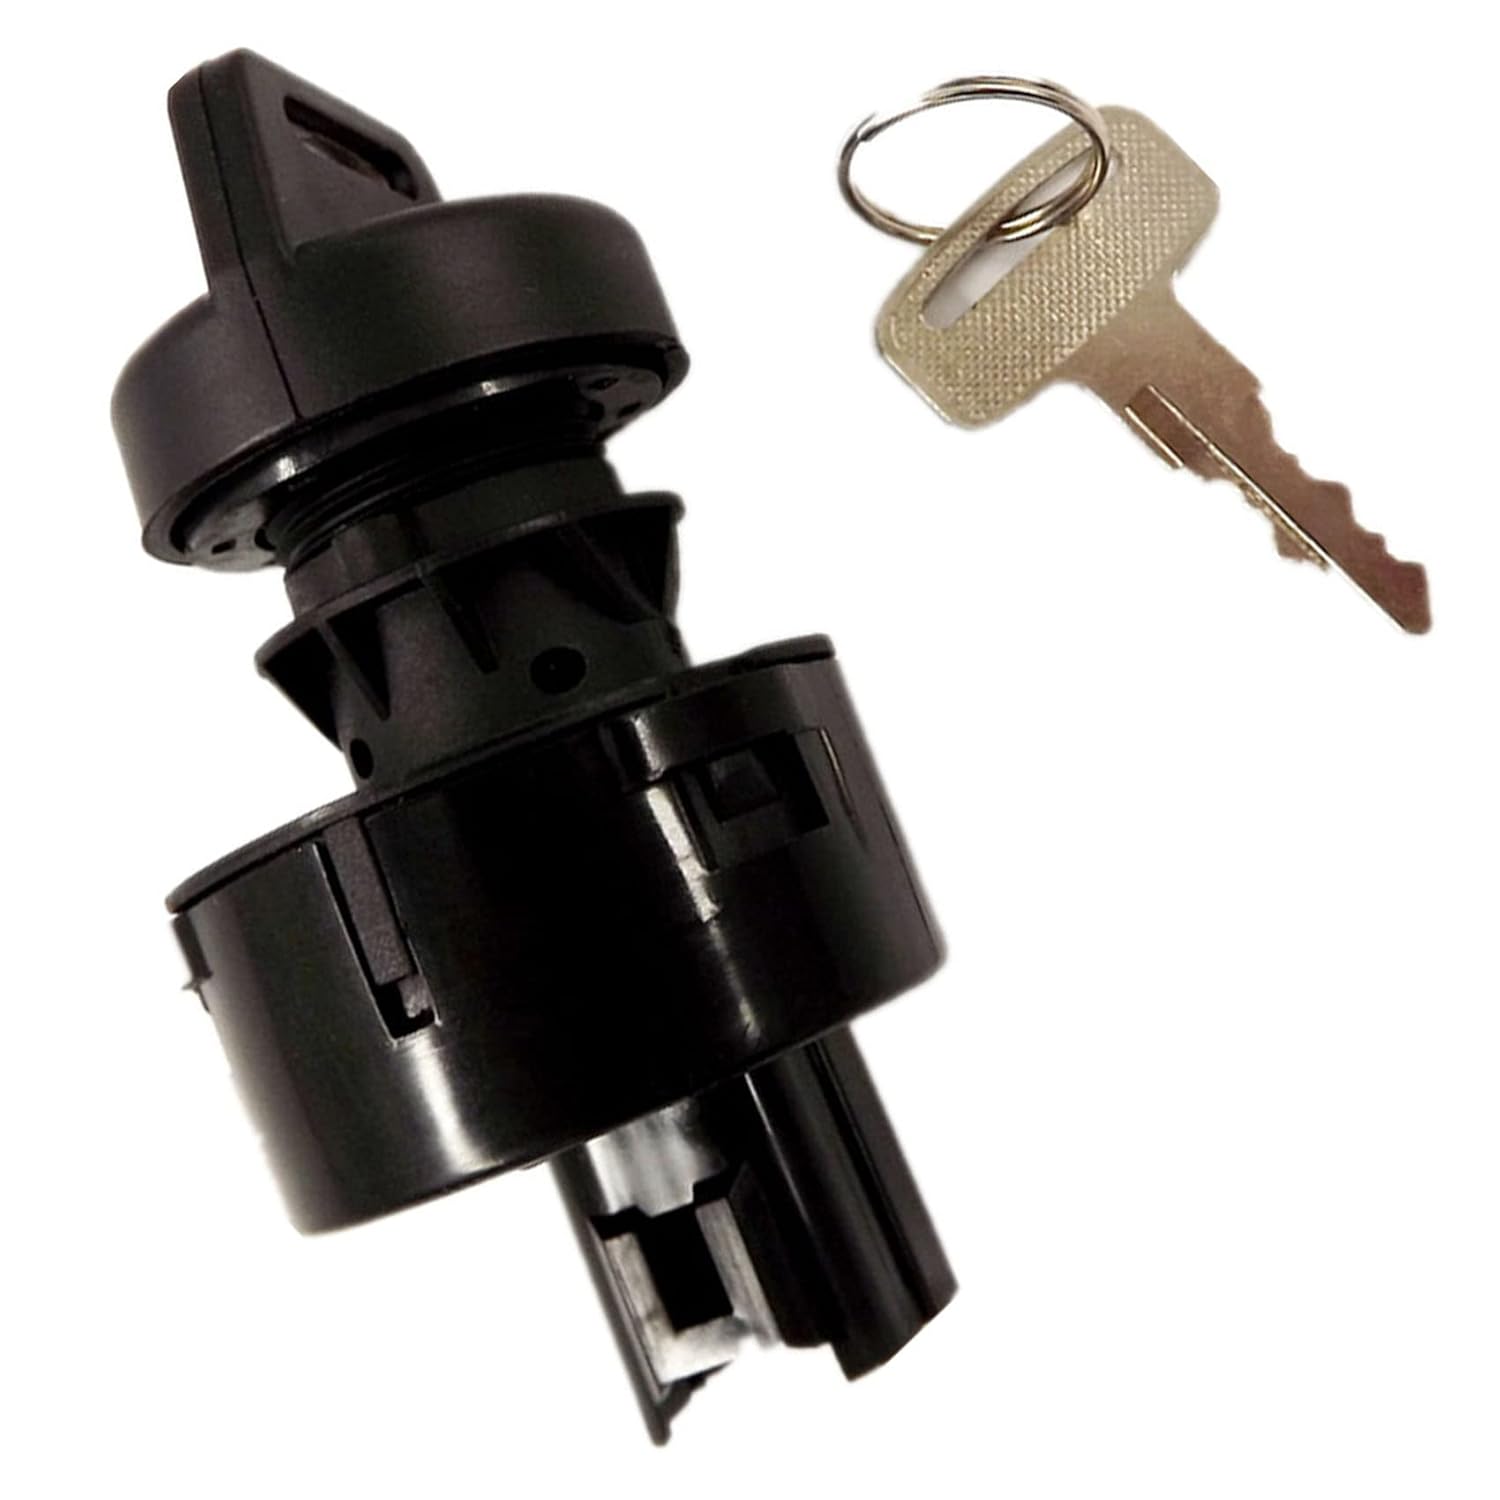
Image of the labwork Ignition Switch and accompanying key, showing the primary components included in the package.
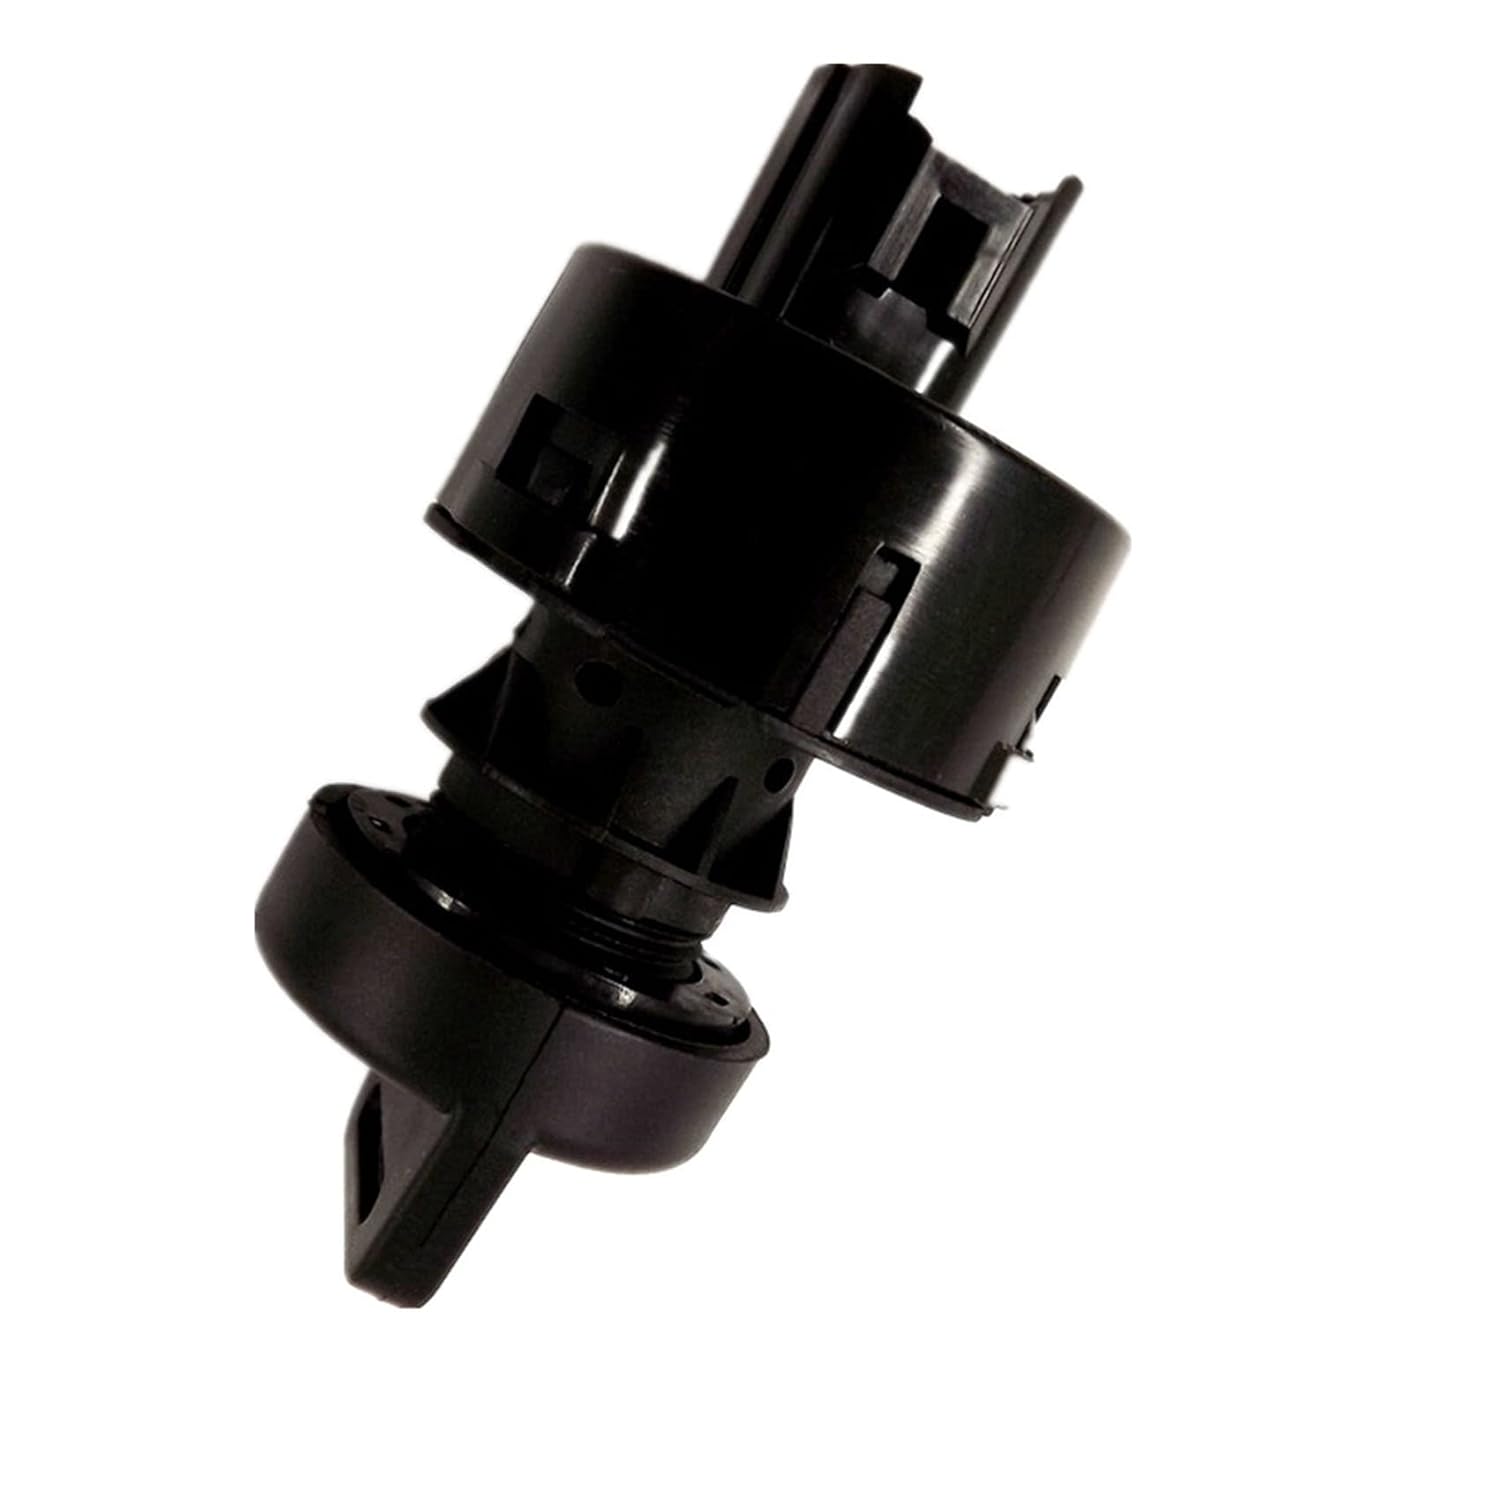
Angled view of the labwork Ignition Switch, highlighting its robust construction and connector port.
2. Compatibility
The labwork Ignition Switch is engineered to be a direct replacement for the following Yamaha Rhino models:
- Replacement for Yamaha Rhino 700 (2008-2009)
- Replacement for Yamaha Rhino 450 (2006-2009)
- Replacement for Yamaha Rhino 660 (2004-2007)
This product replaces original equipment part numbers: 5UG-H2510-00-00 and 5UGH25100000. Please ensure your vehicle's model and year match the listed compatibility before purchase and installation.
3. Specifications
| Attribute | Value |
|---|---|
| Package Dimensions | 3.46 x 2.44 x 2.44 inches; 3.21 ounces |
| Item Model Number | 5UG-H2510-00-00 |
| Manufacturer | labwork |
| Operation Mode | manual |
| Connector Type | Plug In |
| Terminal | Screw |
| Circuit Type | 1-way |
| Mounting Type | Surface Mount |
| Actuator Type | Ignition |
| Contact Material | Metal |
| International Protection Rating | IP00 |
| Number of Positions | 1 |
4. Installation
The labwork Ignition Switch is designed for direct replacement of the original part. While the physical installation may appear straightforward, working with vehicle electrical systems requires caution. Professional installation is highly recommended to ensure correct wiring and proper function, preventing potential damage to the vehicle's electrical system or the new component.
General Installation Guidance:
- Safety First: Always disconnect the vehicle's negative battery terminal before beginning any electrical work to prevent short circuits or electrical shock.
- Locate Existing Switch: Identify the current ignition switch in your Yamaha Rhino, typically located near the steering column.
- Disconnect Wiring: Carefully disconnect the electrical connector(s) from the old ignition switch. It is advisable to take photos or make notes of the wiring configuration if not clearly marked.
- Remove Old Switch: Unmount the old ignition switch from its housing. This may involve unscrewing retaining nuts, bolts, or releasing clips, depending on your vehicle's design.
- Install New Switch: Position the new labwork ignition switch into the housing. Ensure it seats correctly and is securely fastened.
- Connect Wiring: Reconnect the electrical connector(s) to the new switch, ensuring all connections are firm and correctly aligned.
- Test Functionality: Reconnect the vehicle's negative battery terminal. Test the ignition switch thoroughly to ensure all key positions (OFF, ACC, ON, START) function as expected and the engine starts properly.
- Secure Components: Ensure all removed panels, covers, or trim pieces are reinstalled securely.
Always refer to your vehicle's specific service manual for detailed, model-specific installation instructions and safety precautions.
5. Operating Instructions
The labwork Ignition Switch operates identically to the original equipment. Insert the key into the ignition cylinder and turn it to the desired position:
- OFF: All electrical systems are off. The key can be removed in this position.
- ACC (Accessory): Allows operation of accessories like the radio or auxiliary power outlets without turning on the engine.
- ON: Powers the vehicle's electrical systems and ignition circuit, preparing the engine for starting. All warning lights should illuminate briefly.
- START: Engages the starter motor to crank the engine. Release the key once the engine starts; it will spring back to the "ON" position. Do not hold the key in the START position for extended periods after the engine has started.
Ensure the vehicle is in neutral or park (if applicable) and the parking brake is engaged before attempting to start the engine.
6. Maintenance
The labwork Ignition Switch is designed for durability and requires minimal maintenance. However, periodic inspection and proper care can help ensure its longevity and reliable operation:
- Keep Clean: Periodically wipe down the exterior of the ignition switch and surrounding area to prevent accumulation of dirt, dust, and debris.
- Inspect Connections: If accessible, occasionally check the electrical connections to ensure they remain secure and free from corrosion. Loose or corroded connections can lead to intermittent electrical issues.
- Key Care: Avoid using excessive force when inserting or turning the key. Do not use the key to carry heavy objects or as a tool, as this can bend or damage the key and potentially the internal mechanisms of the ignition cylinder.
- Lubrication: Do not apply lubricants directly into the keyhole unless specifically recommended by a qualified mechanic or the vehicle manufacturer. Improper lubricants can attract dirt and cause issues with the lock cylinder over time.
7. Troubleshooting
If you experience issues with your ignition switch, consider the following common troubleshooting steps. Note that these are general guidelines, and a professional diagnosis may be required for complex problems.
- No Power/No Start:
- Check the vehicle's battery charge. A low battery can prevent the engine from cranking.
- Inspect battery terminals for corrosion and ensure they are tight.
- Verify all electrical connections to the ignition switch are secure and properly seated.
- Check relevant fuses in the vehicle's fuse box that control the ignition or starting circuit.
- Key Sticks/Hard to Turn:
- Ensure the steering wheel is not locked. Gently jiggle the steering wheel while attempting to turn the key.
- Try a spare key to rule out a worn or damaged key as the cause of the sticking.
- Engine Cranks but Doesn't Start:
- This symptom often indicates an issue beyond the ignition switch itself, such as problems with fuel delivery, spark plugs, ignition coils, or engine timing.
- Consult a qualified mechanic for a comprehensive diagnostic check.
If troubleshooting steps do not resolve the issue, it is recommended to consult a qualified automotive technician for diagnosis and repair.
8. Warranty and Support
For information regarding the product warranty, return policy, or technical support, please refer to the purchase documentation provided at the time of sale or contact the seller directly. It is advisable to keep your proof of purchase for any warranty claims.
Manufacturer: labwork
For additional assistance or to explore other labwork products, you may visit the official labwork store on Amazon: labwork Store