Product Overview
The Blazer GB 2001 Micro Torch is a professional-grade, handheld butane gas soldering tool equipped with piezo ignition. Designed for precision tasks, it offers variable flame and temperature control through an adjustable air passage. Its compact, lightweight, and portable design makes it easy to handle and refill. This versatile tool is suitable for fine soldering, welding, controlled heating processes, and various repair and hobby applications.
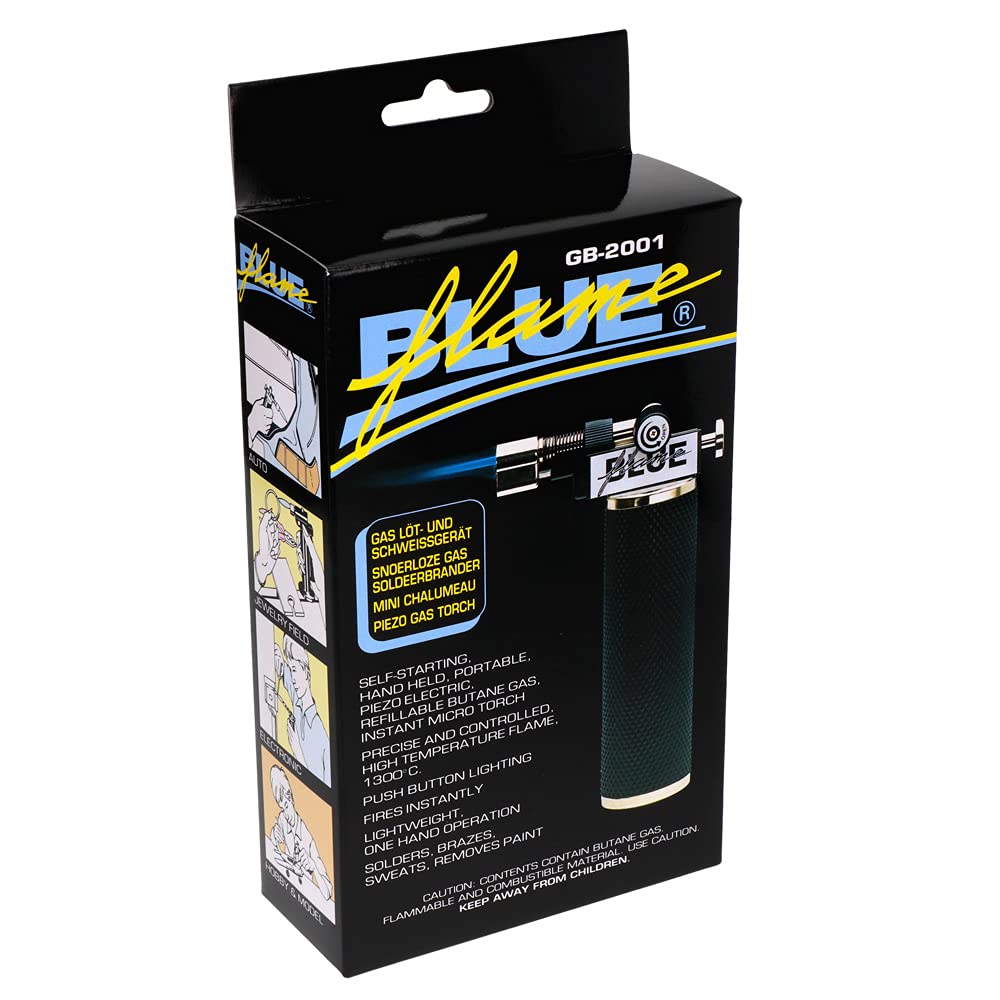
Image: The Blazer GB 2001 Micro Torch, a compact and ergonomic soldering tool.
Key Features
- Handheld gas torch with piezo ignition for easy startup.
- Operates with standard butane gas (lighter gas).
- Variable air passage allows precise flame and temperature adjustment.
- Versatile and user-friendly design.
- Ergonomic grip, lightweight, portable, and easy to refill.
Safety Information
WARNING: This product uses highly flammable butane gas. Failure to follow these instructions can result in serious injury, fire, or property damage.
- Use only in well-ventilated areas.
- Keep out of reach of children.
- Do not expose to heat above 50°C (122°F) or direct sunlight.
- Do not puncture or incinerate the torch.
- Ensure the torch is completely cool before storing.
- Always wear appropriate safety glasses and protective gloves when operating.
- Do not point the flame at yourself, others, or flammable materials.
- Use only high-quality butane gas for refilling.
Components Diagram

Image: Labeled diagram of the Blazer GB 2001 Micro Torch components.
- Air Control Knob: Adjusts air intake for flame control.
- Needle Cover: Protects the torch needle.
- Needle: The torch tip where the flame exits.
- Automatic Piezo Igniter Button: Activates the ignition.
- Gas Flow Control Knob: Regulates butane gas flow.
- Handle with Gas Tank: Ergonomic grip containing the butane reservoir.
- Gas Refill Opening: Port for refilling butane gas.
- Removable Base: Provides stability when the torch is not in use.
Setup
1. Butane Gas Refill
- Ensure the torch is turned off and completely cool.
- Hold the torch upside down.
- Insert the nozzle of a standard butane gas canister into the gas refill opening at the bottom of the handle.
- Press firmly for 5-10 seconds. Repeat 2-3 times until the tank is full. Do not overfill.
- Wait a few minutes after refilling for the gas to stabilize before ignition.
2. Attaching the Removable Base
The torch comes with a removable base for stable upright positioning. Simply slide the base onto the bottom of the torch handle until it clicks securely into place. To remove, gently pull it off.

Image: The Blazer GB 2001 Micro Torch securely placed on its removable stand.
Operating Instructions
1. Ignition
- Ensure the gas flow control knob is slightly open (turn counter-clockwise).
- Point the torch away from yourself and any flammable objects.
- Press the automatic piezo igniter button firmly. A flame should ignite instantly.
- If the flame does not ignite, ensure there is enough butane gas and repeat the ignition process.
2. Flame Adjustment
- Gas Flow: Use the gas flow control knob to increase or decrease the flame size. Turn clockwise to decrease, counter-clockwise to increase.
- Air Control: Use the air control knob to adjust the air intake. This changes the flame type from a softer, yellow flame to a hotter, blue pinpoint flame. Adjust for desired application.
3. Turning Off
To turn off the torch, turn the gas flow control knob fully clockwise until the flame extinguishes. Ensure the torch is completely off before setting it down or storing.
Applications
The Blazer GB 2001 Micro Torch is suitable for a wide range of precision heating tasks, including:
- Fine soldering and welding.
- Controlled heating processes for various materials (glass, ceramics, plastics).
- Repair work in laboratories and workshops.
- Jewelry making and repair.
- Automotive repairs.
- Electronics work.
- Hobby and model making.
- Dental lab applications.
- Plumbing tasks.
- Optical repairs.
- Wax work and ski waxing.
- Brazing.

Image: Examples of applications including automotive, jewelry, electronics, and hobby/model making.

Image: Further application examples such as dental lab work, general soldering, plumbing, and optical repairs.
Maintenance
- Keep the torch clean and free from debris.
- Store in a cool, dry place away from direct sunlight and heat sources.
- Regularly check the gas refill opening for any blockages.
- Do not attempt to disassemble the torch beyond what is necessary for refilling or cleaning the exterior.
Troubleshooting
| Problem | Possible Cause | Solution |
|---|---|---|
| Torch does not ignite. | No gas or insufficient gas. Gas flow knob is closed. Igniter malfunction. | Refill with butane gas. Ensure gas flow knob is slightly open. If igniter still fails, contact support. |
| Flame is weak or inconsistent. | Low gas level. Gas flow knob not fully open. Air control knob setting. | Refill gas. Adjust gas flow knob. Adjust air control knob for desired flame. |
| Gas leaks from refill opening. | Improper refilling technique. Damaged refill valve. | Ensure canister nozzle is firmly inserted. Do not overfill. If leakage persists, discontinue use and contact support. |
Specifications
| Model Number | 2001 |
| Brand | Blazer (Blue Flame Professional Soldering Tools) |
| Ignition Type | Piezo Ignition |
| Fuel Type | Butane Gas (Lighter Gas) |
| Maximum Temperature | Up to 1300 °C (2372 °F) |
| Gas Capacity | 20 ml |
| Approximate Burn Time | 90 minutes (on a full tank) |
| Dimensions (H x W) | 140 x 80 mm (approx. 5.5 x 3.1 inches) |
| Item Weight | 225 g (approx. 0.5 lbs) |
| Material | Ceramic (for certain components) |
| Color | Black |
Warranty and Support
The manufacturer, Blazer, provides a 2-year availability period for spare parts within the EU. For warranty claims, technical support, or inquiries regarding spare parts, please contact your retailer or the manufacturer directly. Keep your proof of purchase for warranty validation.
For further assistance, please visit the official Blazer website or consult your local distributor.