
1. Introduction
Thank you for choosing the Maxcio Digital Timer Plug. This device is designed to automate your home appliances, helping you save energy, enhance security, and simplify your daily life. With its precise digital programming, you can set specific ON/OFF times for various electrical devices throughout the week.

Image: A Maxcio Digital Timer Plug with text overlays indicating features such as 'Up to 10 Times ON/OFF Setting per Day', 'Programmable 24 Hours / 7 Days', 'Anti-Theft Random Function', and 'Completely Silent for Bedroom Using'.
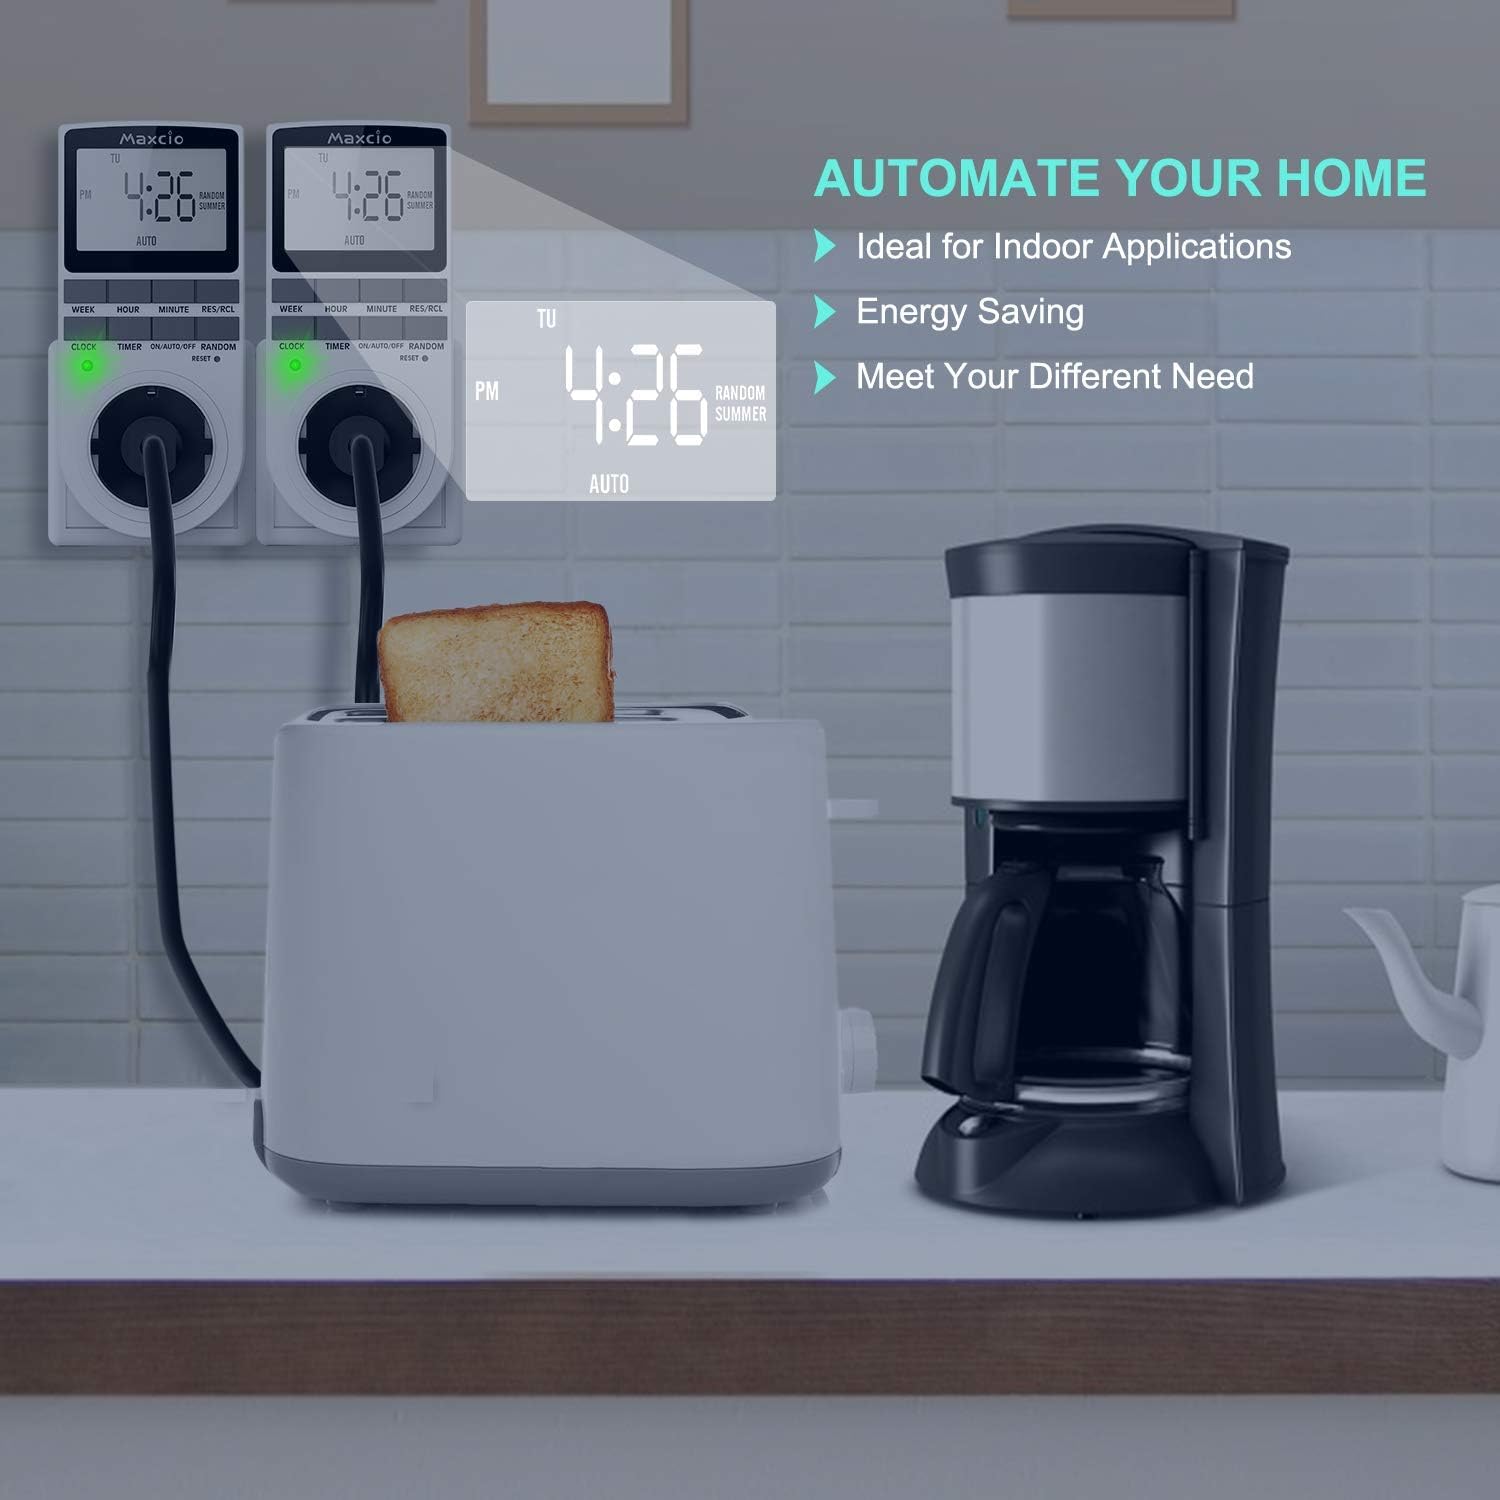
Image: Two Maxcio Digital Timer Plugs are shown plugged into a wall socket, with one connected to a toaster and the other to a coffee maker. Text highlights 'Automate Your Home', 'Ideal for Indoor Applications', 'Energy Saving', and 'Meet Your Different Need'.
2. Product Overview
2.1 Components
Familiarize yourself with the various parts of your Maxcio Digital Timer Plug:

Image: A detailed diagram of the Maxcio Digital Timer Plug, pointing out its key components: Large LCD Display, Set Digital Clock (WEEK, HOUR, MINUTE, RES/RCL buttons), 10 Timers ON/OFF (TIMER button), Indicator Light, Random Function (RANDOM button), DST Mode (ON/AUTO/OFF button), and Reset button.
- Large LCD Display: Shows current time, day, and programming status.
- WEEK Button: Used to select the day of the week during time or program setting.
- HOUR Button: Used to adjust the hour.
- MINUTE Button: Used to adjust the minute.
- RES/RCL Button: Resets or recalls program settings.
- CLOCK Button: Used to set the current time and exit programming mode.
- TIMER Button: Enters and navigates through program setting modes (up to 10 ON/OFF programs).
- ON/AUTO/OFF Button: Cycles through manual ON, automatic (programmed) operation, and manual OFF modes. Also used for DST setting.
- RANDOM Button: Activates or deactivates the random ON/OFF function.
- RESET Button: A small recessed button to clear all settings and reset the device to factory defaults. Use a thin object like the provided pin.
- Indicator Light: Illuminates when the timer is actively supplying power to the connected device.
3. Setup
3.1 Initial Setup and Setting Current Time
Before programming, ensure the timer is charged for at least 30 minutes by plugging it into a live outlet. The internal battery will retain settings during power outages.
- Clear All Settings: Press the recessed RESET button using a small, non-sharp object (like the included pin) to clear all previous settings. The display will show 0:00.
- Set Current Day: Press the CLOCK button and hold it. While holding CLOCK, press the WEEK button repeatedly until the correct day of the week (MO, TU, WE, TH, FR, SA, SU) is displayed.
- Set Current Hour: While still holding CLOCK, press the HOUR button repeatedly to set the correct hour. The display supports 24-hour format.
- Set Current Minute: While still holding CLOCK, press the MINUTE button repeatedly to set the correct minute.
- Release CLOCK: Release the CLOCK button. The current time and day are now set.
3.2 Daylight Saving Time (DST) Adjustment
To adjust for Daylight Saving Time (Summer Time), which advances the clock by one hour:
- Press and hold the CLOCK button.
- While holding CLOCK, press the ON/AUTO/OFF button. The display will show a small 'SUMMER' indicator, and the time will advance by one hour.
- To revert to standard time, repeat the process. The 'SUMMER' indicator will disappear, and the time will go back one hour.

Image: A split image showing the Maxcio Digital Timer Plug. The top half depicts a snowy winter scene with the timer displaying 'Winter Time'. The bottom half shows a sunny beach scene with the timer displaying 'Summer Time' and the 'RANDOM SUMMER' indicator.
4. Operating Instructions
4.1 Programming ON/OFF Times (Up to 10 Programs)
The timer allows you to set up to 10 distinct ON/OFF programs. Each program consists of an ON time and an OFF time.
- Press the TIMER button once. The display will show "1 ON" (Program 1 ON time).
- Set Day(s) for Program 1 ON: Press the WEEK button repeatedly to select the desired day(s) for this ON time. You can choose individual days, weekdays (MO TU WE TH FR), weekends (SA SU), or all 7 days (MO TU WE TH FR SA SU). There are 16 different day combinations available.
- Set Hour for Program 1 ON: Press the HOUR button to set the hour for the ON time.
- Set Minute for Program 1 ON: Press the MINUTE button to set the minute for the ON time.
- Press the TIMER button again. The display will now show "1 OFF" (Program 1 OFF time).
- Set Day(s) for Program 1 OFF: Repeat step 2 to select the day(s) for this OFF time. It is usually the same as the ON time, but can be different if needed.
- Set Hour for Program 1 OFF: Repeat step 3 to set the hour for the OFF time.
- Set Minute for Program 1 OFF: Repeat step 4 to set the minute for the OFF time.
- To set additional programs (2 ON/OFF through 10 ON/OFF), press the TIMER button again and repeat steps 2-8 for each program.
- Once all desired programs are set, press the CLOCK button to return to the current time display.

Image: A Maxcio Digital Timer Plug display showing '1 ON' indicating the first program's ON setting. A finger points to the TIMER button. A note advises to preset the time before first use.

Image: A Maxcio Digital Timer Plug display showing the current time and day. Fingers are shown pressing the WEEK, HOUR, and MINUTE buttons, illustrating how to set the time and day combinations.
4.2 Activating Programmed Mode
For the timer to operate according to your set programs, it must be in AUTO mode.
- Press the ON/AUTO/OFF button repeatedly until "AUTO" appears on the display.
- In AUTO mode, the timer will automatically turn the connected device ON and OFF at the programmed times.
4.3 Random Function (Anti-Theft Mode)
The random function is designed to deter intruders by making it appear as if someone is home. When activated, the timer will randomly turn the connected device ON and OFF within a specific time window.
- Press the RANDOM button. The display will show "RANDOM".
- In this mode, the timer will randomly activate the connected device for varying durations, typically between 10-30 minutes, within a window of 6 PM to 6 AM.
- To deactivate, press the RANDOM button again. The "RANDOM" indicator will disappear.

Image: A Maxcio Digital Timer Plug with its display showing 'RANDOM'. The background depicts a house at night with lights on, and a cartoon thief running away, illustrating the anti-theft function. Text explains it's a 'Useful safety precaution' that 'allows programmable sockets to automatically turn lights on and off when you're out, pretending people are at home to prevent thieves from entering the house.'
4.4 Manual Override (ON/OFF)
You can manually turn the connected device ON or OFF, overriding the programmed settings temporarily.
- Press the ON/AUTO/OFF button to cycle through the modes:
- ON: The device is continuously ON, regardless of programs.
- AUTO: The device operates according to the set programs.
- OFF: The device is continuously OFF, regardless of programs.
5. Maintenance
To ensure the longevity and proper functioning of your Maxcio Digital Timer Plug, follow these simple maintenance guidelines:
- Cleaning: Wipe the timer with a soft, dry cloth. Do not use abrasive cleaners, solvents, or immerse the device in water.
- Storage: When not in use for extended periods, store the timer in a cool, dry place away from direct sunlight and extreme temperatures.
- Battery: The internal battery is designed to hold settings for a period. If the timer is stored for a very long time, it may require recharging by plugging it in for 30 minutes before use.
6. Troubleshooting
If you encounter any issues with your Maxcio Digital Timer Plug, please refer to the following common problems and solutions:
| Problem | Possible Cause | Solution |
|---|---|---|
| Display is blank or dim. | Low internal battery. | Plug the timer into a live outlet for at least 30 minutes to charge the battery. |
| Timer not turning ON/OFF at programmed times. | Not in AUTO mode; incorrect program settings; manual override active. | Ensure the timer is in AUTO mode. Double-check your program settings (ON/OFF times, days). Ensure manual ON/OFF is not active. |
| Programs are lost after unplugging. | Internal battery not sufficiently charged. | Plug the timer into a live outlet for at least 4 hours to fully charge the internal battery. |
| Random function not working. | Random mode not activated. | Press the RANDOM button until "RANDOM" appears on the display. |
| Cannot set time/programs. | Buttons unresponsive; device frozen. | Perform a full reset by pressing the recessed RESET button. Then re-enter all settings. |
If the problem persists after trying these solutions, please contact Maxcio customer support for further assistance.
7. Technical Specifications
| Specification | Value |
|---|---|
| Model | TM02-EU |
| Installation Type | Plug-in Type |
| Voltage | 230V~, 50Hz |
| Rating | 230V AC / 16A / 3680W |
| Operating Temperatures | -10°C to +40°C |
| Accuracy | ± 1 Min/Mon |
| Dimensions | 5.4 x 3.9 x 13.4 cm |
| Weight | 320 grams |
| Material | Polycarbonate |
| Number of Settings | 10 ON/OFF programs |

Image: A Maxcio Digital Timer Plug plugged into a white wall socket. Text on the left lists key specifications: Installation (Plug-in Type), Voltage (230V~, 50Hz), Rating (230V-AC/16A/3680W), Operating Temperatures (-10...+40°C), and Accuracy (± 1 Min/Mon).
8. Warranty and Customer Support
Maxcio products are manufactured to high-quality standards. For information regarding warranty coverage, please refer to the warranty card included with your purchase or visit the official Maxcio website.
If you have any questions, require technical assistance, or need a copy of the instruction manual in another language, please do not hesitate to contact our customer support team. You can typically reach us via email at the address provided in your product packaging or on the Maxcio brand store page on Amazon.
We are committed to providing excellent service and support for your Maxcio products.