Innosinpo Dash Cam A12
Innosinpo Dash Cam A12 User Manual: 1080P FHD Car DVR
Model: Dash Cam A12
Introduction
Thank you for choosing the Innosinpo Dash Cam A12. This manual provides detailed instructions for setting up, operating, and maintaining your dash cam to ensure optimal performance and a clear record of your journeys. Please read this manual thoroughly before use.
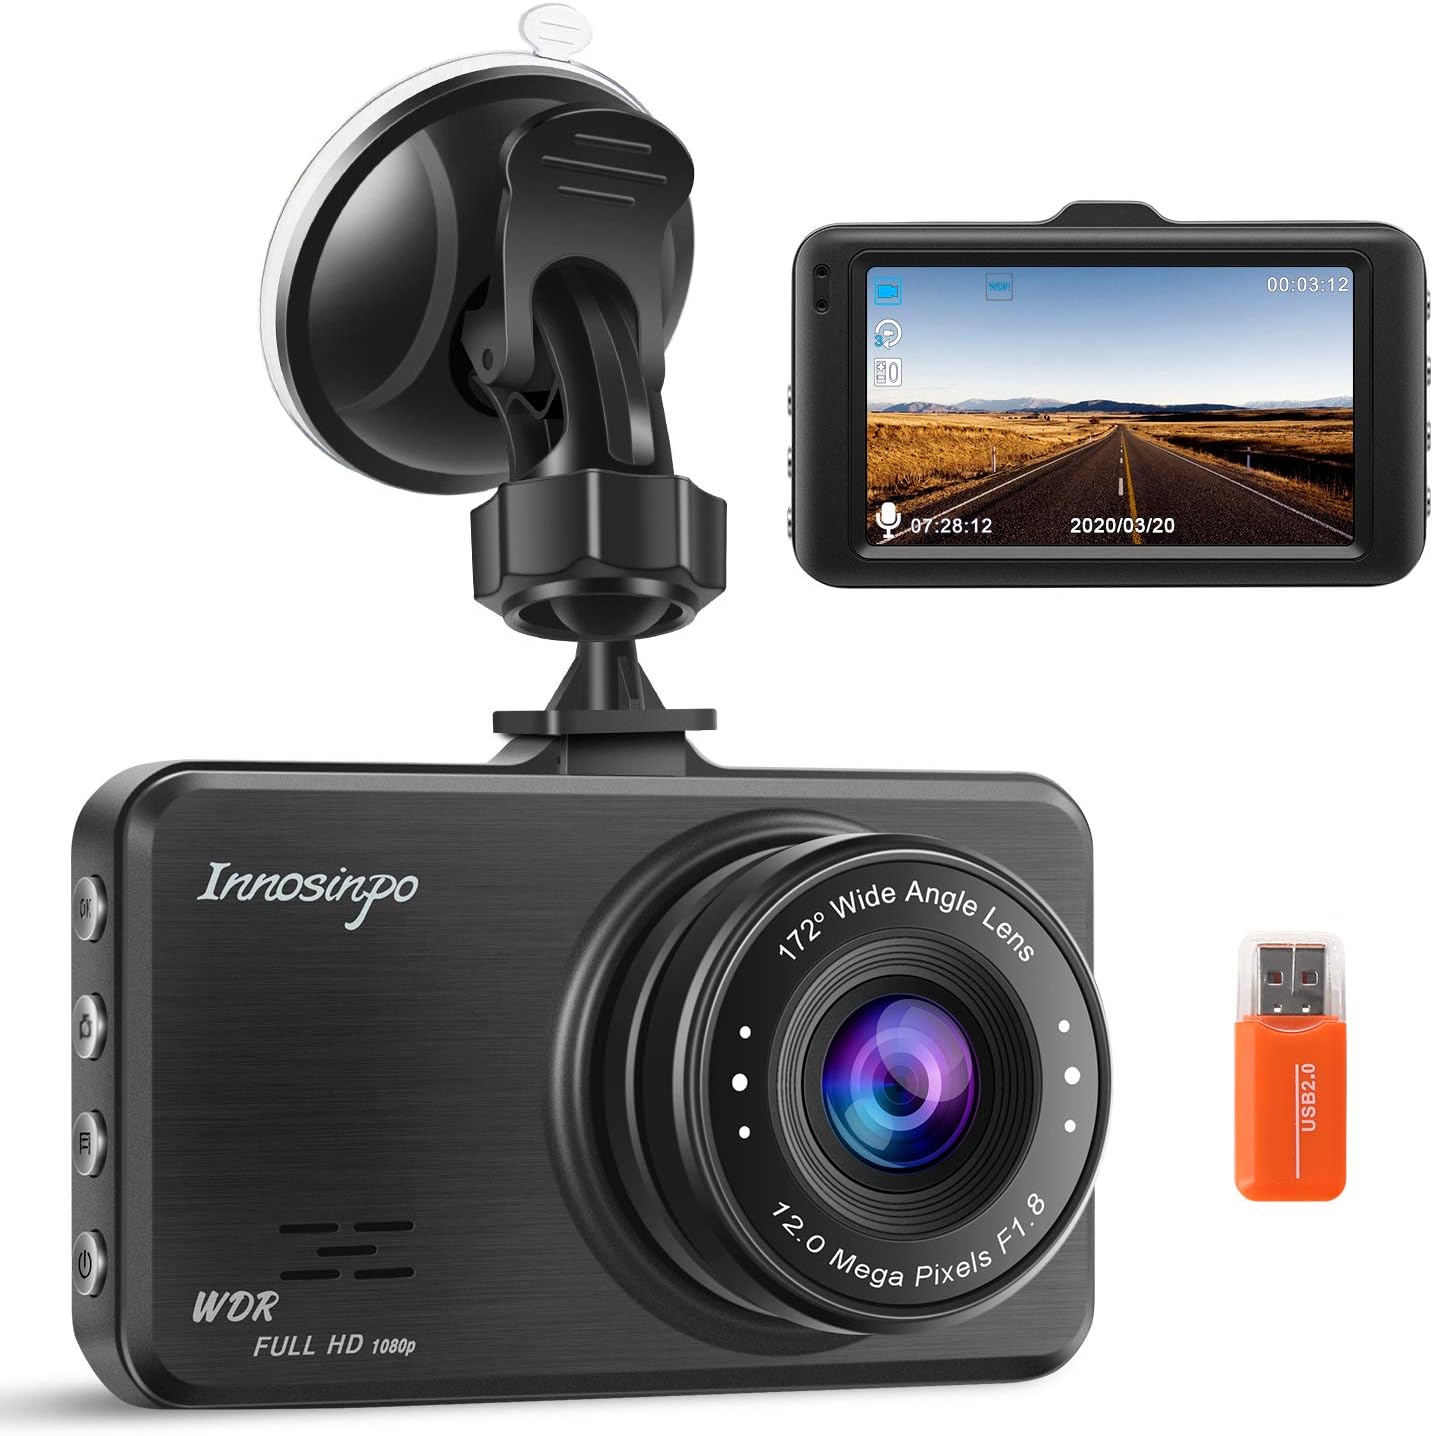
Image: The Innosinpo Dash Cam A12, featuring its main unit, a suction cup mount, and a USB drive, showcasing the complete product package.
Package Contents
Verify that all items are present in your package:
- Innosinpo Dash Cam A12 Unit
- Car Charger (Power Cable)
- Suction Cup Mount
- USB Data Cable
- USB Card Reader
- Adhesive Mount
- User Manual (this document)
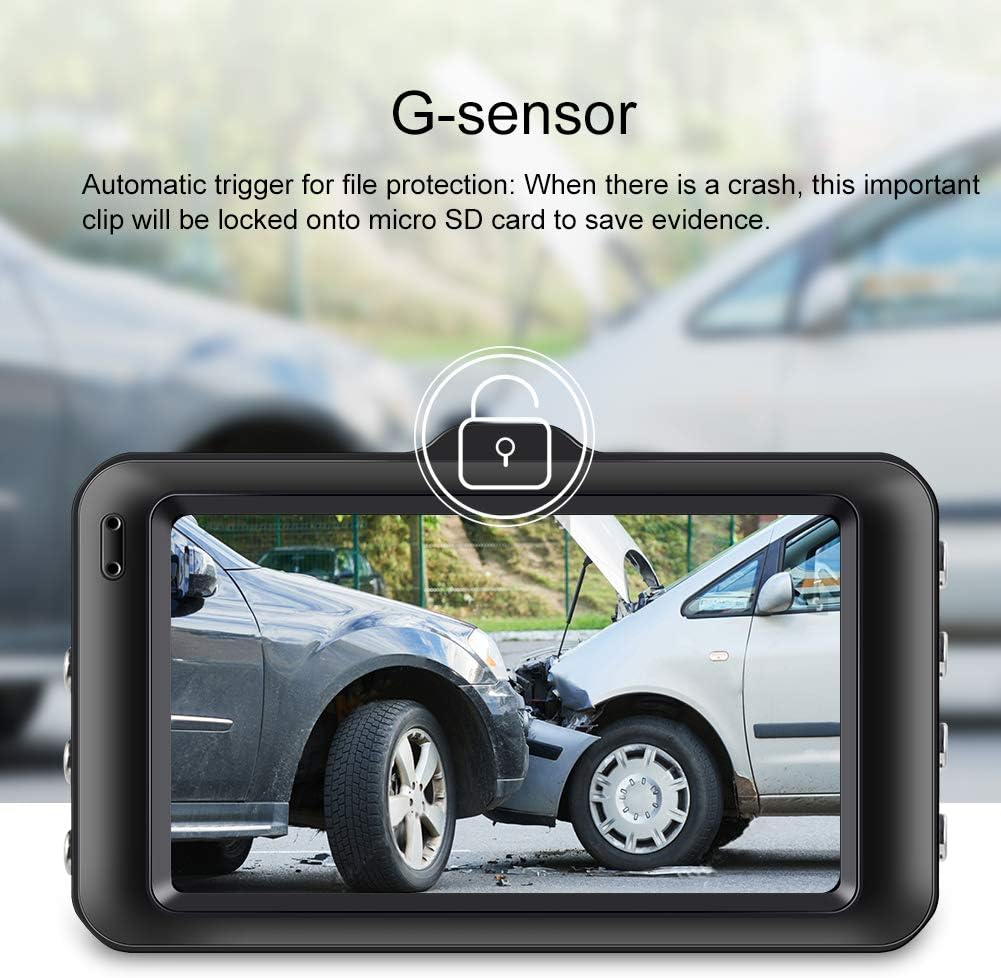
Image: All components of the Innosinpo Dash Cam A12 package, including the camera, car charger, suction mount, adhesive mount, and USB accessories.
Product Overview
Familiarize yourself with the dash cam's components and controls:
- Micro SD Card Slot: For inserting the memory card.
- Up Button: Navigates up in menus or changes settings.
- Menu Button: Accesses the dash cam's settings menu.
- Down Button: Navigates down in menus or changes settings.
- OK Button: Confirms selections or starts/stops recording.
- Mode Button: Switches between video, photo, and playback modes.
- Lock Button: Manually locks the current recording to prevent overwriting.
- Power Button: Turns the device on/off.
- Microphone: Records audio.
- Reset Button: Resets the device to factory settings (use a thin pin).

Image: Side view of the dash cam highlighting the Micro SD Card Slot, Up Button, Menu Button, and Down Button.
For a comprehensive visual guide to the dash cam's features and components, please watch the official product video below:
Video: An overview of the Innosinpo Dash Cam A12, demonstrating its features, button layout, and sample driving footage.
Setup Instructions
- Insert Micro SD Card: Insert a Class 10 or higher speed Micro SD card (up to 32GB, not included) into the Micro SD Card Slot. Ensure it is inserted correctly until it clicks into place. Refer to the product video for a visual demonstration.
- Format SD Card: For first-time use, format the SD card directly on the dash cam. Access the menu settings to find the format option. This ensures compatibility and optimal performance.
- Mount the Dash Cam: Attach the suction cup mount to the dash cam and then firmly press it onto your car's windshield, ensuring it does not obstruct your view. Adjust the camera angle for optimal road coverage.
- Connect Power: Plug the included car charger into your car's cigarette lighter socket and connect the other end to the dash cam's power input. The dash cam will automatically power on and begin recording when your vehicle ignition is turned on.
Operating the Dash Cam
Basic Recording
Once powered on, the dash cam automatically starts recording. The 3-inch screen displays the live view. To stop recording, press the OK button. Press it again to resume.
G-Sensor (Emergency Accident Lock)
The built-in G-sensor detects sudden impacts or collisions. When triggered, it automatically locks the current video segment, preventing it from being overwritten during loop recording. This ensures critical footage is preserved as evidence.
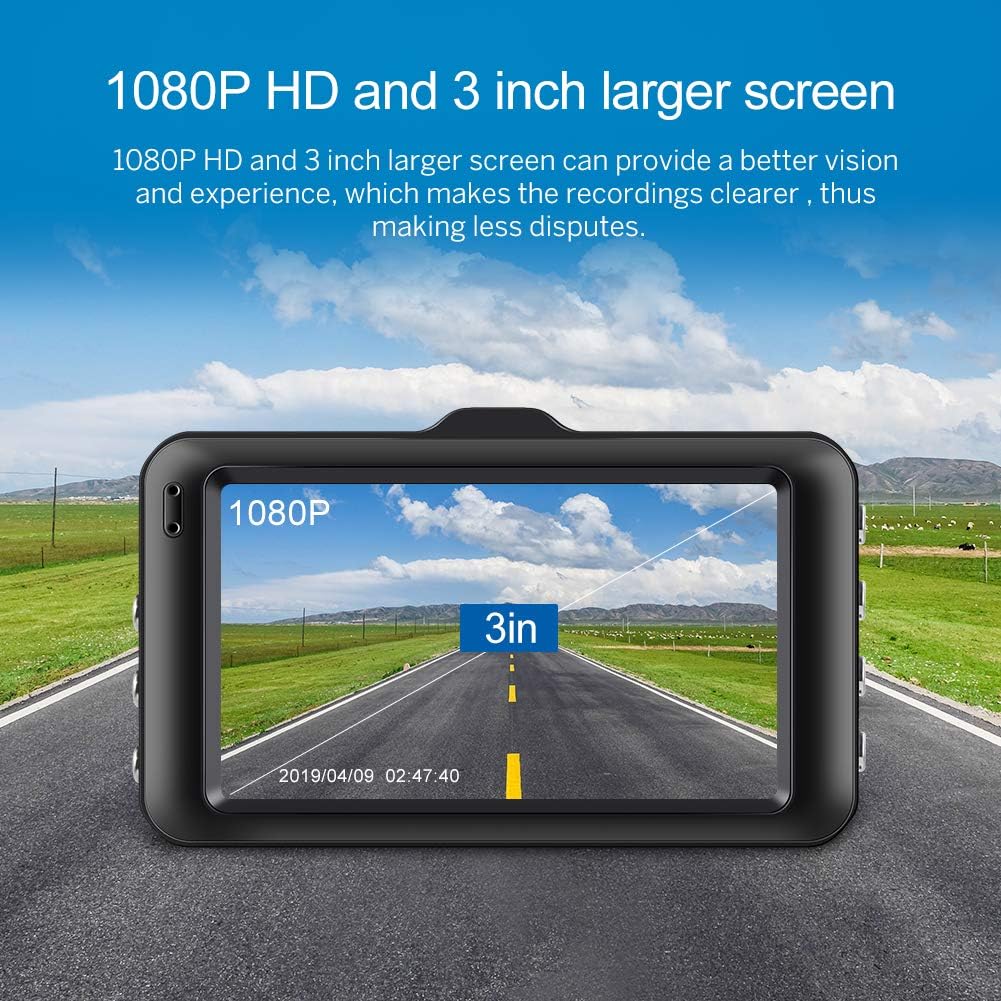
Image: The dash cam screen showing a G-sensor activation during a simulated vehicle impact, indicating automatic file protection.
Loop Recording
This feature allows for continuous recording. When the SD card is full, the dash cam automatically overwrites the oldest unlocked video files to make space for new recordings. Locked files (from G-sensor events) are protected from being overwritten.

Image: A visual explanation of loop recording, showing how older, unlocked video segments are replaced by new ones, while important, locked files remain protected.
Parking Monitor
When enabled, the parking monitor function detects motion or impact around your parked vehicle. If triggered, the dash cam will automatically record a short video segment to capture any incidents while your car is unattended.

Image: The dash cam display indicating "Parking Mode" is active, capturing footage in a parking environment.
Wide Dynamic Range (WDR)
WDR technology balances exposure, providing clearer video footage in challenging lighting conditions, such as strong backlight or low light. This ensures details are visible in both bright and dark areas of the recording.

Image: A visual comparison demonstrating the effectiveness of WDR, showing improved image clarity in scenes with high contrast between dark and bright areas.
170° Super Wide Angle Lens
The 170-degree wide-angle lens captures a broad field of view, minimizing blind spots and recording more details of the road ahead and surrounding areas. This feature is also demonstrated in the product video.
1080P Full HD Resolution
The dash cam records in 1080P Full HD resolution at 30 frames per second, providing clear and detailed video quality for accurate incident recording.

Image: The dash cam screen highlighting its 1080P HD resolution and 3-inch display size.
Maintenance
- SD Card Formatting: To maintain optimal performance and prevent "SD Card Full" errors, it is recommended to format your Micro SD card monthly.
- G-Sensor Sensitivity: If you frequently encounter "SD Card Full" messages, consider setting the G-sensor to a lower sensitivity level. High sensitivity can cause many files to be locked, quickly filling the card.
- Parking Monitor/Motion Detection: When driving, ensure the parking monitor and motion detection functions are turned off. If active during driving, they can trigger locked videos that cannot be overwritten, leading to the SD card filling up.
- Power Source: The dash cam has a built-in battery primarily for emergency lock functions (lasting approximately 15-20 minutes). Continuous operation requires an external power source, such as the included car charger plugged into the cigarette lighter.
- Cleaning: Use a soft, dry cloth to clean the camera lens and screen. Avoid abrasive cleaners or solvents.
Troubleshooting
- Issue: Dash cam keeps saying "SD Card Full".
- Solution 1: Format your Micro SD card on the dash cam. This should be done regularly, ideally monthly.
- Solution 2: Ensure parking monitoring and motion detection are turned off while driving. These features lock video files, preventing them from being overwritten by loop recording.
- Solution 3: Adjust the G-sensor sensitivity to a lower setting. A high sensitivity can cause minor bumps to lock files, quickly filling the card.
- Issue: Dash cam displays "Insert C6 and above SD card" or similar error.
- Solution 1: Verify that your Micro SD card is Class 10 or higher.
- Solution 2: The SD card may be incompatible or a counterfeit. Try using a new, reputable brand Class 10 Micro SD card (up to 32GB).
- Issue: Dash cam does not stay on or turns off shortly after starting.
- Solution: The built-in battery is for emergency use only. Ensure the dash cam is continuously connected to the car charger while the vehicle is running.
Specifications
| Feature | Detail |
|---|---|
| Product Dimensions | 3.5 x 2 x 1.4 inches |
| Item Weight | 8.8 ounces (0.25 Kilograms) |
| Item Model Number | Dash Cam A12 |
| Batteries | 1 Lithium Ion battery (included) |
| Connectivity Technology | USB |
| Video Capture Resolution | 1080p |
| Mounting Type | Suction Mount |
| Field Of View | 170 Degrees |
| Screen Size | 3 Inches |
| Color | Black |
| Manufacturer | Innosinpo |
Warranty and Support
Innosinpo is committed to providing reliable products and excellent customer service.
- Returns: Enjoy a 30-day return policy without needing to provide a reason.
- Warranty: The product comes with a 3-year warranty for free returns and exchanges.
- Technical Support: Dedicated technical support is available to provide satisfactory solutions to any issues you may encounter.
- Customer Service: Expect a reply to email inquiries within 24 hours.
For support, please refer to the contact information provided with your purchase or visit the official Innosinpo website.
Related Documents - Dash Cam A12
 |
1080P High Speed Driving Recorder User Manual - Model A10 Comprehensive user manual for the Innosinpo 1080P High Speed Driving Recorder, Model A10. Covers installation, features, settings, and troubleshooting for this car dash cam. |
 |
Innosinpo A10 1080P High Speed Driving Recorder User Manual Comprehensive user manual for the Innosinpo A10 1080P High Speed Driving Recorder, covering installation, functions, settings, and troubleshooting. |
 |
Roinvou Dual Dash Cam User Manual - Features, Operation, and Specifications Comprehensive user manual for the Roinvou Dual Dash Cam. Covers product structure, features like FHD 1080P recording, G-Sensor, loop recording, parking mode, motion detection, operation instructions, and troubleshooting. |
 |
APEMAN C450 Series A Dash Cam User Manual and Instructions Comprehensive guide for the APEMAN C450 Series A dash cam, covering setup, installation, formatting, usage tips, troubleshooting, and warranty information. Learn how to use your dash cam effectively. |
 |
LOTUS Dash Cam User Manual: Specifications, Installation, and Features Comprehensive user manual for the LOTUS Dash Cam. This guide covers product specifications, installation instructions for front and rear cameras, detailed feature explanations including G-sensor, loop recording, motion detection, and parking monitoring, along with a Q&A and FAQ section. |
 |
Abask J05 Dash Cam User Manual User manual for the Abask J05 Dash Cam, detailing setup, operation, features, and troubleshooting for this FHD Dual 1080P vehicle camera. |