1. Introduction
This user manual provides essential information for the safe and efficient operation of your RICH SOLAR 30A 12V/24V PWM Flush Mount Solar Charge Controller. This controller is designed to manage the power flow from your solar panel array to your battery bank, ensuring optimal charging and protecting your batteries from overcharge and over-discharge. Please read this manual thoroughly before installation and use to ensure proper functionality and longevity of the product.
The RICH SOLAR 30A PWM controller is compatible with both 12V and 24V systems and supports various battery types including Sealed, Gel, Flooded, and Lithium. Its negative ground design ensures compatibility with standard grounding systems, and the digital LCD provides clear operational parameters and fault messages.
2. Safety Information
Always observe the following safety precautions during installation and operation:
- Ensure all wiring is correctly polarized. Reverse polarity can damage the controller and connected devices.
- Always connect the battery to the charge controller first, then the solar panel, and finally the load (if applicable). Disconnect in the reverse order.
- Install the controller in a well-ventilated area, away from flammable materials and direct sunlight.
- Use appropriate circuit breakers or fuses for all connections to prevent short circuits and overcurrents.
- Do not attempt to disassemble or repair the controller yourself. Refer to qualified personnel for service.
- Wear appropriate personal protective equipment (PPE) such as gloves and eye protection during installation.
- Ensure the system voltage (12V or 24V) matches the battery bank and solar panel array.
3. Product Overview
The RICH SOLAR 30A PWM Flush Mount Solar Charge Controller is designed for efficient and safe solar power management. It features a compact design with an intuitive LCD display for monitoring system status.

Figure 3.1: Front view of the RICH SOLAR 30A PWM Solar Charge Controller, showing the LCD display and control buttons.
Key features include:
- Compatible with 12V and 24V systems.
- Supports Deep cycle Sealed, Gel, Flooded, and Lithium battery types.
- Negative ground controller for broad compatibility.
- 3-Stage intelligent PWM charging: Bulk, Boost/Equalize, Float.
- Digital LCD monitor for displaying operational parameters and fault messages.
- RS485 communication port with Modbus protocol for external peripherals (PC software, APP, Cloud platform).
- Comprehensive protection features: Temperature Compensation, Over-charging Protection, Over-discharging Protection, Over-load Protection, Short-circuiting Protection, and Reverse Protection.

Figure 3.2: The 30 Amp Solar Charge Controller highlighting its various protection features including temperature compensation, over-charging, over-discharging, overload, short-circuiting, and reverse protection.
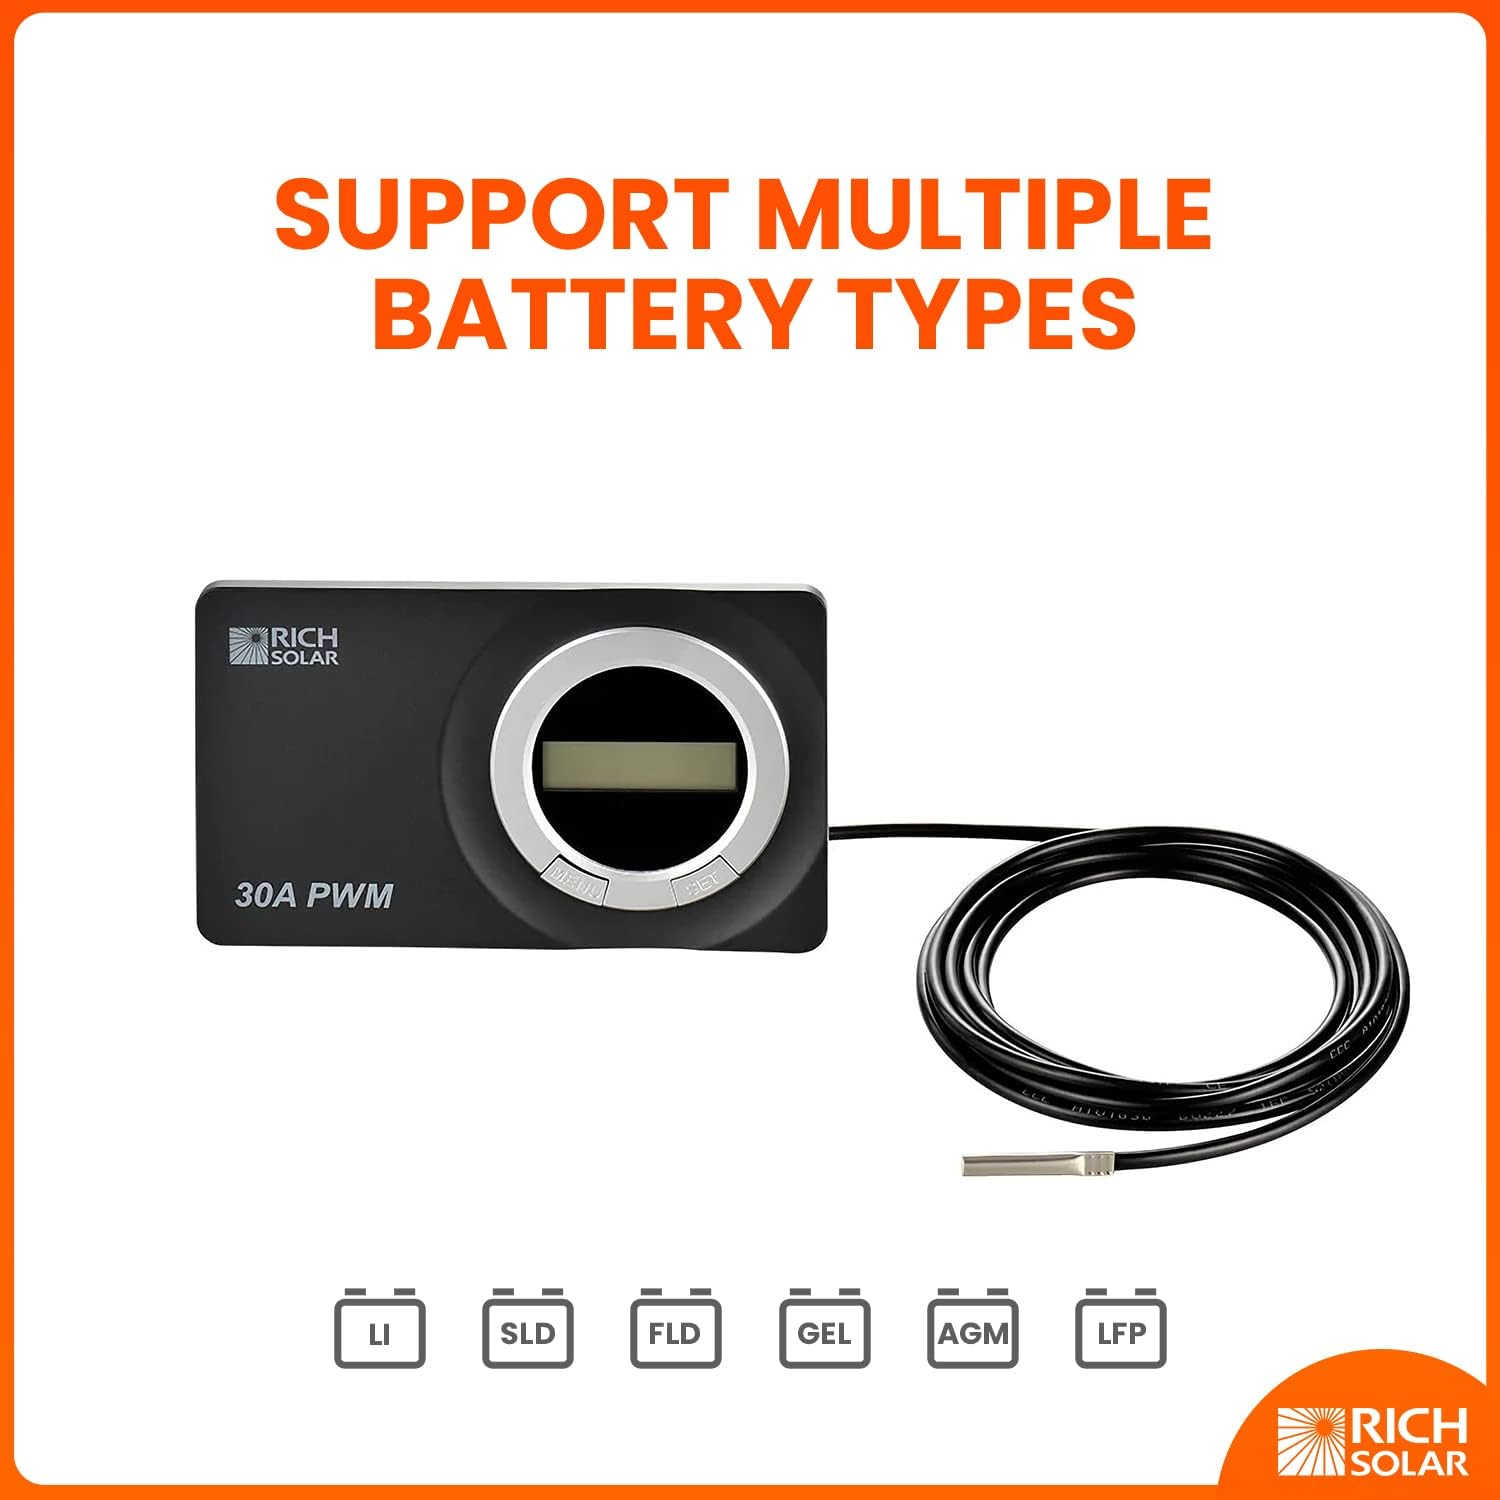
Figure 3.3: The controller's compatibility with various battery types: Lithium (LI), Sealed (SLD), Flooded (FLD), Gel (GEL), AGM, and LFP.
4. Setup & Installation
Proper installation is crucial for the performance and safety of your solar charge controller. Follow these steps carefully:
4.1 Wiring Diagram and Connections

Figure 4.1: Rear view of the controller showing connection points for COM (RS485), Battery Remote Temp. Sensor, Solar Panel (PV+ PV-), and Battery (BAT+ BAT-).

Figure 4.2: A typical solar system wiring diagram illustrating connections between the solar panel, 10A inline fuse holder, RICH SOLAR 30A PWM controller, 12V 200AH battery, and a 2000W pure sine wave inverter.
- Mounting: Choose a suitable location for flush mounting the controller. Ensure adequate ventilation and protection from moisture and direct sunlight.
- Battery Connection: Connect the battery to the controller's battery terminals (BAT+ and BAT-). Ensure correct polarity. The controller will automatically detect 12V or 24V system voltage.
- Solar Panel Connection: Connect the solar panel array to the controller's solar terminals (PV+ and PV-). Ensure correct polarity.
- Load Connection (Optional): If using the controller's load output, connect your DC loads to the load terminals. Ensure the total current of the loads does not exceed the controller's rated load current.
- Temperature Sensor (Optional): Connect the remote temperature sensor to the designated port. This allows for accurate temperature compensation during charging.
- RS485 Communication (Optional): For advanced monitoring and control, connect the RS485 communication cable to the COM port.
Important: Always connect the battery first and disconnect it last. This sequence prevents potential damage to the controller from voltage surges.
5. Operating Instructions
The RICH SOLAR 30A PWM controller features an LCD display and buttons for easy operation and monitoring.
5.1 LCD Display and Buttons
The LCD displays various system parameters such as battery voltage, charging current, load current, and error codes. Use the "MENU" and "SET" buttons to navigate through the display and adjust settings.

Figure 5.1: The controller's 3-stage intelligent PWM charging process, supporting Bulk, Boost/Equalize, and Float charging for Sealed, Gel, and Flooded battery types.
5.2 Charging Stages
The controller employs a 3-stage intelligent PWM charging algorithm to optimize battery life and performance:
- Bulk Charge: Charges the battery at maximum current until it reaches the absorption voltage.
- Boost/Equalize Charge: Maintains the absorption voltage for a set period to ensure full charge. Equalization is a controlled overcharge for flooded batteries to balance cell voltages.
- Float Charge: Reduces the voltage to a lower level to maintain the battery at full charge and compensate for self-discharge.
5.3 Battery Type Selection
It is critical to select the correct battery type in the controller's settings to ensure proper charging voltages and prevent battery damage. Refer to your battery manufacturer's specifications for recommended charging parameters.
Consult the controller's on-screen menu or the full product manual for detailed instructions on navigating settings and selecting battery types.
6. Maintenance
The RICH SOLAR 30A PWM controller requires minimal maintenance. Regular checks can help ensure optimal performance and longevity:
- Cleanliness: Keep the controller clean and free from dust and debris. Use a dry cloth to wipe the surface.
- Connections: Periodically check all wiring connections to ensure they are tight and free from corrosion. Loose connections can cause voltage drops and overheating.
- Ventilation: Ensure the installation area remains well-ventilated to prevent overheating of the controller.
- Battery Health: Monitor your battery's health regularly. Ensure terminals are clean and free of corrosion.
7. Troubleshooting
This section addresses common issues you might encounter with your solar charge controller.
| Problem | Possible Cause | Solution |
|---|---|---|
| No display on LCD | No power from battery; Reverse battery polarity; Loose battery connection. | Check battery voltage; Verify battery polarity; Tighten battery connections. |
| Battery not charging | No solar input; Solar panel reverse polarity; Faulty solar panel; Incorrect battery type setting. | Check solar panel connections and sunlight; Verify solar panel polarity; Test solar panel output; Ensure correct battery type is selected in settings. |
| Over-discharge protection activated | Battery voltage too low. | Charge battery; Reduce load or increase solar input. |
| Over-charge protection activated | Battery fully charged; Incorrect battery type setting. | Normal operation if battery is full; Verify correct battery type setting. |
| Load not working | Overload; Short circuit on load; Battery low voltage disconnect. | Reduce load; Check for short circuits; Charge battery. |
If the problem persists after attempting these solutions, please contact RICH SOLAR customer support.
8. Specifications
| Parameter | Value |
|---|---|
| Manufacturer | RICH SOLAR |
| Model | 30A PWM RV |
| Nominal System Voltage | 12V/24V Auto |
| Battery Input Voltage Range | 8V-32V |
| Rated Charge Current | 30A |
| Max. PV Short Circuit Current | 30A |
| Max. PV Open Circuit Voltage | 50V |
| Battery Type (Default) | Sealed/Gel/Flooded (Lithium option available) |
| Self-consumption | <4.2mA/12V; <2.6mA/24V |
| Temperature Compensation Coefficient | -3mV/°C/2V (Default) |
| Charge Circuit Voltage Drop | 0.21V |
| Package Dimensions | 8.11 x 4.92 x 2.44 inches |
| Item Weight | 1.19 pounds |
| Color | black |
| Display Type | LCD |
| UPC | 732025694970 |
9. Warranty and Support
RICH SOLAR products are designed for reliability and performance. For warranty information and technical support, please refer to the official RICH SOLAR website or contact their customer service directly. Keep your purchase receipt as proof of purchase for warranty claims.
Contact Information: Please visit the RICH SOLAR Store on Amazon or their official website for the most up-to-date support contact details.


