1. Product Overview
This manual provides detailed instructions for the installation, operation, and maintenance of your Riobel 366C Shower Head. Please read this manual thoroughly before beginning installation or use to ensure proper function and longevity of your product.
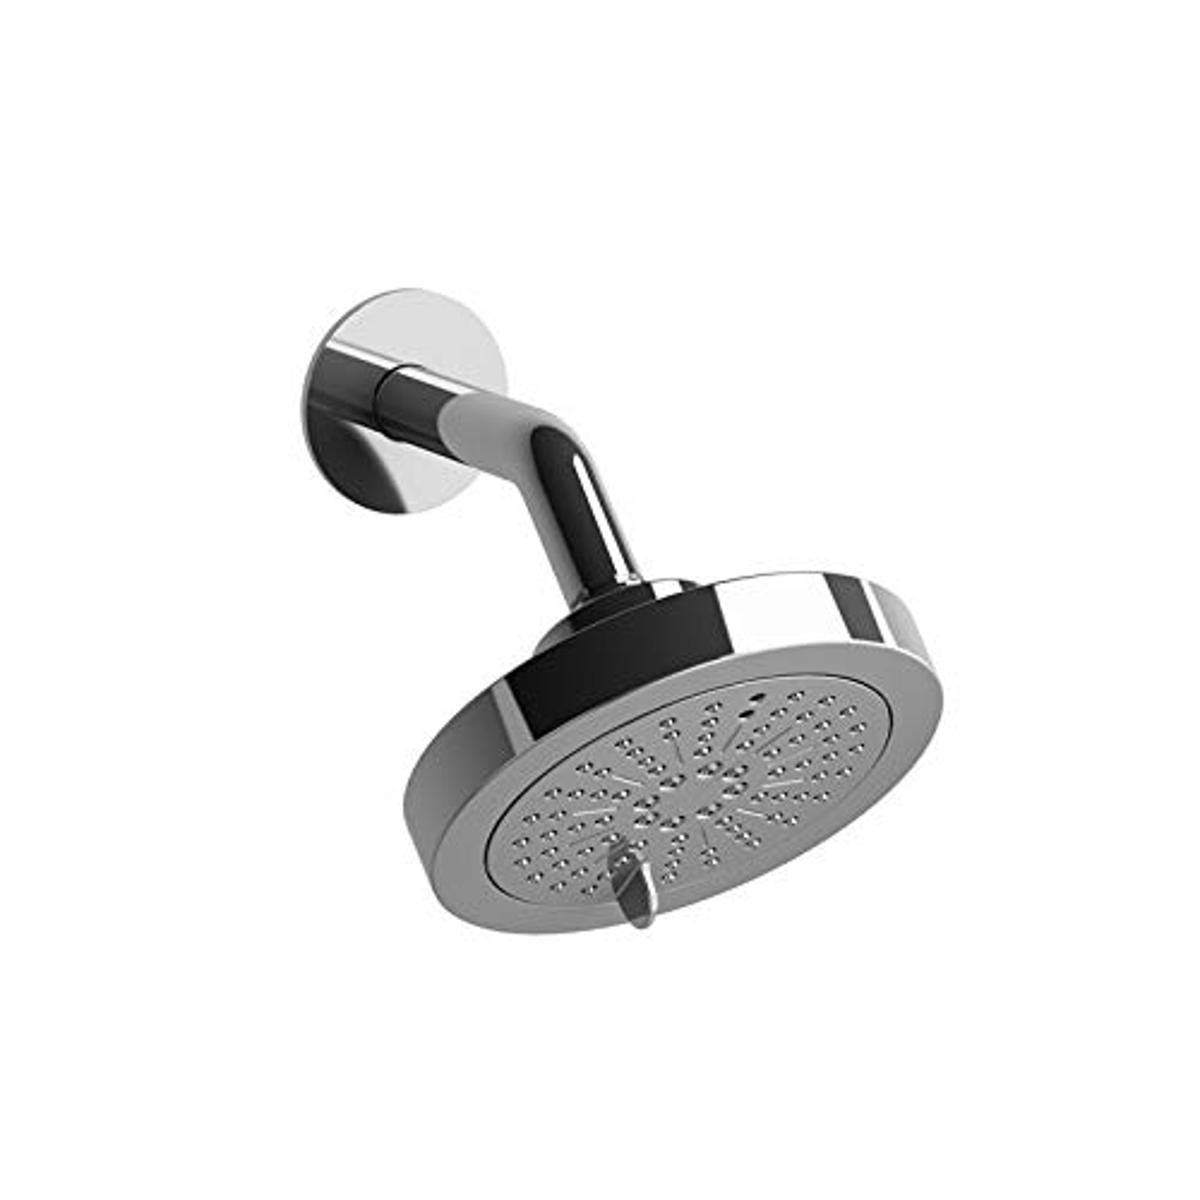
Image 1.1: The Riobel 366C Shower Head, featuring a chrome finish and integrated shower arm.
2. Safety Information
Please observe the following safety precautions during installation and use:
- Ensure the main water supply is turned off before beginning any installation or maintenance.
- If you are unsure about any part of the installation process, consult a qualified plumber.
- Do not use abrasive cleaners or harsh chemicals on the shower head finish, as this may cause damage.
- Verify all connections are secure and watertight to prevent leaks.
- Keep small parts out of reach of children.
3. Package Contents
Verify that all components are present before proceeding with installation:
- Riobel 366C 2-jet Shower Head
- Shower Arm with Round Flange
- Installation Hardware (e.g., sealing tape, gaskets) - Note: Specific hardware may vary.
4. Specifications
| Feature | Detail |
|---|---|
| Model Number | 366C |
| Brand | Riobel |
| Style | Modern |
| Shape | Round |
| Material | Metal |
| Finish Type | Chrome |
| Installation Type | Wall Mounted |
| Number of Settings | 6 |
| Number of Jets | 2 (Luxurious, Invigorating) |
| Efficiency | 2.0 GPM |
| Item Weight | 1.27 pounds |
| Product Dimensions | 5.51 x 3.54 x 5.51 inches |
| Special Features | Swivel, Scale-free |
5. Installation (Setup)
This section outlines the general steps for installing your wall-mounted shower head. Specific plumbing configurations may vary. Always ensure water supply is off before starting.
Tools and Materials Required:
- Adjustable Wrench
- Plumber's Tape (PTFE tape)
- Soft Cloth
Installation Steps:
- Turn Off Water Supply: Locate the main water shut-off valve for your home or the specific bathroom and turn it off.
- Remove Old Shower Head (if applicable): If replacing an existing shower head, unscrew it from the shower arm. Use an adjustable wrench if necessary, protecting the finish with a soft cloth.
- Clean Shower Arm Threads: Clean any old plumber's tape or debris from the threads of the existing shower arm extending from the wall.
- Apply Plumber's Tape: Wrap 3-4 layers of plumber's tape clockwise around the threaded end of the new Riobel shower arm.
- Install Shower Arm: Screw the new shower arm into the wall fitting by hand until snug. Use an adjustable wrench for a final quarter-turn, being careful not to overtighten. Ensure the arm is positioned correctly for the shower head.
- Attach Shower Head: Apply plumber's tape to the threads of the shower arm where the shower head will attach. Screw the Riobel 366C Shower Head onto the shower arm by hand until snug. Do not use tools on the shower head itself to avoid damaging the finish.
- Check for Leaks: Slowly turn the main water supply back on. Check all connections for leaks. If leaks occur, turn off the water, tighten the connections slightly, and re-check.
6. Operation
Your Riobel 366C Shower Head is designed for ease of use and offers multiple spray settings to enhance your showering experience.
Adjusting Spray Settings:
- The shower head features six distinct positions, allowing you to customize your water flow.
- It includes two primary jet types: a luxurious spray for a gentle, wide coverage, and an invigorating spray for a more focused, powerful rinse.
- To change the spray setting, gently rotate the outer ring or face of the shower head. You will feel a click as it moves between positions.
Swivel Feature:
The shower head is equipped with a swivel joint, allowing you to adjust the angle of the water flow to your preference. Gently tilt the shower head to direct the spray.
7. Maintenance
Regular cleaning and maintenance will help preserve the finish and performance of your Riobel 366C Shower Head.
Cleaning the Finish:
- Clean the chrome finish with a soft, damp cloth and mild soap.
- Rinse thoroughly with clean water and dry with a soft cloth to prevent water spots.
- Do not use abrasive cleaners, scouring pads, or chemical-based cleaning agents, as these can damage the finish and void your warranty.
Scale-Free Nozzles:
The Riobel 366C features scale-free nozzles. To remove mineral deposits (limescale) that may accumulate over time:
- Gently rub the rubber nozzles with your finger or a soft brush to dislodge any mineral buildup.
- For stubborn deposits, a solution of equal parts white vinegar and water can be applied with a soft cloth, then rinsed thoroughly.
8. Troubleshooting
Refer to the following table for common issues and their solutions.
| Problem | Possible Cause | Solution |
|---|---|---|
| Low Water Pressure |
|
|
| Leaking from Shower Head Connection |
|
|
| Inconsistent Spray Pattern |
|
|
9. Warranty and Support
Limited Lifetime Warranty:
The Riobel 366C Shower Head is backed by a LIMITED LIFETIME WARRANTY. This warranty covers manufacturing defects and ensures the product is free from material and workmanship flaws under normal use and service. Please retain your proof of purchase for warranty claims.
For full details regarding the terms and conditions of your warranty, please refer to the official Riobel warranty documentation or visit the manufacturer's website.
Customer Support:
If you encounter any issues not covered in this troubleshooting guide or require further assistance, please contact Riobel customer support. Contact information can typically be found on the official Riobel website or product packaging.
When contacting support, please have your product model number (366C) and date of purchase readily available.