
Goplus HPK37709BK
Goplus Folding Treadmill User Manual
Model: HPK37709BK
1. Introduction
This manual provides essential information for the safe and effective operation, assembly, and maintenance of your Goplus Folding Treadmill. Designed for home and office use, this compact electric running machine features an LED display, mobile phone holder, and a space-saving foldable design. Please read this manual thoroughly before initial use to ensure proper setup and to maximize your workout experience.

Image: A woman running on the Goplus Folding Treadmill, demonstrating its compact design and functionality.
2. Safety Information
Your safety is paramount. Adhere to all warnings and precautions to prevent injury or damage to the treadmill.
- Always attach the safety key to your clothing before starting the treadmill. The safety key is a crucial emergency stop mechanism.
- Ensure the emergency stop button on the handrail is easily accessible and functional.
- Keep children and pets away from the treadmill during operation.
- Place the treadmill on a flat, stable surface.
- Do not operate the treadmill if it has a damaged cord or plug, or if it is not working properly.
- Consult a physician before starting any exercise program.
- Wear appropriate athletic footwear during use.
- Do not exceed the maximum weight capacity of 220 pounds.
3. Components List
Before assembly, verify that all components are present and undamaged.
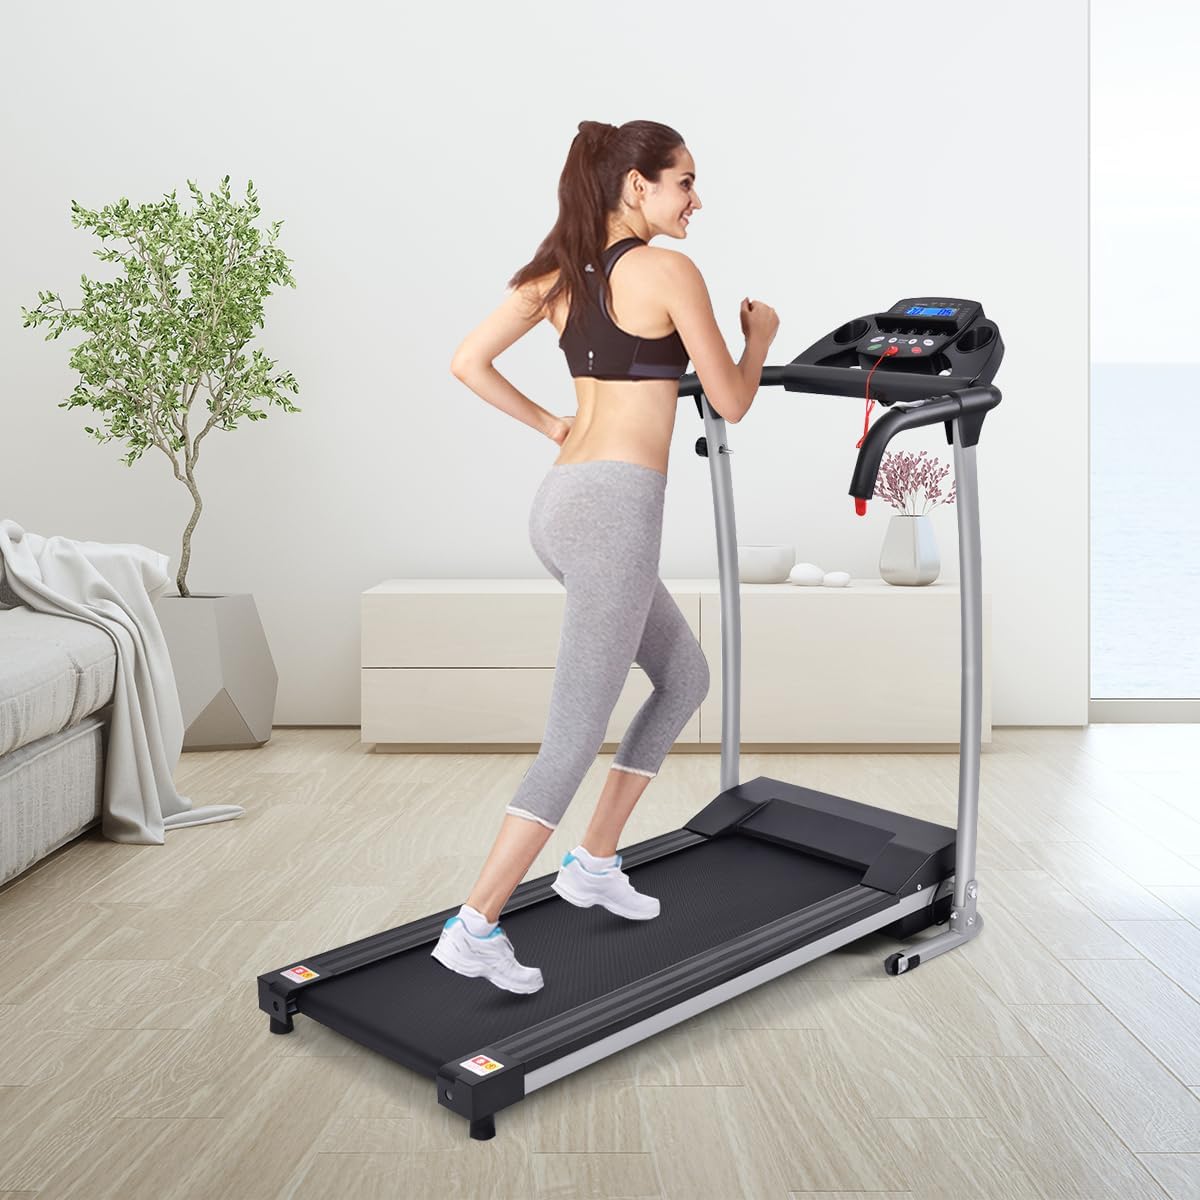
Image: A detailed diagram labeling key components of the Goplus Folding Treadmill, including the control panel, handrails, running belt, and wheels.
- Main Frame Assembly (includes running belt, motor, base)
- Console/Control Panel
- Left and Right Upright Posts
- Handrails with Heart Rate Sensors
- Safety Key
- Mobile Phone/Tablet Holder
- Assembly Hardware (bolts, washers, nuts, tools)
- Power Cord
4. Setup and Assembly
The Goplus Folding Treadmill comes mostly pre-assembled. Follow these steps for final setup.
- Unpacking: Carefully remove all components from the packaging. Place the main frame on a clear, flat surface.
- Raise Upright Posts: Lift the upright posts into their vertical position.
- Attach Console: Secure the console/control panel to the top of the upright posts using the provided hardware. Ensure all cables are properly connected.
- Secure Handrails: Attach the handrails to the upright posts, ensuring they are firm and stable.
- Final Checks: Double-check all bolts and connections to ensure they are tightened securely. Plug the power cord into a grounded outlet.
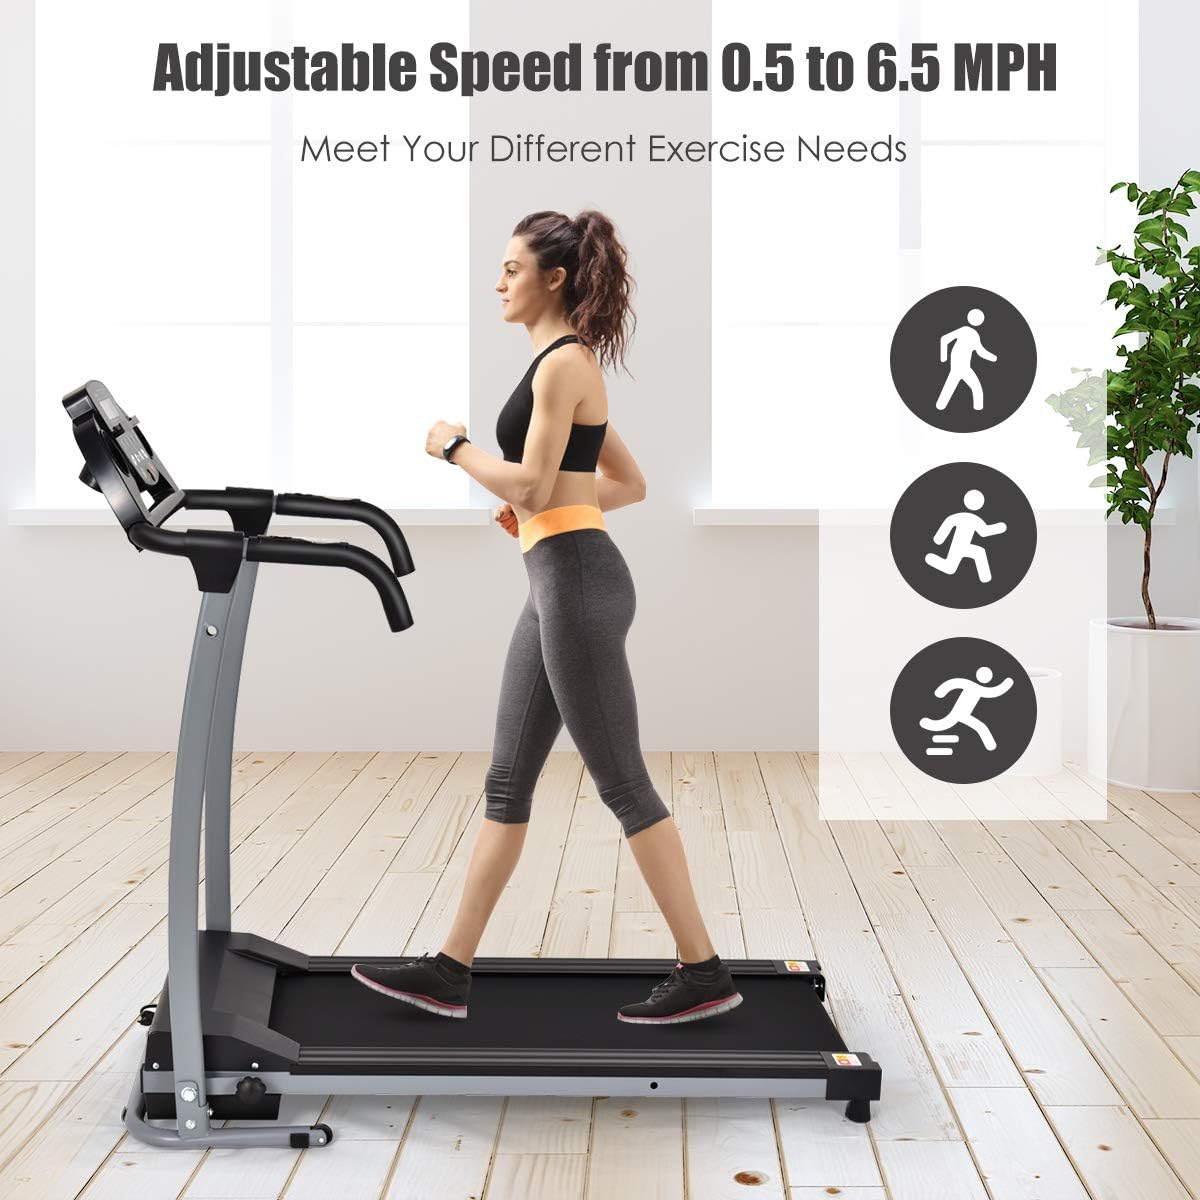
Image: A user walking on the treadmill, illustrating its adjustable speed capabilities for various exercise needs.
5. Operating Instructions
Familiarize yourself with the control panel and basic operations.
5.1 Control Panel Overview
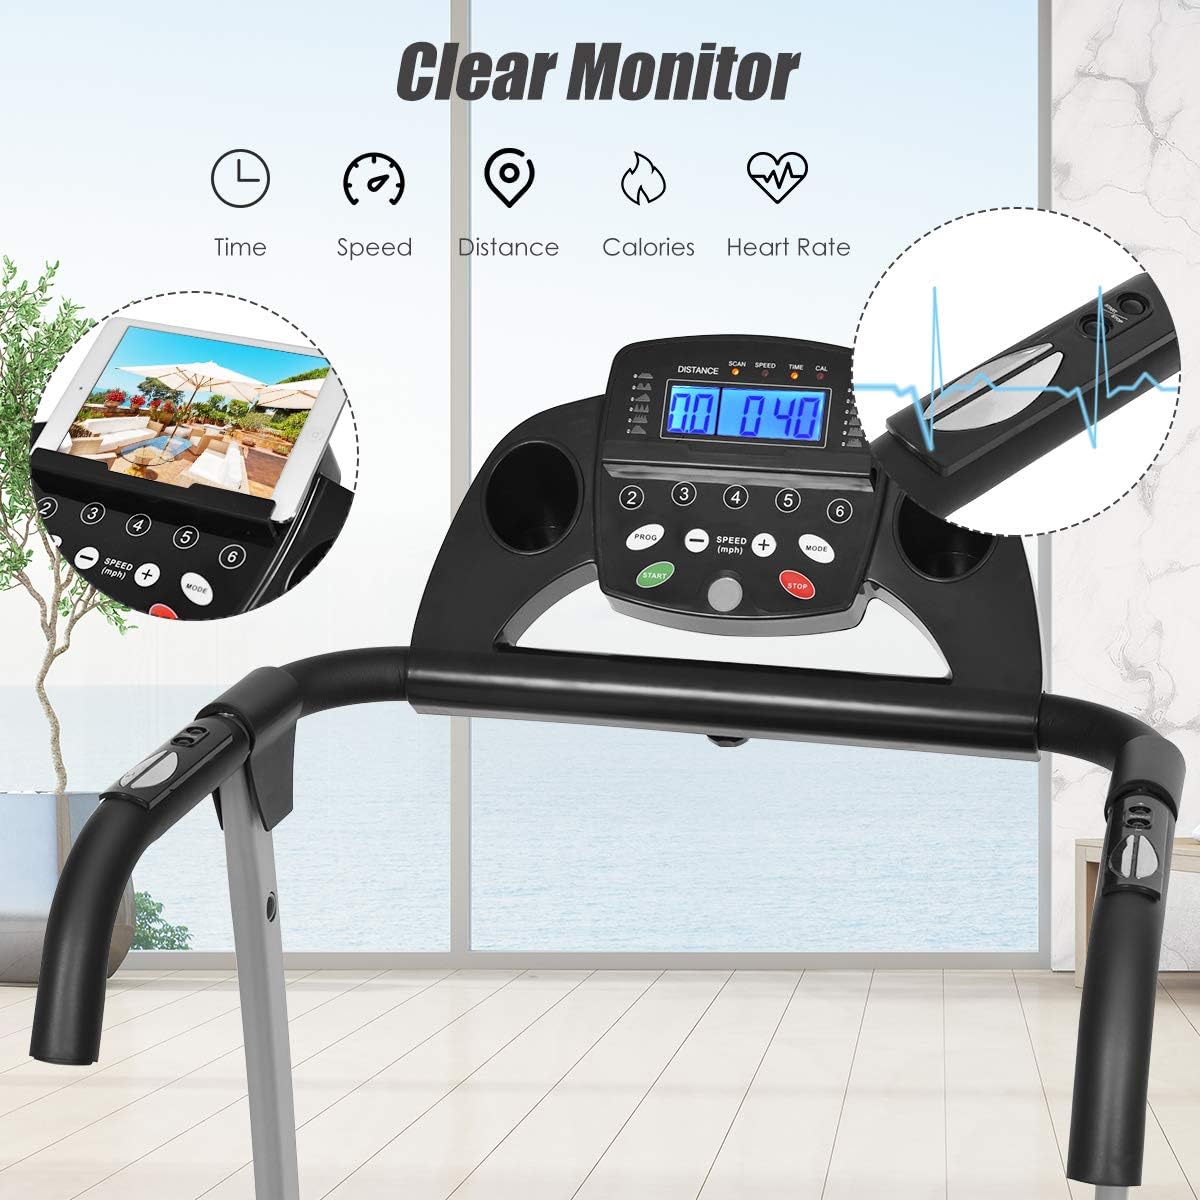
Image: Close-up of the treadmill's clear LED monitor displaying metrics like time, speed, distance, calories, and heart rate, along with the mobile phone holder.
- LED Display: Shows Time, Speed, Distance, Calories Burned, and Heart Rate.
- START Button: Initiates the treadmill belt movement.
- STOP Button: Halts the treadmill belt movement.
- Speed +/- Buttons: Adjust the running belt speed.
- PROG (Program) Button: Selects pre-set workout programs.
- MODE Button: Toggles between display modes or sets target values.
- Safety Key Slot: Insert the safety key to enable operation. Removing it will stop the treadmill.
- Heart Rate Sensors: Integrated into the handrails to monitor pulse.
5.2 Starting and Stopping the Treadmill
- Ensure the safety key is properly inserted into its slot on the console.
- Step onto the treadmill side rails.
- Press the START button. The belt will begin to move at a low speed after a brief countdown.
- To stop, press the STOP button or pull the safety key.
5.3 Adjusting Speed
Use the Speed +/- buttons on the console or handrails to increase or decrease the belt speed. The speed range is typically from 0.5 MPH to 6.5 MPH.
5.4 Using Pre-set Programs
Press the PROG button to cycle through the available pre-set workout programs. Each program has varying speed and duration profiles. Refer to the display for program details.
5.5 Heart Rate Monitoring
Grasp the heart rate sensors on the handrails with both hands. Your pulse will be displayed on the LED screen after a few seconds. For accurate readings, ensure your hands are clean and firmly placed on the sensors.
6. Maintenance
Regular maintenance ensures the longevity and optimal performance of your treadmill.
- Cleaning: Wipe down the treadmill surfaces with a damp cloth after each use. Avoid abrasive cleaners.
- Belt Lubrication: The running belt requires periodic lubrication to reduce friction and wear. Refer to the specific lubrication instructions provided with your treadmill's lubricant. Typically, this is done every few months depending on usage.
- Belt Adjustment: If the running belt shifts to one side or slips, it may need adjustment. Use the provided Allen wrench to turn the rear roller adjustment bolts. Turn clockwise to move the belt to the right, counter-clockwise to move it to the left. Adjust in small increments (quarter turns) and test.
- Storage: The treadmill features a foldable design for easy storage. To fold, remove the black round knob at the bottom, lift the running deck until it locks into the upright position. Use the built-in wheels for easy relocation.

Image: The Goplus Folding Treadmill shown in its upright, folded position, demonstrating its space-saving design for home storage.
7. Troubleshooting
Refer to this section for solutions to common issues.
| Problem | Possible Cause | Solution |
|---|---|---|
| Treadmill does not start. | Safety key not inserted; Power cord not plugged in; Main power switch off. | Ensure safety key is fully inserted. Check power cord connection. Verify main power switch (often near the base) is ON. |
| Belt slips or hesitates. | Belt too loose; Insufficient lubrication. | Adjust belt tension using the rear roller bolts. Lubricate the running belt as per maintenance instructions. |
| Unusual noise during operation. | Loose components; Belt friction; Motor issue. | Check all assembly bolts for tightness. Lubricate the belt. If noise persists, contact customer support. |
| Display not working. | Loose cable connection; Power issue. | Check console cable connections. Ensure power is supplied to the unit. |
| E07 Error Code. | Often indicates a motor or wiring issue. | This error typically requires professional inspection. Disconnect power and contact customer support. Do not attempt to repair internal wiring unless qualified. |
8. Specifications
Key technical specifications for the Goplus Folding Treadmill.
| Feature | Detail |
|---|---|
| Brand | Goplus |
| Model Name | treadmill (HPK37709BK) |
| Product Dimensions (LxWxH) | 48.5"D x 20"W x 44.5"H |
| Folded Size | 37.4" x 57.9" x 26.8" |
| Item Weight | 55 Pounds |
| Material | Alloy Steel |
| Maximum Speed | 6.5 Miles per Hour |
| Minimum Speed | 0.5 Miles per Hour |
| Maximum Weight Recommendation | 220 Pounds |
| Deck Length | 40 Inches |
| Deck Width | 14.5 Inches |
| Display Type | LED |
| Number of Programs | 12 |
| Power Source | Electric |
| Input Power | 800 Watts |
| Included Components | Safety Key |

Image: Diagram illustrating the dimensions of the Goplus Folding Treadmill in both operational and folded states, along with its 220 lbs weight capacity.
9. Warranty and Support
Your Goplus Folding Treadmill comes with a manufacturer's warranty. For specific terms and conditions, please refer to your purchase documentation.
- Warranty Period: 3 months from the date of purchase.
- Customer Support: For technical assistance, parts replacement, or warranty claims, please contact Goplus customer service. Refer to your purchase receipt or the Goplus official website for contact information.
- Online Resources: Additional support and FAQs may be available on the Goplus website.
Related documentsHPK37709BK


Ask a question about this manual
Ask about setup, troubleshooting, compatibility, parts, safety, or missing instructions. Manuals+ will review the question and use this page’s manual context to help answer it.