Product Overview
This document provides instructions for the installation, operation, and maintenance of the CarLights360 Driver Side Headlight Assembly, designed as a direct replacement for Saturn LW200 models from 2001 to 2002. This assembly is DOT Certified, ensuring it meets stringent quality standards.
The assembly includes all necessary components: bulbs, lens, housing, and socket, and is factory sealed for new condition upon arrival.

Figure 1: Front view of the CarLights360 Driver Side Headlight Assembly.
Important Safety Information
Warning: This product is an aftermarket replacement part. It is not manufactured or sold by the original vehicle manufacturer. Always ensure the vehicle is turned off and the battery is disconnected before performing any installation or maintenance to prevent electrical shock or damage.
Professional installation is recommended. If you are unsure about any step, consult a qualified automotive technician.
Installation Guide
This section outlines the general steps for replacing a headlight assembly. Specific vehicle procedures may vary. Refer to your vehicle's service manual for detailed instructions.
1. Verify Compatibility and Side
Before beginning installation, confirm that the replacement headlight assembly matches your vehicle's specifications and the correct side (Driver Side/Left Hand Side).

Figure 2: Illustration clarifying vehicle side orientation. Driver Side is Left Hand (LH), Passenger Side is Right Hand (RH).
This headlight assembly is for the Driver Side, which corresponds to the Left Hand (LH) side of the vehicle when viewed from the rear.
2. Preparation
- Park the vehicle on a level surface and engage the parking brake.
- Turn off the engine and remove the key from the ignition.
- Disconnect the negative terminal of the vehicle's battery to prevent electrical hazards.
- Gather necessary tools, which may include screwdrivers, wrenches, and a trim removal tool.
3. Removal of Old Headlight Assembly
- Locate and remove any fasteners (bolts, screws, clips) securing the old headlight assembly. These are typically found around the perimeter of the assembly and sometimes behind the bumper or fender liner.
- Carefully pull the old assembly away from the vehicle. It may require gentle wiggling to dislodge.
- Disconnect the electrical connectors from the bulbs and the main wiring harness.
- Remove the old headlight assembly completely.
4. Installation of New Headlight Assembly
- Connect the electrical connectors from the vehicle's wiring harness to the new headlight assembly. Ensure connections are secure.
- Carefully position the new headlight assembly into its mounting location. Ensure all tabs and mounting points align correctly.
- Secure the new assembly using the original fasteners. Do not overtighten.
- Reconnect the negative terminal of the vehicle's battery.
5. Post-Installation Check and Adjustment
- Turn on the vehicle's headlights (low beam and high beam) and turn signals to verify proper function.
- Check for proper alignment of the headlight beam. If adjustment is needed, consult your vehicle's service manual for the location of adjustment screws and the correct procedure.
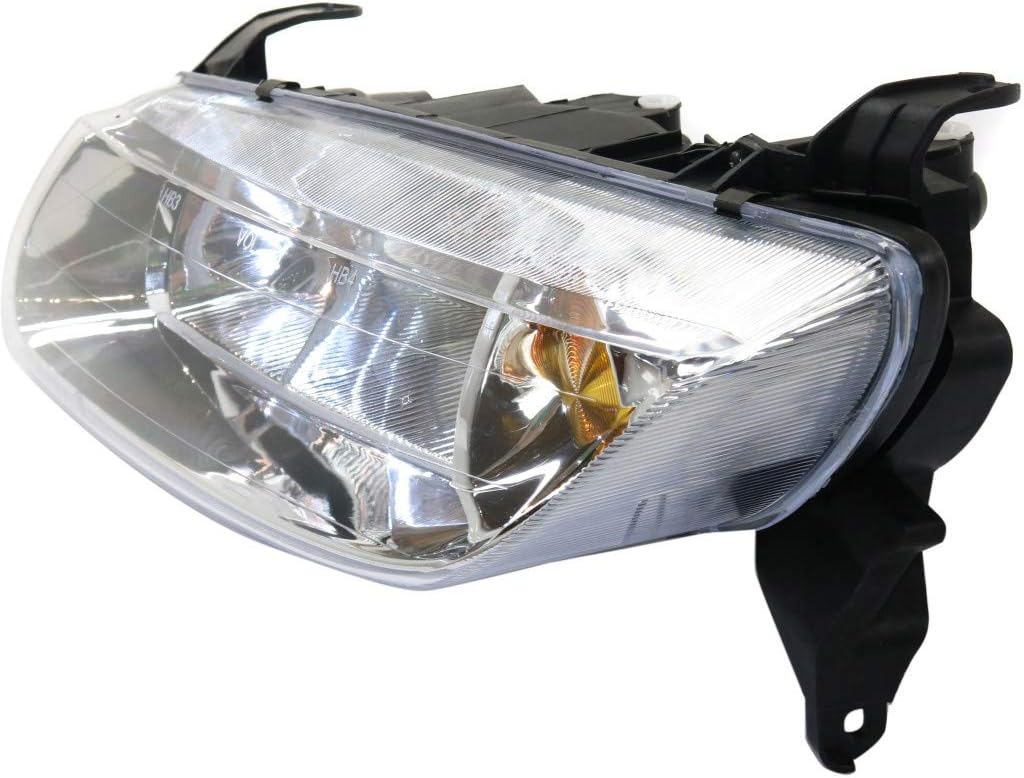
Figure 3: Rear view of the headlight assembly, illustrating the bulb and wiring connections.
Operating Instructions
The CarLights360 Headlight Assembly operates in conjunction with your vehicle's existing electrical system and headlight switch. Refer to your vehicle's owner's manual for specific instructions on operating your headlights, including low beam, high beam, and parking light functions.
- Low Beams: Used for general driving, especially at night or in low-light conditions.
- High Beams: Provide maximum illumination for driving on unlit roads. Use only when no oncoming traffic is present to avoid blinding other drivers.
- Turn Signals: Activated via the turn signal stalk to indicate a turn or lane change.
Maintenance
Proper maintenance ensures optimal performance and longevity of your headlight assembly.
- Cleaning: Regularly clean the headlight lens with a soft cloth and mild automotive cleaning solution to remove dirt, dust, and road grime. Avoid abrasive cleaners that can scratch the lens.
- Bulb Replacement: This assembly comes with bulbs pre-installed. If a bulb needs replacement, refer to your vehicle's owner's manual or a qualified technician for the correct bulb type and replacement procedure. Always handle new bulbs by their base to avoid contaminating the glass with oils from your skin.
- Inspection: Periodically inspect the headlight assembly for any signs of damage, cracks, or moisture intrusion. Address any issues promptly to prevent further damage.
Troubleshooting
| Problem | Possible Cause | Solution |
|---|---|---|
| Headlight not illuminating |
|
|
| Headlight flickering |
|
|
| Moisture inside headlight |
|
|
Specifications
| Feature | Detail |
|---|---|
| Brand | CarLights360 |
| Model | LW200 |
| Part Number | TY-Fits-GM2502200-CL360A8 |
| OEM Part Number Equivalent | 90583594 |
| Partslink Number Equivalent | GM2502200 |
| Vehicle Compatibility | Saturn LW200 (2001-2002) |
| Position | Driver Side (Left) |
| Safety Rating | DOT Certified |
| Light Source Type | Halogen |
| Voltage | 12V |
| Special Feature | Waterproof |
| Lens Color | Clear |
| Dimensions (L x W x H) | 17.16 x 10.49 x 7.15 inches |
| Item Weight | 4.64 pounds |
| UPC | 749235765550 |
Warranty and Support
For warranty information or technical support regarding your CarLights360 Headlight Assembly, please contact the seller or manufacturer directly. Ensure you have your purchase details and product model number (TY-Fits-GM2502200-CL360A8) available when contacting support.
This product is sold by KarParts360. For assistance, you may visit their store page or contact them through the platform where the purchase was made.