1. Safety Instructions
Always prioritize safety when operating the Auarita HVLP H-887P spray gun. Failure to follow these instructions may result in injury or damage to property.
- Read and understand all safety instructions before use.
- Keep the spray gun away from heat sources and open flames.
- Operate the spray gun in a well-ventilated area to prevent inhalation of fumes.
- Always wear personal protective equipment (PPE), including safety glasses and gloves. A respirator is also recommended.
- Never point the spray gun at people or animals.
- In case of skin or eye contact with paint or solvents, rinse thoroughly with water and seek medical attention if irritation persists.
- Dispose of the product and its packaging in accordance with local regulations.
- Ensure the air compressor is turned off and depressurized before connecting or disconnecting the spray gun.
2. Product Overview
The Auarita HVLP H-887P is a professional-grade spray gun designed for efficient and precise application of various coatings. Utilizing High Volume Low Pressure (HVLP) technology, it offers significant material savings compared to traditional HP systems, making it ideal for painting steel structures, tools, and furniture with a uniform finish.
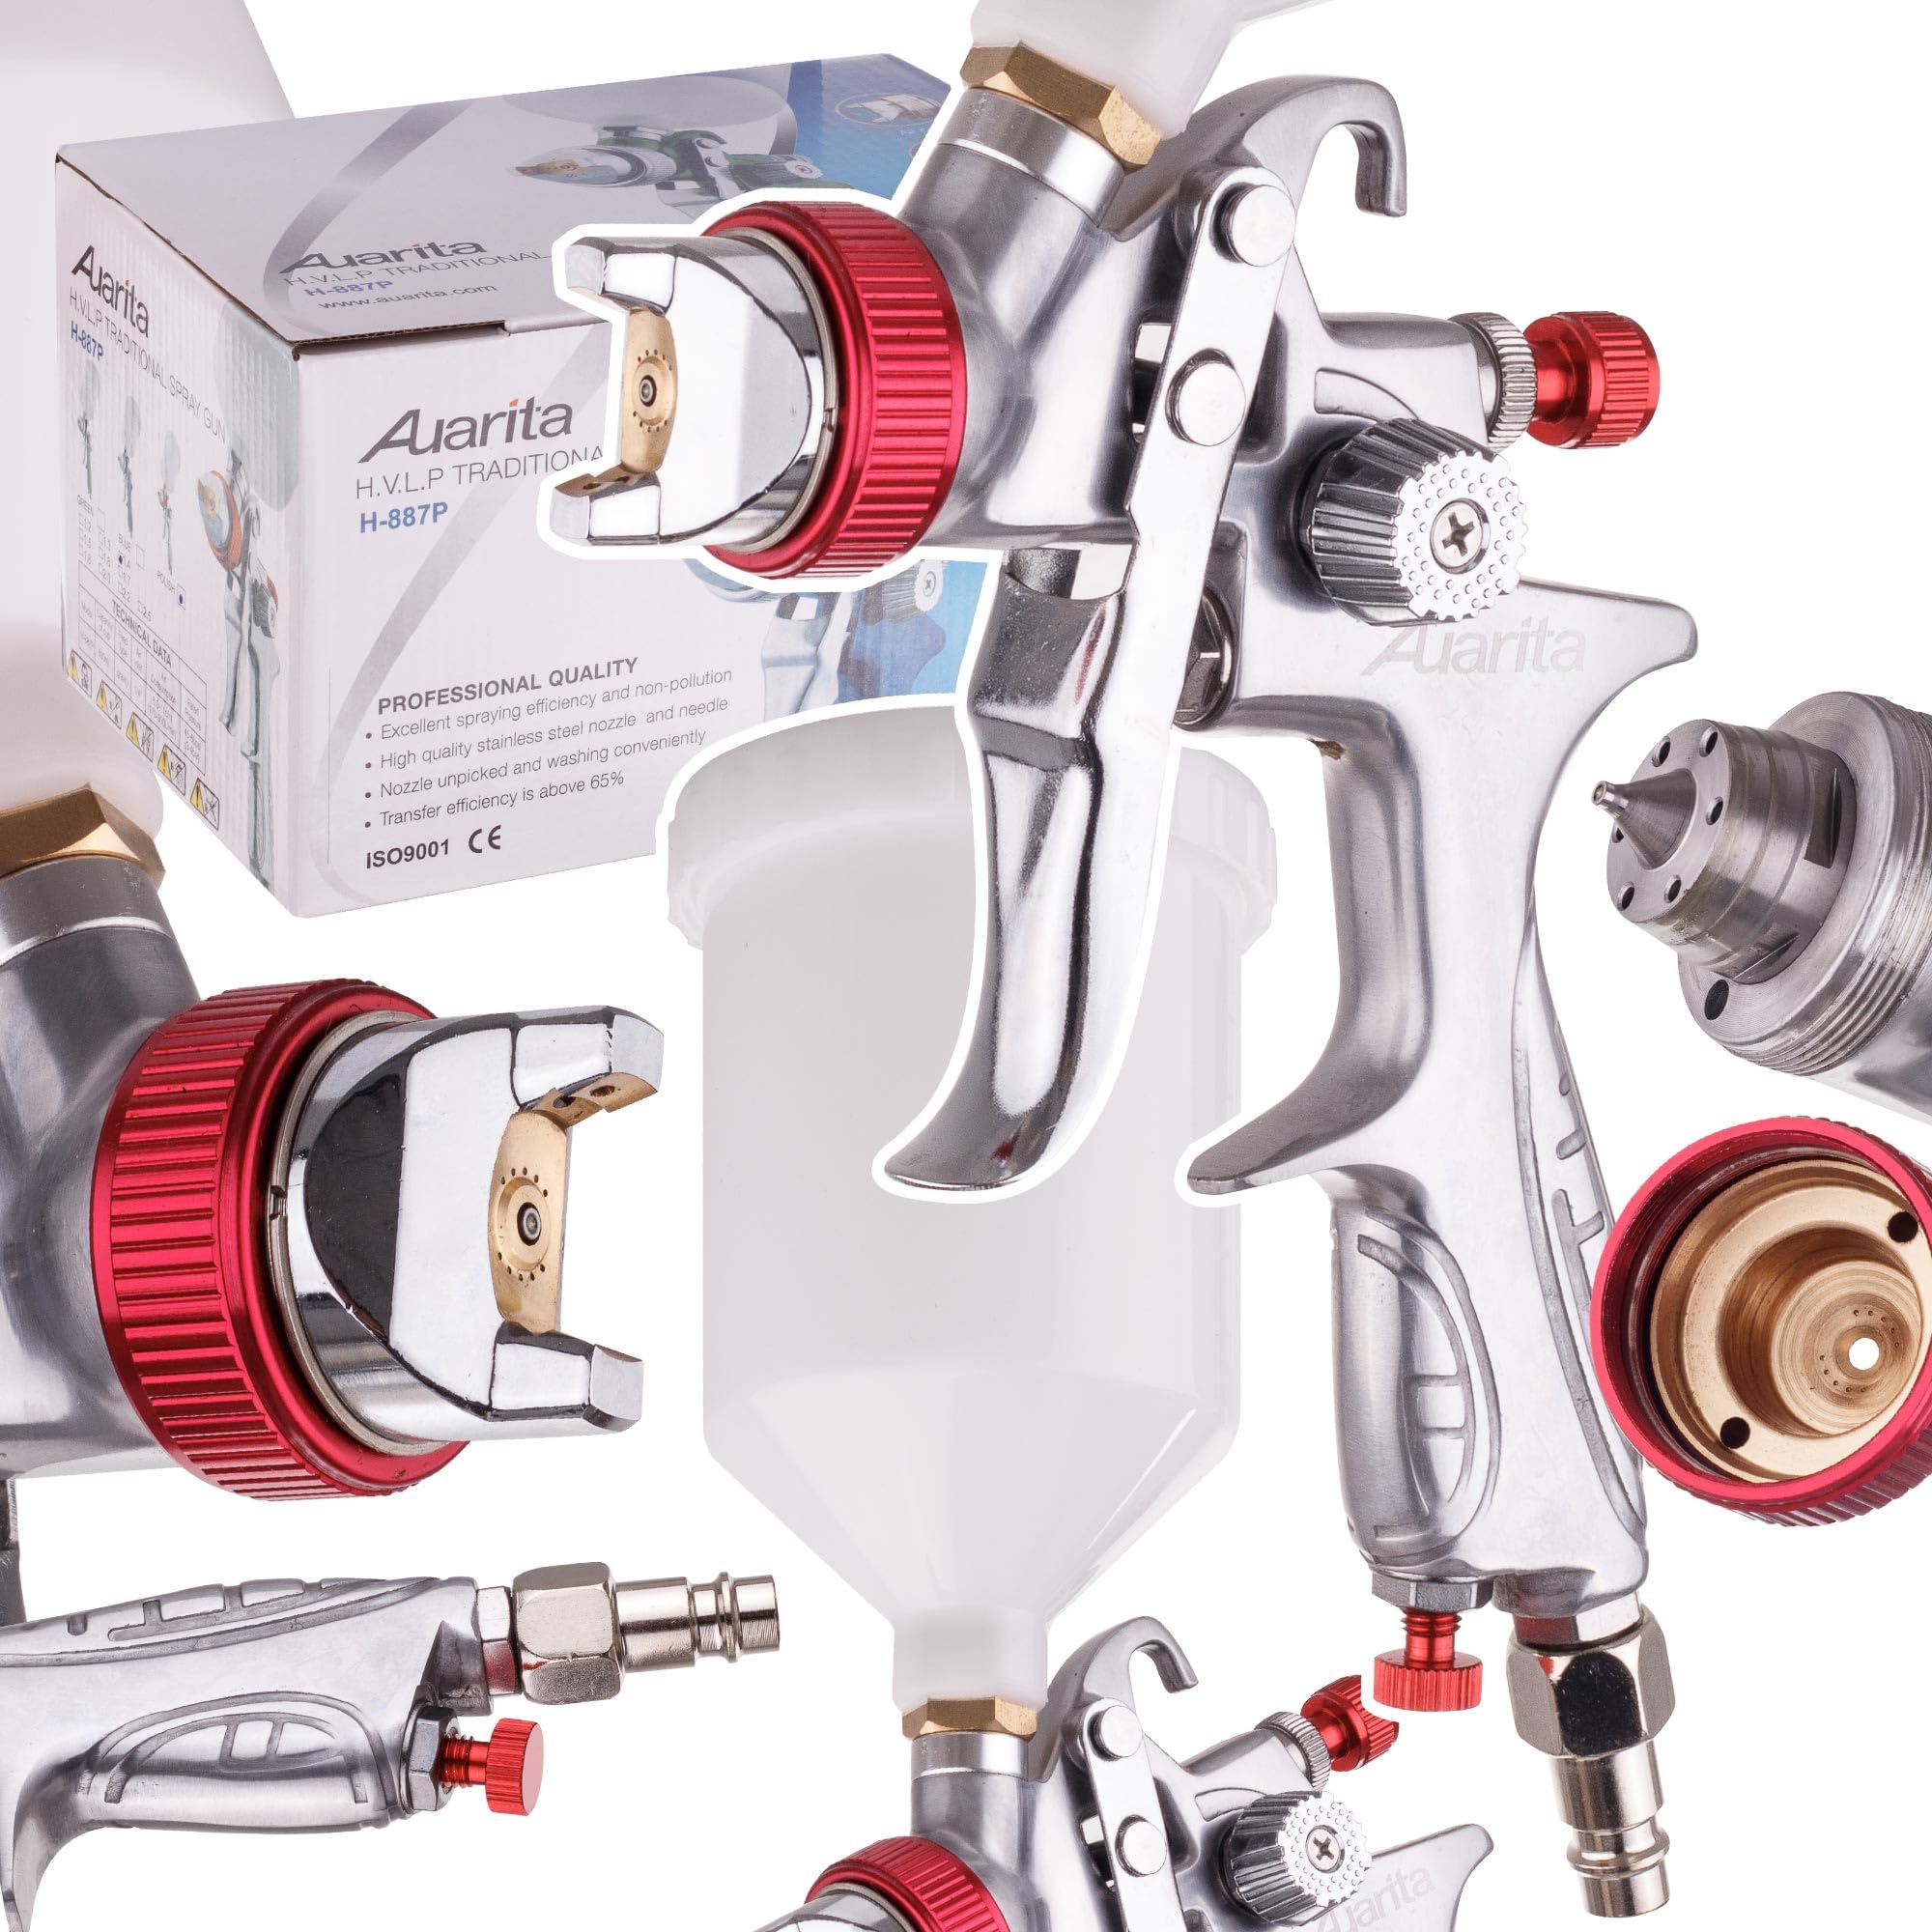
Image 2.1: The Auarita HVLP H-887P spray gun with its 600ml paint cup attached.
Key Features:
- HVLP Technology: Advanced system for lower pressure operation and up to 30% material savings.
- Three Adjustment Modes: Control paint quantity, spray pattern, and air pressure for versatile application.
- Durable Construction: Designed for reliability and professional use, suitable for sticky and heavy materials.
- 600ml Capacity Cup: Provides ample capacity for various painting tasks.
- 1.3mm Nozzle: Optimized for a wide range of paints and finishes.
3. Setup
Proper setup ensures optimal performance and safety.
- Unpack and Inspect: Carefully remove all components from the packaging. Inspect the spray gun for any signs of damage. Ensure all parts are present, including the spray gun body, paint cup, nozzle, and air cap.
- Connect Air Supply: Attach the spray gun to a suitable air compressor using a compatible air hose. Ensure the connection is secure and leak-free. The spray gun operates at a working pressure of 3-4 Bar.
- Prepare Paint: Mix your paint or coating material according to the manufacturer's instructions. Ensure it is properly thinned for spray application. Strain the paint to remove any particles that could clog the nozzle.
- Fill Paint Cup: Pour the prepared paint into the 600ml capacity paint cup. Securely attach the cup to the spray gun body.
- Assemble Nozzle (if disassembled): Ensure the nozzle, fluid needle, and air cap are correctly assembled and tightened. Refer to the maintenance section for detailed assembly.

Image 3.1: Detail of the air inlet connection point and air pressure adjustment knob.

Image 3.2: Close-up view of the nozzle and air cap assembly on the spray gun.
4. Operation
Follow these steps for effective and controlled painting.
- Adjust Air Pressure: Set your air compressor to the recommended working pressure of 3-4 Bar (43-58 PSI). Use the air adjustment knob on the spray gun to fine-tune the airflow.
- Adjust Fluid Control: The fluid control knob (usually at the back of the gun) regulates the amount of paint flowing through the nozzle. Turn clockwise for less paint, counter-clockwise for more.
- Adjust Spray Pattern: The spray pattern adjustment knob (often on the side or top) allows you to change the shape of the spray from a round spot to a wide fan. Test on a scrap piece of material to achieve the desired pattern.
- Test Spray: Before painting your actual workpiece, perform a test spray on a piece of cardboard or scrap material. Adjust the fluid, air, and pattern controls until you achieve an even, consistent spray.
- Painting Technique:
- Hold the spray gun perpendicular to the surface, maintaining a consistent distance (typically 15-25 cm or 6-10 inches).
- Move the gun at a steady, even pace across the surface.
- Overlap each pass by about 50% to ensure even coverage.
- Release the trigger at the end of each pass and re-engage before starting the next.
- Apply Multiple Coats: For best results, apply several thin coats rather than one thick coat. Allow adequate drying time between coats as recommended by your paint manufacturer.
5. Maintenance
Regular cleaning and maintenance are crucial for the longevity and performance of your spray gun.
- Immediate Cleaning After Use:
- Empty any remaining paint from the cup.
- Pour a small amount of appropriate cleaning solvent (e.g., paint thinner, lacquer thinner, water for water-based paints) into the cup.
- Spray the solvent through the gun until it runs clear.
- Disassembly for Thorough Cleaning:
- Disconnect the spray gun from the air supply.
- Remove the paint cup.
- Unscrew the air cap and then the fluid nozzle.
- Carefully remove the fluid needle from the back of the gun.
- Clean Components: Use a cleaning brush and appropriate solvent to thoroughly clean the air cap, fluid nozzle, and fluid needle. Pay close attention to all small holes and passages. Do not use metal objects to clean the nozzle holes as this can damage them.
- Clean Gun Body: Wipe down the exterior of the gun body with a solvent-dampened cloth. Do not immerse the entire gun body in solvent.
- Lubrication: Apply a small amount of spray gun lubricant to the fluid needle packing and air valve packing.
- Reassembly: Reassemble the spray gun in reverse order of disassembly. Ensure all parts are securely tightened but do not overtighten.
- Storage: Store the clean and dry spray gun in a safe, dry place, away from extreme temperatures.

Image 5.1: Exploded view of the nozzle, air cap, and fluid needle for cleaning.
6. Troubleshooting
Refer to the table below for common issues and their potential solutions.
| Problem | Possible Cause | Solution |
|---|---|---|
| Pulsating or inconsistent spray | Low paint level, clogged air vent in cup, loose fluid nozzle, insufficient air pressure. | Refill cup, clear air vent, tighten nozzle, increase air pressure. |
| No paint flow | Clogged nozzle/fluid passage, fluid needle stuck, paint too thick. | Clean nozzle/passages, check needle movement, thin paint. |
| Uneven or distorted spray pattern | Dirty or damaged air cap, clogged air horn, incorrect air pressure. | Clean or replace air cap, clear air horn, adjust air pressure. |
| Excessive overspray | Too much air pressure, gun too far from surface, paint too thin. | Reduce air pressure, move gun closer, thicken paint. |
| Paint leaking from nozzle | Loose fluid nozzle, worn fluid needle packing, damaged nozzle. | Tighten nozzle, replace packing, replace nozzle. |
7. Specifications
Technical data for the Auarita HVLP H-887P Spray Gun.
| Feature | Specification |
|---|---|
| Model Number | H-887P |
| Nozzle Size | 1.3 mm |
| Technology | HVLP (High Volume Low Pressure) |
| Tank Capacity | 600 ml |
| Air Consumption | 170-300 l/min |
| Working Pressure | 3-4 Bar (43-58 PSI) |
| Product Dimensions | 27 x 16 x 19 cm |
| Product Weight | 1 kg |
| Recommended Uses | Painting (Acrylic, Metallics) |
| Power Source | Pneumatic |
| Manufacturer | Kastor (Brand: Auarita) |
| Country of Origin | China |
8. Warranty and Support
For warranty information, technical support, or replacement parts, please contact your original retailer or the manufacturer, Auarita. Keep your purchase receipt as proof of purchase.