
Introduction
This manual provides detailed instructions for the setup, operation, maintenance, and troubleshooting of your Browning Dark Ops HD APEX trail camera, model BTC-6HD-APX. This camera is designed for covert surveillance, capturing high-quality images and videos in various outdoor conditions.
The Browning Dark Ops HD APEX features an 18 MP camera for still images and records 1600 x 900 HD+ videos with sound. It boasts a rapid 0.22-second trigger speed and a 0.6-second recovery time. For night operation, it utilizes invisible infrared LED illumination up to 82 feet, enhanced by Illuma-Smart technology for optimal exposure. The camera supports SDXC memory cards up to 512 GB and operates on 6 AA batteries, with an option for a 12V external power source.

The official logo for the Dark Ops APEX Sub Micro Series, indicating the product line.
Setup
1. Battery Installation
The camera requires 6 AA batteries (not included). Open the battery compartment located on the back of the camera. Insert the batteries according to the polarity indicators (+/-) inside the compartment. Ensure the compartment cover is securely closed to maintain the camera's IP65 weather resistance.
2. SD Card Installation
The camera supports SDXC memory cards up to 512 GB (not included). Locate the SD card slot, typically on the side or bottom of the camera body. Insert the SD card with the label facing up until it clicks into place. To remove, push the card in slightly until it springs out.

Front view of the Browning Dark Ops HD APEX camera, showing the display screen, navigation buttons, and SD card slot.
3. Mounting the Camera
The camera features a standard 1/4"-20 tripod socket for mounting on a tripod or a compatible mounting bracket. It also includes a strap pass-through for securing it to a tree or post. Position the camera to capture the desired area, ensuring it is stable and free from obstructions.

A Browning trail camera mounted on a tree, demonstrating typical outdoor deployment.
4. Powering On/Off
Locate the power switch, usually marked ON/OFF, inside the camera's control panel. Slide the switch to the 'ON' position to power on the camera. The display will illuminate, indicating the camera is active. To power off, slide the switch to 'OFF'.
5. Initial Settings
Upon first power-up or after a battery change, you may need to set the date, time, and operating mode. Use the navigation buttons (up, down, left, right, OK) to navigate the menu on the display screen. Refer to the 'Operating' section for detailed menu navigation.
Operating Instructions
1. Selecting Operating Modes
The Dark Ops HD APEX offers various operating modes:
- Trail Camera Mode: Captures images or videos when motion is detected by the infrared sensor.
- Time-Lapse Mode: Captures images at pre-set intervals, useful for monitoring large areas over time.
- IR Triggered Images: Can be combined with Time-Lapse mode to capture motion-triggered images during time-lapse sequences.
Navigate to the 'Mode' setting in the camera menu to select your desired operation.
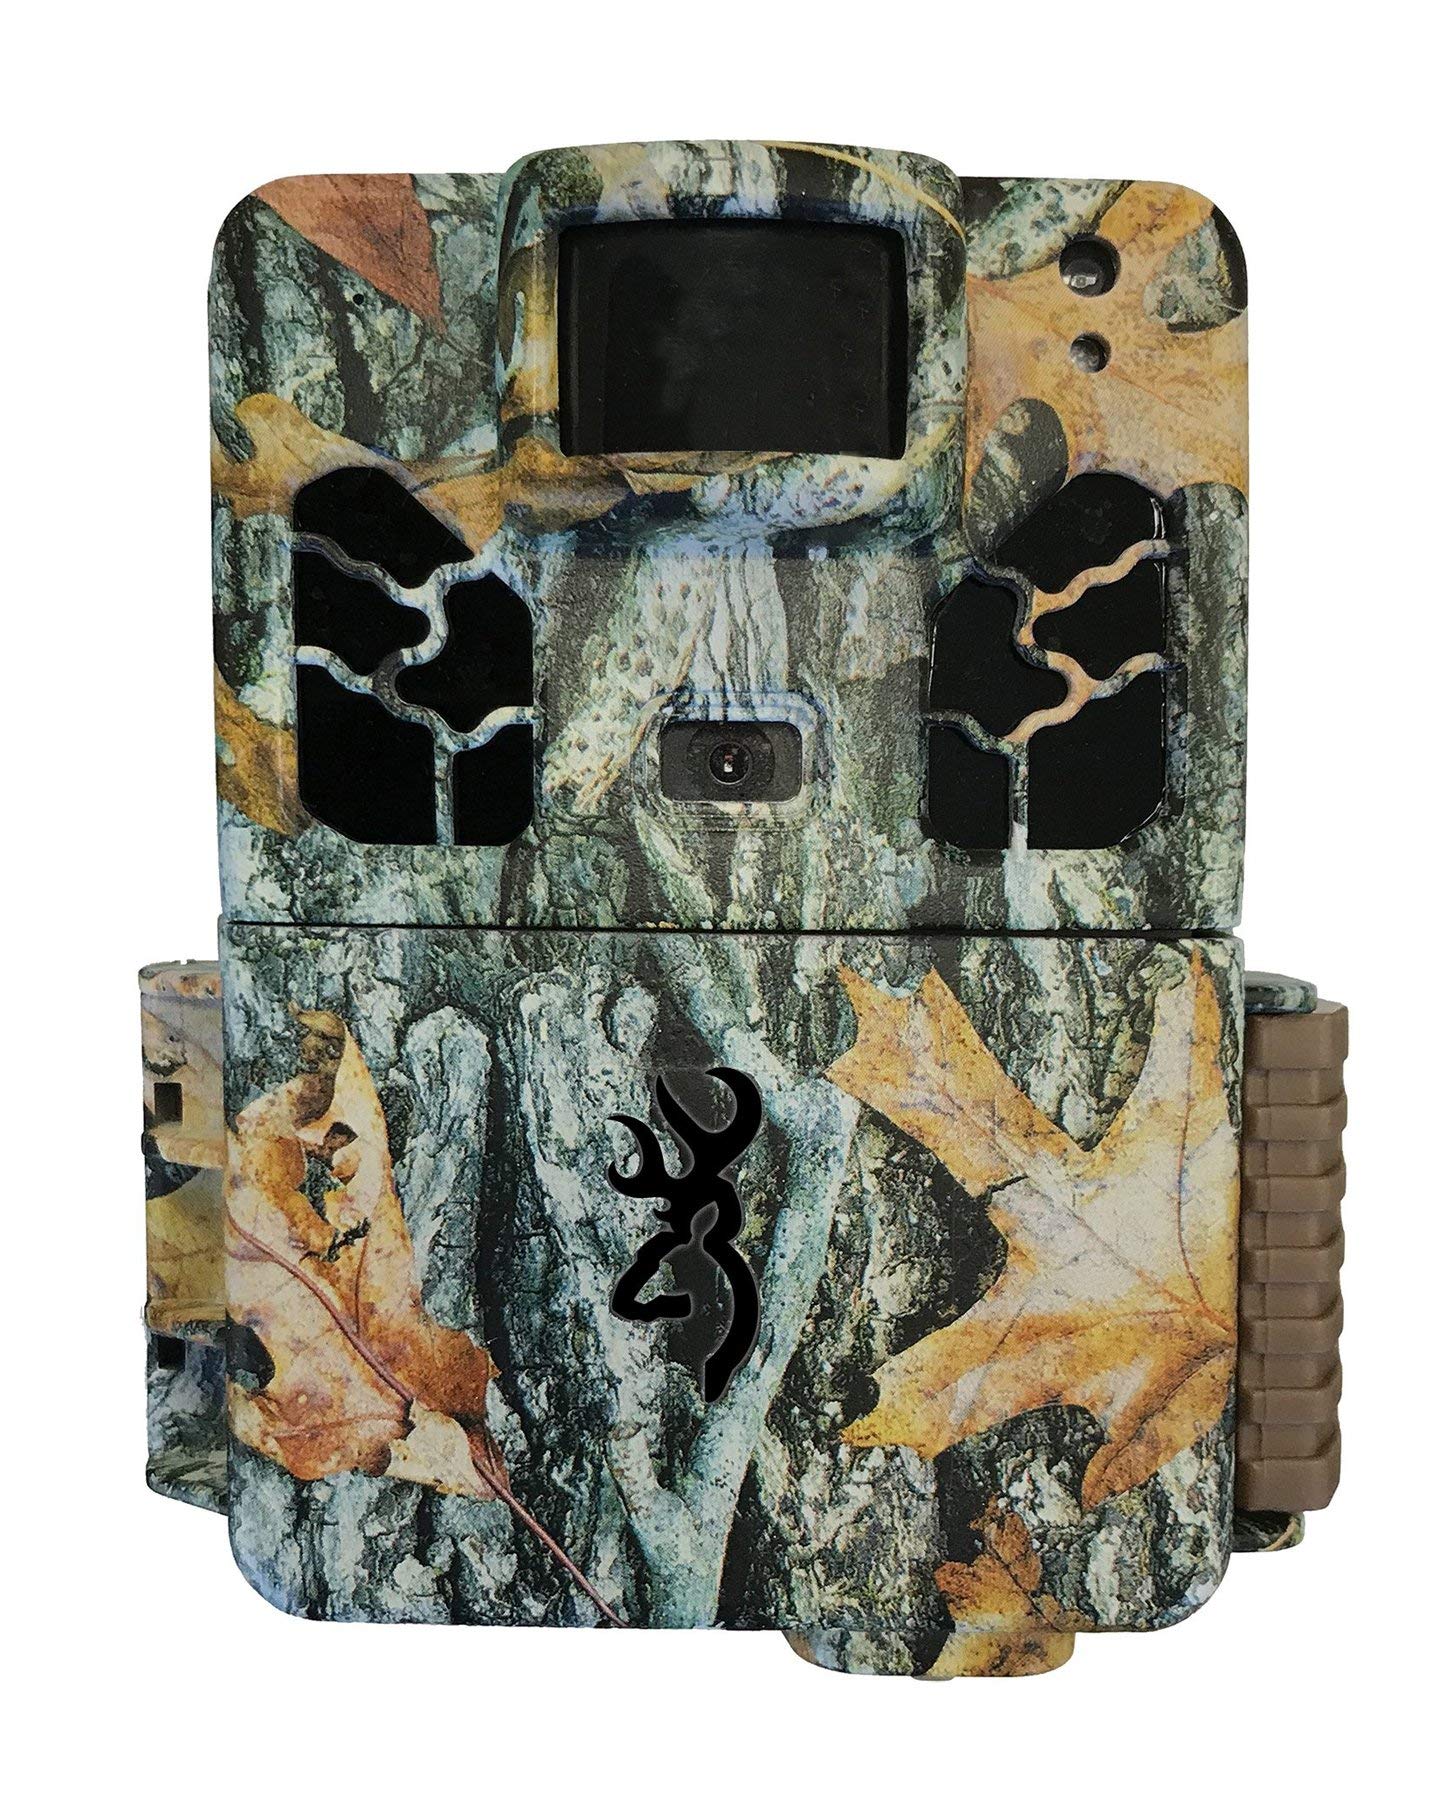
A close-up of the Browning Dark Ops HD APEX camera's front panel, showing the illuminated display and control buttons during operation.
2. Photo and Video Capture
- Still Images: The camera captures 18 MP photos. You can configure multi-shot (up to 8 images per trigger) and rapid-fire modes for continuous capture.
- Videos: Records 1600 x 900 HD+ videos with sound, with adjustable lengths from 5 seconds to 2 minutes.
3. Infrared (IR) Flash and Illumination
The camera uses invisible IR LEDs for night illumination up to 82 feet. The Illuma-Smart technology automatically adjusts the IR flash power for optimal night photos, ensuring clear images without overexposure. IR flash power can also be adjusted manually through the settings.
4. Programmable Delay
Set a programmable image delay from 1 second to 60 minutes between captures to prevent filling the SD card with redundant images of the same event.
5. SD Card Management
The camera offers SD card management options, including formatting the card directly from the camera menu. Regularly check the remaining space on your SD card to ensure continuous recording.
6. External Power
A 12V external power connector is available for extended operation, allowing you to connect an external battery pack (not included) for longer deployment times.
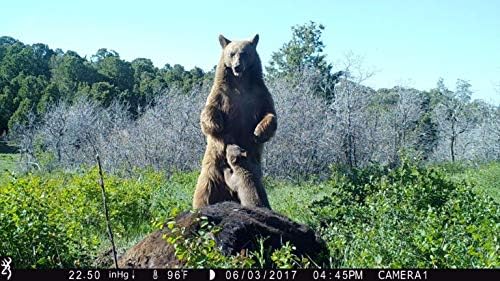
An example image captured by a trail camera, showing a bear and its cub in a natural habitat, demonstrating the camera's capabilities.
Maintenance
- Battery Replacement: Replace all 6 AA batteries when the battery indicator shows low power. Always use fresh, high-quality alkaline or lithium batteries for optimal performance and cold weather operation.
- SD Card Management: Regularly check the SD card for capacity. Format the SD card periodically to maintain optimal performance and prevent data corruption. Back up important files before formatting.
- Cleaning: Keep the camera lens, IR LEDs, and motion sensor window clean. Use a soft, lint-free cloth to gently wipe away dust, dirt, or moisture. Avoid abrasive materials or harsh chemicals. Ensure the camera housing is free of debris, especially around seals, to maintain weather resistance.
Troubleshooting
Camera Not Capturing Images/Videos
- Check Batteries: Ensure batteries are fresh and inserted with correct polarity.
- Verify SD Card: Confirm the SD card is properly inserted, not full, and formatted correctly.
- Sensor Obstruction: Ensure the motion sensor window is clear of debris or spiderwebs.
- Trigger Delay: Check if the programmable delay is set too long for the desired capture frequency.
Poor Image/Video Quality at Night
- IR Flash Enabled: Ensure the IR flash is enabled in the camera settings.
- Distance to Subject: Objects too far from the camera may not be adequately illuminated by the IR flash.
- Clean Lens/IR Window: Dirt or condensation on the lens or IR LED window can degrade image quality.
Short Battery Life
- Battery Type: Use high-quality alkaline or lithium batteries. Avoid mixing old and new batteries or different brands.
- Environmental Conditions: Cold temperatures can significantly reduce battery performance.
- Frequent Activity: High activity levels (many photos/videos) will consume batteries faster. Consider adjusting trigger delay or using external power.
SD Card Errors
- Reinsert Card: Remove and reinsert the SD card to ensure proper contact.
- Format Card: Format the SD card using the camera's menu. If issues persist, try a different SD card.
- Card Compatibility: Ensure the SD card is a compatible SDXC type and within the supported size (up to 512 GB).
Specifications
| Brand | Browning |
| Model Name | BTC-6HD-APX |
| Connectivity Technology | Wireless (IR) |
| Special Feature | Night Vision |
| Compatible Devices | Tablet |
| Power Source | 6 AA Batteries, 12V External Power Connector |
| Video Capture Resolution | 1600 x 900 HD+ |
| Color | Multicolor (Camouflage) |
| Material Type | Plastic |
| Alert Type | Motion Only |
| Lamp Type | Infrared, LED |
| Effective Still Image Resolution | 18 MP |
| International Protection Rating | IP65 |
| Wireless Technology | IR |
| Voltage | 12 Volts (External) |
| Power | 6 Watts |
| Flash Memory Type | SD (SDXC up to 512 GB) |
| Optical Zoom | 1x |
| Optical Sensor Technology | CMOS |
| UPC | 855121008158 |
Warranty and Support
For detailed warranty information, please refer to the official Browning Trail Cameras website or the warranty card included with your product. For technical support, product registration, or further assistance, please visit the manufacturer's official support channels.


