1. Introduction
Thank you for choosing the Power Acoustik OD41300 1300 Watt 4 Channel Amplifier. This manual provides essential information for the proper installation, operation, and maintenance of your new car audio amplifier. Please read this manual thoroughly before attempting installation or operation to ensure optimal performance and safety.
2. Safety Information
Always observe the following safety precautions during installation and operation:
- Disconnect the vehicle's negative battery terminal before making any power connections.
- Ensure all wiring is properly routed and secured to prevent damage or short circuits.
- Use appropriate gauge wiring for power and ground connections as specified in this manual.
- Install the amplifier in a location that allows for adequate ventilation to prevent overheating.
- Avoid mounting the amplifier in areas exposed to moisture or excessive vibration.
- This product contains chemicals known to the State of California to cause cancer and birth defects or other reproductive harm. Handle with care and wash hands after use.
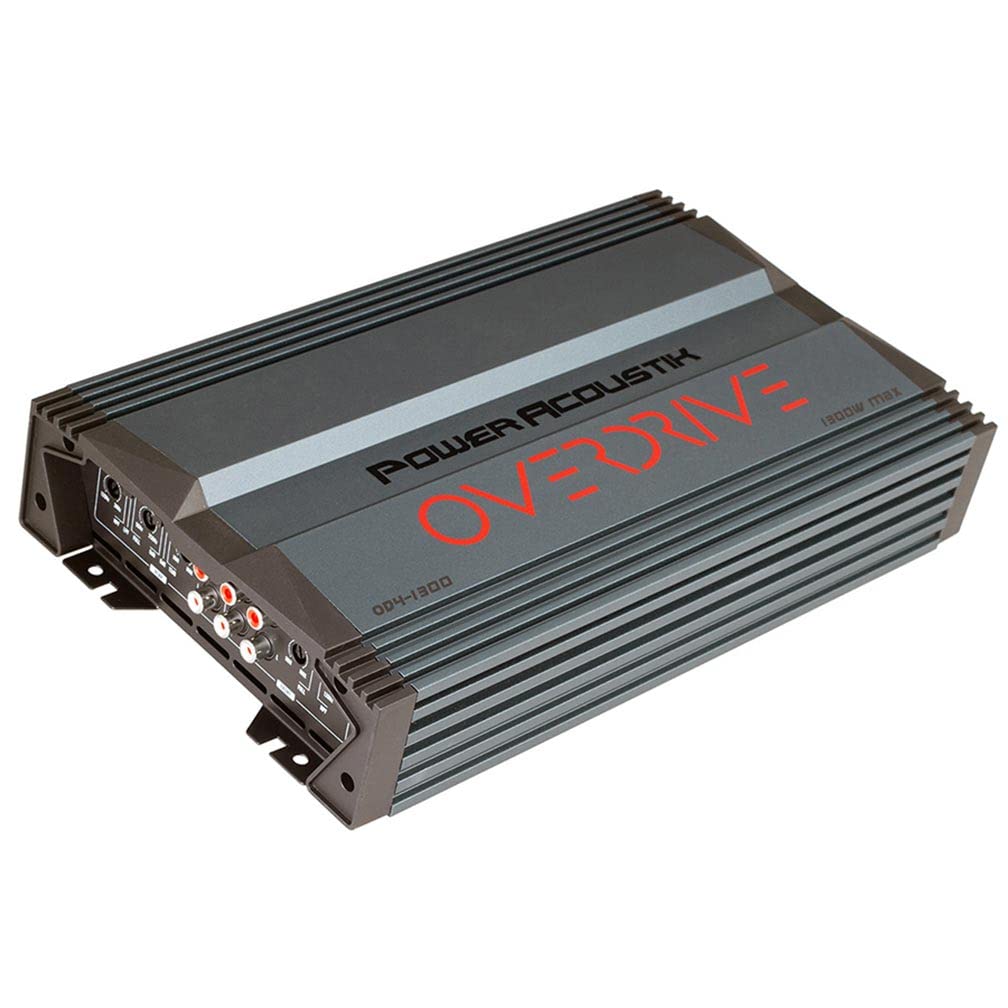
3. Product Overview
The Power Acoustik OD41300 is a 4-channel Class A/B amplifier designed to deliver powerful and clear audio. It features variable crossovers, gain controls, and bass boost for precise sound tuning.
3.1 Amplifier Layout
This image displays both the control panel (top section) and the power/speaker connection panel (bottom section) of the Power Acoustik OD41300 amplifier. The top section shows RCA inputs, gain controls, crossover adjustments (HPF, LPF, FULL), and bass boost settings for both front and rear channels. The bottom section illustrates the power input terminals (GND, REM, +12V), fuse slots, and speaker output terminals (FR+, FR-, RR+, RR-, FL+, FL-, RL+, RL-), including bridge mode indicators.
3.2 Mounting Brackets

This image shows two black mounting brackets, designed to securely fasten the Power Acoustik OD41300 amplifier in a vehicle. These brackets ensure stable installation and help dissipate heat.
4. Setup and Installation
Proper installation is crucial for the performance and longevity of your amplifier. If you are unsure about any steps, consult a professional installer.
4.1 Mounting Location
- Choose a dry, well-ventilated area, away from direct sunlight or heat sources.
- Ensure the mounting surface is sturdy enough to support the amplifier's weight.
- Allow at least 2 inches of clearance around the amplifier for proper airflow.
- Use the provided mounting brackets and screws to secure the amplifier.
4.2 Wiring Connections
Refer to the connection panel image in Section 3.1 for visual guidance.
- Power (BATT +12V): Connect a heavy-gauge wire (e.g., 8 AWG or larger) directly from the positive terminal of the vehicle's battery to the +12V terminal on the amplifier. Install an in-line fuse (not supplied) within 18 inches of the battery.
- Ground (GND): Connect a heavy-gauge wire (same as power wire) from the GND terminal on the amplifier to a clean, unpainted metal surface on the vehicle's chassis. Ensure a good electrical connection.
- Remote (REM): Connect a smaller gauge wire (e.g., 18 AWG) from the REM terminal on the amplifier to the remote turn-on output of your head unit. This wire turns the amplifier on and off with your stereo.
- RCA Inputs (IN): Connect RCA cables from your head unit's pre-amp outputs to the corresponding RCA input jacks (FRONT and REAR) on the amplifier.
- Speaker Outputs: Connect your speakers to the speaker terminals (FL, FR, RL, RR) on the amplifier. Observe correct polarity (+ to + and - to -). For bridged operation, refer to the markings on the amplifier's connection panel.
5. Operating Instructions
Once installed, follow these steps to configure and operate your amplifier.
5.1 Initial Setup
- Before powering on, set all GAIN controls to minimum.
- Set crossover switches (HPF/LPF/FULL) to the desired mode (e.g., FULL for full range, LPF for subwoofers, HPF for component speakers).
- Set BASS BOOST to 0dB initially.
5.2 Adjusting Controls
- Gain Control: Play a familiar music track at a moderate volume on your head unit. Slowly increase the amplifier's GAIN control until you hear distortion, then back it off slightly. This matches the amplifier's input sensitivity to your head unit's output.
- Crossover (HPF/LPF): Adjust the HPF (High Pass Filter) or LPF (Low Pass Filter) frequency knobs to tailor the sound. HPF allows frequencies above the set point to pass, ideal for component speakers. LPF allows frequencies below the set point to pass, ideal for subwoofers.
- Bass Boost: Use the BASS BOOST control (0/+6/+12dB) to enhance low frequencies. Use sparingly to avoid distortion and speaker damage.
6. Maintenance
Your Power Acoustik amplifier requires minimal maintenance.
- Periodically check all wiring connections to ensure they are secure and free from corrosion.
- Keep the amplifier clean and free of dust and debris. Use a soft, dry cloth for cleaning.
- Ensure ventilation openings are not obstructed.
- If a fuse blows, replace it only with a fuse of the same type and rating (2 x 20A).
7. Troubleshooting
If you experience issues with your amplifier, consult the table below for common problems and solutions.
| Problem | Possible Cause | Solution |
|---|---|---|
| No Power / No Sound | Blown fuse, loose power/ground/remote wire, amplifier in protection mode. | Check fuses (amplifier and in-line). Verify all power, ground, and remote connections. Ensure battery voltage is sufficient. |
| Distorted Sound | Gain set too high, improper crossover settings, poor speaker connections, damaged speakers. | Reduce gain. Adjust crossover frequencies. Check speaker wiring for shorts or loose connections. Test speakers. |
| No Bass | LPF not engaged or set too high, phase issues, subwoofer wiring incorrect. | Ensure LPF is active and set to an appropriate frequency. Check subwoofer polarity. |
| Amplifier Overheats | Insufficient ventilation, impedance too low, prolonged high output. | Ensure adequate airflow around the amplifier. Check speaker impedance. Reduce volume or gain. |
| Engine Noise / Whine | Poor grounding, RCA cables too close to power wires, faulty head unit. | Improve ground connection. Reroute RCA cables away from power wires. Install a ground loop isolator if necessary. |
8. Specifications
Technical specifications for the Power Acoustik OD41300 amplifier:
| Feature | Specification |
|---|---|
| Model | OW-OD4-1300 |
| Output Power (Max) | 1300 Watts |
| RMS Power (4 Ohms) | 100W x 4 Channels |
| RMS Power (2 Ohms) | 160W x 4 Channels |
| RMS Power (4 Ohms Bridged) | 320W x 2 Channels |
| Amplifier Class | Class A/B |
| Low Pass Crossover | 50 - 250 Hz (Variable 12dB) |
| High Pass Crossover | 120 - 3 kHz (Variable 12dB) |
| Bass Boost | 0 / +6 / +12dB |
| Fuses | 2 x 20A |
| Dimensions (W x H x L) | 7.25" x 2.5" x 12.25" (approximate) |
| Item Dimensions (L x W x H) | 16 x 8.75 x 4 inches (packaging/overall) |
| Circuit Protection | Direct Short, Thermal, Overload |
| PCB Type | Military Grade |
| Power Supply | PWM MOSFET |
9. Warranty and Support
Power Acoustik products are designed for reliability and performance. For specific warranty details, please refer to the warranty card included with your product or visit the official Power Acoustik website. For technical support or service inquiries, please contact Power Acoustik customer service through their official channels.


