1. Overview
The mooas Digital Mirror Alarm Clock (Square) is a versatile LED desk clock featuring time display, alarm with snooze function, and temperature display. Its mirror finish and clear LED digits make it a functional and aesthetic addition to any room. This manual provides detailed instructions for setup, operation, and maintenance.
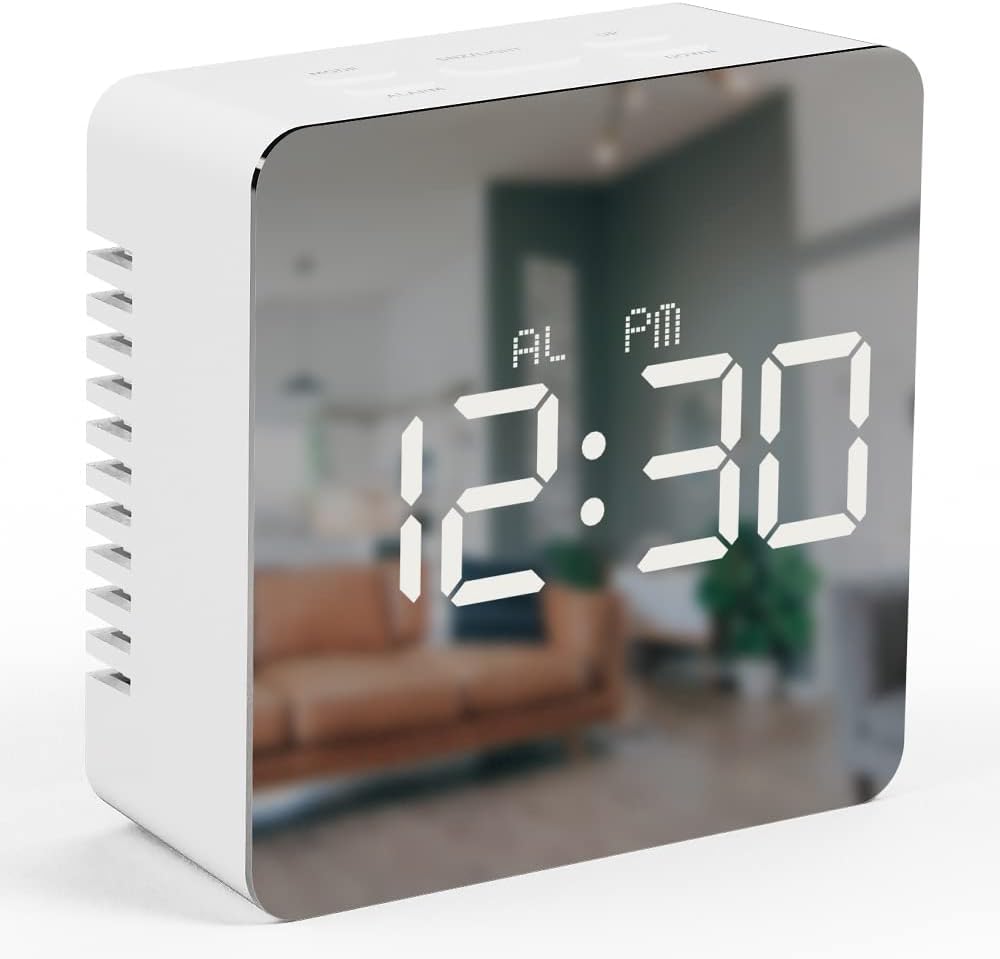
Image 1.1: The mooas Digital Mirror Alarm Clock (Square) displaying the current time.
2. Package Contents
Please check the package for the following items:
- 1 x mooas Digital Mirror Alarm Clock (Square)
- 1 x USB Power Cable
- 1 x English Instruction Manual
Note: 3 x AAA batteries are required for battery-powered operation and are not included.
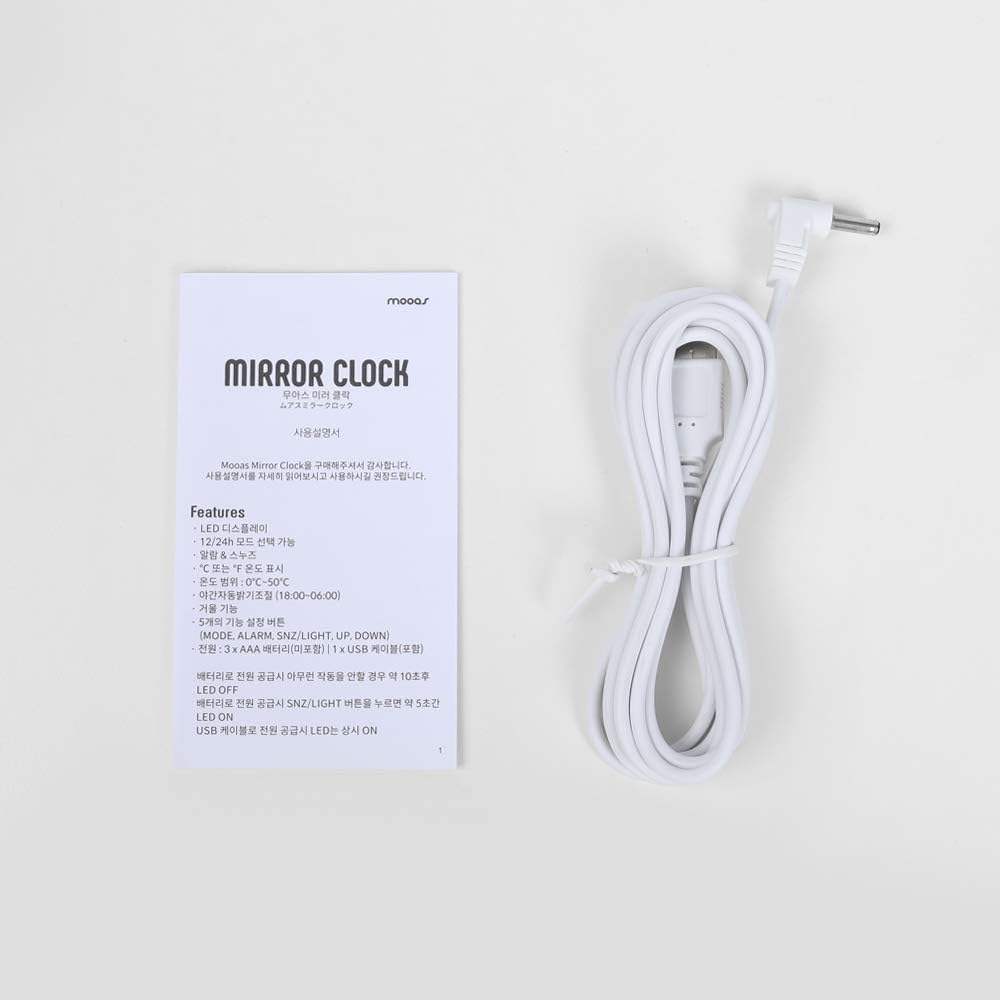
Image 2.1: Included USB cable and instruction manual.
3. Setup
3.1 Powering the Clock
The clock can be powered in two ways:
- USB Power (Recommended for continuous display): Connect the included USB cable to the DC 5V port on the back of the clock and plug the other end into a USB power adapter (not included) or a powered USB port. The LED display will remain continuously on.
- Battery Power (For temporary display): Open the battery compartment on the back of the clock and insert 3 x AAA batteries (not included), ensuring correct polarity. When powered by batteries, the LED display will turn off automatically after 10 seconds of inactivity to conserve power. To reactivate the display, press any button.

Image 3.1: Rear view of the clock, indicating the battery compartment and USB power input.
3.2 Button Functions
The clock features five functional buttons located on the top:
- MODE: Used to switch between Time, Alarm, and Temperature display modes, and to enter setting modes.
- ALARM: Used to activate/deactivate the alarm and enter alarm setting mode.
- SNZ/LIGHT: Activates snooze during an alarm. Press and hold to adjust LED brightness.
- UP: Increases values during setting modes.
- DOWN: Decreases values during setting modes.
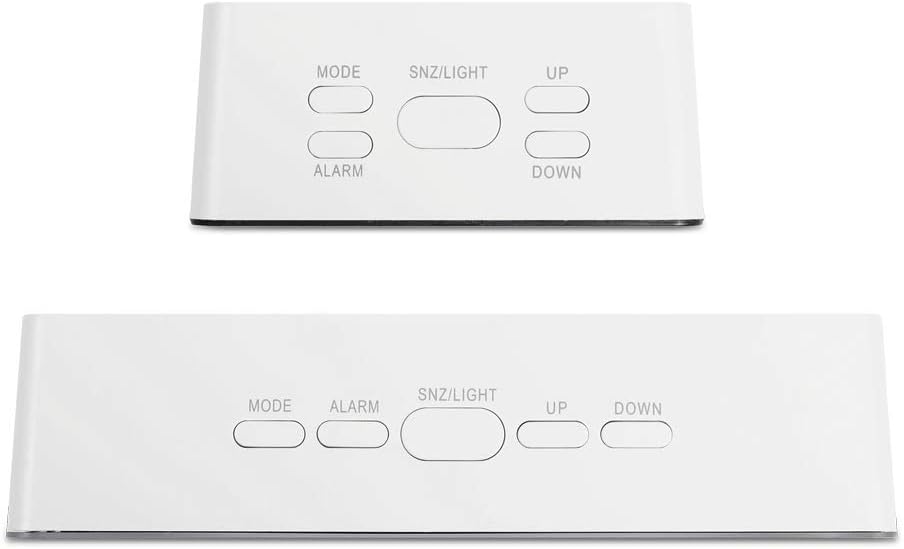
Image 3.2: Location and labels of the control buttons on top of the clock.
4. Operating Instructions
4.1 Setting the Time (12/24H)
- In Time display mode, press and hold the MODE button for 3 seconds to enter time setting. The hour digits will flash.
- Press UP or DOWN to adjust the hour.
- Press MODE again to confirm the hour and move to minute setting. The minute digits will flash.
- Press UP or DOWN to adjust the minute.
- Press MODE again to confirm the minute and select 12-hour or 24-hour format. '12H' or '24H' will flash.
- Press UP or DOWN to select your preferred time format.
- Press MODE to exit time setting.
4.2 Setting the Alarm
- In Time display mode, press the ALARM button once to display the current alarm time.
- Press and hold the ALARM button for 3 seconds to enter alarm setting. The alarm hour digits will flash.
- Press UP or DOWN to adjust the alarm hour.
- Press ALARM again to confirm the hour and move to alarm minute setting. The alarm minute digits will flash.
- Press UP or DOWN to adjust the alarm minute.
- Press ALARM to exit alarm setting.
- To activate or deactivate the alarm, press the ALARM button once in Time display mode. An alarm icon will appear on the display when activated.
4.3 Snooze Function
When the alarm sounds, press the SNZ/LIGHT button to activate the snooze function. The alarm will temporarily stop and sound again after approximately 5 minutes. To turn off the alarm completely, press any other button.
4.4 Temperature Display (℃/℉)
The clock automatically displays the temperature. To switch between Celsius (℃) and Fahrenheit (℉):
- In Time display mode, press the MODE button repeatedly until the temperature is displayed.
- Press the DOWN button to toggle between ℃ and ℉.

Image 4.1: The clock displaying temperature in Celsius.
4.5 Brightness Adjustment
The clock offers two levels of LED brightness. To adjust:
- Press and hold the SNZ/LIGHT button. The display brightness will cycle between the two levels.
- Release the button when the desired brightness is achieved.
The LED display also features an automatic dimming function, reducing brightness between 18:00 (6 PM) and 06:00 (6 AM) by default.

Image 4.2: User interacting with the clock's buttons.
5. Maintenance
- Clean the clock with a soft, dry cloth. Avoid abrasive cleaners or solvents.
- Keep the clock away from direct sunlight, extreme temperatures, and high humidity.
- If using batteries, remove them if the clock will not be used for an extended period to prevent leakage.
6. Troubleshooting
| Problem | Possible Cause | Solution |
|---|---|---|
| Display is off or dim (battery power) | LED display turns off after 10 seconds to save power. | Press any button to reactivate the display. For continuous display, use USB power. |
| Clock not turning on | No power or low batteries. | Ensure USB cable is securely connected to a power source, or replace AAA batteries. |
| Alarm not sounding | Alarm is not activated. | Press the ALARM button once to ensure the alarm icon is displayed. |
| Incorrect time/temperature display | Settings need adjustment. | Refer to sections 4.1 and 4.4 to set the time and temperature unit. |
7. Specifications
- Brand: mooas
- Model: Digital Mirror Alarm Clock (Square)
- Display Type: Digital LED
- Color: White
- Material: Acrylonitrile Butadiene Styrene
- Dimensions (W x H x D): 3.2" x 3.2" x 1.4"
- Weight: Approximately 0.19 lb
- Power Source: USB (DC 5V) or 3 x AAA Batteries (not included)
- Temperature Range: 32℉ to 122℉ (0℃ to 50℃)
- Features: Time (12/24H), Alarm, Snooze, Temperature (℃/℉), 2-level Brightness, Automatic Dimming
- Mounting Type: Tabletop

Image 7.1: Detailed dimensions of the square model clock.
8. Warranty and Support
For warranty information and customer support, please refer to the contact details provided on the product packaging or the official mooas website. Keep your purchase receipt for warranty claims.