Introduction
This manual provides essential information for the proper installation, operation, and maintenance of your Wellsking Recoil Starter, model 590739. This component is designed as a replacement part for various lawnmower engines, including specific Tecumseh and Toro models. Please read this manual thoroughly before attempting any installation or operation to ensure safety and optimal performance.
Safety Information
Always prioritize safety when working with power tools and engine components. Failure to follow these safety guidelines may result in injury or damage to equipment.
- Disconnect Spark Plug: Before beginning any work on the engine, always disconnect the spark plug wire to prevent accidental starting.
- Wear Protective Gear: Use appropriate personal protective equipment (PPE), including safety glasses and gloves, to protect against debris and sharp edges.
- Engine Cool Down: Ensure the engine is completely cool before handling any parts to avoid burns.
- Secure Work Area: Work in a well-lit, stable area. Ensure the lawnmower is on a flat, secure surface and cannot move unexpectedly.
- Use Correct Tools: Utilize the correct tools for each step to prevent damage to fasteners and components.
- Consult Engine Manual: Refer to your specific engine's service manual for detailed instructions on removing and installing the recoil starter, as procedures may vary.
Product Overview
The Wellsking Recoil Starter (Model 590739) is a self-contained assembly responsible for initiating engine rotation when the pull cord is engaged. It typically consists of a housing, a recoil spring, a pulley, a pull rope, and a handle.
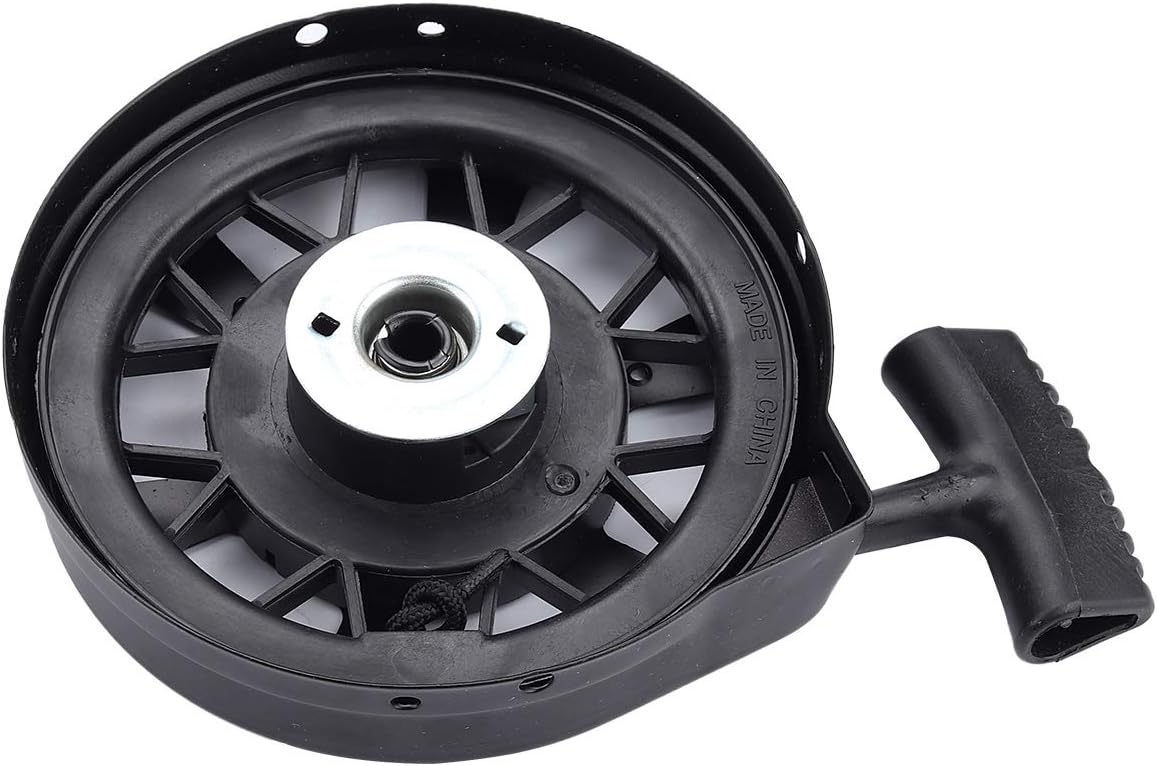
Figure 1: Top view of the recoil starter, showing the central hub and the "MADE IN CHINA" inscription on the inner rim. This image highlights the overall design and the pull handle.
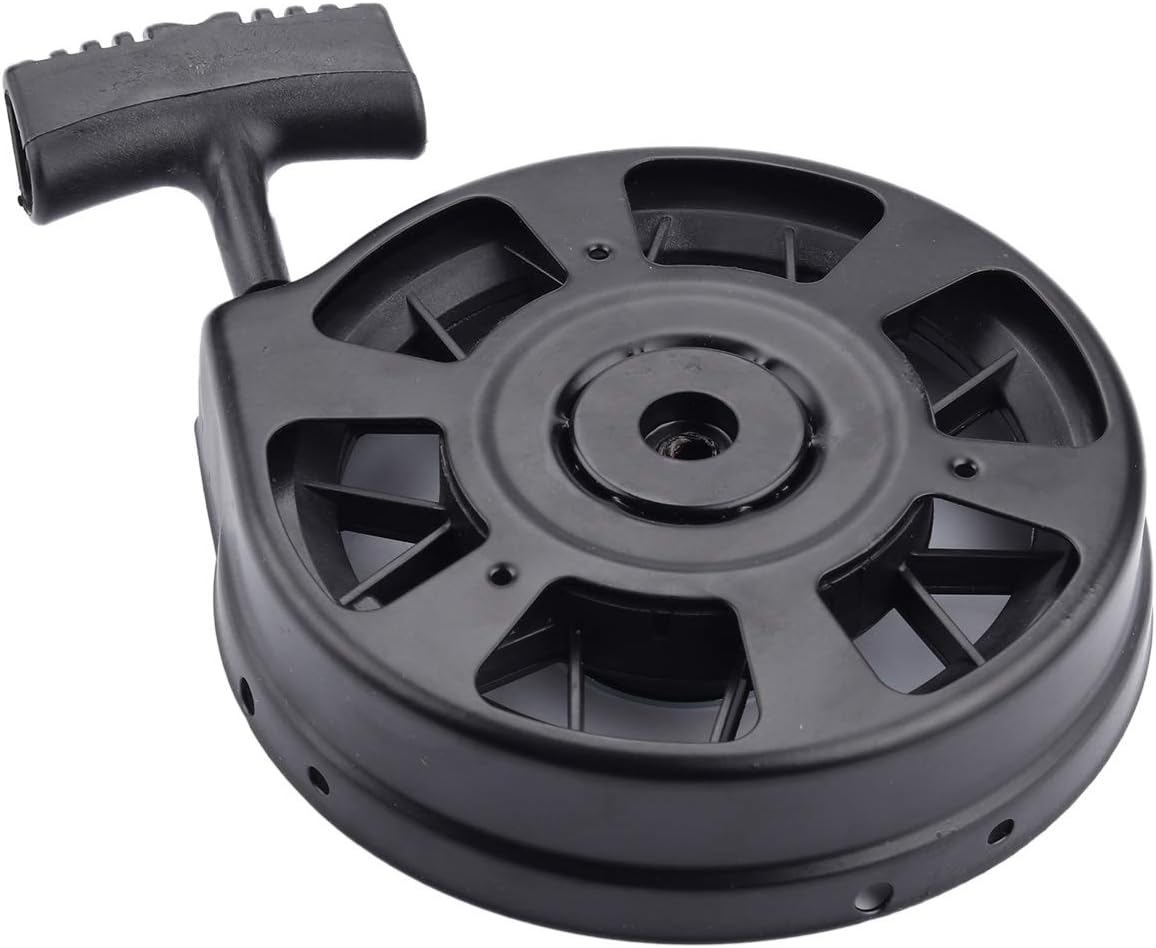
Figure 2: An angled perspective of the recoil starter, emphasizing the robust black casing and the integrated pull handle. This view provides a good sense of the unit's compact form factor.
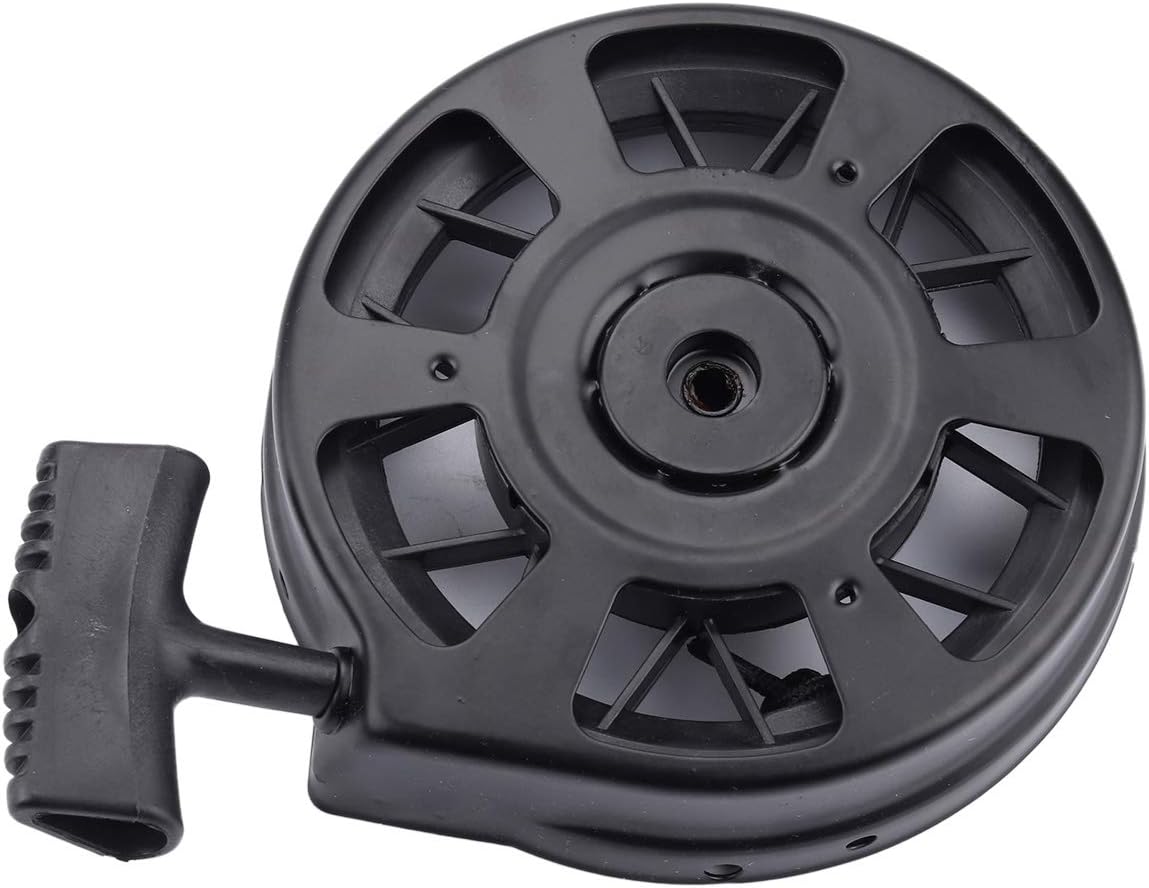
Figure 3: Frontal view of the recoil starter, showcasing the central mechanism and the pull cord's exit point. The design includes multiple ventilation slots around the central hub.
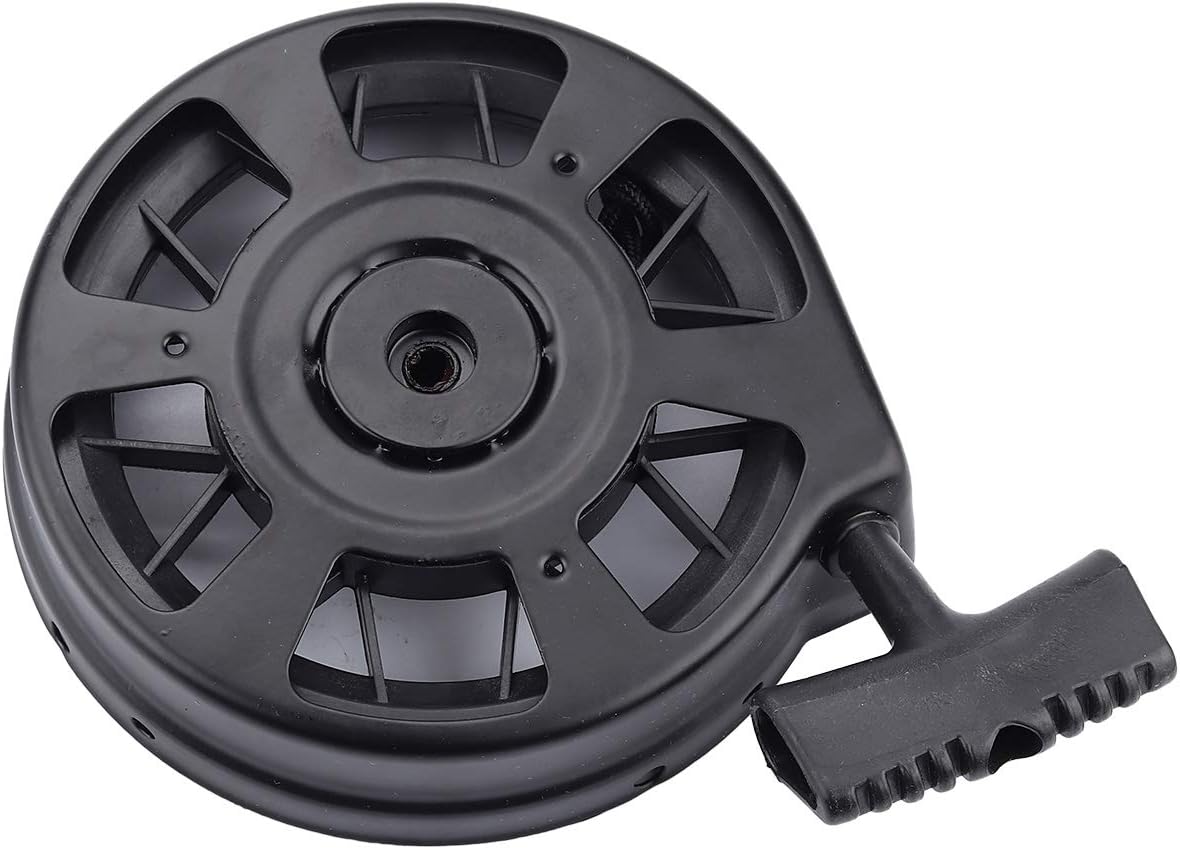
Figure 4: Side profile of the recoil starter, highlighting the depth of the unit and the position of the pull handle. This angle helps visualize how the unit would sit on an engine.
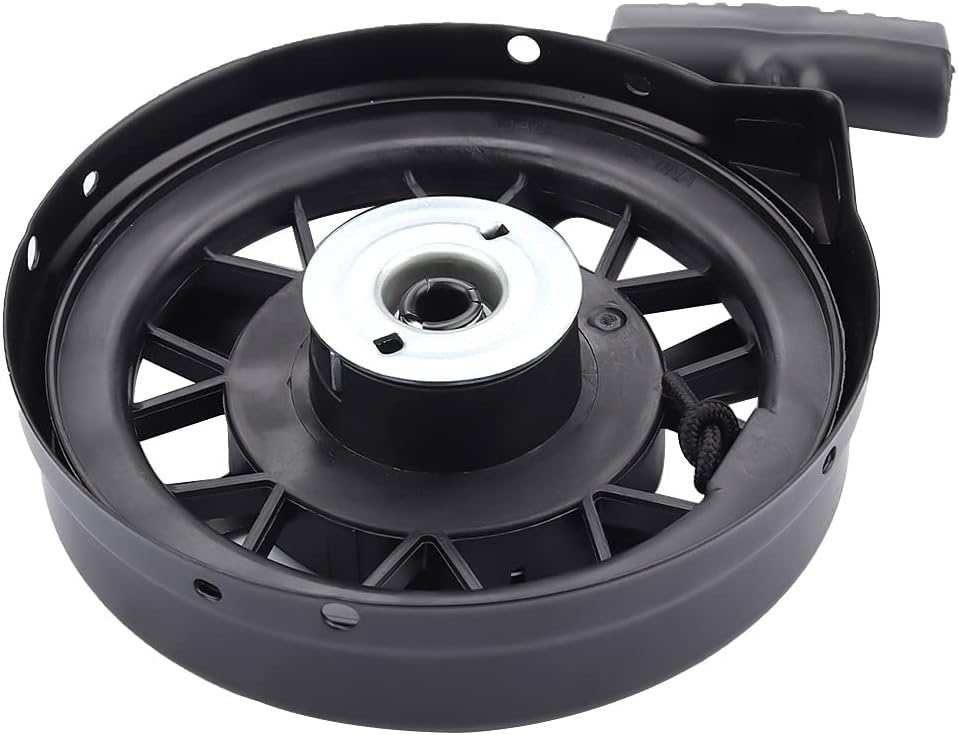
Figure 5: View of the recoil starter with the top cover removed, revealing the internal spring mechanism and the central spindle. This image illustrates the core components responsible for the recoil action.
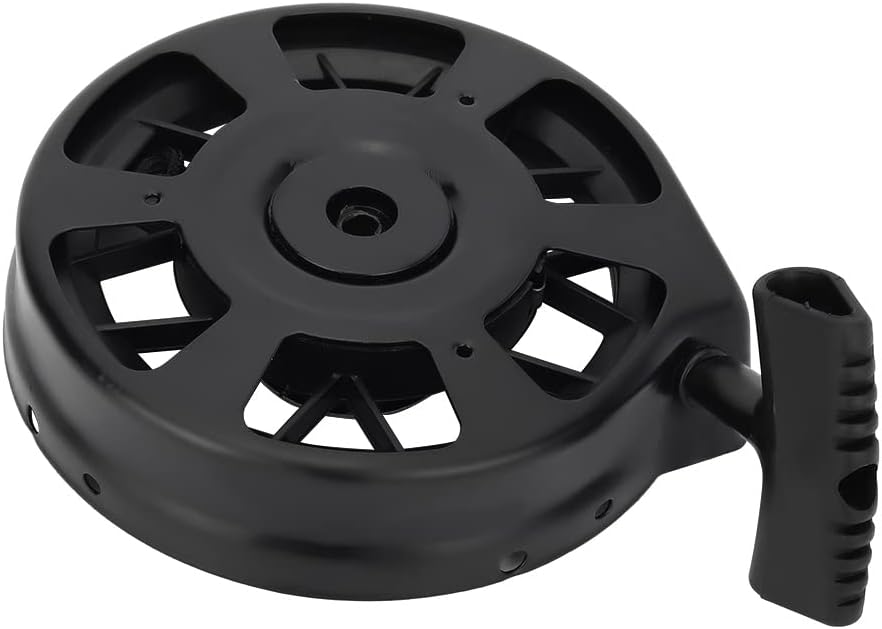
Figure 6: A different internal perspective, focusing on the winding of the recoil spring and the engagement pawls. This detailed view helps understand the functional design of the starter.
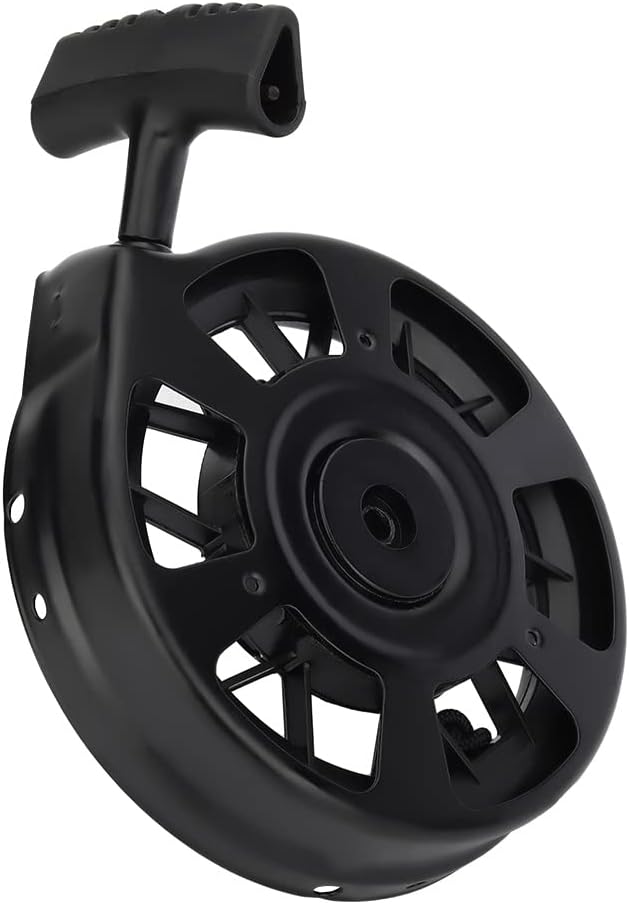
Figure 7: Rear view of the recoil starter, showing the mounting points and the overall structure from the underside. This view is crucial for understanding how the unit attaches to the engine.
Setup and Installation
This section outlines the general steps for replacing a recoil starter. Specific procedures may vary depending on your engine model. Always refer to your engine's service manual for precise instructions.
- Preparation:
- Ensure the engine is off and cool.
- Disconnect the spark plug wire to prevent accidental starting.
- Clean the area around the existing recoil starter to prevent debris from entering the engine.
- Removal of Old Starter:
- Locate the mounting bolts or screws securing the old recoil starter to the engine housing.
- Carefully remove these fasteners. Keep them organized as they may be reused.
- Gently pull the old recoil starter away from the engine. Be mindful of any engagement pawls or springs that might be attached.
- Installation of New Starter:
- Align the new Wellsking Recoil Starter (Model 590739) with the mounting holes on the engine housing.
- Ensure the starter's engagement pawls are correctly positioned to interact with the engine's flywheel cup.
- Insert and hand-tighten the mounting bolts or screws.
- Once all fasteners are in place, tighten them securely using the appropriate tool. Do not overtighten.
- Final Check:
- Gently pull the starter rope a few times to ensure smooth operation and proper engagement with the flywheel. The rope should retract fully.
- Reconnect the spark plug wire.
Note: Double-checking your engine's model and part numbers before making your purchase is an important step to avoid any complications during installation.
Operating Instructions
Once the recoil starter is properly installed, follow your engine's standard starting procedure. The recoil starter's function is to provide the initial rotation to start the engine.
- Prime/Choke Engine: Follow your engine's specific instructions for priming or setting the choke, if applicable.
- Pulling the Rope: Grasp the starter handle firmly. Pull the rope slowly until you feel resistance (this indicates the engagement pawls have connected with the flywheel).
- Starting Pull: Once resistance is felt, give a quick, strong, and smooth pull straight out from the engine. Avoid pulling the rope to its absolute maximum extension.
- Rope Retraction: Allow the rope to retract slowly and fully back into the starter housing. Do not let it snap back.
- Repeat if Necessary: If the engine does not start, repeat the priming/choking and pulling steps as needed.
Maintenance
The Wellsking Recoil Starter is designed for durability, but proper care can extend its lifespan.
- Keep Clean: Periodically clean the exterior of the recoil starter to remove dirt, grass clippings, and debris. A soft brush or cloth can be used.
- Inspect Rope: Regularly inspect the pull rope for fraying, cuts, or excessive wear. Replace the rope if any damage is observed.
- Check Retraction: Ensure the rope retracts smoothly and fully after each pull. If it sticks or retracts slowly, the internal spring may need inspection or replacement (consult a professional if unsure).
- Lubrication (Minimal): Avoid excessive lubrication of the internal components unless specifically recommended by an engine service manual, as it can attract dirt and debris.
Troubleshooting
If you encounter issues with your recoil starter, consider the following common problems and solutions:
| Problem | Possible Cause | Solution |
|---|---|---|
| Rope does not retract fully. | Broken or weak recoil spring; debris inside housing. | Inspect and clear debris. If spring is faulty, replacement of the starter assembly is usually required. |
| Rope pulls out but does not engage engine. | Damaged engagement pawls; flywheel cup worn. | Inspect pawls on starter and flywheel cup on engine. Replace starter if pawls are damaged. Consult engine manual for flywheel cup issues. |
| Rope is frayed or broken. | Normal wear and tear; improper pulling technique. | Replace the pull rope. Ensure smooth, straight pulls during operation. |
| Starter feels stiff or grinds. | Internal debris; lack of lubrication; damaged components. | Remove starter and inspect for debris. If issues persist, replacement may be necessary. |
If troubleshooting steps do not resolve the issue, it is recommended to consult a qualified service technician.
Specifications
| Attribute | Detail |
|---|---|
| Model Numbers | 590739, 590702 (Compatible) |
| Replaces Tecumseh Part Numbers | 590739, 590637, 590702 |
| Compatible Engine Series | Tecumseh AV600, LEV80, LEV100, LEV115, LEV120, LEV150, LV195EA, OV195EA, OV195XA, ORVM60, OVRM65, OVRM105, OVRM120, TVS90, TVS100, TVS115, TVS120, TVS600, ULT60, VLV60, VLV65, VLV66, VLV126 |
| Compatible Mower Brands | Toro Recycle 22, Lawn Boy, Craftsman 22 inch, Scotts, DR Trimmer Mower (with compatible Tecumseh engines) |
| Package Dimensions | 7.76 x 7.09 x 1.77 inches |
| Item Weight | 1.12 pounds |
| Manufacturer | Wellsking |
Warranty and Support
Wellsking products are manufactured to high standards. For specific warranty information regarding your recoil starter, please refer to the product packaging or contact Wellsking customer support directly. Keep your purchase receipt as proof of purchase.
For technical assistance or inquiries, please visit the Wellsking official website or contact their customer service department. Contact information is typically available on the product packaging or the manufacturer's website.