Introduction
Thank you for choosing the GILMOUR Heavy Duty Circular Water Sprinkler. This sprinkler is designed for efficient and customizable watering of lawns and gardens, offering adjustable spray patterns and coverage. This manual provides detailed instructions for setup, operation, maintenance, and troubleshooting to ensure optimal performance and longevity of your product.
Safety Information
- Always turn off the water supply before connecting, disconnecting, or adjusting the sprinkler.
- Do not leave the sprinkler unattended for extended periods, especially in areas with high water pressure, to prevent potential flooding or damage.
- Ensure all connections are secure to prevent leaks and water waste.
- Keep the sprinkler away from electrical outlets or devices.
- Store the sprinkler indoors during freezing temperatures to prevent damage.
Package Contents
Verify that all components are present before beginning setup:
- 1 x GILMOUR Heavy Duty Circular Water Sprinkler with Base
Note: Hoses and other watering accessories are sold separately.
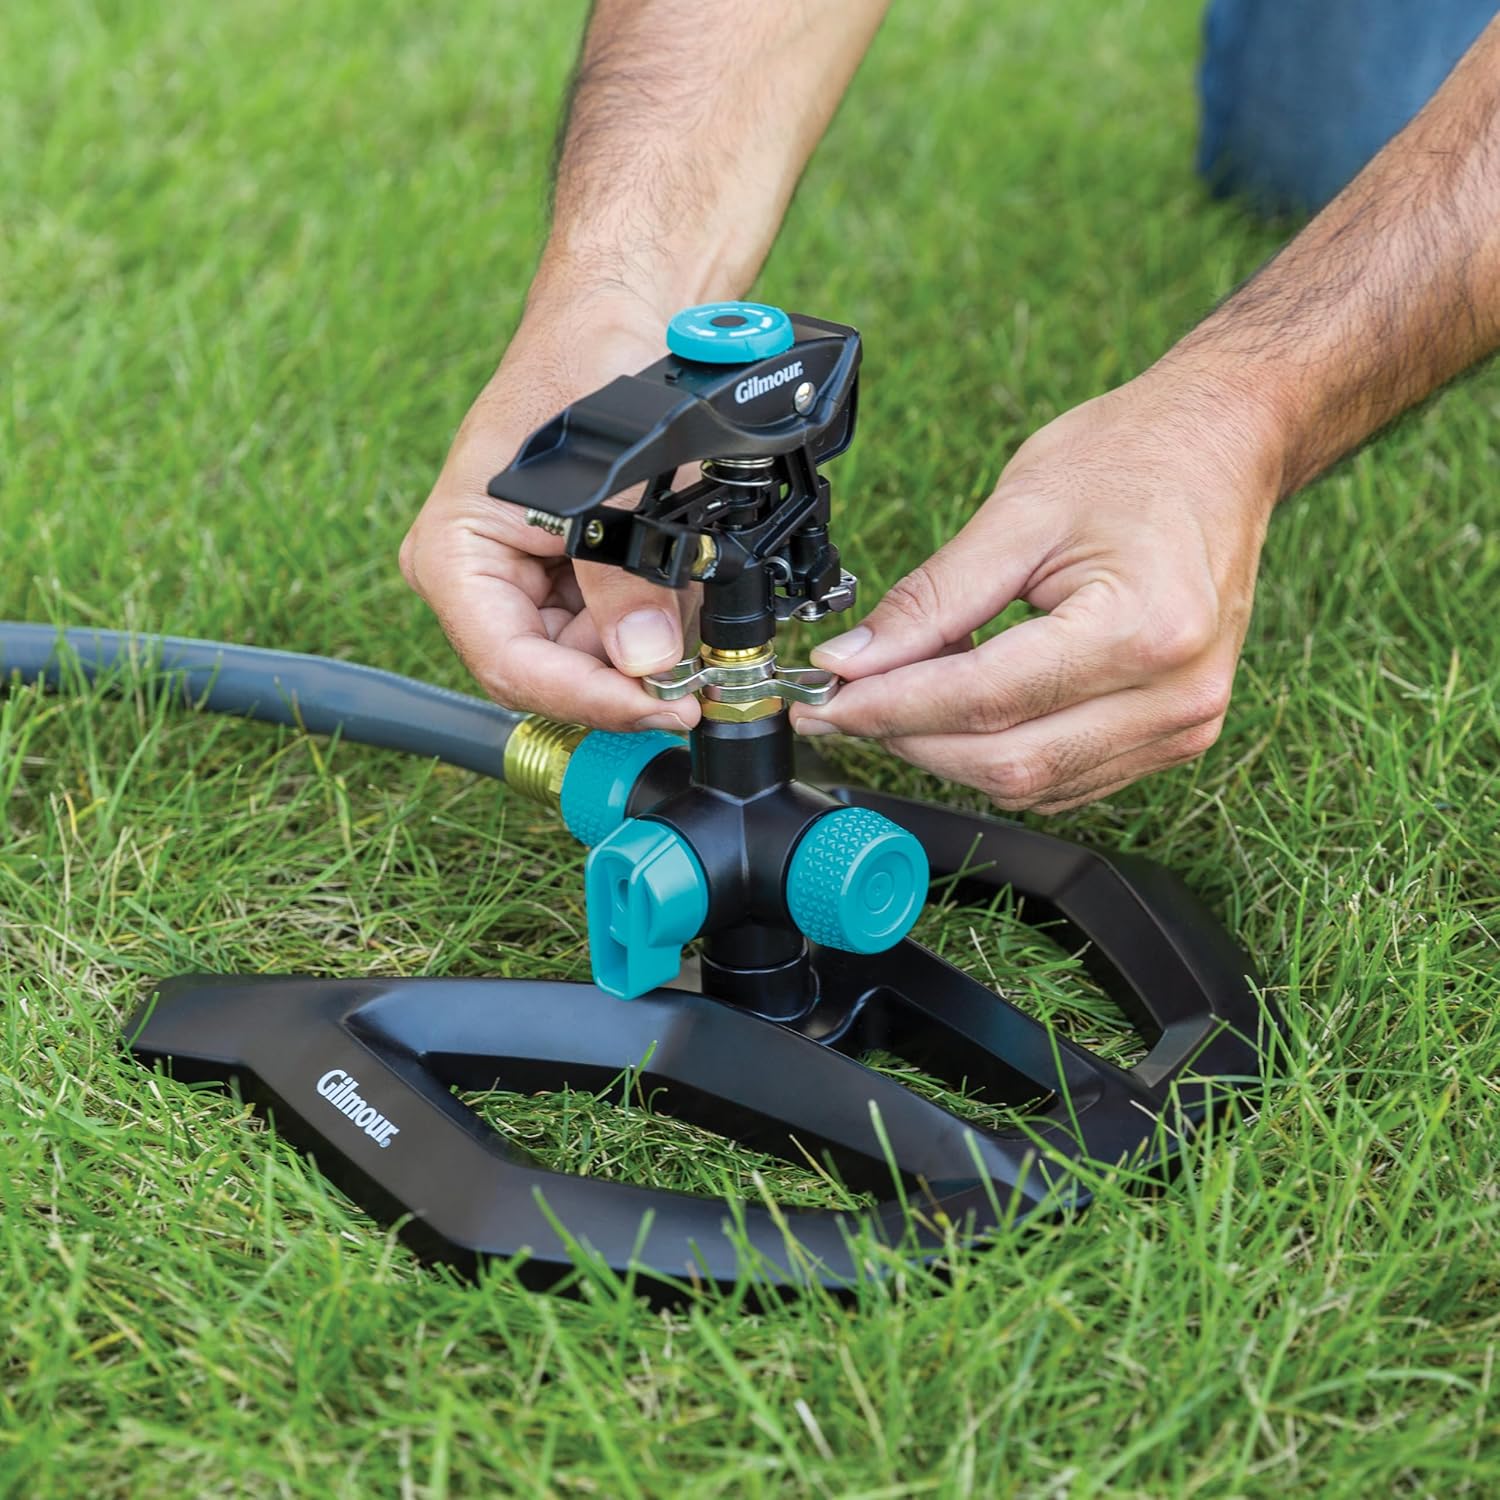
Setup Instructions
- Position the Sprinkler: Place the sprinkler on a flat, stable surface in the area you wish to water.
- Connect the Hose: Attach your garden hose to the inlet connection on the side of the sprinkler base. Ensure the connection is tight to prevent leaks.
- Secure Connection: Hand-tighten the hose connection. Avoid over-tightening, which can damage the threads.
Operating Instructions
The GILMOUR Circular Water Sprinkler offers several adjustable features for precise watering.
1. Adjusting Spray Pattern (Partial or Full Coverage)
The sprinkler allows you to set the watering area from a partial arc to a full 360-degree circle.
- For Partial Coverage: Adjust the two metal clips on the sprinkler head to define the desired arc. The sprinkler will oscillate between these two points.
- For Full 360-Degree Coverage: Pull up the collar located at the base of the sprinkler head. This disengages the oscillation mechanism, allowing for continuous circular rotation.
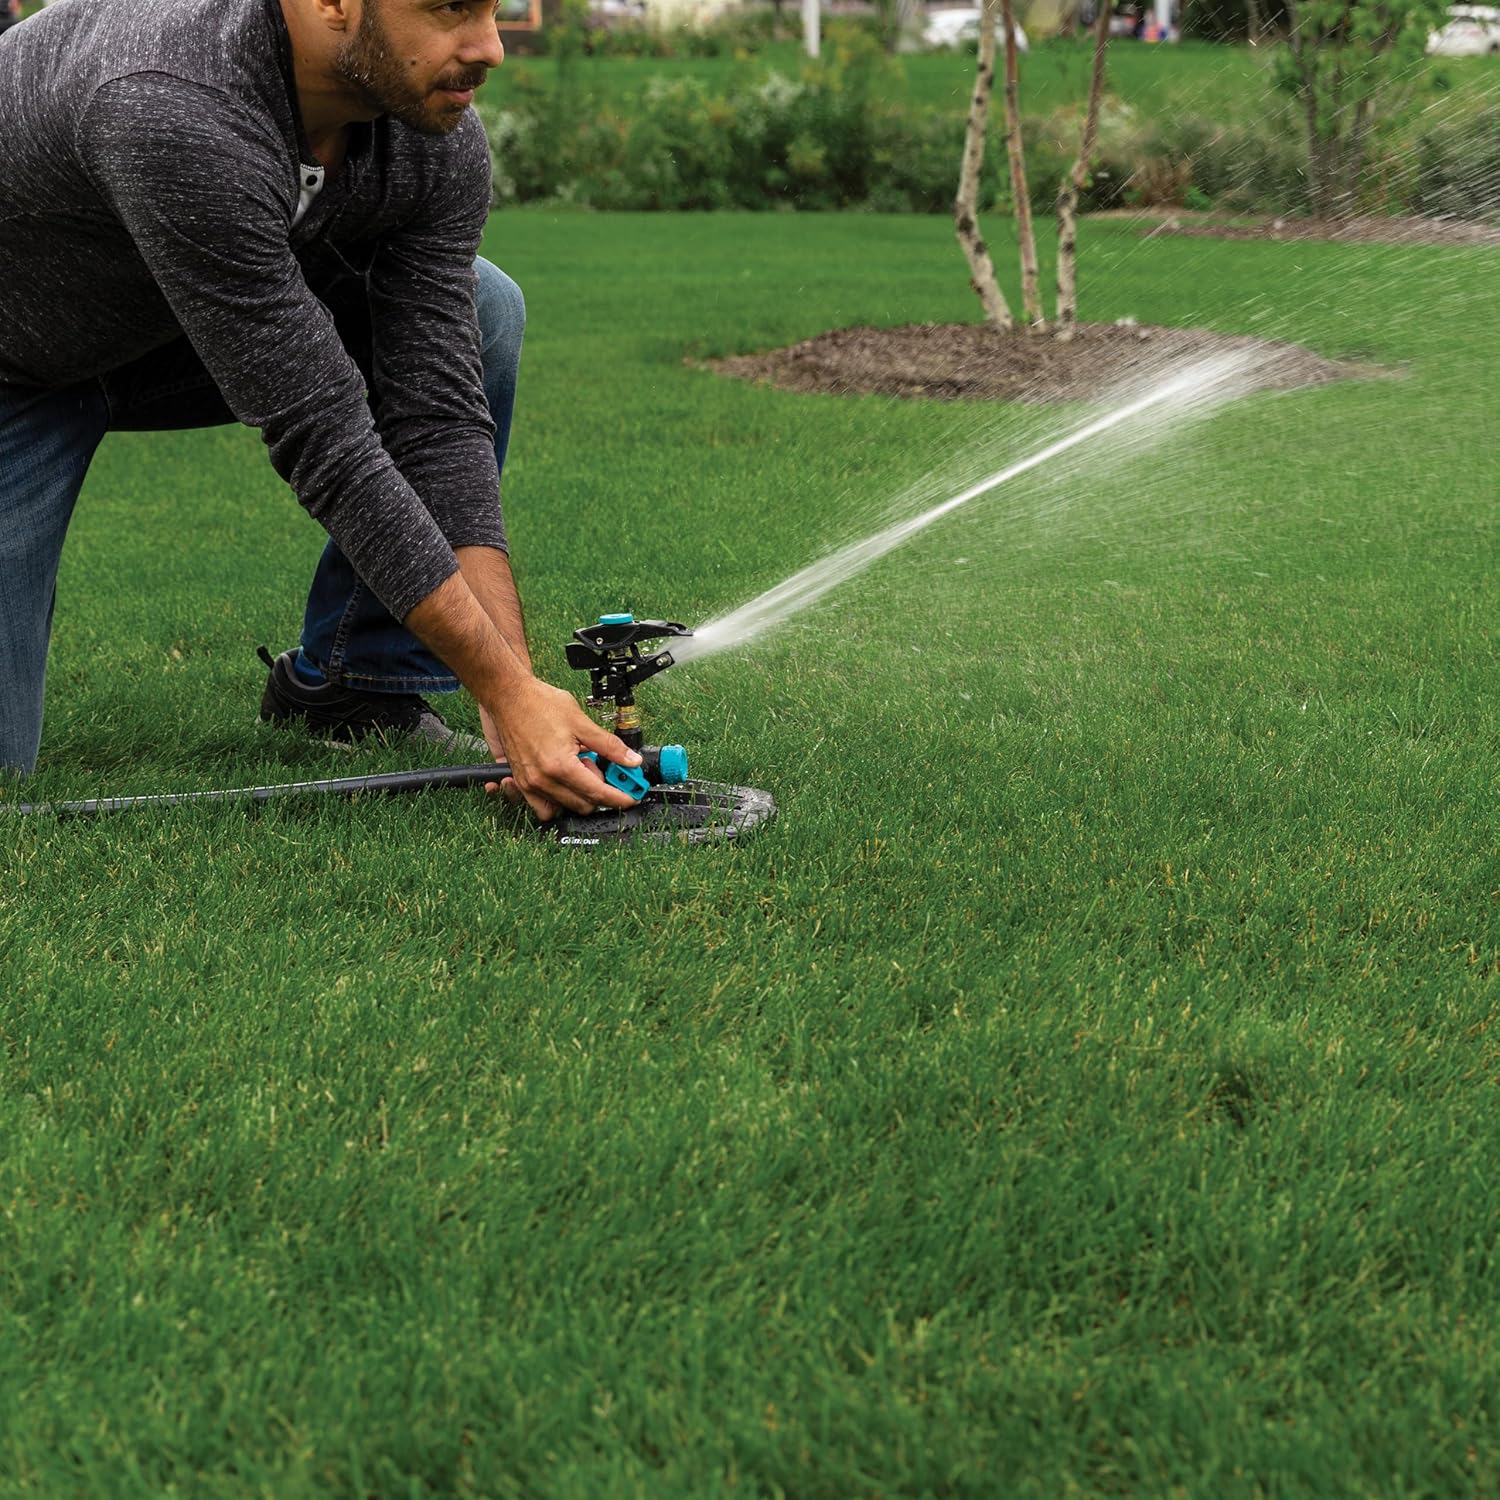

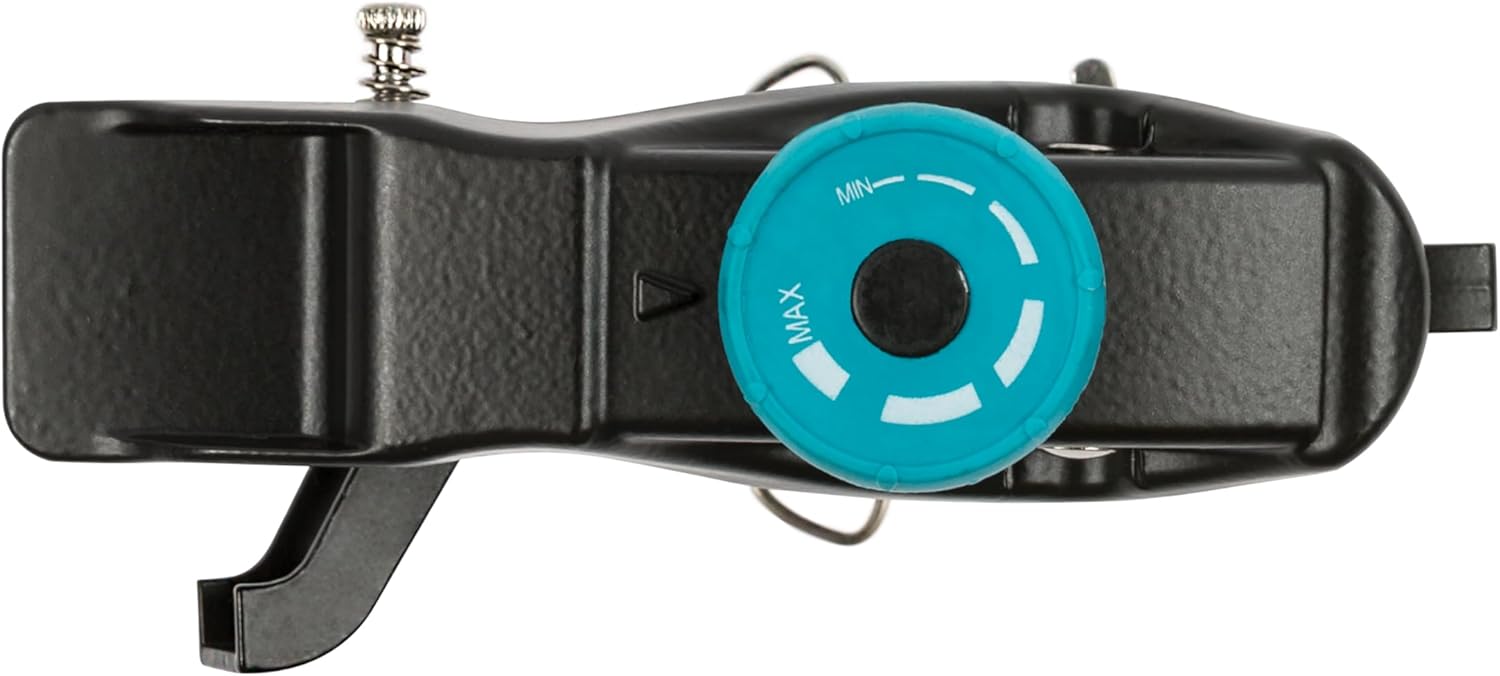
2. Adjusting Spray Distance
The sprinkler features a dial to control the spray distance, up to 43 feet.
- Rotate the dial on the top of the sprinkler head to increase or decrease the water stream's reach. Turn towards 'MAX' for longer distances and 'MIN' for shorter distances.
3. Diffuser Pin Function
The diffuser pin allows you to change the water spray from a powerful jet to a gentle rain-like pattern.
- Push the diffuser pin into the water stream for a softer, wider spray. Pull it out for a more concentrated, powerful jet.
4. On/Off Switch
An integrated on/off switch on the base allows you to control water flow directly at the sprinkler, eliminating trips to the spigot.
- Flip the switch to the 'ON' position to start water flow.
- Flip the switch to the 'OFF' position to stop water flow.

5. Connecting Multiple Sprinklers
The sprinkler features connection outlets to create a DIY sprinkler system.
- To connect multiple sprinklers, attach an additional hose to the secondary outlet on the sprinkler base and connect it to another sprinkler.
Video: Adjusting the Gilmour Circular Sprinkler
Maintenance
- Cleaning: Periodically check the sprinkler head and nozzle for debris or mineral buildup. Clean with a soft brush and water if necessary.
- Winterization: Before the first freeze, disconnect the sprinkler from the hose, drain all water, and store it in a dry, protected area to prevent freeze damage.
- Storage: Store the sprinkler in a cool, dry place when not in use to prolong its lifespan.
Troubleshooting
| Problem | Possible Cause | Solution |
|---|---|---|
| Sprinkler tips over during operation | Lightweight base; high water pressure | Place a heavy object (e.g., a brick or rock) on the base to stabilize it, especially with high water pressure. |
| Uneven or weak spray pattern | Low water pressure; clogged nozzle; diffuser pin position | Ensure adequate water pressure. Check and clean the nozzle for any obstructions. Adjust the diffuser pin. |
| Sprinkler not rotating or oscillating correctly | Obstruction in the mechanism; low water pressure; incorrect pattern setting | Check for debris around the rotating parts. Ensure sufficient water pressure. Verify the partial/full coverage setting is correctly engaged or disengaged. |
| Leaks at hose connection | Loose connection; worn washer | Tighten the hose connection. Replace the rubber washer inside the hose coupling if it is worn or damaged. |
Specifications
| Feature | Detail |
|---|---|
| Brand | GILMOUR |
| Model | B07P9W9TBF |
| Material | Plastic (Base), Brass and Zinc (Sprinkler Head) |
| Style | Circular |
| Coverage Area | Up to 5800 sq ft |
| Spray Distance | Up to 43 ft |
| Item Dimensions (L x W x H) | 4.5 x 10.5 x 13 inches |
| Item Weight | 1 Pound |
| UPC | 034411261842 |
Warranty Information
This GILMOUR product comes with a limited warranty against material and manufacturing defects. For specific details regarding warranty coverage and claims, please refer to the warranty documentation included with your purchase or visit the official GILMOUR website.
Customer Support
If you have any questions, require assistance, or need to report a defect, please contact GILMOUR customer support through their official website or the contact information provided on the product packaging. Please have your model number (B07P9W9TBF) and purchase date available when contacting support.


