1. Introduction
Thank you for choosing the Sonew 4-Channel 5-in-1 Real-time Video Recorder. This device is designed for comprehensive surveillance, supporting AHD, CVI, TVI, DVR, and NVR camera types. It offers real-time synchronous recording, multi-channel playback, and multi-user network operation, ensuring reliable security for your home or business.

Image 1.1: The Sonew DVR system providing surveillance in different settings, highlighting its versatile application.
2. Safety Information
- Ensure the power supply matches the specified voltage and current requirements to prevent damage.
- Do not expose the device to moisture, rain, or extreme temperatures.
- Avoid placing the device in direct sunlight or near heat sources.
- Do not open the casing; refer all servicing to qualified personnel.
- Use only a 3.5-inch security-grade hard drive with this DVR. Using incompatible hard drives may lead to data loss or system malfunction.
3. Package Contents
Please check the package for the following items:
- Sonew 4-Channel DVR Unit
- Power Adapter
- USB Mouse
- User Manual (this document)
If any items are missing or damaged, please contact your retailer.
4. Product Overview
The Sonew DVR is a compact unit designed for efficient video surveillance. It features multiple input/output ports for cameras, monitors, and network connectivity.
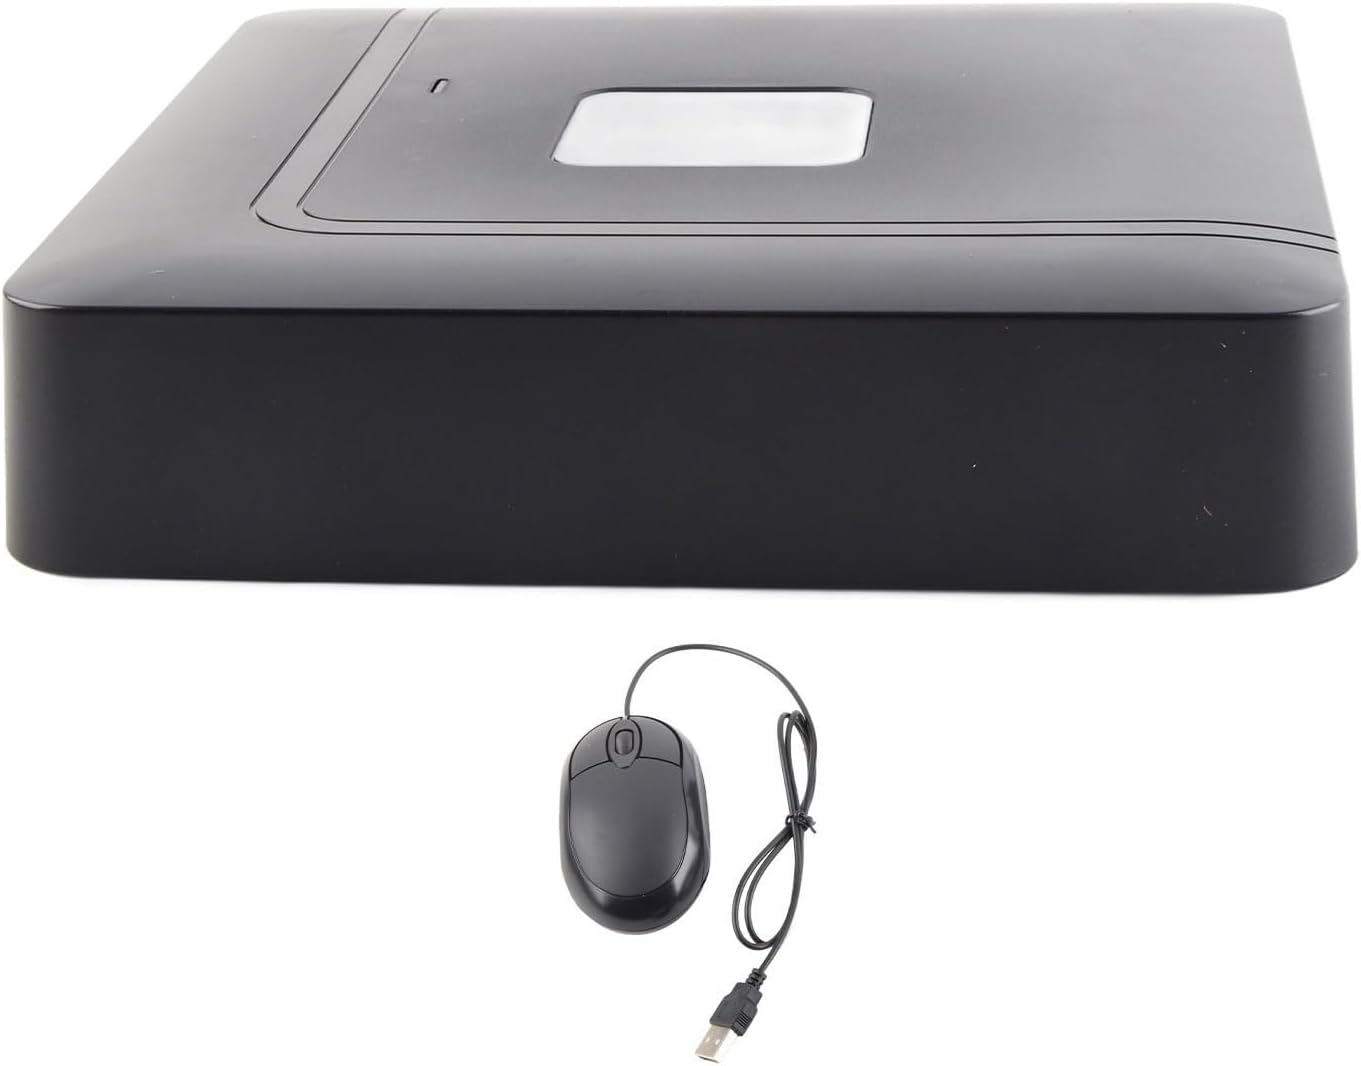
Image 4.1: Illustration showing both new and older models of the Sonew DVR, indicating that units may vary in external appearance.
5. Setup
5.1. Hardware Connections
Follow these steps to connect your DVR system:
- Connect Cameras: Attach your AHD/CVI/TVI cameras to the BNC video input ports on the rear panel. This DVR supports up to 4 channels.
- Connect Monitor: Use an HDMI or VGA cable to connect your monitor to the corresponding output port on the DVR. Ensure your monitor supports resolutions like 1920*1080, 1280*720, 1440*900, 1280*1024, 1024*768, or 800*600.
- Connect USB Mouse: Plug the included USB mouse into one of the USB ports for easy navigation of the graphical user interface (GUI).
- Connect Network (Optional): For remote viewing and network backup, connect an Ethernet cable from your router to the LAN port on the DVR.
- Connect Power: Plug the power adapter into the DC 12V input port and then into a power outlet.

Image 5.1: A visual guide to connecting cameras, monitor, and USB devices to the DVR's rear panel.
5.2. Hard Drive (HDD) Installation
The DVR requires a 3.5-inch SATA security-grade hard drive (up to 8TB) for video storage. Important: Do not use consumer-grade or incompatible hard drives, as this may lead to system instability or data loss.
- Unscrew the cover of the DVR unit.
- Carefully connect the SATA data and power cables from the DVR to the hard drive.
- Secure the hard drive within the DVR casing using the provided screws.
- Replace the DVR cover and secure it with screws.
6. Operating Instructions
6.1. Powering On/Off
- Power On: After all connections are made, plug in the power adapter. The DVR will automatically power on.
- Power Off: To safely shut down the system, navigate to the system menu using the mouse, select 'Shutdown' or 'Power Off', and confirm. Do not unplug the power directly without proper shutdown to prevent data corruption.
6.2. Initial Setup and User Interface
Upon first power-on, the DVR will guide you through an initial setup wizard. The system features a 16-bit true color graphical user interface (GUI) that is easily navigable with the USB mouse.

Image 6.1: The DVR supports various HD display resolutions for clear monitoring.
6.3. Recording Configuration
The DVR supports real-time synchronous recording across all channels. You can configure various recording modes:
- Continuous Recording: Records 24/7.
- Motion Detection Recording: The DVR features 192 (16x12) detection zones per channel. You can set multi-level sensitivity for local analog channels. Access the 'Record Settings' menu to configure motion detection areas and sensitivity.
- Scheduled Recording: Set specific times for recording.

Image 6.2: The 'Channel Type' menu allows configuration of video input types and recording parameters.
6.4. Video Playback
Access the 'Playback' menu to review recorded footage. The system supports multi-channel real-time playback, allowing you to view multiple camera feeds simultaneously.
6.5. Data Backup
You can back up recorded video for evidence storage using several methods:
- USB Backup: Connect a USB portable hard drive or flash drive to a USB port and use the backup function in the menu.
- Network Backup: Transfer files over the network to a connected computer or storage device.
- SATA Backup: Direct backup to an external SATA device (if supported by the system).
6.6. Network Setup
To enable remote viewing and network functions, configure the network settings in the DVR's menu. This typically involves setting up IP addresses, subnet masks, and gateway information, either manually or via DHCP.
7. Maintenance
7.1. Cleaning
Regularly clean the exterior of the DVR with a soft, dry cloth. Do not use liquid cleaners or aerosols. Ensure ventilation openings are free from dust and obstructions to prevent overheating.
7.2. HDD Management
Periodically check the health of your hard drive through the DVR's system information. Format the hard drive as needed to maintain optimal performance and storage capacity. Ensure important footage is backed up before formatting.
8. Troubleshooting
- No Display Output:
- Ensure the DVR is powered on.
- Verify that the HDMI or VGA cable is securely connected to both the DVR and the monitor.
- Try replacing the HDMI or VGA cable.
- Test with a different, newer monitor. This DVR may not be compatible with all older monitors or televisions. - Recording Issues:
- Check if a compatible 3.5-inch security-grade hard drive is correctly installed and formatted.
- Verify that recording schedules or motion detection settings are properly configured.
- Ensure there is sufficient storage space on the hard drive. - Network Connectivity Problems:
- Confirm the Ethernet cable is securely connected.
- Check network settings (IP address, gateway) in the DVR menu.
- Ensure your router is functioning correctly. - HDD Not Detected:
- Power off the DVR and check the SATA data and power connections to the hard drive.
- Ensure the hard drive is a 3.5-inch security-grade model and not exceeding 8TB.
9. Specifications
| Feature | Specification |
|---|---|
| Brand | Sonew |
| Model Number | Sonewnoqkvx1t7z-02 |
| Connectivity Technology | HDMI |
| Compatible Devices | Monitor |
| Storage Capacity | Max 8 TB (for 3.5-inch HDD) |
| Power | 15 Watts |
| Number of Channels | 4 |
| Digital Video Media Format | HDD |
| Audio Input | RCA |
| Total USB Ports | 2 |
| Video Input Type | BNC |
| Supported Resolutions | 1920*1080, 1280*720, 1440*900, 1280*1024, 1024*768, 800*600 |
| Motion Detection Zones | 192 (16*12) per channel (analog only) |
10. Warranty and Support
This product comes with a standard manufacturer's warranty. For specific warranty terms and conditions, please refer to the documentation provided at the time of purchase or contact your retailer.
For technical support, troubleshooting assistance, or further inquiries, please contact Sonew customer service or visit the official Sonew website for updated resources and contact information.