
Tribesigns HOGA-C0062-1
TRIBESIGNS WAY TO ORIGIN Computer Desk with Hutch User Manual
Model: HOGA-C0062-1
Brand: Tribesigns
1. Introduction
Thank you for choosing the Tribesigns Computer Desk with Hutch. This manual provides detailed instructions for assembly, operation, maintenance, and troubleshooting to ensure you get the most out of your new desk. Please read this manual thoroughly before assembly and retain it for future reference.
Safety Information
For your safety and to prevent damage to the product, please observe the following:
- Always assemble the desk according to the provided instructions.
- Do not exceed the maximum weight recommendation of 200 pounds to ensure stability and safety.
- Ensure all screws and fasteners are securely tightened before use.
- Keep small parts and packaging materials away from children.
- Place the desk on a level surface to prevent wobbling.
2. Package Contents
Please verify that all components listed below are present before beginning assembly. If any parts are missing or damaged, please contact customer support.
- Desktop Panel (E1 Particle Board)
- Hutch Panels (E1 Particle Board)
- Metal Frame Legs (Strong Metal)
- Lower Bookshelf Panel (E1 Particle Board)
- Adjustable Leg Pads
- Assembly Hardware (Screws, bolts, Allen wrench, etc.)
- Instruction Manual (This document)

Figure 2.1: Overview of the Tribesigns Computer Desk with Hutch.
3. Setup & Assembly
Assembly typically takes about 30 minutes for one person. Follow these steps carefully. It is recommended to assemble the desk on a soft, clean surface to prevent scratches.
Assembly Steps:
- Step 1: Assemble the Base Frame. Attach the horizontal support bars to the vertical metal legs using the provided hardware. Ensure all connections are secure but do not fully tighten screws yet.

Figure 3.1: The sturdy metal frame provides strong support for the desk.
- Step 2: Attach the Desktop. Carefully place the main desktop panel onto the assembled base frame. Align the pre-drilled holes and secure the desktop to the frame using the appropriate screws.

Figure 3.2: The spacious desktop provides ample workspace.
- Step 3: Install the Lower Bookshelf. Slide the lower bookshelf panel into the designated slots or attach it to the frame as per the instructions, securing it with screws.
- Step 4: Assemble the Hutch. Construct the hutch by connecting the vertical and horizontal hutch panels. Once assembled, carefully place the hutch onto the desktop, aligning it with the pre-drilled holes, and secure it firmly.
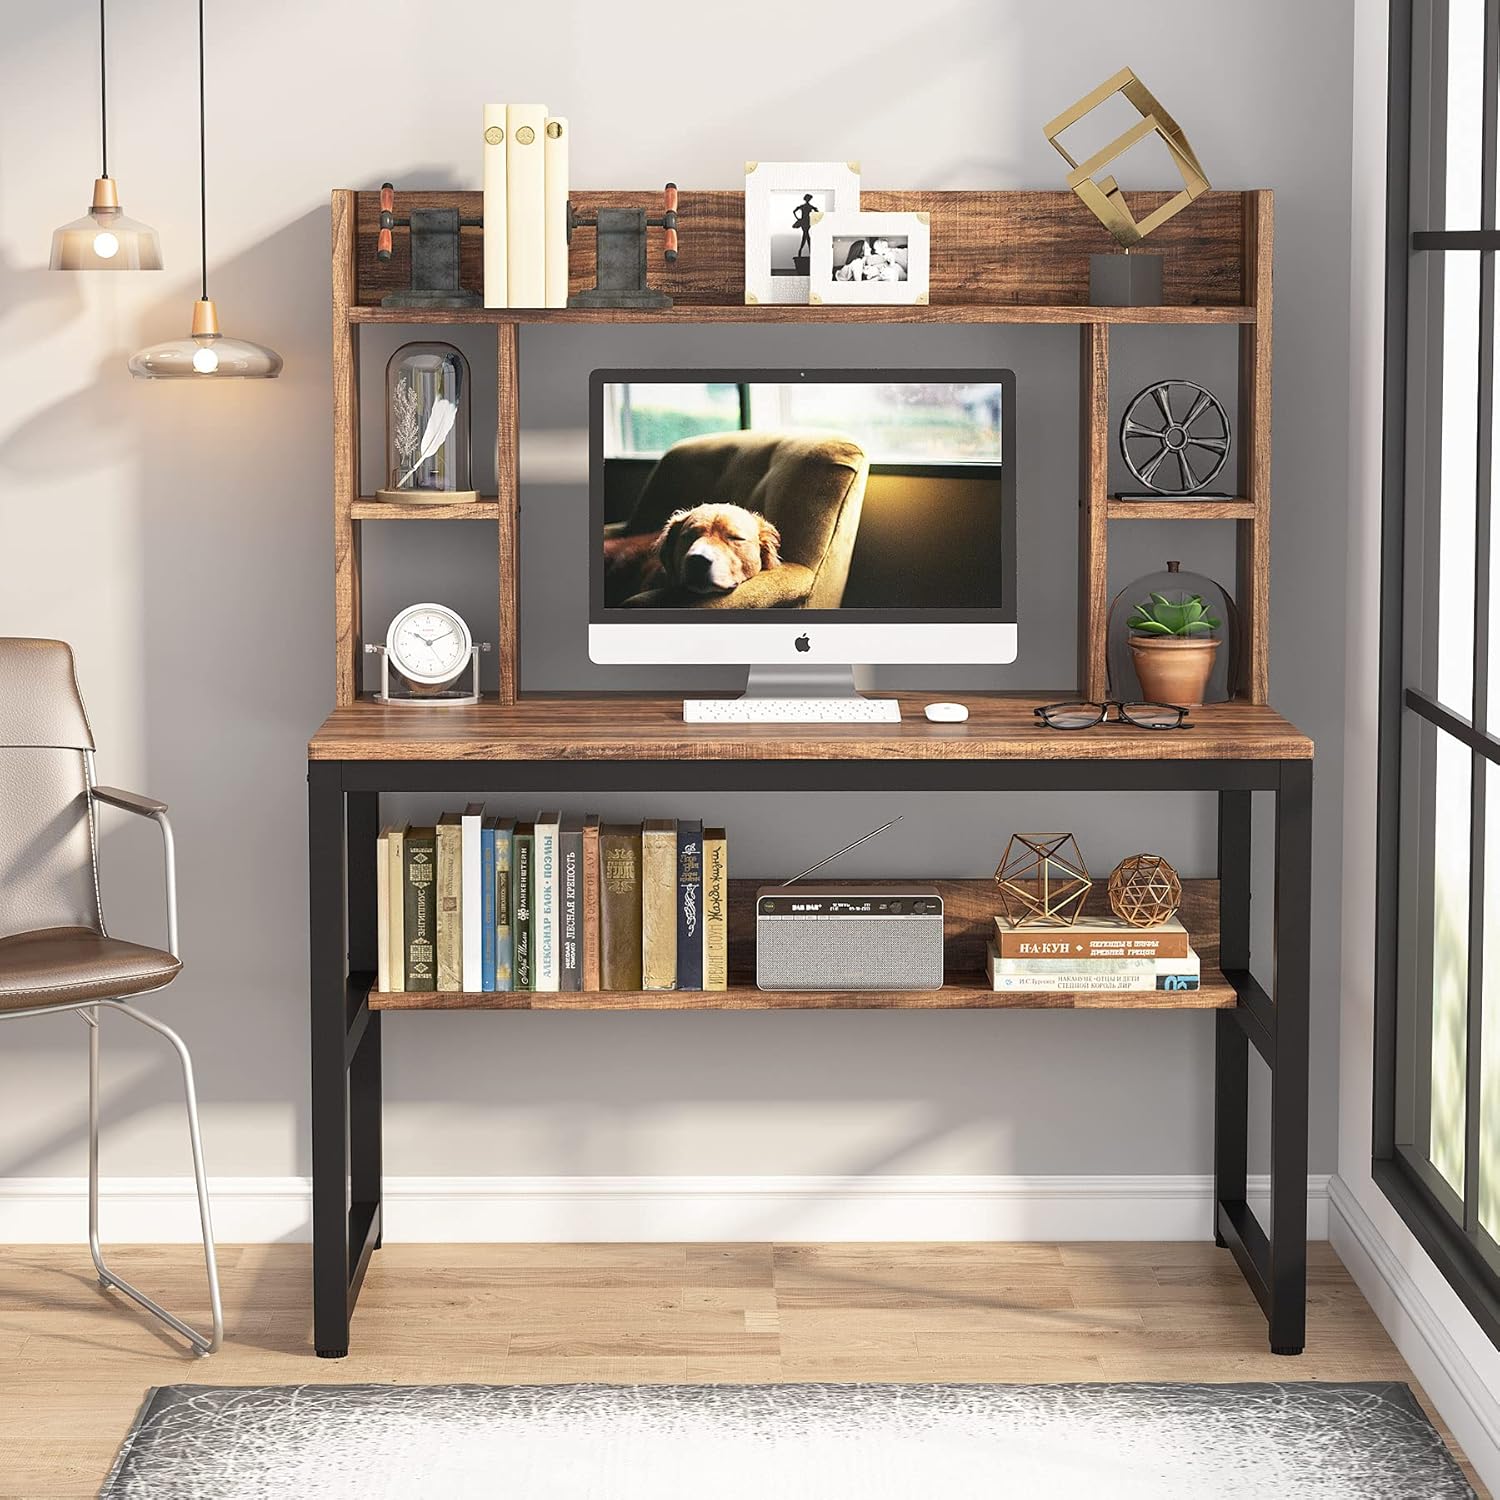
Figure 3.3: The integrated hutch offers convenient storage and display areas.
- Step 5: Tighten All Screws. Once all components are in place, go back and fully tighten all screws and fasteners. Do not overtighten.
- Step 6: Adjust Leg Pads. Turn the desk upright. Adjust the ABS resinic foot pads at the bottom of the legs to ensure the desk is stable and level on uneven floors. This also protects your floor from scratches.
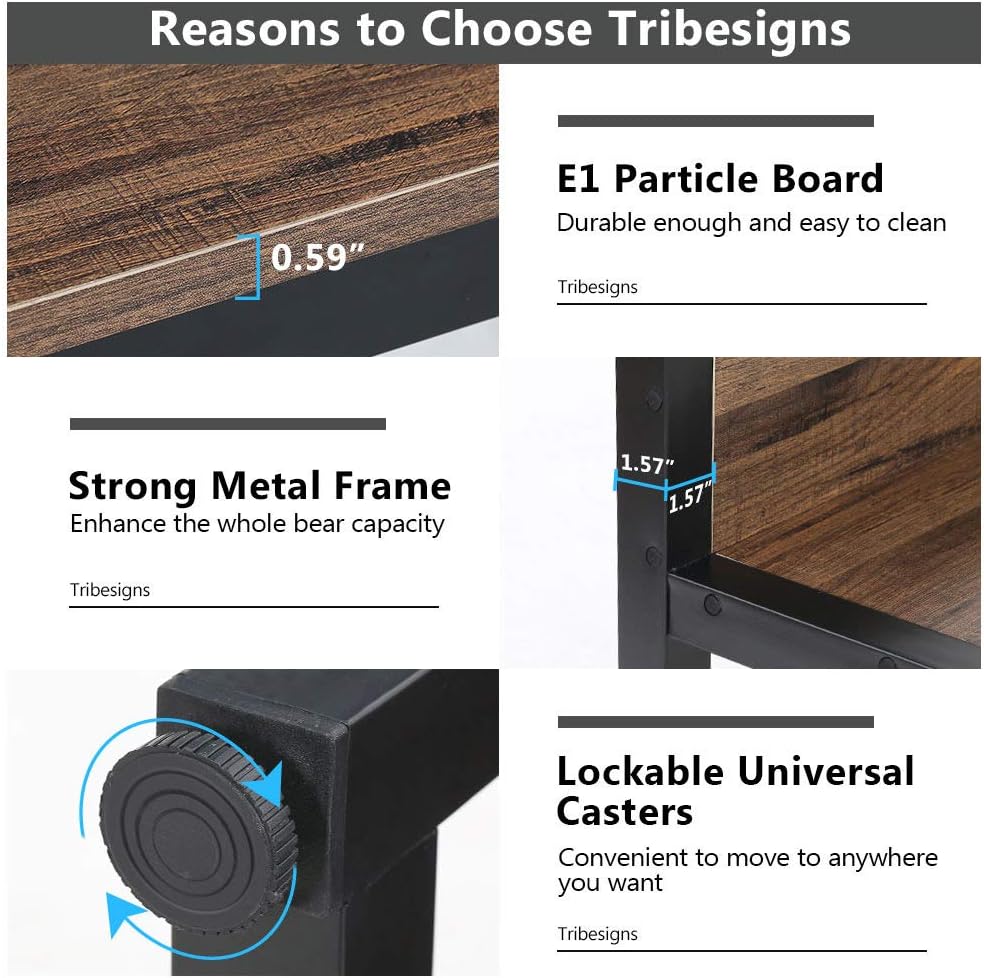
Figure 3.4: Adjustable leg pads for stability and floor protection.
Assembly Videos:
Watch this video for a visual guide on assembling the Tribesigns Computer Desk with Hutch:
Video 3.1: Assembly and feature overview for the 47-inch Tribesigns Computer Desk with Hutch and Bookshelf.
This video demonstrates the assembly and features of a similar 55-inch Tribesigns Computer Desk with Hutch, which shares many design elements:
Video 3.2: Assembly and feature overview for a 55-inch Tribesigns Computer Desk with Hutch.
Another video showcasing the features and assembly of a Tribesigns Computer Desk with Hutch:
Video 3.3: General overview of a Tribesigns Computer Desk with Hutch.
4. Operating & Usage
The Tribesigns Computer Desk with Hutch is designed for versatility and efficiency in various settings, including home offices, study areas, gaming setups, and general workstations.
- Multi-Functional Design: This desk combines a spacious writing desk, a hutch with multiple shelves, and a lower bookshelf, providing ample storage and organization options.

Figure 4.1: The desk's multi-functional design integrates storage and workspace.
- Spacious Desktop: The main desktop area is designed to accommodate computer monitors, keyboards, and other essential work items comfortably. It can support large computer monitors.
- Storage Shelves: Utilize the upper hutch shelves for books, decorative items, office supplies, or small electronics. The lower bookshelf provides additional space for larger items or more books.
- Adjustable Leg Pads: The adjustable leg pads allow you to fine-tune the desk's height and stability, ensuring it remains level even on uneven flooring.
5. Maintenance & Care
Proper care and maintenance will extend the life and appearance of your Tribesigns Computer Desk.
- Cleaning: Wipe surfaces regularly with a soft, damp cloth. Avoid using harsh chemicals, abrasive cleaners, or polishes that may damage the finish.
- Spills: Immediately wipe up any spills to prevent moisture damage to the particle board.
- Heat & Moisture: Avoid placing hot items directly on the desktop. Use coasters or protective pads for drinks. Keep the desk away from direct sunlight and excessive humidity.
- Tightening Hardware: Periodically check and retighten all screws and fasteners to ensure the desk remains stable. Do not overtighten.
- Weight Distribution: Distribute weight evenly across the desktop and shelves. Do not overload the shelves or desktop beyond the recommended weight capacity.
6. Troubleshooting
If you encounter any issues with your Tribesigns Computer Desk, please refer to the common problems and solutions below. If the problem persists, contact customer support.
| Problem | Possible Cause | Solution |
|---|---|---|
| Desk is wobbly. | Uneven floor; loose screws. | Adjust the leg pads until the desk is stable. Check and tighten all assembly screws. |
| Parts do not fit during assembly. | Incorrect orientation; wrong parts used. | Refer to the assembly diagrams and ensure parts are oriented correctly. Double-check part numbers. Do not force parts. |
| Missing hardware or damaged parts. | Packaging error; transit damage. | Contact Tribesigns customer support with your purchase details and a description of the missing/damaged items. |
7. Specifications
Key specifications for the Tribesigns Computer Desk with Hutch (Model: HOGA-C0062-1):
| Feature | Detail |
|---|---|
| Brand | Tribesigns |
| Model Number | HOGA-C0062-1 |
| Product Dimensions (D x W x H) | 23.62"D x 47.24"W x 55.11"H |
| Item Weight | 55.1 Pounds |
| Color | Brown (Vintage) + Black Legs |
| Style | Modern |
| Base Material | Sturdy Metal |
| Top Material Type | Engineered Wood (E1 Particle Board) |
| Number of Shelves | 4 (including hutch shelves and lower bookshelf) |
| Maximum Weight Recommendation | 200 Pounds |
| Required Assembly | Yes |
| Recommended Number of People for Assembly | 1 |
8. Warranty & Support
Tribesigns is committed to providing high-quality products and excellent customer service. For any questions, concerns, or assistance with your product, please contact Tribesigns customer support.
While specific warranty details are not provided in this manual, please retain your proof of purchase. For warranty claims or further support, visit the official Tribesigns store or contact their customer service directly.
You can find more information and contact details on the Tribesigns Amazon Store.
Ask a question about this manual
Ask about setup, troubleshooting, compatibility, parts, safety, or missing instructions. Manuals+ will review the question and use this page’s manual context to help answer it.