1. Product Overview
This document provides instructions for the Spares2go replacement door seal, designed for specific Siemens washing machine models. This component ensures a watertight seal for the washing machine door, preventing leaks during operation.

Image 1: Front view of the Spares2go replacement washing machine door seal.
2. Compatibility
This Spares2go door seal is compatible with a wide range of Siemens washing machine models. Please verify your washing machine's model number against the list below to ensure proper fit.
Compatible Models:
- WD12H360TI/01, WD12H360TI/20, WD12H360TI/21, WD12H360TI/22
- WD12H420EE/01, WD12H420EE/02, WD12H420EE/03, WD12H420EE/04
- WD12H420EP/01, WD12H420EP/02, WD12H420EP/03
- WD12H460TI/01, WD12H460TI/02, WD12H460TI/03, WD12H460TI/20, WD12H460TI/21, WD12H460TI/22
- WD14H320GB/01, WD14H340GC/01
- WD14H368TI/01, WD14H368TI/20, WD14H368TI/21, WD14H368TI/22
- WD14H420EE/01, WD14H420EE/02, WD14H420EE/03, WD14H420EE/04
- WD14H420EP/01, WD14H420EP/02, WD14H420EP/03
- WD14H420EU/01, WD14H420EU/02, WD14H420EU/03, WD14H420EU/04
- WD14H420GB/01, WD14H420GB/02, WD14H420GB/03, WD14H420GB/04, WD14H420GB/05
- WD14H420OE/01, WD14H420OE/02
- WD14H420TR/01, WD14H420TR/02, WD14H420TR/03
- WD14H421EU/01, WD14H421EU/02, WD14H421EU/03
- WD14H421GB/01
- WD14H42XEE/01, WD14H42XEE/02, WD14H42XEE/03
- WD14H42XEP/01, WD14H42XEP/02, WD14H42XEP/03
- WD14H44/02
- WD14H440/01, WD14H440/02, WD14H440/03, WD14H440/04, WD14H440/05, WD14H440/06
- WD14H441OE/01, WD14H441OE/02, WD14H441OE/03, WD14H441OE/04
- WD14H460FF/01, WD14H460FF/02, WD14H460FF/03, WD14H460FF/04
- WD14H461FF/01, WD14H461FF/02, WD14H461FF/03, WD14H461FF/05
- WD14H468TI/01, WD14H468TI/02, WD14H468TI/03, WD14H468TI/20, WD14H468TI/21, WD14H468TI/22
- WD15G4/90, WD15G421GB/01, WD15G441DN/01
- WD15H590/01
3. Installation Guidelines
Replacing a washing machine door seal requires careful attention. If you are unsure about any step, it is recommended to consult a qualified technician.
Safety Precautions:
- Always disconnect the washing machine from the power supply before attempting any repairs or maintenance.
- Turn off the water supply to the washing machine.
- Wear appropriate personal protective equipment, such as gloves.
General Installation Steps:
- Access the Old Seal: Open the washing machine door. The old door seal is typically held in place by a retaining spring or clamp around the outer edge and another around the inner drum.
- Remove Outer Clamp: Carefully locate and remove the outer retaining spring or clamp. This may require a screwdriver or pliers.
- Detach from Door Frame: Gently pull the outer lip of the old seal away from the door frame.
- Remove Inner Clamp: Reach inside the drum and locate the inner retaining clamp or spring that secures the seal to the drum. Remove this clamp.
- Disconnect Drain Tube (if applicable): Some seals have a small drain tube at the bottom. Disconnect this if present.
- Remove Old Seal: Once both clamps are removed and any drain tubes disconnected, carefully pull the old seal out of the washing machine.
- Clean Area: Thoroughly clean the area where the new seal will be installed, removing any dirt, soap residue, or mold.
- Install New Seal: Position the new Spares2go door seal, ensuring the drain holes (if any) align with the bottom of the drum.
- Secure Inner Edge: Carefully fit the inner lip of the new seal around the drum opening. Reinstall the inner retaining clamp or spring, ensuring it is securely seated.
- Secure Outer Edge: Fit the outer lip of the new seal around the door frame. Reinstall the outer retaining spring or clamp, ensuring a snug fit.
- Reconnect Drain Tube (if applicable): Reconnect any small drain tubes.
- Test: Close the door and run a short, empty wash cycle to check for leaks before normal use.
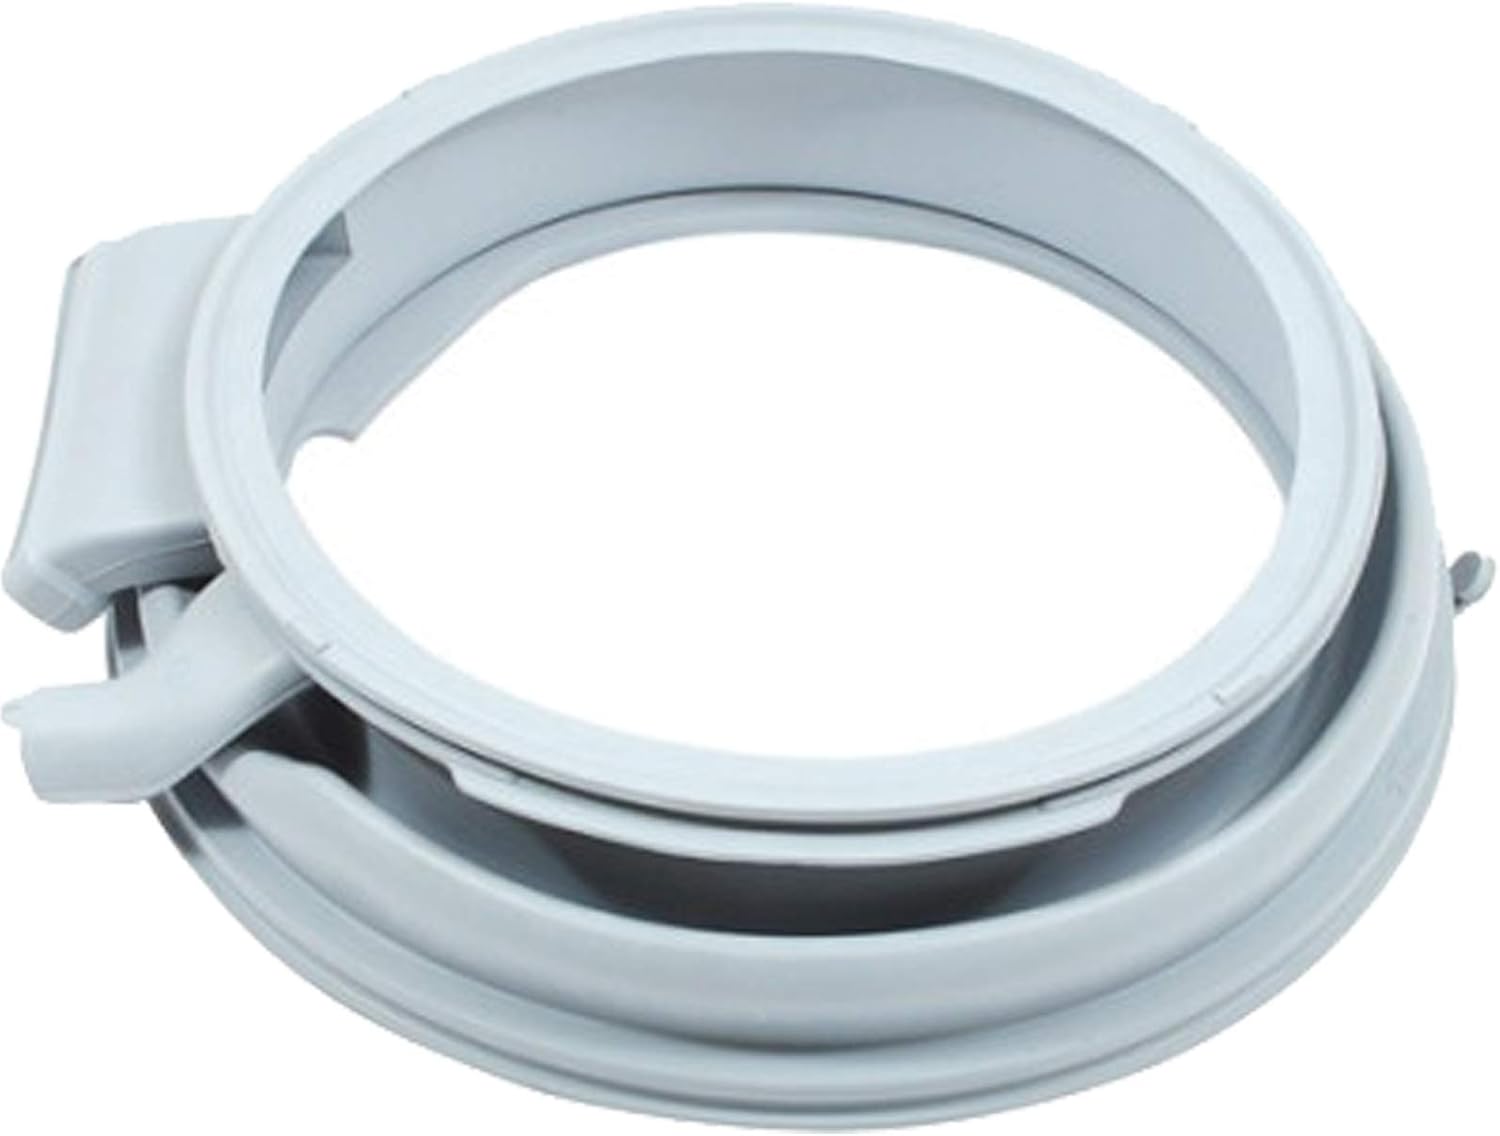
Image 2: Side view of the door seal, showing the drainage channel.
4. Operating Considerations
Once the door seal is correctly installed, ensure the washing machine door closes completely and securely before starting any wash cycle. A properly functioning door seal is crucial for the safe and efficient operation of your appliance.
5. Maintenance
Regular maintenance of your washing machine door seal can extend its lifespan and prevent issues such as leaks and mold growth.
- Wipe Down After Use: After each wash cycle, wipe the door seal dry with a clean cloth to remove excess water and detergent residue.
- Inspect for Debris: Periodically check the seal for any trapped items like coins, hairpins, or small clothing articles, which can damage the seal or cause leaks.
- Clean Regularly: Clean the seal thoroughly with a mild detergent or a specialized washing machine cleaner to prevent mold and mildew buildup. Pay attention to the folds and crevices.
- Leave Door Ajar: When the washing machine is not in use, leave the door slightly ajar to allow air circulation and prevent moisture buildup, which can lead to odors and mold.
6. Troubleshooting
If you encounter issues after replacing the door seal, consider the following common problems and solutions:
- Leaks from the Door:
Cause: Improper installation of the retaining clamps, seal not seated correctly, or damage to the new seal.
Solution: Re-check both inner and outer retaining clamps for secure fit. Ensure the seal is evenly seated around the drum and door frame. Inspect the seal for any tears or punctures. - Mold or Odor:
Cause: Moisture and detergent residue buildup.
Solution: Clean the seal thoroughly as described in the Maintenance section. Ensure the door is left ajar after use to allow drying. - Door Not Closing Properly:
Cause: Seal is not correctly aligned or is twisted.
Solution: Re-align the seal, ensuring it is not twisted or bunched up, especially around the door latch mechanism.
7. Specifications
| Attribute | Detail |
|---|---|
| Brand | Spares2go |
| Model Number (Manufacturer Reference) | 03-ZGX-005 |
| ASIN | B07NVMFM6M |
| Manufacturer | SPARES2GO |
| Product Status | Currently produced |
| Spare Parts Availability | Information not available |
8. Support and Warranty
For further assistance or inquiries regarding this Spares2go product, please refer to the retailer or manufacturer's official support channels. Specific warranty information for this replacement part may vary and is generally provided at the point of purchase or on the manufacturer's website.
As per available information, specific details on spare parts availability and software updates are not provided for this item.