
BATHLAVISH B-66556
BATHLAVISH B-66556 Oil Rubbed Bronze Waterfall Bathroom Faucet Instruction Manual
Model: B-66556 | Brand: BATHLAVISH
Introduction
Thank you for choosing the BATHLAVISH B-66556 Oil Rubbed Bronze Waterfall Bathroom Faucet. This manual provides detailed instructions for installation, operation, maintenance, and troubleshooting to ensure optimal performance and longevity of your faucet. Please read this manual thoroughly before installation and keep it for future reference.
Safety Information
- Always turn off the main water supply before beginning any installation or maintenance.
- Wear appropriate personal protective equipment, such as safety glasses and gloves, during installation.
- Ensure all connections are secure to prevent leaks. Do not overtighten.
- If you are unsure about any part of the installation, consult a qualified plumber.
- Keep small parts away from children to prevent choking hazards.
Package Contents
Verify that all components are present before beginning installation:
- BATHLAVISH Waterfall Bathroom Faucet (Oil Rubbed Bronze)
- Pop-Up Drain Assembly
- Hot and Cold Water Supply Lines (24.4-Inch, 3/8")
- 6-Inch Hole Cover Plate (Escutcheon)
- Mounting Hardware (rubber gasket, metal washer, mounting nut)
- Installation Wrench
- Instruction Manual

Specifications
| Feature | Detail |
|---|---|
| Brand | BATHLAVISH |
| Model Name | B-66556 |
| Finish Type | Oil Rubbed Bronze |
| Material | Brass |
| Mounting Type | Deck Mount |
| Number of Handles | 1 |
| Hole Count | 1 or 3 (with included deck plate) |
| Flow Rate | 1.8 Gallons Per Minute |
| Spout Height | 2.26 Inches |
| Spout Reach | 3.9 Inches |
| Item Weight | 1.81 Kilograms |
| Hose Length | 24 Inches |

Setup and Installation
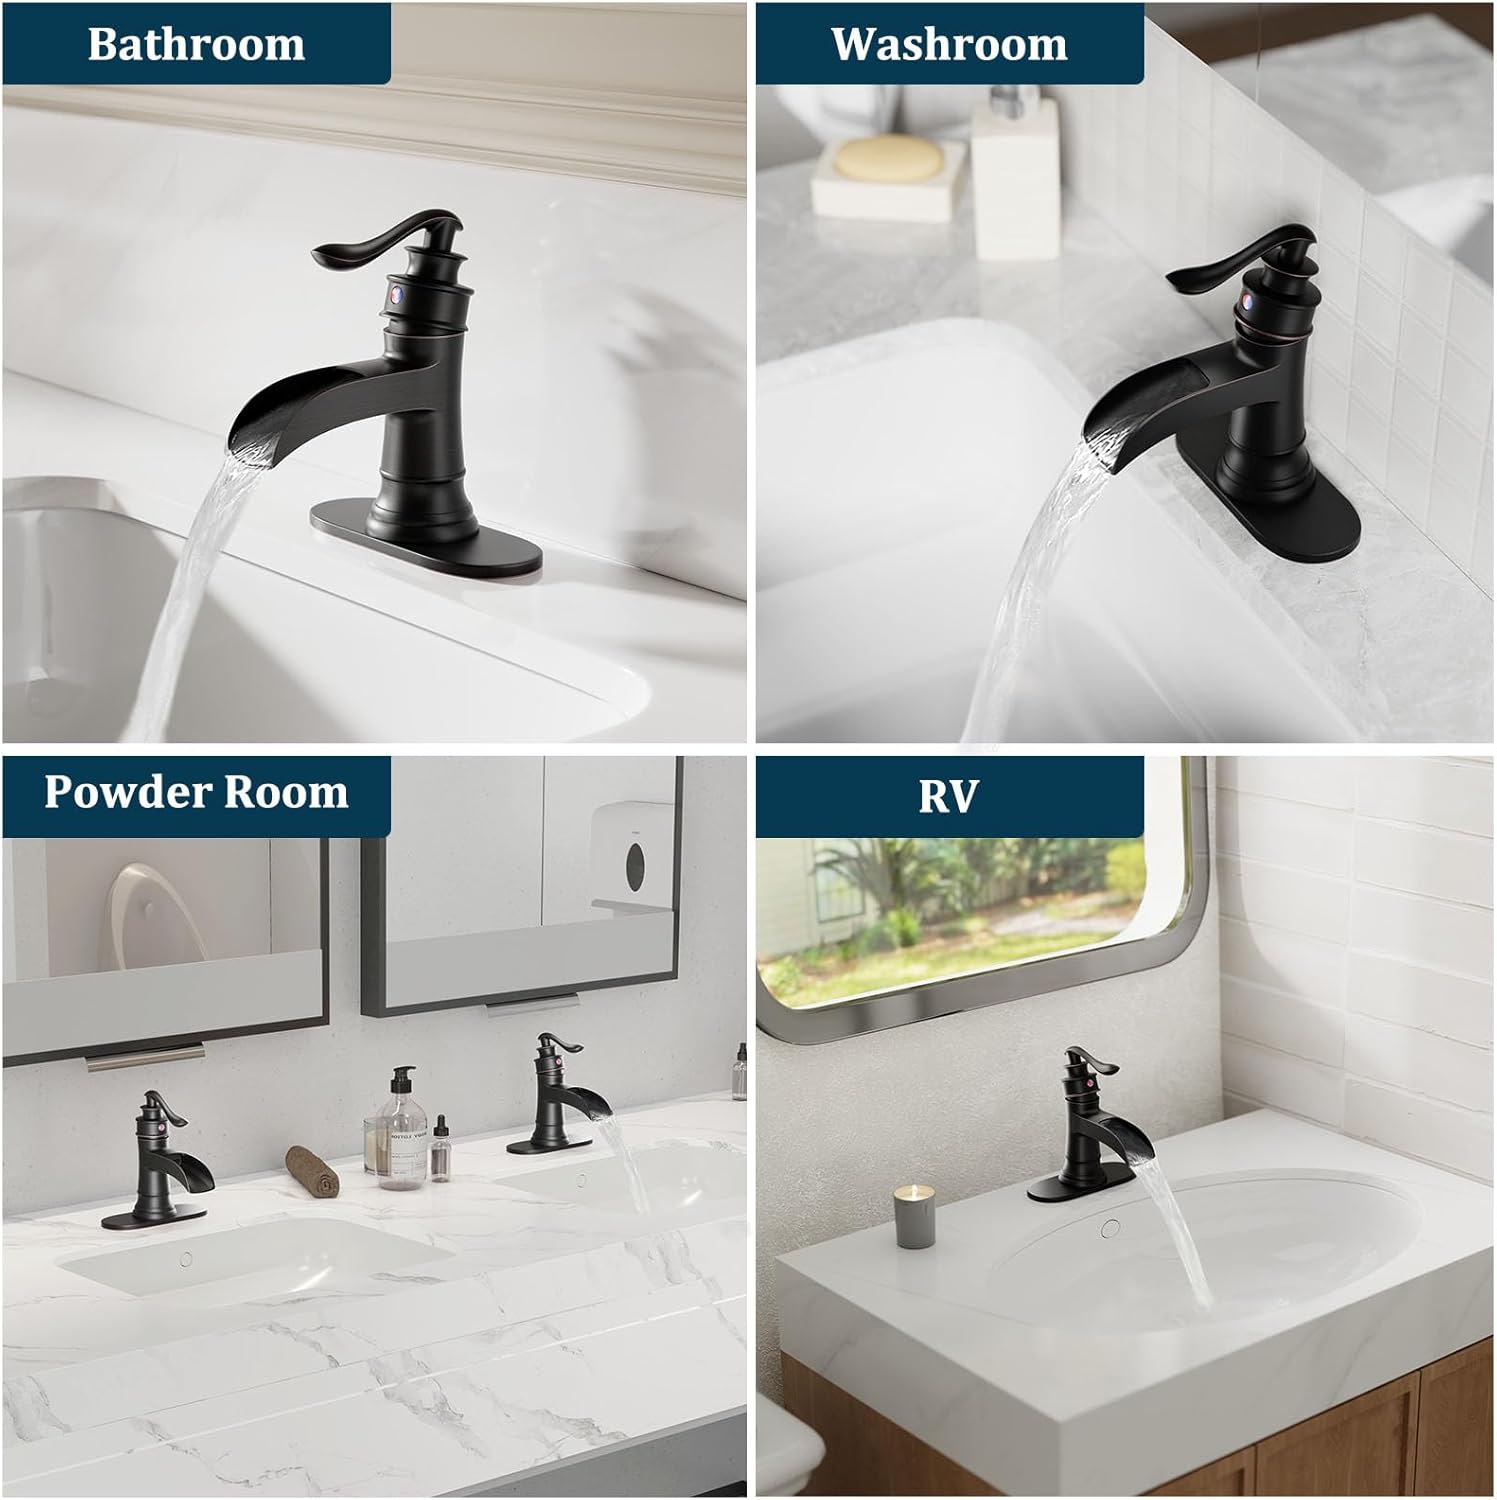
Follow these steps for proper installation of your BATHLAVISH faucet. It is compatible with 1-hole or 3-hole sinks (4-inch center-to-center mounting) using the included cover plate.
Faucet Installation
- Prepare the Faucet: Remove the large nut from the lever of the faucet. Place the O-ring onto the faucet base.
- Position the Escutcheon: If your sink has three holes, place the 6-inch cover plate (escutcheon) over the center hole. The escutcheon can be removed for single-hole installations.
- Insert Faucet: Carefully feed the hot and cold water supply lines and the mounting bolt through the sink hole (and escutcheon, if used). Position the faucet securely on the sink deck.
- Secure Faucet from Below: From underneath the sink, slide the rubber gasket, then the metal washer, onto the mounting bolt. Hand-tighten the mounting nut, then use the provided installation wrench to fully secure the faucet. Do not overtighten.
- Connect Water Supply: Connect the hot and cold water supply lines to your home's water supply valves. Ensure the red marked hose connects to the hot water supply and the blue marked hose connects to the cold water supply. Tighten connections with a wrench.


Pop-Up Drain Installation
- Disassemble Drain: Unscrew the brass locking nut, silicon gasket, and plastic washer from the drain body.
- Insert Drain Body: From the top of the sink, slide the drain body through the sink's drain hole.
- Assemble from Below: From underneath the sink, place the plastic washer, then the silicon gasket, and finally screw on the brass locking nut. Hand-tighten, then use a wrench to secure. Ensure the drain is properly aligned and sealed to prevent leaks.

Installation Video Guide
Operating Instructions
The BATHLAVISH B-66556 faucet features a single handle for easy control of water flow and temperature.
- Turn On/Off: Lift the handle upwards to turn on the water. Push the handle downwards to turn off the water.
- Adjust Temperature: Move the handle to the left for hot water and to the right for cold water. Adjust the handle position between left and right to achieve the desired water temperature.
- Adjust Flow: The further you lift the handle, the greater the water flow.
- Pop-Up Drain: Press the top of the pop-up drain to close it and retain water in the sink. Press again to open it and allow water to drain.

Maintenance
Proper care and maintenance will ensure the lasting beauty and functionality of your faucet.
- Cleaning: Clean the faucet regularly with a soft, damp cloth. Avoid using abrasive cleaners, harsh chemicals, or polishes as they can damage the oil rubbed bronze finish.
- Water Spots: To prevent water spots, wipe the faucet dry after each use.
- Aerator/Filter Maintenance: Periodically check and clean the aerator or internal filter (if applicable) for mineral buildup or debris to maintain optimal water flow. Refer to the troubleshooting section for details on cleaning the internal filter.
Troubleshooting
If you encounter any issues, refer to the common problems and solutions below:
| Problem | Possible Cause | Solution |
|---|---|---|
| Low water flow | Clogged internal filter/O-ring, mineral buildup in spout. | Turn off water supply. Carefully pry out the hot/cold emblem on the handle. Loosen the set screw and remove the handle. Unscrew the dome-shaped trim piece and hex-nut. Pull out the cartridge. Locate the small green insert with an O-ring inside the faucet body. Remove and clean this piece. Reassemble. |
| Leaks from faucet base | Loose mounting nut or damaged O-ring. | Ensure the mounting nut underneath the sink is securely tightened. Check the O-ring at the base of the faucet for proper placement and condition. |
| Leaks from supply lines | Loose connections or damaged hoses. | Tighten supply line connections. If hoses are damaged, replace them. |
| Water not draining properly | Pop-up drain clogged or improperly installed. | Check the pop-up drain for debris. Ensure the drain assembly is correctly installed and sealed. |
Warranty and Support
BATHLAVISH offers a lifetime warranty on this faucet, ensuring quality and durability. For warranty claims, technical assistance, or any questions not covered in this manual, please contact BATHLAVISH customer support.
Contact Information: Please refer to the contact details provided on the BATHLAVISH official website or your purchase documentation for the most up-to-date support information.
Ask a question about this manual
Ask about setup, troubleshooting, compatibility, parts, safety, or missing instructions. Manuals+ will review the question and use this page’s manual context to help answer it.