1. Introduction
This manual provides detailed instructions for the installation, operation, and maintenance of your Minka Aire F1001-BNK Dyno XL 60-inch ceiling fan. This model features a 60-inch blade sweep, an integrated 16 Watt dimmable LED light module, and a three-speed handheld remote control. It is also a WiFi-enabled smart fan, compatible with the Bond Home app, Amazon Alexa, and Google Home Assistant for enhanced control.
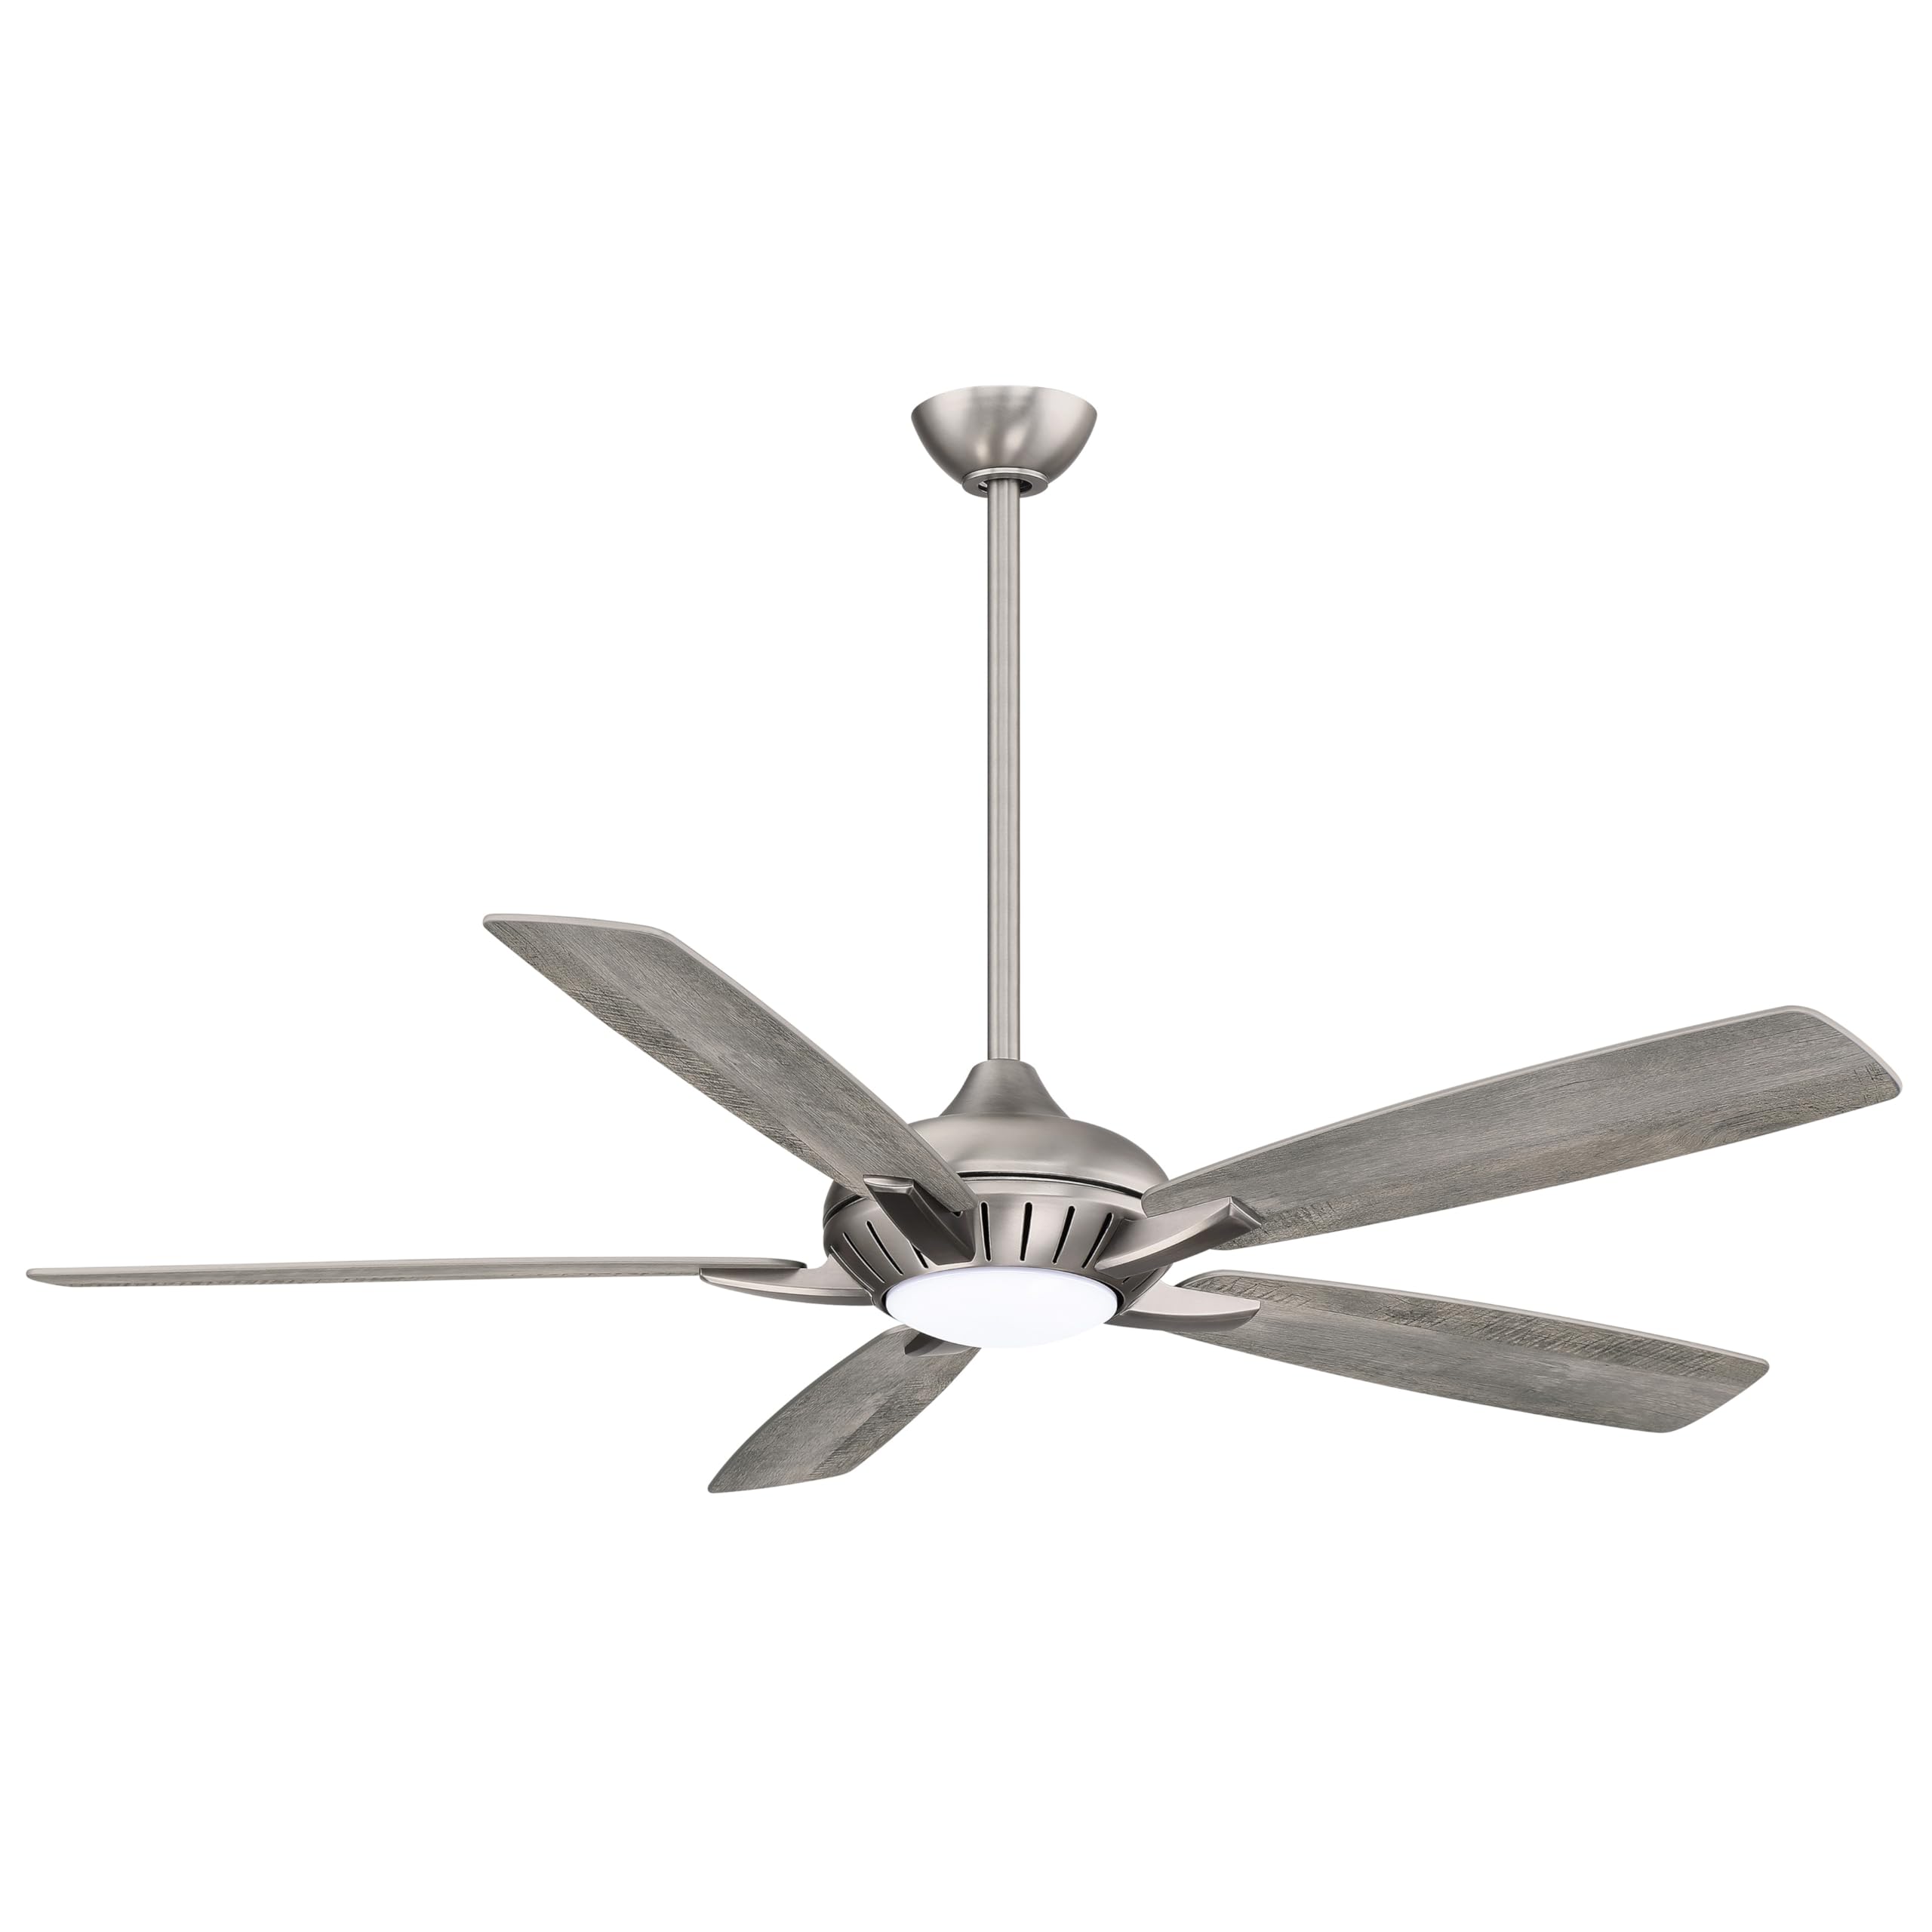
Image 1.1: Minka Aire F1001-BNK Dyno XL 60-inch Ceiling Fan in Burnished Nickel finish.
2. Safety Information
Read all instructions carefully before beginning installation. Improper installation can lead to electrical shock, fire, or personal injury. Always consult a qualified electrician if you are unsure about any part of the installation process.
- Ensure the power is turned off at the circuit breaker before installation or maintenance.
- All wiring must be in accordance with national and local electrical codes.
- The mounting structure must be capable of supporting the weight of the fan (approximately 16.2 lbs).
- Do not bend blade holders during installation or cleaning.
- Maintain a minimum clearance of 7 feet from the floor to the bottom of the fan blades.
- This fan is designed for indoor use only.
3. Package Contents
Verify that all components are present before beginning installation:
- Fan Motor Assembly
- Five (5) Fan Blades
- One (1) 6-inch Downrod
- Mounting Bracket
- RCS213 Three-speed Hand-held Remote Control
- Integrated 16 Watt Dimmable LED Light Module with Frosted Glass
- Hardware Pack (screws, washers, wire nuts)
- Installation Manual
4. Installation
Follow these steps for proper installation. It is recommended to assemble the fan components on a soft, flat surface to prevent scratches.
4.1 Mounting the Bracket
- Secure the mounting bracket to the ceiling junction box. Ensure the junction box is securely fastened to the building structure and can support the fan's weight.
- Feed the electrical wires from the junction box through the center hole of the mounting bracket.
4.2 Wiring the Fan
- Carefully place the RF receiver into the hanging bracket. This component fits snugly.
- Connect the fan's electrical wires to the household wiring according to the wiring diagram provided in the included installation manual. Typically, this involves connecting live, neutral, and ground wires. Use the provided wire nuts and ensure all connections are secure.
4.3 Assembling the Fan
- Insert the downrod through the canopy and coupling. Secure with the provided pin and screw.
- Carefully lift the fan motor assembly and hang it onto the mounting bracket.
- Attach the five fan blades to the motor housing using the provided screws. Ensure all screws are tightened securely.
4.4 Installing the LED Light Module
- Connect the LED light module wires to the corresponding wires from the fan motor assembly.
- Secure the LED light module to the bottom of the fan motor housing.
- Attach the frosted glass diffuser by twisting or securing it into place.

Image 4.1: Underside view of the Minka Aire F1001-BNK Dyno XL ceiling fan, showing the integrated LED light module.
5. Operating Instructions
Your Minka Aire Dyno XL fan can be operated using the included handheld remote control or via smart home integration.
5.1 Remote Control (RCS213)
The RCS213 remote control allows you to adjust fan speed, turn the light on/off, dim the light, and reverse the fan direction.

Image 5.1: RCS213 Handheld Remote Control for Minka Aire Dyno XL fan.
- Fan Speed: Use the numbered buttons (1-6) to select desired fan speed.
- Fan On/Off: Press the center button to turn the fan on or off.
- Light On/Off: Press the light button to toggle the LED light.
- Light Dimming: Hold down the light button to cycle through brightness levels. Release at the desired brightness.
- Fan Direction: Press the reverse button to change the direction of blade rotation (e.g., for summer or winter mode).
5.2 Smart Home Integration
The Dyno XL fan is WiFi-enabled and integrates with various smart home systems:
- Bond Home App: Download the free Bond Home app on iOS or Android devices. Follow the in-app instructions to connect your fan to your home WiFi network. This allows control from your smartphone.
- Voice Control: Once connected via the Bond Home app, enable the Bond Home skill for Amazon Alexa or the Bond Home Action for Google Home to control your fan with voice commands.
- Other Systems: Additional integration drivers are available for SmartThings, Control4, ELAN, Hubitat, and other systems. Refer to the Bond Home website for specific instructions.
6. Maintenance
Regular maintenance ensures optimal performance and longevity of your ceiling fan.
- Cleaning: To clean the fan, wipe with a soft, damp cloth. Do not use abrasive cleaners or solvents, as these may damage the finish or electrical components.
- Blade Cleaning: Dust the fan blades regularly to prevent dust buildup, which can affect airflow and balance.
- Tightening Screws: Periodically check all screws on the fan assembly, especially those securing the blades, to ensure they are tight. Loose screws can cause noise or wobble.
- Light Module: The integrated LED light module is designed for long life and is not user-replaceable.
7. Troubleshooting
If you encounter issues with your fan, refer to the following common problems and solutions:
| Problem | Possible Cause | Solution |
|---|---|---|
| Fan does not start | No power to the fan; Loose wire connections; Remote control battery low or not paired | Check circuit breaker; Verify all wire connections are secure; Replace remote battery or re-pair remote. |
| Fan is noisy | Loose screws; Unbalanced blades; Motor hum | Tighten all screws on fan blades and housing; Check for bent blades; Motor hum is normal for some DC motors. |
| Light does not work | Loose wire connection; LED module failure | Check light kit wiring; Contact customer support if LED module is faulty. |
| Remote control not responding | Low battery; Remote not paired; Interference | Replace remote battery; Follow pairing instructions in the full manual; Ensure no obstructions between remote and fan. |
| Smart features not connecting | WiFi network issues; Incorrect app setup | Ensure WiFi is active and fan is within range; Re-follow Bond Home app setup instructions; Check router settings. |
8. Specifications
Detailed technical specifications for the Minka Aire F1001-BNK Dyno XL 60" Ceiling Fan:
- Brand: MINKA-AIRE
- Model Name: F1001-BNK
- Color: Burnished Nickel
- Electric Fan Design: Ceiling Fan
- Power Source: AC
- Product Dimensions: 60"D x 60"W x 15.5"H
- Room Type: Home Office (suitable for various indoor spaces)
- Special Feature: Remote Controlled, Smart Home Compatible
- Recommended Uses: Air Circulation
- Wattage: 26 watts
- Finish Type: Brushed
- Number of Blades: 5
- Air Flow Capacity: 5987 Cubic Feet Per Minute (CFM)
- Blade Length: 60 Inches
- Voltage: 120 Volts
- Item Weight: 16.2 Pounds
- Indoor/Outdoor Usage: Indoor
- Control Method: Voice, Remote
- Efficiency: 230.27 CFM/watt (at low speed), 5987 CFM (high), 26 watts (high)
- Number of Power Levels: 6
- Type of Bulb: LED
- Plug Format: A- US style
- Batteries Included: Yes (for remote)
- Battery Cell Type: Alkaline
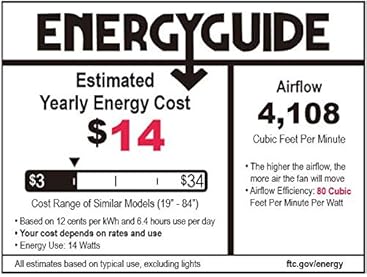
Image 8.1: Energy efficiency and performance data for the Minka Aire Dyno XL 60-inch fan.
9. Warranty and Support
Your Minka Aire F1001-BNK Dyno XL ceiling fan is covered by a manufacturer's warranty.
- Warranty Period: All products purchased are covered under a 1-Year warranty when purchased on Amazon. The warranty period begins on the day the product is originally shipped.
- Coverage: The warranty covers all items and conditions identified in the original manufacturer's warranty.
- Exclusions: The warranty specifically does not cover loss and theft, water damage, customer abuse, and finish deterioration due to UV or coastal exposure.
- Replacement Parts: All products purchased have a 30-day replacement parts policy to ensure a fully working item.
For technical support or warranty claims, please refer to the contact information provided in your product packaging or visit the official MINKA-AIRE website.