1. Introduction
This manual provides comprehensive instructions for the installation, setup, and operation of your Lesim Smart Switch WiFi Wall Light Switch. This device allows you to control your lighting remotely via a smartphone app or voice commands through compatible smart home assistants like Amazon Alexa and Google Home.
Please read this manual thoroughly before installation and use to ensure proper function and safety.
2. Safety Information
- WARNING: RISK OF ELECTRIC SHOCK. Installation should be performed by a qualified electrician or a person with electrical knowledge.
- Disconnect power at the circuit breaker before installation.
- This smart switch is designed for single-pole applications only. It is not compatible with 3-way (multi-switch) lighting systems.
- A neutral wire is required for operation. If your electrical box does not have a neutral wire, this switch is not compatible.
- This is a standard on/off switch, not a dimmer.
- Support 2.4GHz Wi-Fi Only (5G Wi-Fi networks are not supported).
- Ensure all wiring connections are secure and insulated.
3. Package Contents
Verify that all items are present in your package:
- Lesim Smart Switch WiFi Wall Light Switch (1 Pack)
- Wall Plate
- Wire Nuts (4)
- Mounting Screws (2)
- User Manual

Image: Contents of the Lesim Smart Switch package, showing the switch, wire nuts, and mounting screws.
4. Product Overview and Features
The Lesim Smart Switch offers convenient control over your home lighting with advanced features:
- Wireless Remote Control: Turn electronics on or off from anywhere using the Smart Life app on your smartphone.
- Voice Control: Compatible with Amazon Alexa and Google Assistant for hands-free operation.
- Scheduling and Timers: Set custom schedules to automatically turn lights on and off, enhancing convenience and energy efficiency.
- Smart Sharing: Share control of your smart switch with family members through the Smart Life app.
- Easy Installation: Designed to replace existing single-pole light switches.
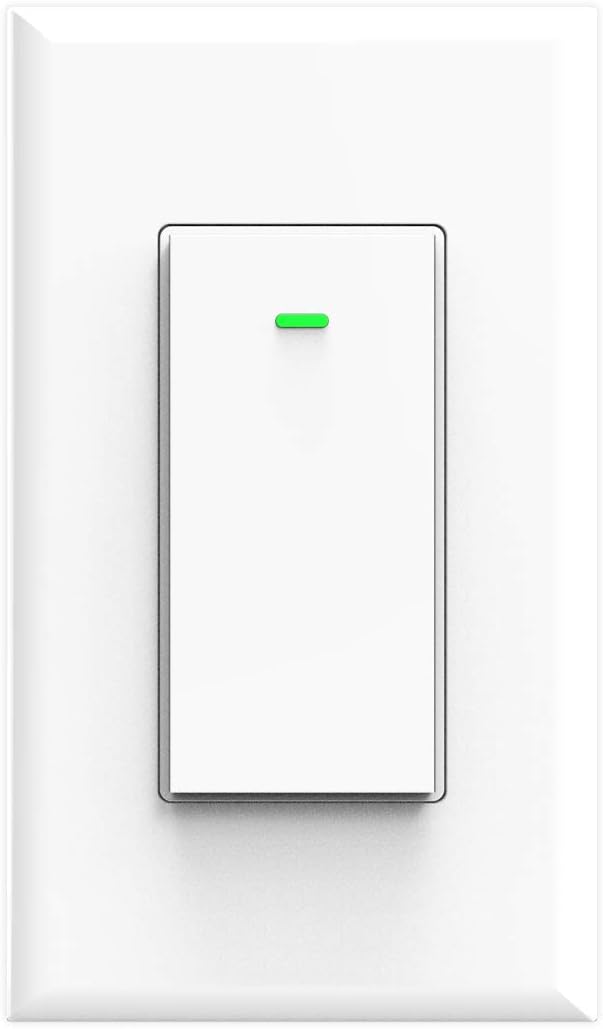
Image: Front view of the Lesim Smart Switch, showing its clean white design.
5. Specifications
| Feature | Specification |
|---|---|
| Model | KS-602S |
| Power Supply Mode | Neutral + Live Wire |
| Rated Current | 15A (Max) |
| Operating Voltage | AC110-125V 50/60Hz |
| Rated Power | 1650W |
| Connectivity Protocol | Wi-Fi (2.4GHz Only) |
| Wireless Standard | IEEE802.11 b/g/n |
| Control Method | App, Voice |
| Compatible Devices | Amazon Alexa, Google Assistant, IFTTT |
| Dimensions | 4.1 x 1.8 x 1.4 inches (approx.) |
| Item Weight | 5.6 ounces |

Image: Diagram showing the physical dimensions of the smart switch and a basic wiring illustration.
6. Installation
Before beginning, ensure you have basic electrical knowledge and the necessary tools (screwdriver, wire strippers, voltage tester).
6.1 Pre-Installation Checklist
- Confirm your existing switch is a single-pole switch.
- Verify the presence of a neutral wire (usually white) in your electrical box.
- Ensure your Wi-Fi network is 2.4GHz.
6.2 Wiring Instructions
- Turn Off Power: Locate your circuit breaker and turn off the power to the light switch you are replacing. Use a voltage tester to confirm the power is off.
- Remove Old Switch: Unscrew and carefully pull out the old switch from the wall box. Disconnect the wires, noting which wire was connected to which terminal.
- Identify Wires:
- Live Wire (Line): Carries power from the circuit breaker (often black).
- Load Wire: Carries power to the light fixture (often black).
- Neutral Wire: Completes the circuit (always white).
- Ground Wire: Safety wire (bare copper or green).
- Connect Smart Switch: Connect the wires from your wall box to the corresponding terminals on the Lesim Smart Switch using the provided wire nuts:
- Connect the Live Wire (Line) from the wall box to the 'L-IN' terminal on the switch.
- Connect the Load Wire from the wall box to the 'OUT' terminal on the switch.
- Connect the Neutral Wire from the wall box to the 'N-IN' terminal on the switch.
- Connect the Ground Wire from the wall box to the 'GROUND' terminal on the switch.
- Mount Switch: Carefully push the wired switch back into the wall box. Secure it with the mounting screws.
- Install Wall Plate: Attach the new wall plate over the switch.
- Restore Power: Turn the power back on at the circuit breaker.

Image: A detailed wiring diagram illustrating how to connect the Load, Live, Ground, and Neutral wires to the smart switch.
7. Setup (App Pairing & Wi-Fi Connection)
After successful physical installation, proceed with connecting your smart switch to your Wi-Fi network and the Smart Life app.
- Download the App: Download the Smart Life app from the Apple App Store or Google Play Store.
- Register/Log In: Open the app and register for a new account or log in if you already have one.
- Add Device: Tap the '+' icon in the top right corner of the app to add a new device. Select 'Electrician' then 'Switch (Wi-Fi)'.
- Connect to Wi-Fi: Enter your 2.4GHz Wi-Fi network name and password. Ensure your phone is connected to the 2.4GHz network.
- Reset Device: Follow the in-app instructions to put the switch into pairing mode. This usually involves pressing and holding the switch button until the indicator light blinks rapidly. Confirm the indicator light is blinking quickly in the app.
- Connect: The app will begin connecting to the device. Once connected, you can rename your switch for easier identification.

Image: A visual guide showing the steps to set up the smart switch with the Smart Life mobile application.
8. Operating Instructions
8.1 Manual Control
Press the physical button on the smart switch to manually turn the connected light on or off.
8.2 App Control
Once connected to the Smart Life app, you can:
- Remote On/Off: Tap the switch icon in the app to turn lights on or off from anywhere.
- Scheduling: Set specific times for your lights to turn on or off automatically.
- Timers: Create countdown timers for lights to switch off after a set duration.
- Scene Creation: Group multiple smart devices to control them with a single command or schedule.
- Device Sharing: Share control of the switch with other Smart Life app users (e.g., family members).

Image: A user demonstrating remote control of the smart switch using the Smart Life app on a smartphone.

Image: Illustration of setting schedules and creating scenes for automated lighting control.

Image: Demonstrates controlling home lights remotely via the app, ensuring you never return to a dark home.
8.3 Voice Control
Integrate your Lesim Smart Switch with Amazon Alexa or Google Assistant for voice control:
- Link Account: In the Alexa or Google Home app, navigate to the 'Skills' or 'Works with Google' section and search for 'Smart Life'. Link your Smart Life account.
- Discover Devices: Once linked, ask Alexa or Google Assistant to 'Discover devices'.
- Voice Commands: Use commands such as:
- "Alexa, turn on [Switch Name]"
- "Hey Google, turn off [Switch Name]"

Image: Demonstrates hands-free voice control using Amazon Alexa and Google Home devices.
9. Maintenance
The Lesim Smart Switch requires minimal maintenance.
- Cleaning: Wipe the switch and wall plate with a soft, dry cloth. Avoid using harsh chemicals or abrasive cleaners.
- Wi-Fi Stability: Ensure your Wi-Fi router is functioning correctly and provides a stable 2.4GHz signal to the switch for optimal performance.
- Firmware Updates: Periodically check the Smart Life app for any available firmware updates for your switch to ensure you have the latest features and security enhancements.
10. Troubleshooting
If you encounter issues with your Lesim Smart Switch, refer to the following common problems and solutions:
| Problem | Possible Cause / Solution |
|---|---|
| Switch is unresponsive (no power) |
|
| Cannot connect to Wi-Fi / App pairing fails |
|
| Voice control (Alexa/Google Home) not working |
|
| Switch works manually but not via app/voice |
|
| Switch is a dimmer or 3-way switch |
|
11. Warranty and Support
For warranty information or technical support, please refer to the product packaging or contact Lesim customer service directly. Contact details can typically be found on the manufacturer's website or through your purchase platform.