
Introduction
This manual provides detailed instructions for the safe installation, operation, and maintenance of your Living District Frey 3-Light Mid-Century Metal Pendant. Please read all instructions carefully before beginning installation and retain this manual for future reference.

Image: Front view of the Living District Frey 3-Light Mid-Century Metal Pendant, showcasing its black rectangular canopy and three clear glass dome shades.
Safety Information
- WARNING: Risk of electric shock. Disconnect power at the fuse box or circuit breaker before installation or servicing.
- All electrical connections must be in accordance with local codes, ordinances, or the National Electric Code (NEC). Consult a qualified electrician if you are unfamiliar with electrical wiring.
- Do not install this fixture in wet locations. For indoor use only.
- Ensure the fixture is securely mounted to a structural component of the building.
- Use only the specified bulb type and wattage (LED E26, max 60W per bulb, total 180W). Exceeding wattage may cause overheating and damage.
- Do not handle the light fixture or bulbs with wet hands.
- Allow bulbs to cool before replacing.
Package Contents
Verify that all components listed below are present and undamaged before proceeding with installation.
- Living District Frey 3-Light Mid-Century Metal Pendant (Canopy, 3 Pendant Cords, 3 Glass Shades)
- Mounting Hardware (Crossbar, Screws, Wire Nuts)
- Instruction Manual
Note: Light bulbs (LED E26) are not included and must be purchased separately.
Specifications
| Feature | Detail |
|---|---|
| Brand | Living District |
| Model Name | Frey 3-Light Mid-Century Metal Pendant |
| Model Number | LD5030D42BK |
| Color | Black (Canopy), Clear (Shades) |
| Material | Iron Metal, Glass |
| Product Dimensions | 42.8"L x 10.5"W x 15.6"H |
| Item Weight | 16 Pounds |
| Number of Lights | 3 |
| Bulb Type | LED E26 (not included) |
| Max Wattage per Bulb | 60W |
| Total Max Wattage | 180W |
| Voltage | 120V |
| Power Source | Corded Electric |
| Installation Type | Hanging/Over-Mount |
| Adjustability | Height Adjustable (22" Min to 95" Max hanging height) |
| Indoor/Outdoor Usage | Indoor |
Setup and Installation
Tools Required (Not Included): Phillips head screwdriver, wire strippers, electrical tape, ladder, safety glasses.
- Turn Off Power: Before starting any electrical work, ensure the power to the circuit is turned off at the main circuit breaker or fuse box.
- Prepare Mounting Surface: If replacing an existing fixture, carefully remove it. Ensure the junction box is securely mounted and capable of supporting the fixture's weight.
- Install Mounting Crossbar: Attach the mounting crossbar to the junction box using the provided screws. Ensure it is flush and secure.
- Adjust Pendant Cord Lengths: Determine the desired hanging height for each of the three pendants. The cords are adjustable. Loosen the set screw on the canopy for each pendant, adjust the cord to the desired length, and then tighten the set screw to secure it.
- Make Electrical Connections:
- Connect the black wire from the fixture to the black (hot) wire from the junction box using a wire nut.
- Connect the white wire from the fixture to the white (neutral) wire from the junction box using a wire nut.
- Connect the ground wire (bare copper or green) from the fixture to the ground wire from the junction box and the ground screw on the mounting crossbar.
- Carefully tuck all wires into the junction box.
- Mount the Canopy: Align the canopy with the mounting crossbar and secure it with the provided canopy screws. Ensure the canopy is flush against the ceiling.
- Install Glass Shades: Carefully attach each clear glass shade to its respective pendant socket. Ensure they are securely fastened.
- Install Light Bulbs: Screw in three E26 base LED bulbs (not included) into the sockets. Do not exceed 60W per bulb.
- Restore Power: Once installation is complete, turn the power back on at the circuit breaker.
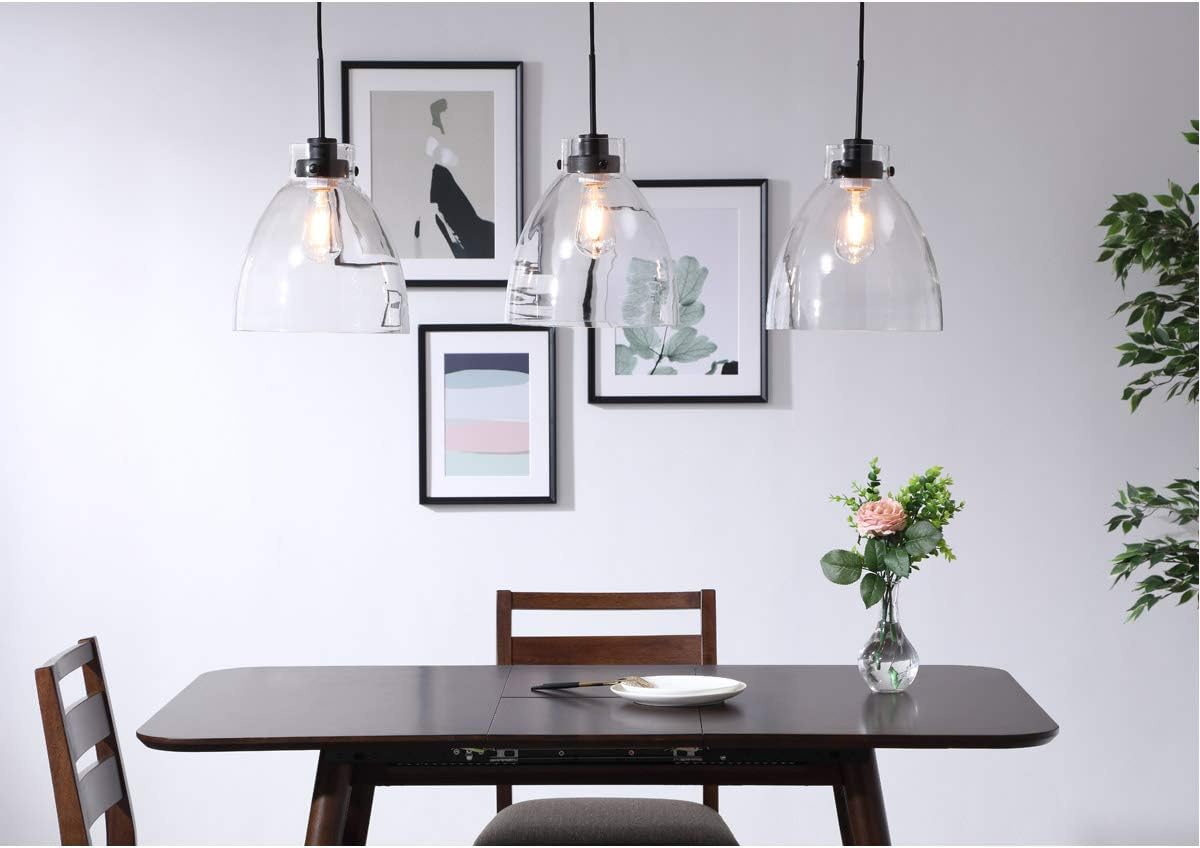
Image: The Frey pendant light installed over a dining table, demonstrating its aesthetic and scale in a room setting.
Operating Instructions
The Living District Frey 3-Light Mid-Century Metal Pendant operates via a standard wall switch (not included). Once installed and wired correctly, simply toggle the wall switch to turn the light fixture on or off.
Maintenance
- Cleaning: To clean the fixture, ensure the power is off and the fixture is cool. Wipe with a soft, dry cloth. Do not use abrasive cleaners or solvents, as these may damage the finish or glass.
- Bulb Replacement: Always turn off power at the circuit breaker and allow bulbs to cool completely before attempting to replace them. Use only E26 base LED bulbs, not exceeding 60 watts per bulb.
- Inspection: Periodically inspect the wiring and connections for any signs of wear or damage. If any issues are found, consult a qualified electrician.
Troubleshooting
| Problem | Possible Cause | Solution |
|---|---|---|
| Light does not turn on. |
|
|
| Flickering lights. |
|
|
| Fixture hums. |
|
|
Warranty and Support
For warranty information or technical support regarding your Living District Frey 3-Light Mid-Century Metal Pendant, please contact Living District customer service directly. Refer to the product packaging or the Living District website for contact details.
Manufacturer: Living District
Model Number: LD5030D42BK