1. Introduction
Thank you for choosing the TOPVISION Native 1080P Portable Movie Projector. This manual provides essential information for setting up, operating, maintaining, and troubleshooting your projector to ensure optimal performance and longevity. This projector is designed to deliver a high-quality visual experience with its native 1080P resolution, 9500Lux brightness, and support for up to a 350-inch display. It features advanced connectivity options including 5G WiFi and Bluetooth 5.0, allowing seamless integration with various devices.
Please read this manual thoroughly before using the product and keep it for future reference.
2. Package Contents
Upon unboxing your TOPVISION Projector, please verify that all the following items are included:
- TOPVISION Native 1080P Portable Movie Projector (Model: JQ818B)
- Remote Control
- Power Cable (country-specific plug)
- HDMI Cable
- AV Cable (3.5mm to 3RCA adapter)
- Lens Protection Cap
- Adjustable Foot Screw
- User Manual (this document)

Image: TOPVISION Projector with remote control, power cable, HDMI cable, AV cable, lens cap, and adjustable foot screw.
Video: An overview of the TOPVISION WiFi Projector and its included accessories, demonstrating the unboxing experience and initial setup components.
3. Product Overview
3.1 Front View

Image: The front of the projector showing the main lens and an IR receiver for the remote control.
- Projection Lens: Emits the image onto the screen.
- IR Receiver: Receives signals from the remote control.
3.2 Top View

Image: The top panel of the projector featuring touch-sensitive navigation and control buttons.
- Touch Control Panel: Navigate menus, adjust settings, and control playback directly from the projector.
3.3 Rear View (Ports)
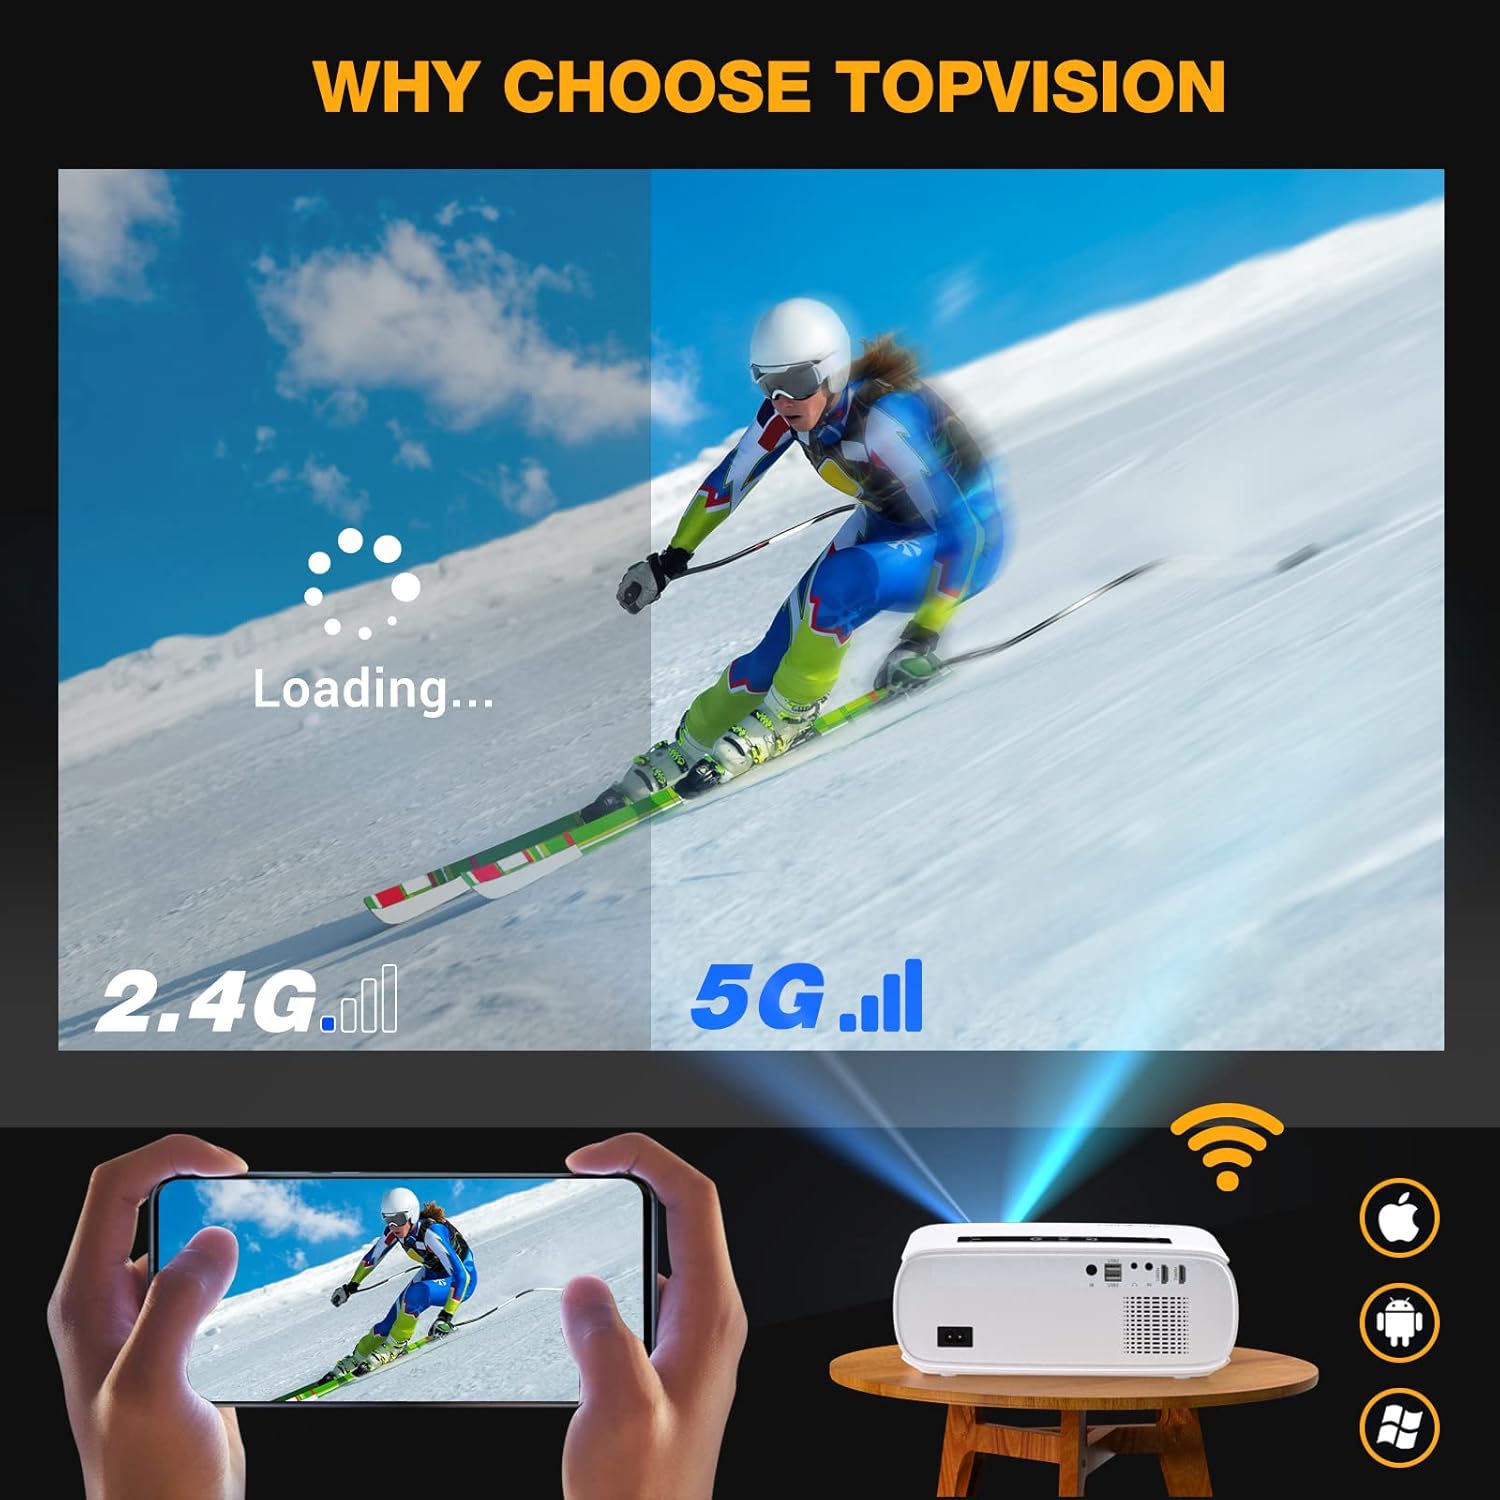
Image: The rear panel of the projector displaying various input and output ports.
- Power Input: Connects the power cable to supply electricity to the projector.
- IR Receiver: Additional IR receiver for remote control signals.
- USB1 / USB2 Ports: Connect USB flash drives for media playback or power streaming devices.
- Headphone Jack: 3.5mm audio output for connecting headphones or external speakers.
- AV Port: Connects to devices using the included AV cable for composite video and stereo audio input.
- HDMI1 / HDMI2 Ports: Connect to HDMI-enabled devices such as laptops, gaming consoles, or TV sticks.
3.4 Side Views

Image: Side view of the projector showing ventilation grilles for heat dissipation.
- Ventilation Grilles: Ensure proper airflow to prevent overheating. Do not block these vents during operation.
4. Setup
4.1 Placement
Position the projector on a stable, flat surface. For optimal image quality, ensure the projector is perpendicular to the projection surface (wall or screen). The recommended projection distance is between 3 meters (for a 120-inch screen) and up to 350 inches for larger displays. The minimum recommended size is 60 inches.

Image: Examples of projector placement relative to screen size, illustrating various projection distances for different display dimensions.
4.2 Power Connection
Connect the provided power cable to the projector's power input port on the rear panel. Plug the other end into a suitable power outlet. The projector supports multi-voltage input, making it compatible with various international power standards.
4.3 Initial Power On
Press the power button on the projector's top control panel or the remote control to turn on the device. The projector will display the main interface.
4.4 Focus and Keystone Correction
Adjust the focus ring located near the lens until the projected image is clear and sharp. If the image appears trapezoidal, use the keystone correction dial (usually on the side or rear) to adjust the image shape until it is rectangular.

Image: Illustration of adjusting the focus and keystone correction on the projector for a clear and properly shaped image.
5. Operating
5.1 Selecting Input Sources
From the main interface, use the navigation buttons on the projector or remote control to select your desired input source (HDMI1, HDMI2, USB1, USB2, AV). Press 'OK' to confirm your selection.
5.2 Wireless Connectivity (WiFi & Bluetooth)
5.2.1 WiFi Setup for Screen Mirroring
The projector supports both wired and wireless screen mirroring for iOS and Android devices. For wireless mirroring:
- Select the "Miracast" or "Screen Mirroring" option from the projector's main menu.
- On your mobile device, enable WiFi and connect to the projector's WiFi hotspot (usually named "Dualcast-XXXX" or similar). The password will be displayed on the projector screen.
- Once connected, enable screen mirroring/casting on your mobile device and select the projector from the list of available devices.
Video: Demonstration of connecting a mobile device to the projector via WiFi for screen mirroring, showing the steps on both the phone and the projector interface.
5.2.2 Bluetooth Audio Connection
To connect external Bluetooth speakers or headphones:
- Ensure your Bluetooth audio device is in pairing mode.
- On the projector, navigate to the Bluetooth settings.
- Select your Bluetooth device from the list and pair it.

Image: Visual representation of connecting Bluetooth audio devices to the projector for enhanced sound experience.
5.3 Zoom Function
The projector features a digital zoom function, allowing you to adjust the screen size from 100% down to 50% via the remote control without moving the projector. This is useful for fine-tuning the image to fit your screen or wall space.

Image: An illustration demonstrating the digital zoom function, showing how the projected image size can be reduced from 100% to 50%.
6. Maintenance
6.1 Lens Cleaning
Use a soft, lint-free cloth specifically designed for optical lenses to gently wipe the projector lens. Avoid using abrasive cleaners or excessive force, as this can scratch the lens surface.
6.2 Dust Filter Cleaning
The projector is equipped with a removable dust filter on the side to protect internal components from dust accumulation. Regularly clean this filter by gently removing the cover and brushing off any accumulated dust. This helps maintain optimal performance and prevents overheating.
6.3 Storage
When not in use, store the projector in a cool, dry place away from direct sunlight and extreme temperatures. Use the provided lens protection cap to prevent dust and scratches on the lens. If storing for an extended period, consider placing the projector in its original packaging or a protective case.
7. Troubleshooting
- No Image:
- Ensure the power cable is securely connected and the projector is turned on.
- Verify the correct input source is selected (HDMI, USB, AV).
- Check the connection cables (HDMI, AV) for damage or loose connections.
- No Sound:
- Check the projector's volume settings and ensure it's not muted.
- If using external speakers, ensure they are properly connected via Bluetooth or the headphone jack and are powered on.
- For HDMI connections, verify the audio output settings on your source device.
- Blurry Image:
- Adjust the focus ring on the projector lens.
- Ensure the projection surface is flat and the projector is positioned correctly.
- Use the keystone correction to adjust the image shape if it appears distorted.
- Connection Issues (WiFi/Bluetooth):
- Ensure your mobile device's WiFi/Bluetooth is enabled and within range.
- Restart both the projector and your mobile device.
- Verify the correct WiFi password for the projector's hotspot.
8. Specifications
| Feature | Specification |
|---|---|
| Brand | T TOPVISION |
| Model Number | JQ818B |
| Display Resolution | 1920 x 1080 (Native 1080P) |
| Brightness | 9500 Lux |
| Connectivity Technology | Wireless (5G WiFi, Bluetooth 5.0) |
| Max Projection Size | 350 inches |
| Min Projection Size | 60 inches |
| Item Weight | 2.6 pounds |
| Product Dimensions | 10.7 x 9.1 x 4.2 inches |
| Speaker Type | Stereo (Built-In) |
9. Warranty & Support
For detailed warranty information, please refer to the warranty card included with your purchase or visit the official T TOPVISION website. Warranty terms and conditions may vary by region.
If you encounter any issues or have questions not covered in this manual, please contact T TOPVISION customer support through the contact information provided on the product packaging or the official website. Please have your product model number (JQ818B) and purchase details ready when contacting support.

Image: Illustration of customer support, emphasizing quick response and assistance for product inquiries.