Introduction
This manual provides detailed instructions for the safe and effective use of your Tecre Heavy-Duty Hand-Operated Button Maker. Designed for consistent quality and long life, this machine features an all-metal construction with a cushioned handgrip, making it compact and lightweight for easy storage and transport. It is engineered for an easy two-step button making process, producing 2-1/4 inch buttons.
Safety Information
- Always operate the button maker on a stable, flat surface.
- Keep hands and fingers clear of moving parts, especially during the pressing action.
- Do not force the handle if resistance is met; inspect for obstructions or incorrect component placement.
- Store the machine in a dry, secure location away from children and pets.
- Use only compatible button components (shells, mylar, pinbacks) with this machine.
Package Contents
Upon unpacking, please verify that all components are present:
- Tecre Heavy-Duty Hand-Operated Button Maker
- Complete instructions (this manual)
- Parts to make 25 complete 2-1/4 inch buttons (shells, mylar, pinbacks)
Setup
The Tecre Button Maker requires minimal setup. Follow these steps:
- Unpack the button maker and all included components from its packaging.
- Place the machine on a sturdy, level workbench or table. Ensure there is sufficient space around the machine for comfortable operation and component handling.
- Inspect the machine for any visible damage from shipping. If damage is found, do not operate and contact customer support.
- Familiarize yourself with the two dies (upper and lower) and the handle mechanism.
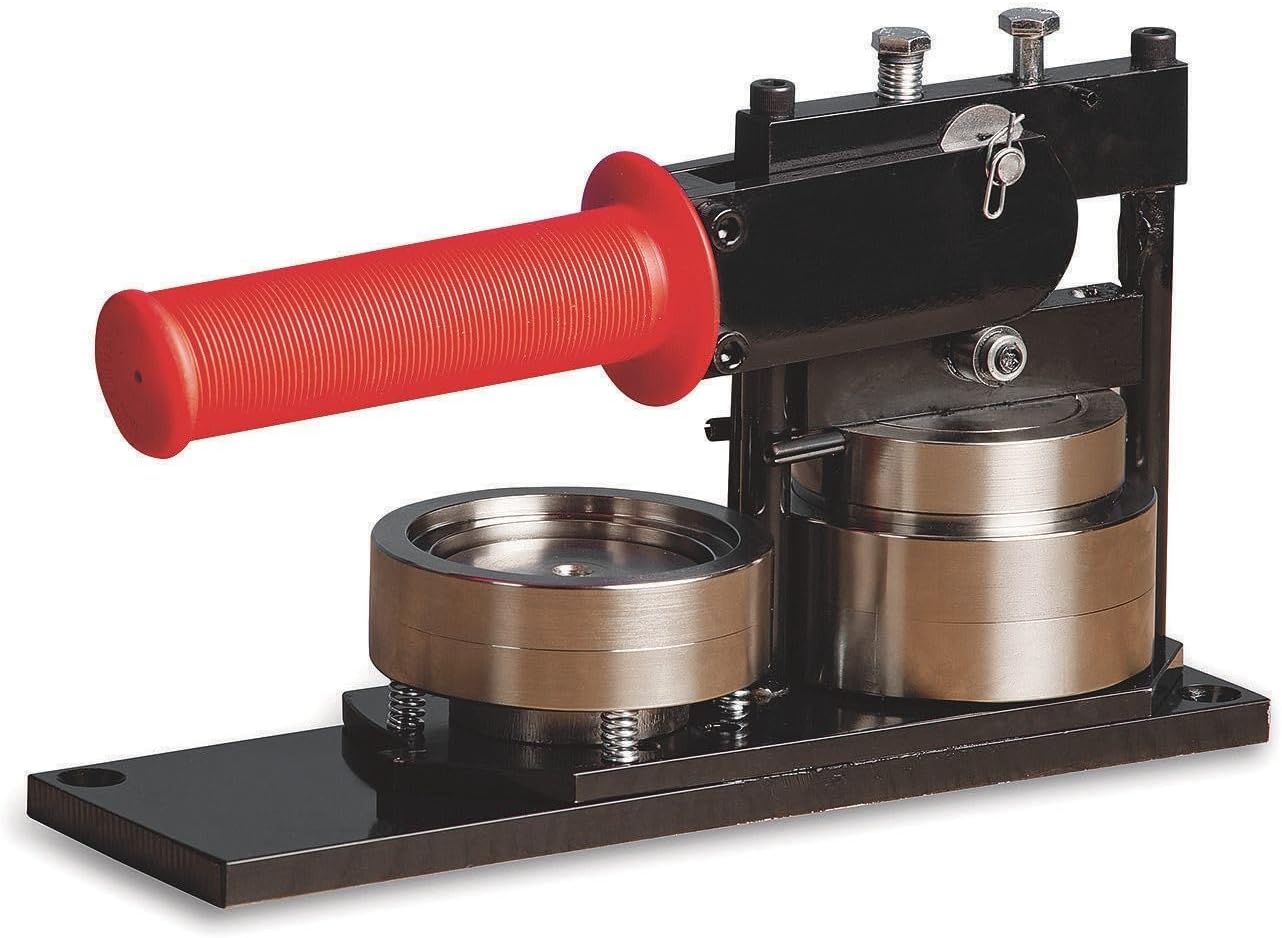
Figure 1: The Tecre Heavy-Duty Hand-Operated Button Maker, showcasing its robust metal construction and red cushioned handle.
Operating Instructions
The button making process is designed to be simple and efficient, involving two main steps:
Step 1: Forming the Button Front
- Place the metal button shell (front piece) into the left die (forming die) with the crimped edge facing up.
- Place your printed graphic (artwork) on top of the metal shell, ensuring it is centered.
- Place a clear plastic mylar disc on top of the graphic.
- Rotate the die tray so the left die (with components) is directly under the upper die.
- Firmly pull the handle down completely. This action will crimp the mylar and graphic around the shell, forming the button front.
- Release the handle and rotate the die tray back to its original position. The formed button front should now be securely held in the upper die.
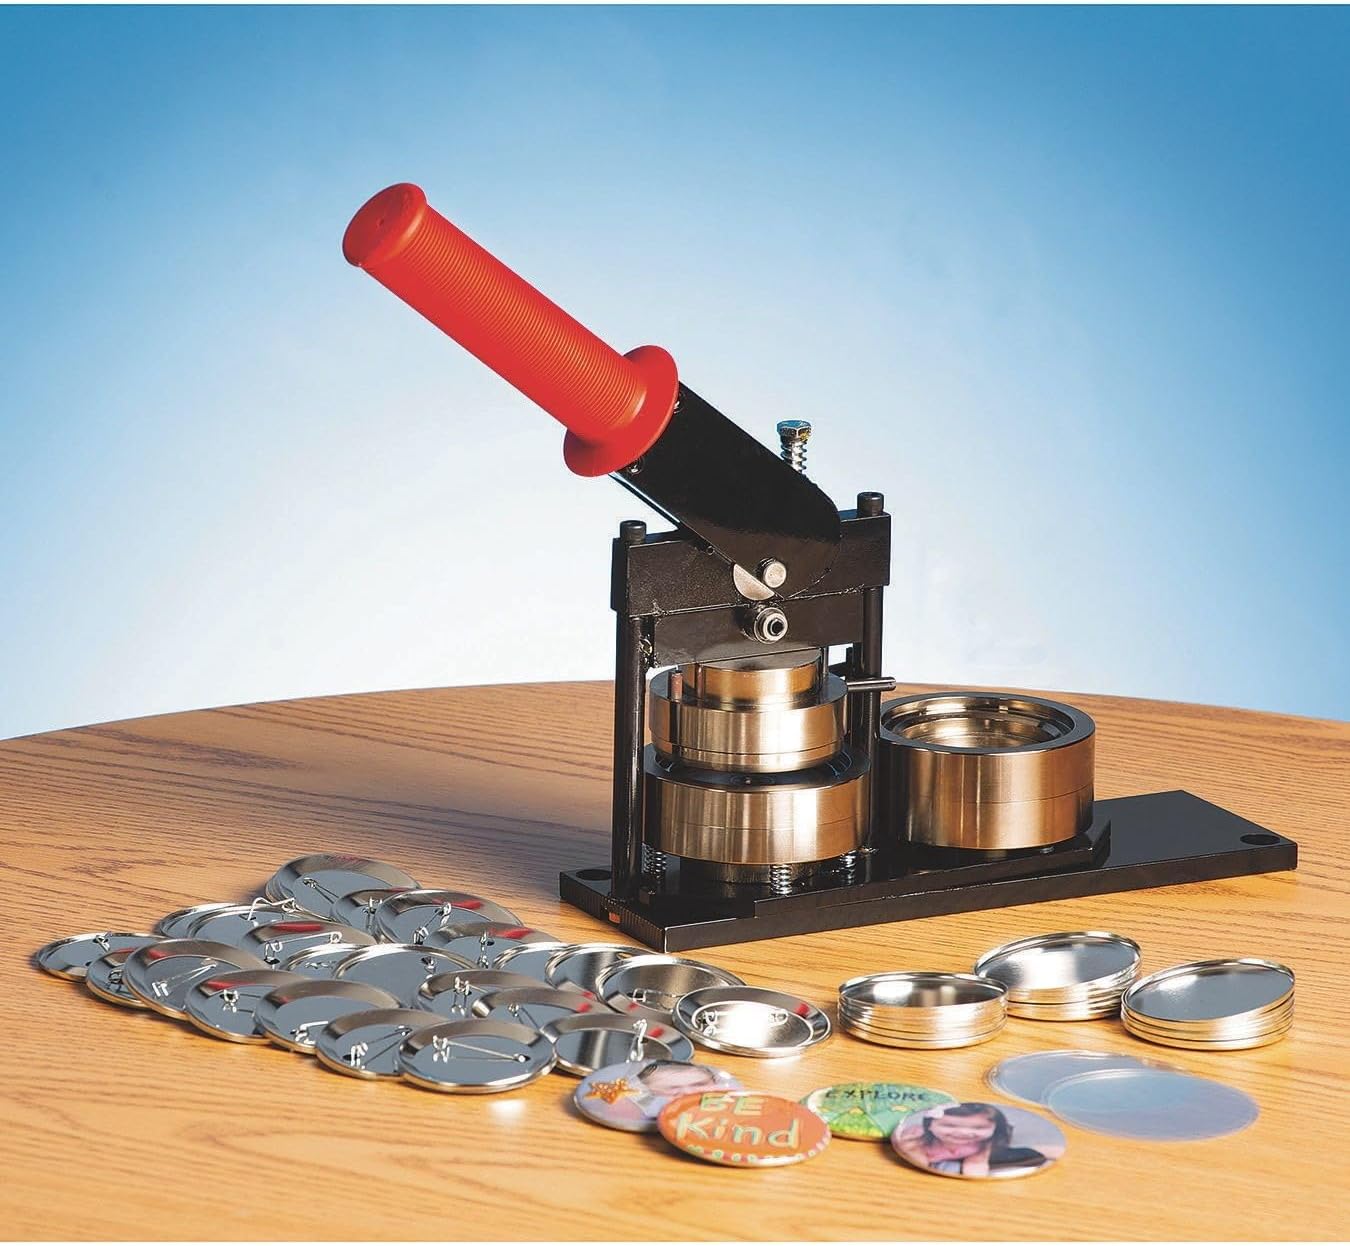
Figure 2: The button maker ready for operation, with various button components (shells, mylar, pinbacks, and printed graphics) laid out for assembly.
Step 2: Assembling the Button Back
- Place the pinback (back piece) into the right die (crimping die) with the pin facing down and the open side of the pinback facing up.
- Rotate the die tray so the right die (with the pinback) is directly under the upper die, which should still be holding the formed button front.
- Firmly pull the handle down completely. This action will press the formed button front onto the pinback, completing the button assembly.
- Release the handle and rotate the die tray back. The finished button should now be released from the upper die and can be removed from the right die.

Figure 3: The button maker with its handle fully depressed, illustrating the pressing action during button assembly.

Figure 4: A close-up view of the button maker, highlighting the manufacturer's label and the robust construction of the machine.
Maintenance
Proper maintenance ensures the longevity and optimal performance of your button maker:
- Cleaning: Regularly wipe down the machine with a dry, soft cloth to remove dust and debris. Avoid using abrasive cleaners or solvents.
- Lubrication: Periodically apply a small amount of light machine oil to the pivot points and sliding surfaces to ensure smooth operation. Do not over-lubricate.
- Storage: When not in use, store the button maker in a clean, dry environment to prevent rust and damage.
- Inspection: Periodically check all screws and fasteners to ensure they are tight. Do not attempt to disassemble the machine beyond routine cleaning.
Troubleshooting
If you encounter issues while operating your button maker, refer to the following common problems and solutions:
| Problem | Possible Cause | Solution |
|---|---|---|
| Button components not crimping properly. | Incorrect component placement; insufficient pressure; incompatible components. | Ensure components are correctly seated in the dies. Apply firm, complete pressure on the handle. Verify you are using 2-1/4 inch Tecre-compatible components. |
| Button gets stuck in the die. | Over-crimping; foreign object in die; worn die. | Ensure handle is pulled down firmly but not excessively. Check dies for debris. If problem persists, contact support. |
| Handle is difficult to pull down. | Lack of lubrication; obstruction; misaligned components. | Apply light machine oil to pivot points. Check for any foreign objects. Ensure components are correctly aligned before pressing. |
| Buttons are not centered or graphic is skewed. | Graphic not centered on shell; mylar shifted. | Carefully center the graphic and mylar on the shell before pressing. |
Specifications
- Brand: Tecre
- Model: B07N12F3GF
- Operation Mode: Manual
- Material: Industrial Quality Metal
- Button Size: Makes 2-1/4 inch buttons
- Product Dimensions: Approximately 11 x 6.5 x 3.75 inches
- Item Weight: Approximately 11.56 pounds
- Manufacturer: Tecre
- UPC: 481216500018
- Country of Origin: Made in the USA
Warranty Information
This Tecre button maker is manufactured to high standards of quality and durability. For specific warranty terms and conditions, please refer to the documentation included with your purchase or contact Tecre directly. General warranties typically cover manufacturing defects for a specified period from the date of purchase.
Customer Support
For further assistance, technical support, or to inquire about replacement parts, please contact Tecre customer service. Refer to the contact information provided on the product packaging or the official Tecre website.
Please have your model number (B07N12F3GF) and date of purchase available when contacting support.