
1. Introduction
This manual provides essential information for the setup, operation, and maintenance of your Philips 499P9H/00 49-inch SuperWide Curved Monitor. This award-winning 32:9 SuperWide curved monitor, measuring 124 cm (49 inches), offers a display area equivalent to two high-performance standard monitors. It integrates productivity features such as a USB-C port and a retractable webcam with Windows Hello, ensuring both performance and convenience.
2. Package Contents
Please verify that all items are present in your package:
- Philips 499P9H/00 49-inch Curved Monitor
- Power Cable
- HDMI Cable
- DisplayPort (DP) Cable
- USB-A to B Cable
- USB-C to C Cable
- Driver CD
- Warranty Card
3. Setup
3.1 Physical Assembly
Carefully remove the monitor from its packaging. Attach the stand base to the stand neck, then secure the assembled stand to the monitor panel. Ensure all screws are tightened appropriately. For detailed visual instructions, refer to the assembly diagrams in the included Quick Start Guide.

Figure 3.1: Front view of the Philips 499P9H/00 monitor, showcasing its curved display and integrated stand.

Figure 3.2: Side profile of the monitor, highlighting its curvature and adjustable stand.
3.2 Connecting to Devices
Connect the necessary cables from your computer or other devices to the corresponding ports on the monitor. The monitor supports HDMI, DisplayPort, and USB-C inputs. For USB functionality, connect the upstream USB cable from your computer to the monitor.

Figure 3.3: Rear view of the monitor, detailing the available DisplayPort, HDMI, and USB-C input connections.

Figure 3.4: Diagram showing how a single USB-C cable connects a laptop to the monitor, providing video, data, and power.
Power Connection: Connect the power cable to the monitor and then to a power outlet.
4. Operating Instructions
4.1 Power On/Off
Press the power button located on the monitor to turn it on or off. The power indicator light will illuminate when the monitor is active.
4.2 On-Screen Display (OSD) Navigation
The monitor features an intuitive OSD menu for adjusting settings. Use the joystick or buttons (depending on your model's design) located on the monitor to navigate through the menu options. Common adjustments include brightness, contrast, input selection, and color settings.
4.3 Input Selection
To switch between connected devices, access the OSD menu and select the desired input source (HDMI, DisplayPort, or USB-C).
4.4 Retractable Webcam with Windows Hello
The integrated webcam automatically extends when needed and retracts when not in use, enhancing privacy. It supports Windows Hello for secure facial recognition login.
4.5 USB-C Docking
Utilize the USB-C port for simplified connectivity. A single USB-C cable can deliver video, audio, data, and power to your connected laptop, reducing cable clutter.
4.6 Integrated KVM Switch
The built-in KVM switch allows you to control two separate PCs with a single keyboard, mouse, and monitor setup. Easily switch between sources via the OSD menu or a dedicated button.
4.7 Picture-by-Picture (PBP) and Picture-in-Picture (PIP)
The SuperWide display supports PBP and PIP modes, enabling you to view content from multiple sources simultaneously. Configure these modes through the OSD menu to optimize your multitasking workflow.
5. Key Features
- SuperWide 32:9 Curved Display: Offers an expansive viewing area equivalent to two 27-inch 16:9 Quad HD displays side-by-side, with an 1800R curvature for immersive viewing.
- DQHD Resolution (5120 x 1440): Provides incredibly sharp and detailed images across the large screen.
- USB-C Docking with Power Delivery: Simplifies connections by allowing a single USB-C cable to transfer video, data, and power to your connected device.
- Retractable Webcam with Windows Hello: Enhances security and privacy with a pop-up webcam that supports facial recognition login.
- Integrated KVM Switch: Enables seamless switching between two different computers using one keyboard, mouse, and monitor.
- Low Blue Light Mode & Flicker-Free Technology: Reduces eye strain and fatigue during extended use.
- PowerSensor: Detects user presence and automatically adjusts monitor brightness, saving up to 80% energy costs.
- VA Panel with 5ms Response Time: Delivers vibrant colors and fast response for smooth visuals.
- DisplayHDR 400: Provides enhanced contrast and color for a more dynamic visual experience.
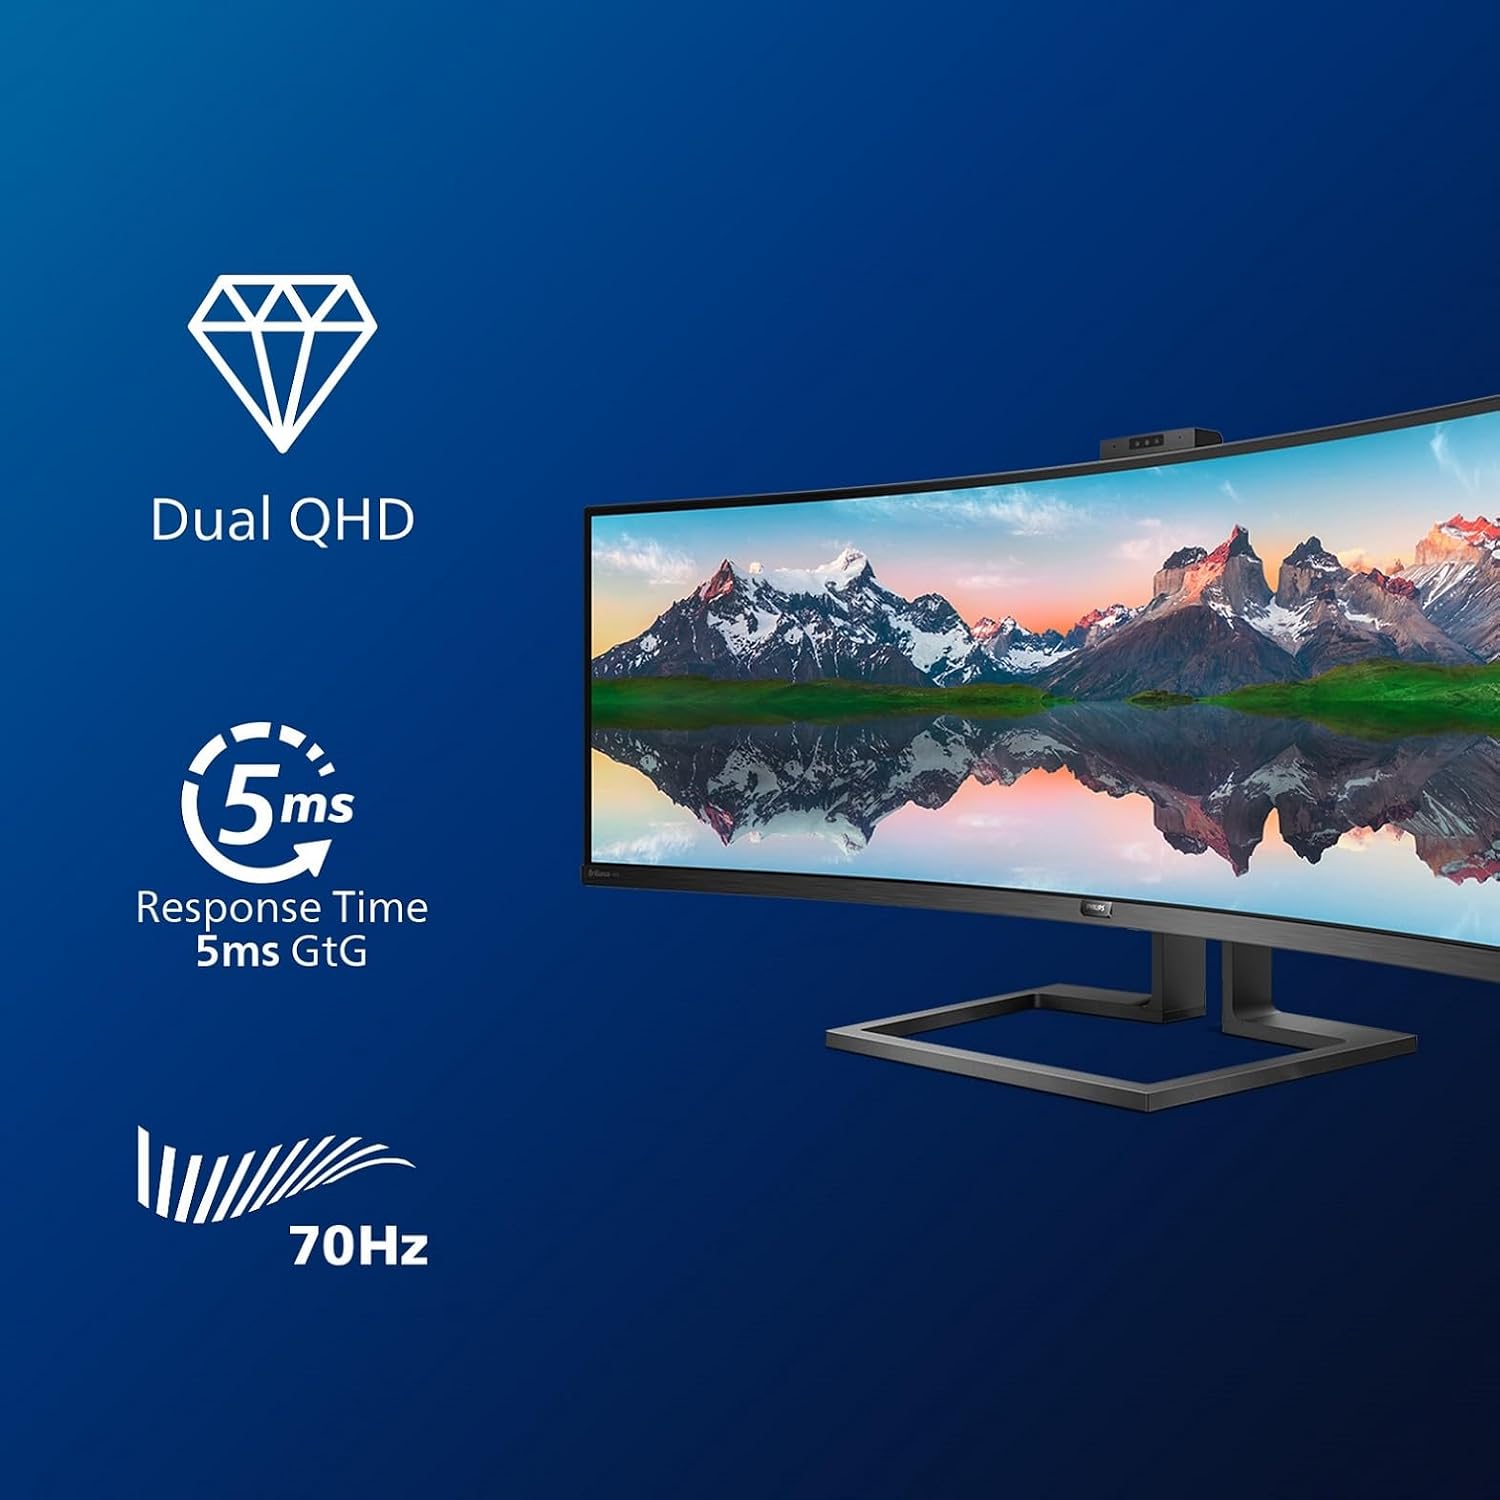
Figure 5.1: Visual representation of the monitor's advanced features, including its wide viewing angle, adaptive sync, and USB-C docking capabilities.

Figure 5.2: Icons highlighting the monitor's Dual QHD resolution, rapid 5ms response time, and 70Hz refresh rate.

Figure 5.3: Top view of the monitor, illustrating its pronounced curvature for an immersive experience.
Video 5.1: A short preview showcasing the Philips 499P9H/00 monitor's key features and design.
Video 5.2: An official product video demonstrating the Philips 499P9H/00 monitor's capabilities, including its SuperWide display, USB-C docking, and integrated webcam.
6. Specifications
| Feature | Specification |
|---|---|
| Brand | Philips |
| Model Number | 499P9H-00 |
| Series | 499P9H |
| Color | Black |
| Screen Size | 48.8 Inches (124 cm) |
| Display Type | LCD |
| Screen Resolution | 5120 x 1440 Pixels (DQHD) |
| Aspect Ratio | 32:9 |
| Screen Surface Description | Curved |
| Image Contrast Ratio | 3000:1 |
| Response Time | 5 milliseconds |
| Refresh Rate | 60 Hz |
| Power Consumption | 41.25 Watt |
| Hardware Interface | HDMI, DisplayPort |
| Number of HDMI Ports | 1 |
| Number of USB 3.0 Ports | 3 |
| Connector Type | DisplayPort, Ethernet (RJ45), HDMI, USB |
| Item Dimensions L x W x H | 61.4 x 470 x 145.3 centimeters |
| Product Weight | 11 Kilograms |
| Special Features | USB Hub, Retractable Webcam, KVM Switch, PowerSensor, LowBlue Mode, Flicker-Free |
Figure 6.1: Dimensions of the Philips 499P9H/00 monitor: 119.4cm (width), 56.8cm (height), 30cm (depth).
7. Maintenance
To ensure the longevity and optimal performance of your monitor, follow these maintenance guidelines:
- Cleaning the Screen: Gently wipe the screen with a soft, lint-free cloth. For stubborn marks, use a monitor-specific cleaning solution applied to the cloth, not directly to the screen.
- Cleaning the Casing: Use a soft, dry cloth to clean the monitor casing. Avoid abrasive cleaners or solvents.
- Ventilation: Ensure the monitor's ventilation openings are not blocked to prevent overheating.
- Power Off: Always turn off the monitor and unplug it from the power outlet before cleaning or if it will be unused for an extended period.
8. Troubleshooting
If you encounter issues with your monitor, refer to the following common troubleshooting steps:
- No Power: Check if the power cable is securely connected to both the monitor and the power outlet. Verify the power outlet is functional.
- No Image/Signal: Ensure the video cable (HDMI, DisplayPort, or USB-C) is correctly connected to both the monitor and your device. Select the correct input source via the OSD menu.
- Flickering Screen: Check the video cable connection. Ensure your graphics card drivers are up to date. Try adjusting the refresh rate in your computer's display settings.
- Webcam Not Working: Ensure the webcam is extended. Check your operating system's privacy settings to ensure camera access is granted to applications.
- USB Ports Not Functioning: Ensure the USB upstream cable is connected from the monitor to your computer. Check device manager for any driver issues.
- KVM Switch Issues: Verify all necessary cables (video, USB upstream) are correctly connected for both PCs. Refer to the OSD menu for KVM configuration.
If the problem persists after attempting these steps, please contact Philips customer support.
9. Warranty and Support
The Philips 499P9H/00 monitor comes with a 2-year manufacturer's warranty. For warranty claims, technical support, or further assistance, please visit the official Philips support website or refer to the contact information provided on your warranty card.
You can also find more information and support on the Philips Brand Store.


