
1. Safety Instructions
Please read these safety instructions carefully before using the Daewoo Rechargeable Hair Clipper DCP-2269. Keep this manual for future reference.
- This appliance is intended for household use only.
- Do not immerse the appliance in water or other liquids.
- Keep the appliance away from children.
- Do not use the appliance if the blades are damaged or broken, as this may cause injury.
- Ensure the charging adapter and cord are not damaged before use.
- Only use the provided charging adapter and base.
- Unplug the appliance from the power outlet before cleaning.
- Do not attempt to repair the appliance yourself. Contact qualified service personnel for repairs.
- This appliance contains a built-in rechargeable battery. Do not expose it to excessive heat or dispose of it in fire.
2. Product Overview
Familiarize yourself with the components of your Daewoo Rechargeable Hair Clipper.
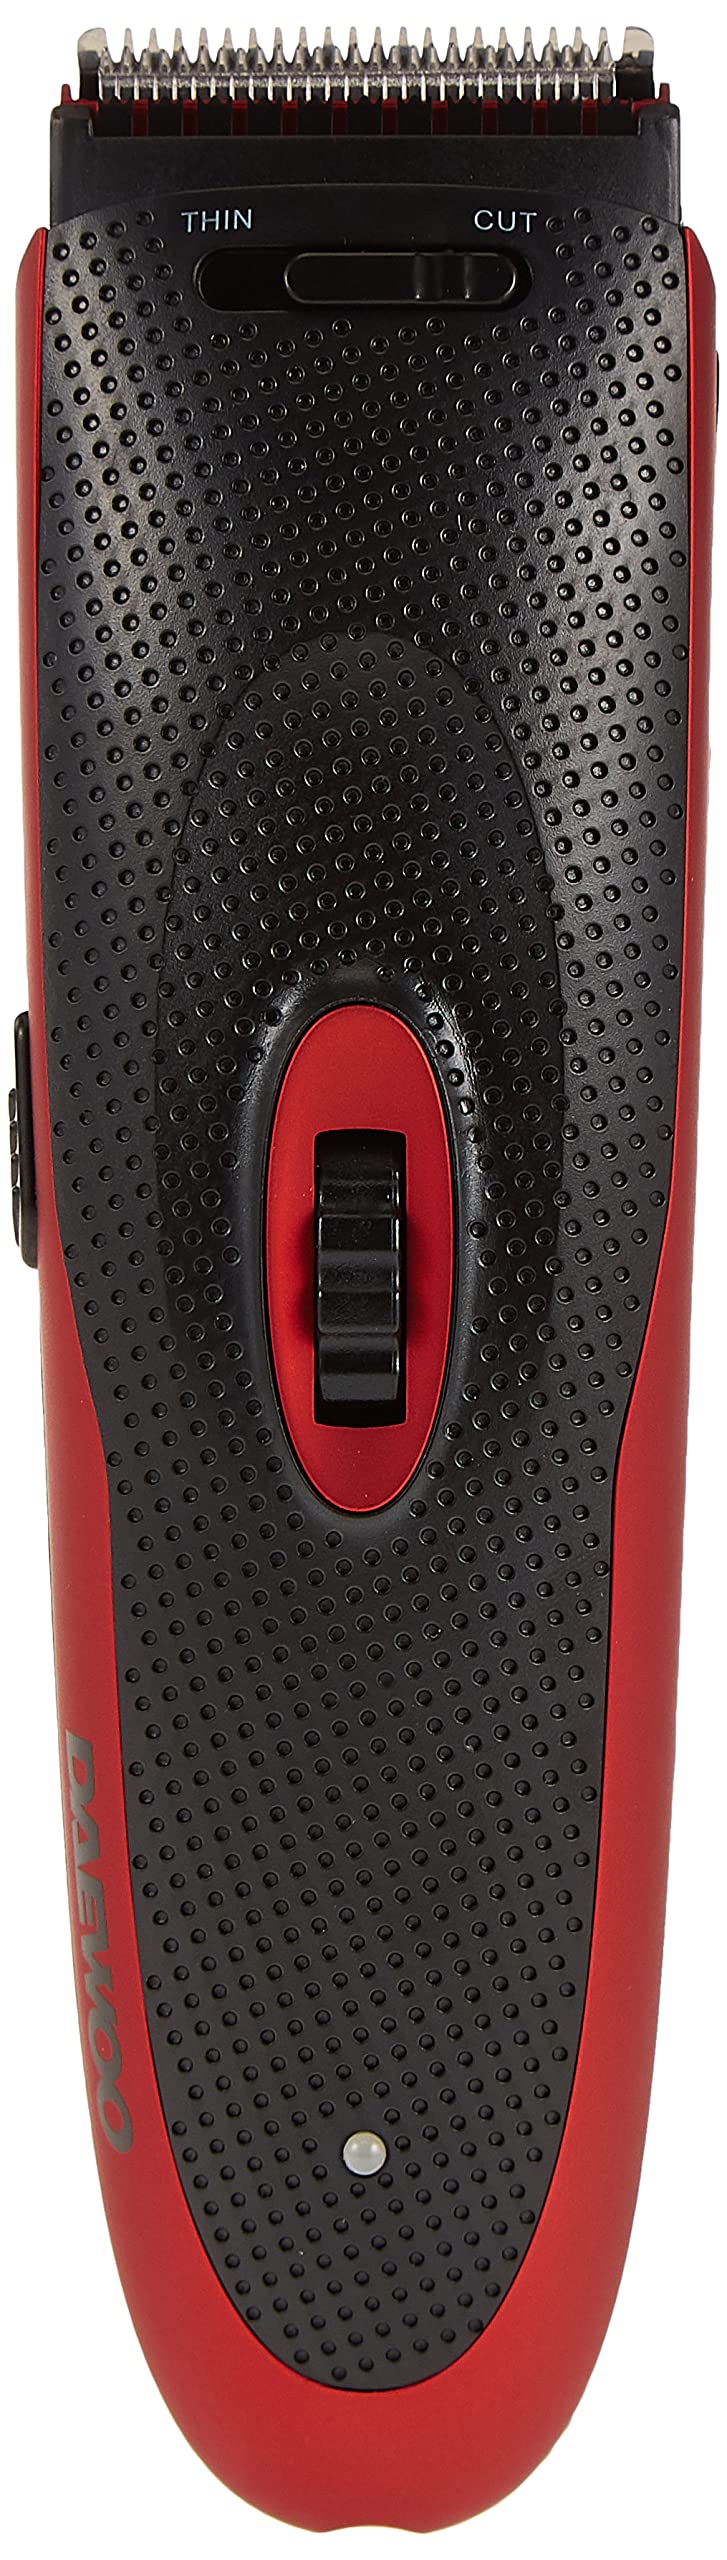
Figure 2.1: Back of the hair clipper, displaying the model number DCP-2269, rating, and serial number.
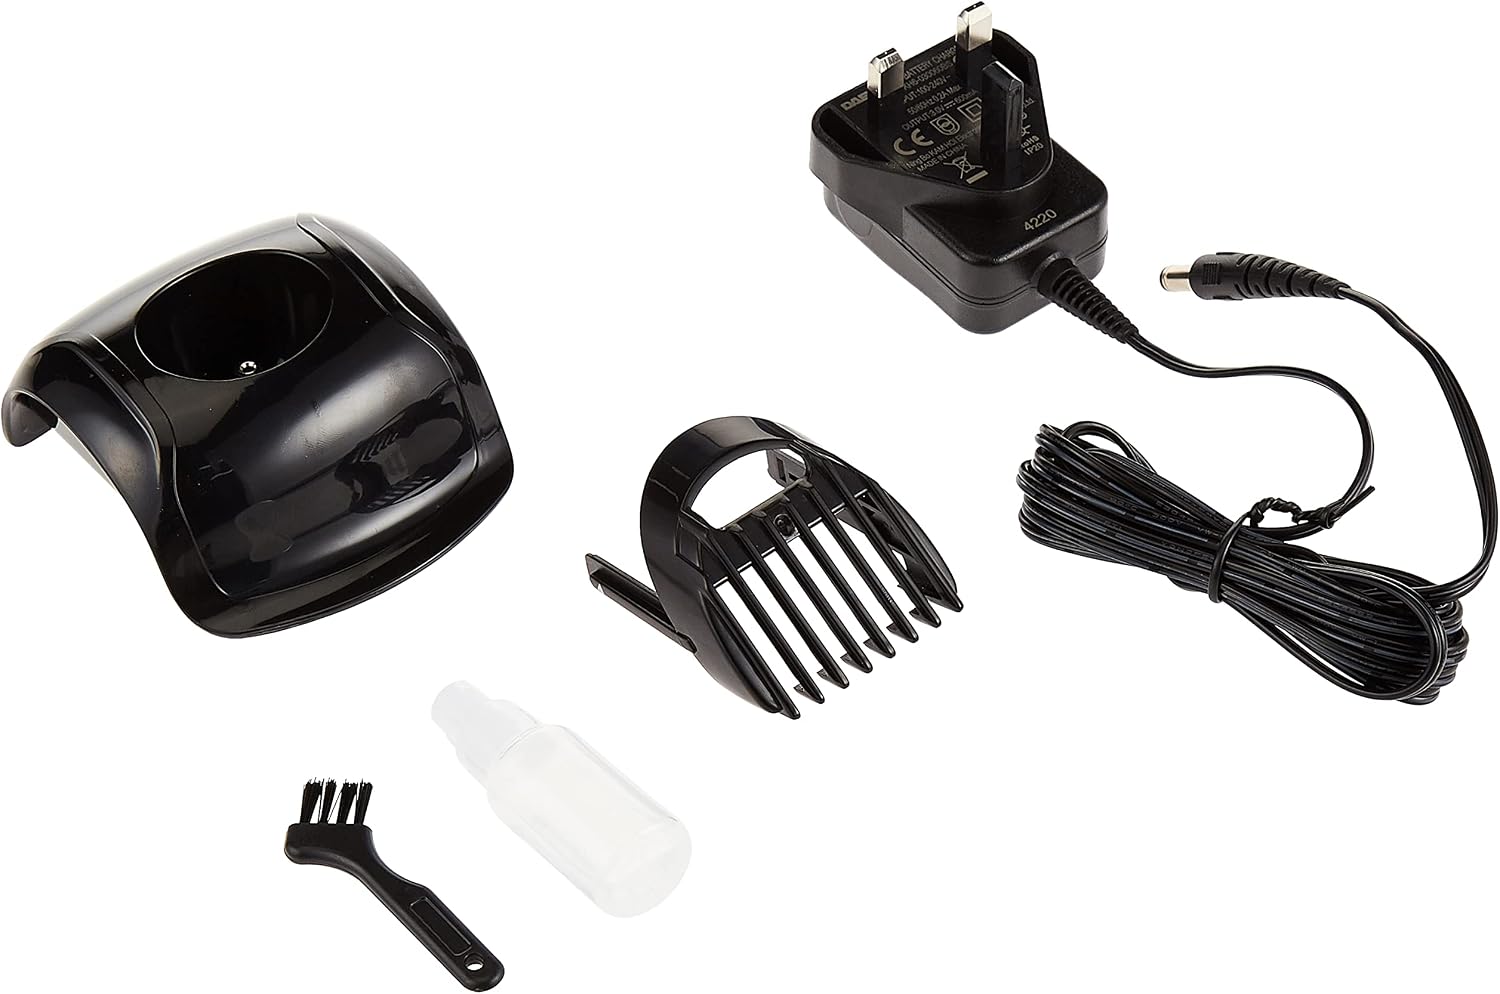
Figure 2.2: Included accessories: charging adapter, charging base, comb attachment, cleaning brush, and lubricating oil.
Package Contents:
- Daewoo Rechargeable Hair Clipper (Model: DCP-2269)
- Charging Adapter
- Charging Base
- Comb Attachment (adjustable for 3-15mm cutting length)
- Cleaning Brush
- Lubricating Oil
3. Setup and Charging
3.1 Initial Setup
- Unpack all components from the box.
- Inspect the clipper and accessories for any damage.
- Before first use, ensure the clipper is fully charged.
3.2 Charging the Clipper
The clipper features a built-in Ni-MH rechargeable battery.
- Connect the charging adapter to the charging base.
- Plug the charging adapter into a standard electrical outlet (100-240V ~ 50/60Hz).
- Place the hair clipper onto the charging base.
- The power indicator light will illuminate, indicating that the clipper is charging.
- Allow approximately 8 hours for a full charge.
- Once fully charged, disconnect the adapter from the power outlet.
Note: Do not overcharge the battery. Avoid leaving the clipper on the charging base for extended periods after it is fully charged.
4. Operating Instructions
4.1 Attaching and Adjusting the Comb
- Ensure the clipper is turned off.
- Align the comb attachment with the clipper blades and slide it on until it clicks into place.
- Adjust the desired cutting length by sliding the comb up or down. The comb offers a range of 3-15mm.
- To remove the comb, gently push it upwards and slide it off.
4.2 Hair Clipping
This clipper is designed for dry operation.
- Ensure hair is clean and dry before clipping.
- Turn on the clipper using the power switch. The power indicator will show it is working.
- Start clipping from the nape of the neck, moving upwards against the direction of hair growth.
- Use smooth, even strokes.
- For thinning hair, use the thinning out function if available on your comb attachment.
- Regularly clear accumulated hair from the blades during use to maintain optimal performance.
- After use, turn off the clipper.
4.3 Using the Side Edge Trimmer
The clipper includes a side edge trimmer for precise detailing.
- Remove any comb attachment.
- Carefully use the exposed blades for precise trimming around the edges of your hairline, sideburns, or beard.
- Exercise caution to avoid skin irritation.
5. Maintenance and Cleaning
Proper maintenance ensures the longevity and performance of your hair clipper.
5.1 Cleaning the Blades
- Ensure the clipper is turned off and unplugged from the charging base.
- The stainless steel blades are detachable for easy cleaning. Gently push the blades to detach them from the clipper body.
- Use the provided cleaning brush to remove any hair clippings from the blades and the clipper head.
- Do not rinse the clipper body under water. The blades can be carefully wiped with a damp cloth, but ensure they are completely dry before reattaching.
- Reattach the blades by aligning them and pushing until they click into place.
5.2 Lubricating the Blades
Regular lubrication helps maintain blade sharpness and smooth operation.
- After cleaning, apply a small drop of the provided lubricating oil to the teeth of the blades.
- Turn on the clipper for a few seconds to distribute the oil evenly.
- Wipe off any excess oil with a soft cloth.
Recommendation: Lubricate blades after every few uses, or if you notice reduced cutting performance.
5.3 Storage
Store the clipper in a dry, cool place, away from direct sunlight and out of reach of children.
6. Troubleshooting
If you encounter issues with your hair clipper, refer to the following table:
| Problem | Possible Cause | Solution |
|---|---|---|
| Clipper does not turn on. | Battery is depleted. | Charge the clipper for 8 hours. |
| Clipper runs slowly or pulls hair. | Blades are dirty or not lubricated. | Clean the blades and apply lubricating oil. |
| Clipper is not charging. | Charging adapter or base is not properly connected. | Ensure all connections are secure and the power outlet is functional. |
| Comb attachment does not stay on. | Comb is not properly aligned or damaged. | Realign the comb until it clicks. If damaged, replace the comb. |
If the problem persists after trying these solutions, please contact customer support.
7. Specifications
| Brand | Daewoo Electronics |
| Model Number | DCP-2269 |
| Power Source | Built-in Ni-MH Rechargeable Battery |
| Blade Material | Stainless Steel |
| Special Features | Rechargeable, Portable, Detachable Blades, Powerful Rotary Motor |
| Target Audience | Men |
| Operation Method | Dry |
| Adjustable Speeds | 1 |
| Charging Time | Approx. 8 hours |
| Input Voltage | 100-240V ~ 50/60Hz |
| UPC | 4895155636152 |
| ASIN | B07MX2PSPS |
8. Warranty and Support
The product box indicates a 2-year warranty. For warranty claims or technical support, please retain your proof of purchase and contact your retailer or the official Daewoo customer service in your region.
For more information, you may visit the manufacturer's website: www.daewoo-products.com (as seen on product packaging).
