Introduction
This manual provides detailed instructions for the installation, setup, operation, and maintenance of your ASRock B450 Steel Legend ATX Motherboard. Designed for AMD AM4 socket processors, this motherboard offers robust performance and a comprehensive feature set for various computing needs.

Image: The ASRock B450 Steel Legend motherboard shown alongside its retail packaging.
What's in the Box
Please verify that all items listed below are included in your motherboard package:
- ASRock B450 Steel Legend ATX Motherboard
- 2 x Screws for M.2 Sockets
- Quick Installation Guide
- Support CD (may contain drivers and utilities)
- SATA Data Cables (quantity may vary)
- I/O Shield
Technical Specifications
| Feature | Specification |
|---|---|
| CPU Socket | Socket AM4 |
| Chipset | AMD Promontory B450 |
| Memory Type | DDR4 SDRAM |
| Max Memory Capacity | 64 GB |
| Memory Speed (OC) | Up to 3533+ MHz |
| PCI-Express Slots | 6x PCI-Express 3.0 x16 (one x8, three x4, one x2), 4x PCI Express 2.0 x1 |
| Storage Interfaces | 6x SATA3, 1x Ultra M.2 (PCIe Gen3 x4), 1x M.2 (PCIe Gen3 x2 & SATA3) |
| USB Ports | Multiple USB 3.1 and USB 2.0 ports (rear I/O and internal headers) |
| Audio | Integrated Audio |
| Ethernet | Gigabit Ethernet |
| Form Factor | ATX |
Setup and Installation
Before beginning installation, ensure your system is powered off and unplugged. Ground yourself to prevent electrostatic discharge (ESD) damage to components. Refer to the detailed diagrams in the included Quick Installation Guide for visual assistance.
1. CPU Installation
Locate the AM4 CPU socket on the motherboard. Gently lift the retention lever. Align the triangular marker on your AMD AM4 processor with the corresponding marker on the socket. Carefully place the CPU into the socket without forcing it. Lower the retention lever to secure the CPU.
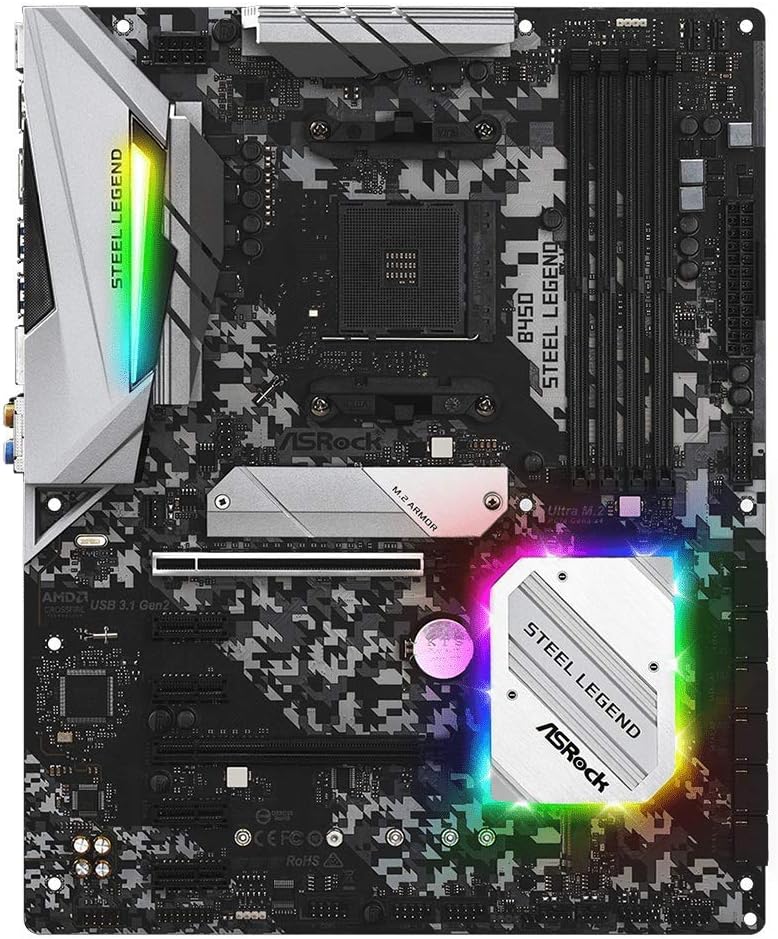
Image: A top-down view of the ASRock B450 Steel Legend motherboard, highlighting the CPU socket area.
2. RAM Installation
The motherboard features four DDR4 DIMM slots. For optimal dual-channel performance with two memory modules, install them into slots A2 and B2 (typically the second and fourth slots from the CPU socket). Open the clips on both ends of the DIMM slot. Align the notch on the memory module with the key in the DIMM slot. Press down firmly on both ends of the memory module until the clips snap into place.
3. Storage (M.2 & SATA) Installation
The motherboard includes two M.2 slots for high-speed SSDs and six SATA3 ports for traditional hard drives or SSDs. For M.2 SSDs, locate the M.2 slot(s), remove any protective plastic film from thermal pads (if present), insert the M.2 SSD at an angle, and then gently push it down and secure it with the provided screw. Connect SATA devices using the SATA data cables to the SATA3 ports.
4. Graphics Card Installation
Insert your PCI-Express graphics card into the primary PCI-Express 3.0 x16 slot (usually the topmost long slot). Ensure it is seated firmly and secured with the case's retention mechanism.
5. Power Connections
Connect the 24-pin ATX power connector from your power supply to the corresponding slot on the motherboard. Also, connect the 8-pin CPU power connector (EATX12V) to the socket near the CPU. Ensure all power connections are secure.
Note: No official product videos from the seller were available for embedding in this manual. Please refer to the manufacturer's website for visual installation guides.
Operating Instructions
1. First Boot & BIOS Setup
After assembling your system, connect your monitor, keyboard, and mouse. Power on your PC. During startup, repeatedly press the Del or F2 key to enter the BIOS/UEFI setup utility. Here, you can configure boot order, enable XMP profiles for memory, adjust fan curves, and monitor system status.
2. Driver Installation
Once your operating system is installed, install the necessary drivers for your motherboard components (chipset, audio, LAN, etc.). These can typically be found on the included support CD or downloaded from the ASRock official website. Keeping drivers updated ensures optimal performance and stability.
Maintenance
Regular maintenance helps prolong the life and performance of your motherboard:
- Cleaning: Periodically clean dust from your PC case and motherboard components using compressed air. Ensure the system is powered off and unplugged before cleaning.
- BIOS Updates: Check the ASRock website for the latest BIOS updates. BIOS updates can improve compatibility, stability, and performance. Follow the manufacturer's instructions carefully when updating the BIOS.
- Driver Updates: Regularly check for and install the latest drivers for your motherboard and other components.
Troubleshooting
If you encounter issues, consider the following common troubleshooting steps:
- System Not Booting/No Display: Double-check all power connections (24-pin ATX, 8-pin CPU, GPU PCIe power). Ensure RAM modules are correctly seated in their slots. Verify the CPU is properly installed.
- RAM Stability/Audio Issues: Some users have reported improved RAM stability and audio performance after updating the BIOS to the latest version. Check the ASRock website for available updates.
- M.2 SSD Not Detected: Ensure the M.2 SSD is fully inserted and secured. Confirm that any protective plastic film on M.2 heatsink thermal pads has been removed. Check BIOS settings to ensure M.2 slots are enabled and configured correctly.
- Overheating: Ensure proper case airflow and that CPU cooler is correctly installed. Monitor temperatures using software utilities. For higher-end CPUs, ensure adequate VRM cooling.
- Peripheral Issues: Try connecting peripherals to different USB ports. Ensure all necessary drivers are installed.
Warranty and Support
Your ASRock B450 Steel Legend Motherboard is manufactured by ASRock. For specific warranty terms and conditions, please refer to the warranty information included with your product or visit the official ASRock website. For technical support, driver downloads, BIOS updates, and further documentation, please visit the ASRock support page.
This product was first available on February 22, 2019.
For additional support and resources, please visit the ASRock Store on Amazon.