
ORICO ORICO-6558
ORICO USB 3.0 5 Bay Hard Drive Docking Station User Manual
Product Overview
The ORICO USB 3.0 5 Bay Hard Drive Docking Station (Model: 6558US3-C) is designed for efficient data management, offering offline cloning capabilities and extensive storage expansion for 2.5/3.5-inch SATA HDDs and SSDs. It provides high-speed data transfer and broad compatibility across various operating systems.

Image: The ORICO 5 Bay Hard Drive Docking Station with five hard drives fully inserted into its bays, showcasing its compact design.
What's in the Box
- 1x ORICO 5 Bay Hard Drive Dock
- 1x 12V 6.5A Power Adapter
- 1x 1M USB A to B Data Cable
- 1x User Manual (this document)
Setup Guide
1. Components Overview

Image: Detailed view of the docking station's top panel showing Source and Target disk indicators and progress LEDs, and the back panel with power, USB, and mode switch.
Familiarize yourself with the ports and indicators on the device. The top panel features indicators for Source and Target disks, along with progress LEDs. The rear panel includes the ON/OFF switch, DC power input, USB interface, and the CLONE/PC Mode Start Button.
2. Drive Installation
Ensure the docking station is powered off before inserting or removing hard drives. The open design allows for easy installation and replacement.
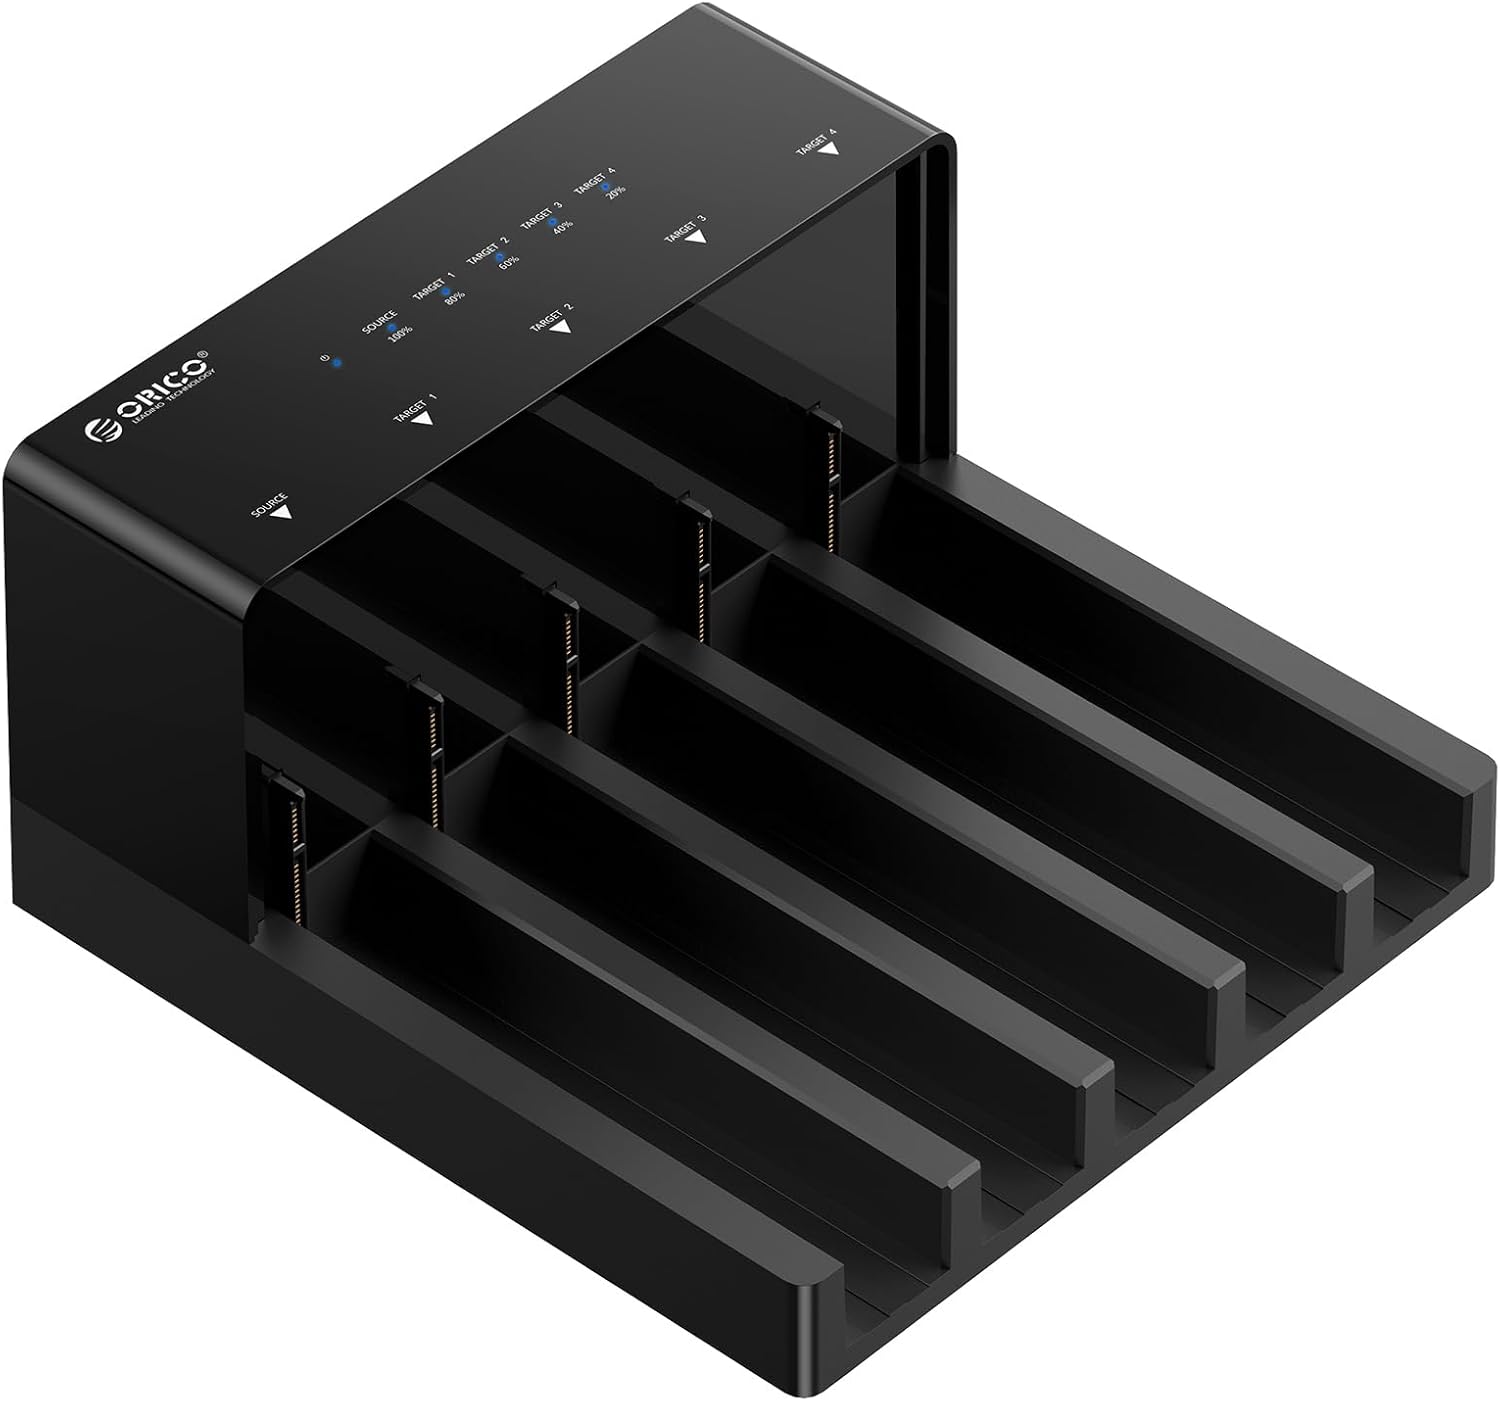
Image: The empty docking station, highlighting the five vertical bays designed for 2.5/3.5-inch SATA drives.
- Gently slide your 2.5-inch or 3.5-inch SATA I/II/III HDD or SSD into an available bay until it is securely seated.
- Ensure the drive's SATA connector aligns with the connector inside the bay.
3. Connecting to Power and PC
Connect the provided 12V 6.5A power adapter to the DC input port on the docking station and then to a power outlet. Connect the USB 3.0 data cable from the docking station to your computer's USB port.

Image: The docking station connected to its power supply and a laptop, demonstrating the necessary connections for operation.
4. Initializing and Formatting Drives
For new hard drives or drives that are not recognized, you may need to initialize and format them. The process varies slightly between Windows and Mac OS.
Video: An official guide demonstrating the steps to format and partition a hard drive in both Windows and Mac OS systems for use with the docking station.
The docking station is compatible with Windows, Mac OS, and Linux systems.

Image: Visual representation of the docking station's broad compatibility with different operating systems and SATA drive types.
Operating Instructions
1. PC Mode (Data Transfer)
In PC mode, the docking station functions as an external multi-bay enclosure, allowing you to access and manage data on up to five drives simultaneously. Connect the device to your computer via the USB 3.0 cable. Each inserted drive will appear as a separate volume on your computer.

Image: The docking station connected to a computer in PC mode, demonstrating its function as an external HDD dock for multi-drive management.
The USB 3.0 interface supports transfer speeds up to 5Gbps, enabling quick file transfers.
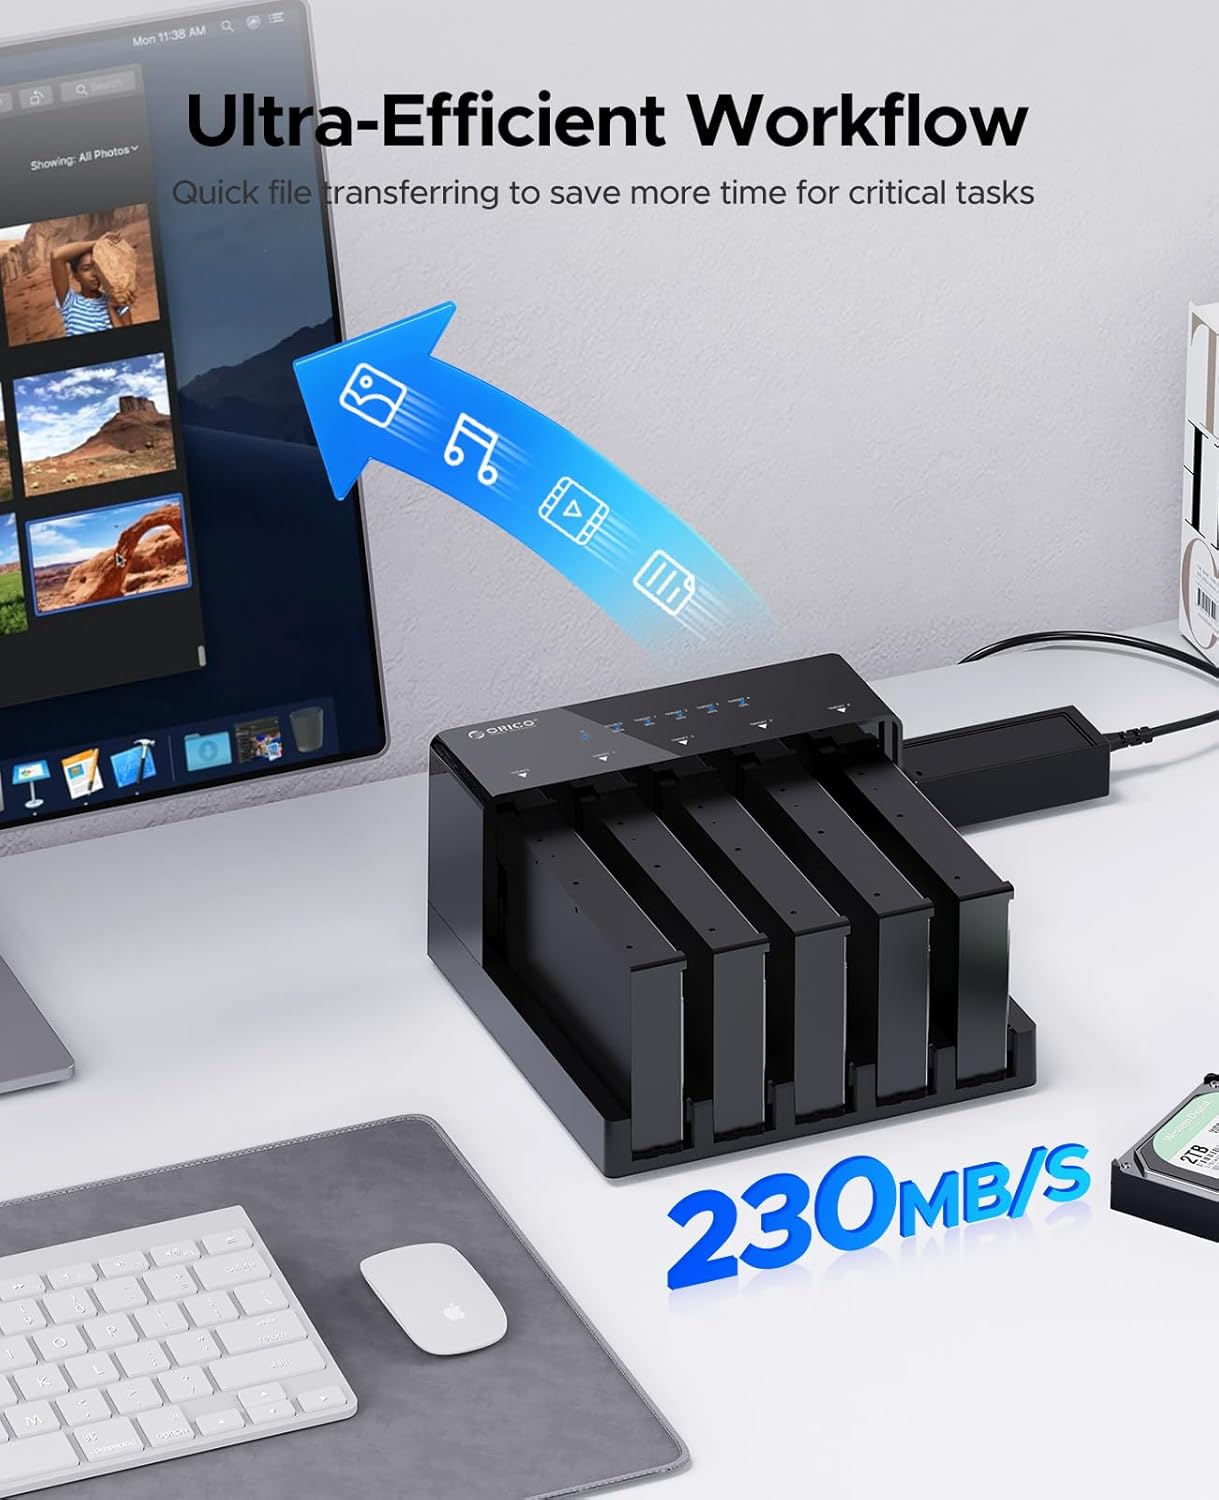
Image: Highlighting the fast data transfer capabilities of the docking station, crucial for efficient data handling.
2. Offline Cloning
The docking station supports 1:4 offline cloning, allowing you to duplicate a source disk to up to four target disks without a computer connection. Ensure the total capacity of the target disks is equal to or greater than the source disk.
Video: An official demonstration of the offline cloning feature of the ORICO 5 Bay Hard Drive Docking Station, showing how to duplicate hard drives.
- Insert the source disk into the "Source" bay and target disks into the "Target 1" to "Target 4" bays.
- Ensure the device is disconnected from the computer.
- Switch the mode button to "CLONE".
- Press and hold the "Start" button for 3-5 seconds until the cloning process begins. The progress LEDs will illuminate to indicate the cloning status.

Image: Visual guide to the offline cloning function, detailing the source and target disk setup.

Image: Further illustration of the cloning mode, emphasizing the capacity requirement for target disks.
3. Real-Time Progress Indicator
During cloning, the LED lights provide real-time progress updates. For HDDs, a reddish-blue flashing light indicates cloning in progress, and a solid reddish-blue light indicates cloning is complete. For SSDs, a red flashing light indicates cloning in progress, and a solid red light indicates cloning is complete.

Image: Explanation of the LED indicators for monitoring cloning progress.
Maintenance
1. Heat Dissipation
The docking station features an open design that promotes natural heat dissipation, which is crucial for maintaining optimal performance and extending the lifespan of your hard drives, especially during prolonged operation or cloning tasks.

Image: Visualizing the airflow and cooling benefits of the docking station's open structure.
2. General Cleaning
To ensure longevity, regularly clean the exterior of the docking station with a soft, dry cloth. Avoid using liquid cleaners or abrasive materials. Ensure no dust or debris accumulates in the drive bays, which could affect connectivity or heat dissipation.
Troubleshooting
1. Device Not Powering On
If the docking station does not power on, ensure the 12V 6.5A power adapter is securely connected to both the device and a working power outlet. Verify that the ON/OFF switch on the back of the unit is in the 'ON' position. If the issue persists, try a different power outlet to rule out power source problems.
2. Drives Not Recognized by Computer
- Ensure the USB data cable is firmly connected to both the docking station and your computer. Try a different USB port on your computer.
- Verify that the drives are properly seated in their bays.
- For new drives, ensure they have been initialized and formatted through your operating system's Disk Management (Windows) or Disk Utility (Mac OS). Refer to the "Initializing and Formatting Drives" section in Setup.
- Restart your computer and the docking station.
3. Offline Cloning Issues
- Ensure the docking station is disconnected from your computer before initiating offline cloning.
- Verify that the source disk is in the designated "Source" bay and target disks are in the "Target" bays.
- Confirm that the total capacity of the target disks is equal to or greater than the source disk.
- Press and hold the "Start" button for the required 3-5 seconds to activate cloning.
- If cloning fails, check the drives for errors using your computer's disk utility tools before attempting again.
Product Specifications
| Feature | Detail |
|---|---|
| Brand | ORICO |
| Model Number | ORICO-6558 |
| Material | Acrylonitrile Butadiene Styrene (ABS) |
| Max Number of Supported Devices | 5 |
| Compatible Drive Types | 2.5/3.5-inch SATA I/II/III HDDs & SSDs |
| Max Capacity Expansion | Up to 90TB (5 x 18TB) |
| Data Transfer Rate | Up to 5Gbps (USB 3.0) |
| Offline Cloning | 1:4 Support |
| Power Supply | 12V 6.5A External Power Adapter |
| Product Dimensions | 8.35 x 8.03 x 4.49 inches |
| Item Weight | 2.79 pounds |
| Supported Operating Systems | Windows XP/2003/Vista/7/2008/8/8.1 (32/64-bit), Linux, Mac 9.1/10.2 or higher |
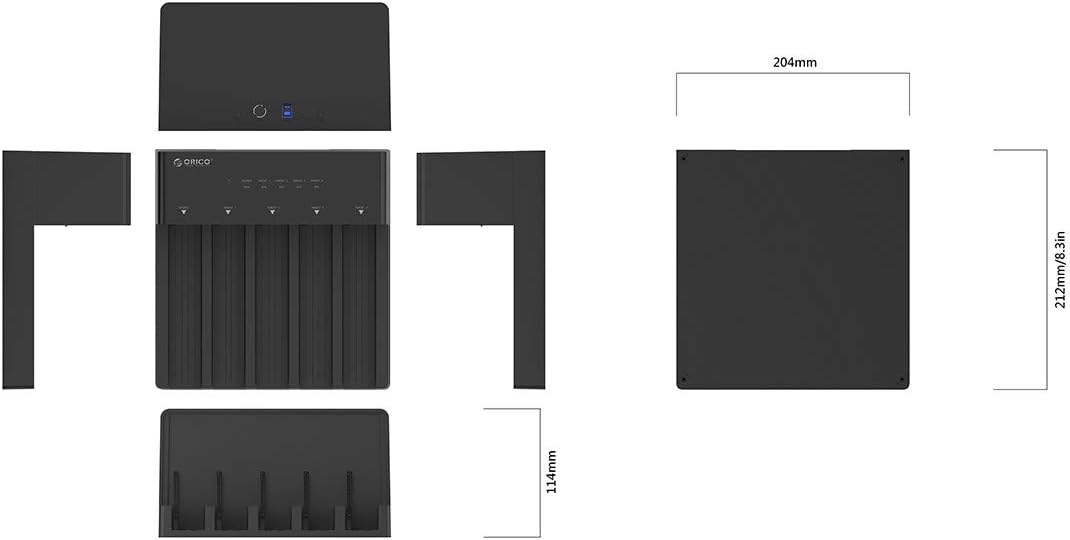
Image: Dimensional specifications of the docking station.

Image: Demonstrating the vast storage capacity supported by the device.

Image: Highlighting the built-in safety features of the docking station.
Warranty Information
Please refer to the warranty card or documentation included with your product packaging for detailed warranty terms and conditions. ORICO provides a standard manufacturer's warranty for its products, covering defects in materials and workmanship under normal use.
Support
For further assistance, technical support, or to download the latest drivers and firmware, please visit the official ORICO website or refer to the comprehensive user guide PDF.
Related documentsORICO-6558


Ask a question about this manual
Ask about setup, troubleshooting, compatibility, parts, safety, or missing instructions. Manuals+ will review the question and use this page’s manual context to help answer it.