
Introduction
This manual provides essential information for the safe and effective operation, maintenance, and troubleshooting of your BLACK+DECKER 55W Mouse Sander, model BEW230BC-QS. Please read this manual thoroughly before using the tool and retain it for future reference.
The BLACK+DECKER Mouse Sander is an ultra-compact and versatile tool designed for sanding in hard-to-reach areas, as well as for general sanding, polishing, and rust removal on both smooth and uneven surfaces. It features a 55W motor, a non-slip coating for comfort, and a convenient Velcro fastening system for quick sanding sheet changes.
Important Safety Information
WARNING: Read all safety warnings and all instructions. Failure to follow the warnings and instructions may result in electric shock, fire, and/or serious injury.
Always wear appropriate personal protective equipment, including safety glasses, dust mask, and hearing protection, when operating this tool.
Ensure the work area is well-lit and free of obstructions. Keep children and bystanders away while operating a power tool.
Do not operate power tools in explosive atmospheres, such as in the presence of flammable liquids, gases, or dust. Power tools create sparks which may ignite the dust or fumes.
Always disconnect the sander from the power source before making any adjustments, changing accessories, or storing the tool.
Use the correct power source. This tool is designed for 220 Volts. Verify your power supply matches the tool's requirements.
Package Contents
Your BLACK+DECKER 55W Mouse Sander package should include the following items:
- BLACK+DECKER 55W Mouse Sander (BEW230BC-QS)
- 15 Assorted Sanding Accessories
- Softbag for storage
- Instruction Manual

Image: The BLACK+DECKER 55W Mouse Sander, along with its included accessories and softbag.
Setup
Before operating your sander, ensure it is properly set up.
Attaching Sanding Sheets
The Mouse Sander utilizes a Velcro fastening system for quick and easy attachment of sanding sheets.
- Ensure the sander is disconnected from the power supply.
- Align the holes on the sanding sheet with the holes on the sander's base plate.
- Press the sanding sheet firmly onto the base plate to secure it. The Velcro will hold it in place.

Image: A user demonstrating how to attach a sanding sheet to the base of the Mouse Sander using the Velcro system.
Connecting Dust Collection
For cleaner operation and to prolong the life of your sanding sheets, connect a dust collection system.
- Locate the dust extraction port at the rear of the sander.
- Attach the provided dust collection adapter or a suitable vacuum hose to the port.
- Ensure the connection is secure to prevent dust leakage.
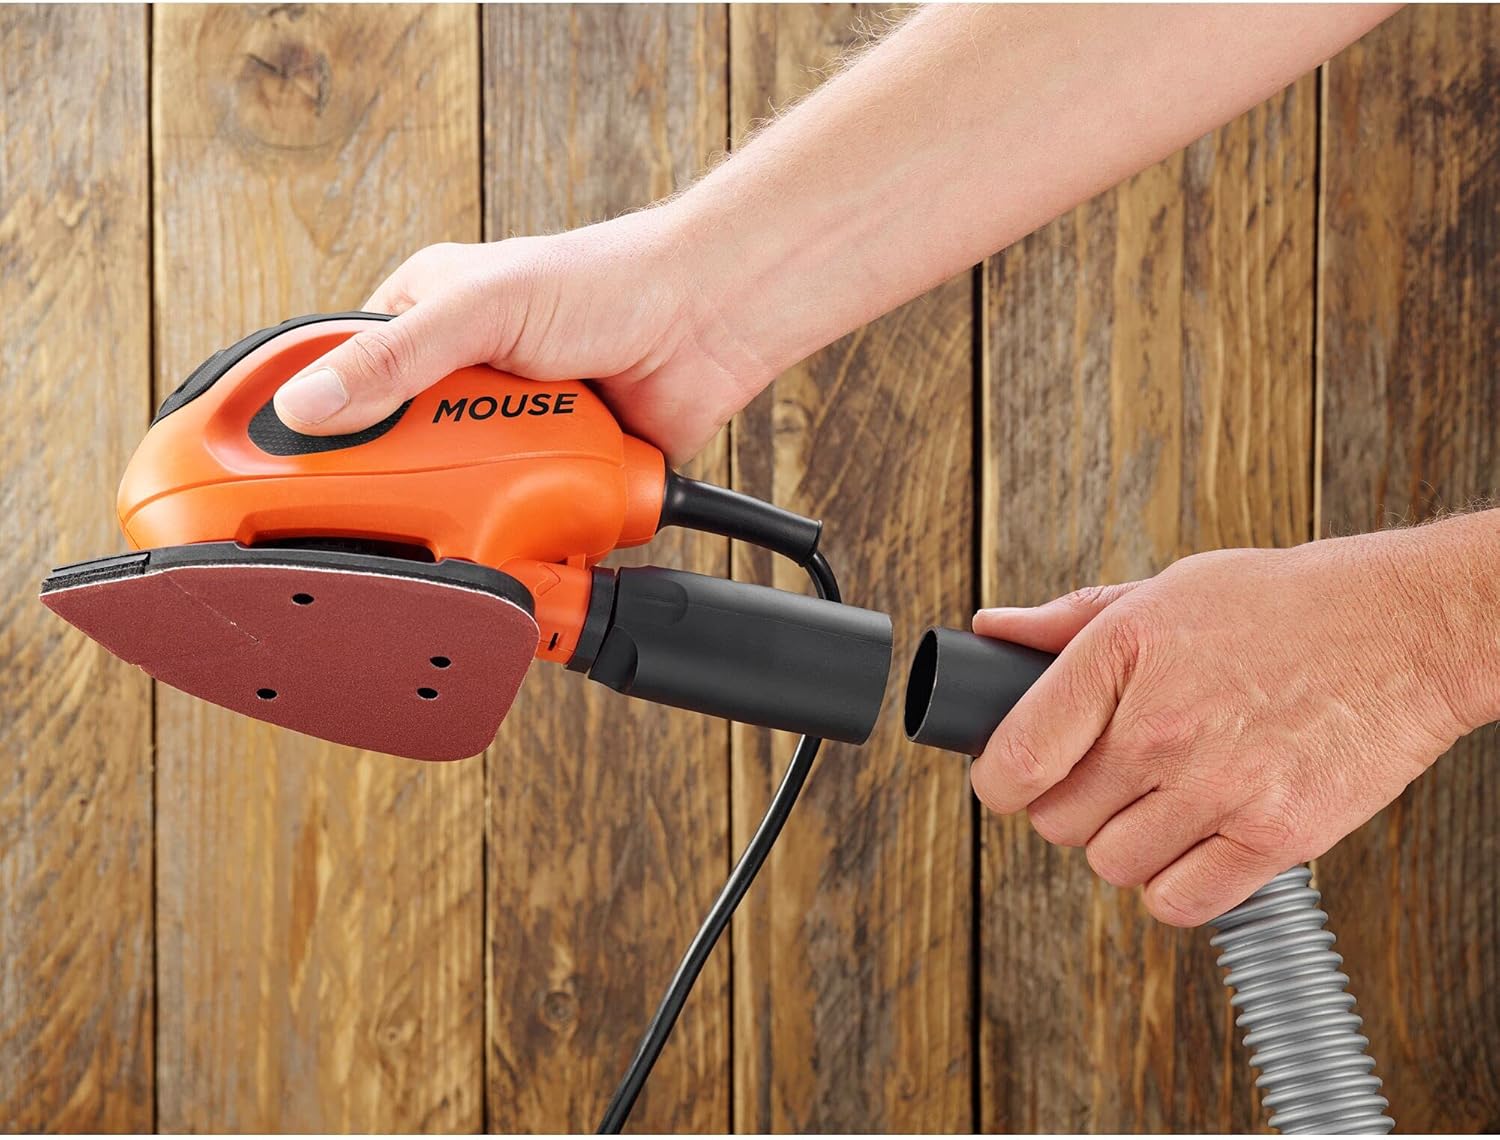
Image: A user connecting a flexible dust collection hose to the dust extraction port of the Mouse Sander.
Operating the Sander
Once the sander is set up, you can begin your sanding task.
Powering On/Off
- Plug the sander into a suitable 220V power outlet.
- To turn the sander ON, press the power switch located on the top of the tool.
- To turn the sander OFF, press the power switch again.
Sanding Techniques
For best results, follow these guidelines:
- Always hold the sander firmly with both hands, utilizing the non-slip grip.
- Start the sander before placing it on the workpiece.
- Apply light, even pressure. Do not force the sander, as this can reduce efficiency and damage the tool or workpiece.
- Move the sander in smooth, overlapping strokes across the surface.
- For fine finishing, use a finer grit sanding sheet and move the sander with the grain of the wood.
- When sanding corners or intricate details, utilize the pointed tip of the mouse sander.
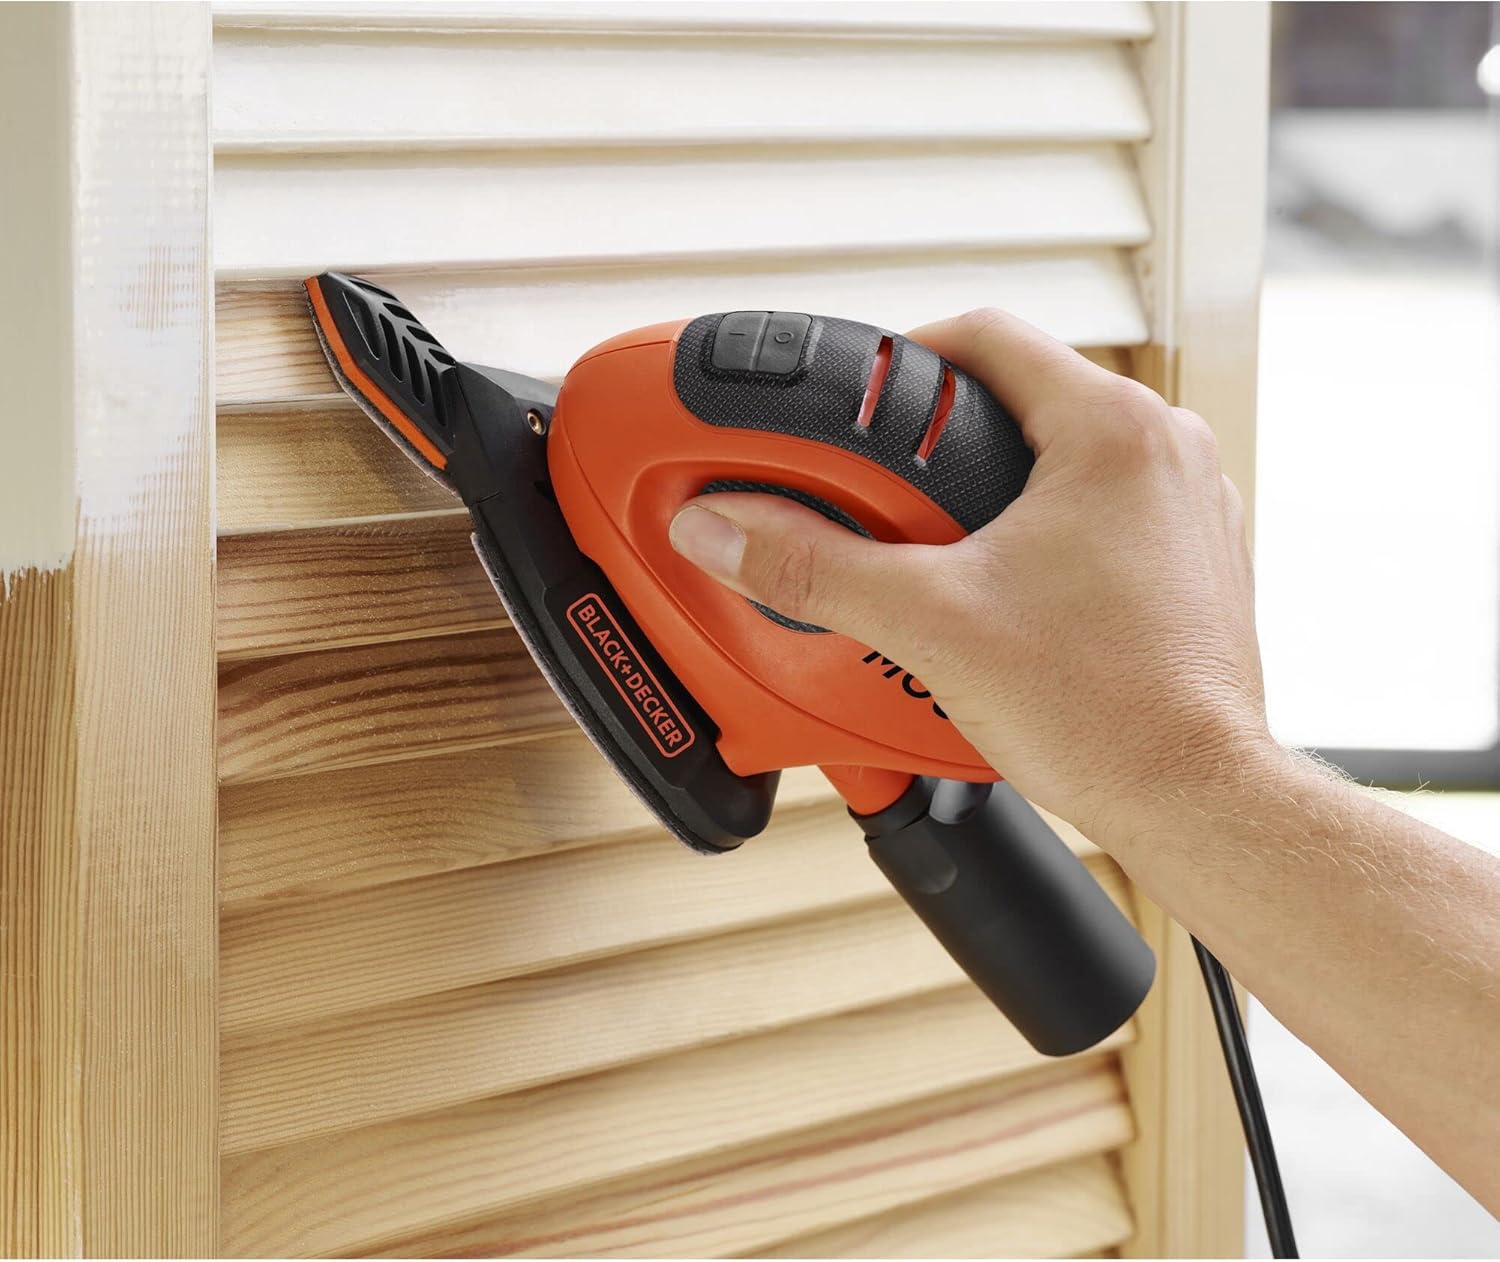
Image: A user precisely sanding wooden slats, demonstrating the compact design's utility for detailed work.

Image: The Mouse Sander in action on a flat wooden surface, showing its effectiveness for general sanding tasks.
Maintenance
Regular maintenance ensures optimal performance and extends the life of your sander.
Cleaning
- Always disconnect the sander from the power supply before cleaning.
- Wipe the exterior of the tool with a clean, damp cloth. Do not use harsh chemicals or abrasive cleaners.
- Periodically clear dust from the ventilation openings using compressed air or a soft brush to prevent overheating.
- Empty the dust collection bag/canister regularly to maintain effective dust extraction.
Changing Sanding Sheets
Replace sanding sheets when they become worn or clogged to maintain sanding efficiency.
- Ensure the sander is unplugged.
- Peel off the old sanding sheet from the Velcro base.
- Attach a new sanding sheet as described in the "Attaching Sanding Sheets" section.
Troubleshooting
If you encounter issues with your Mouse Sander, refer to the following common problems and solutions:
| Problem | Possible Cause | Solution |
|---|---|---|
| Sander does not start. | No power supply. Faulty power switch. | Check if the sander is properly plugged into a live 220V outlet. Contact an authorized service center. |
| Poor sanding performance. | Worn or clogged sanding sheet. Incorrect grit for the task. Excessive pressure applied. | Replace the sanding sheet. Use a sanding sheet with the appropriate grit. Apply lighter, even pressure. |
| Excessive dust. | Dust collection bag/canister full or improperly attached. Dust extraction port clogged. | Empty and reattach the dust collection system securely. Clear any blockages from the dust extraction port. |
| Tool overheats. | Blocked ventilation openings. Continuous heavy use. | Allow the tool to cool down during prolonged use. Clean ventilation openings. |
Specifications
Refer to the following technical specifications for your BLACK+DECKER 55W Mouse Sander:
- Model: BEW230BC-QS
- Power: 55 Watts
- Voltage: 220 Volts
- Maximum Rotational Speed: 11,000 RPM
- Disc Diameter: 1.5 millimeters (Orbital Diameter)
- Item Weight: 0.9 Kilograms (approx. 1.98 pounds)
- Product Dimensions: 6.38"L x 3.94"W x 10.12"H
- Power Source: Corded Electric
- GTIN (UPC): 05035048709375
Warranty and Support
Your BLACK+DECKER 55W Mouse Sander (BEW230BC-QS) comes with a 2-Year Guarantee from the date of purchase, covering defects in materials or workmanship.
For warranty claims, technical support, or to find an authorized service center, please visit the official BLACK+DECKER website or contact their customer service.
Official Website: www.blackanddecker.com
Packaging Recycling Information: www.stanleyblackanddecker.com/packaging-recycling

Image: Product packaging highlighting the 2-Year Guarantee.


