1. Introduction
This manual provides detailed instructions for the proper use and maintenance of your TOPINCN Portable Handheld Refractometer. This precision optical instrument is designed to measure the sugar concentration (Brix) in various liquids such as beer, wine, fruit juices, milk, and honey. Please read this manual thoroughly before operating the device to ensure accurate results and prolong its lifespan.
2. Package Contents
Upon opening your package, please verify that all the following items are included:
- 1 x TOPINCN Portable Handheld Refractometer
- 1 x Pipette
- 1 x Screwdriver (for calibration)
- 1 x Instruction Manual (this document)

Image 2.1: The refractometer and its included accessories, including a pipette and screwdriver.
3. Specifications
| Feature | Specification |
|---|---|
| Test Range | 0-90% Brix |
| Accuracy | ±1% |
| Length | Approx. 14 cm (5.51 inches) |
| Weight | Approx. 228 g (8.04 oz) |
| Material | Aluminum, Rubber |
| Automatic Temperature Compensation (ATC) | Yes |
4. Setup and Calibration
4.1 Initial Inspection
Before first use, inspect the refractometer for any visible damage. Ensure the prism surface and eyepiece are clean and free of dust or smudges.
4.2 Calibration Procedure
For accurate readings, the refractometer must be calibrated before each use or if the ambient temperature changes significantly. Use distilled water for calibration.
- Open the daylight plate (cover) of the refractometer.
- Place 1-2 drops of distilled water onto the main prism.
- Close the daylight plate gently so the water spreads across the entire surface of the prism without air bubbles or dry spots.
- Wait approximately 30 seconds to allow the sample to reach the ambient temperature of the refractometer. This ensures accurate Automatic Temperature Compensation (ATC).
- Point the refractometer towards a light source (e.g., daylight or a lamp).
- Look through the eyepiece. You will see a circular field with a blue and white boundary.
- Rotate the eyepiece to adjust the focus until the scale is clear.
- Using the included screwdriver, turn the calibration screw (located near the daylight plate hinge) until the blue/white boundary precisely aligns with the "0" mark on the scale.
- After calibration, wipe the prism and daylight plate dry with a soft, clean cloth. Do not rinse with water directly.

Image 4.1: Using the screwdriver to adjust the calibration screw for accurate readings.

Image 4.2: The main prism where liquid samples are applied for measurement.
5. Operating Instructions
Once calibrated, your refractometer is ready for use:
- Ensure the prism and daylight plate are clean and dry.
- Using the pipette, place 1-2 drops of the liquid to be tested onto the main prism.
- Close the daylight plate gently, ensuring the liquid spreads evenly without air bubbles.
- Wait approximately 30 seconds for temperature equalization.
- Point the refractometer towards a light source and look through the eyepiece.
- Read the value where the blue/white boundary crosses the scale. This is your sugar concentration (Brix) reading.
- After each measurement, clean the prism and daylight plate thoroughly with a soft, damp cloth, then dry completely.
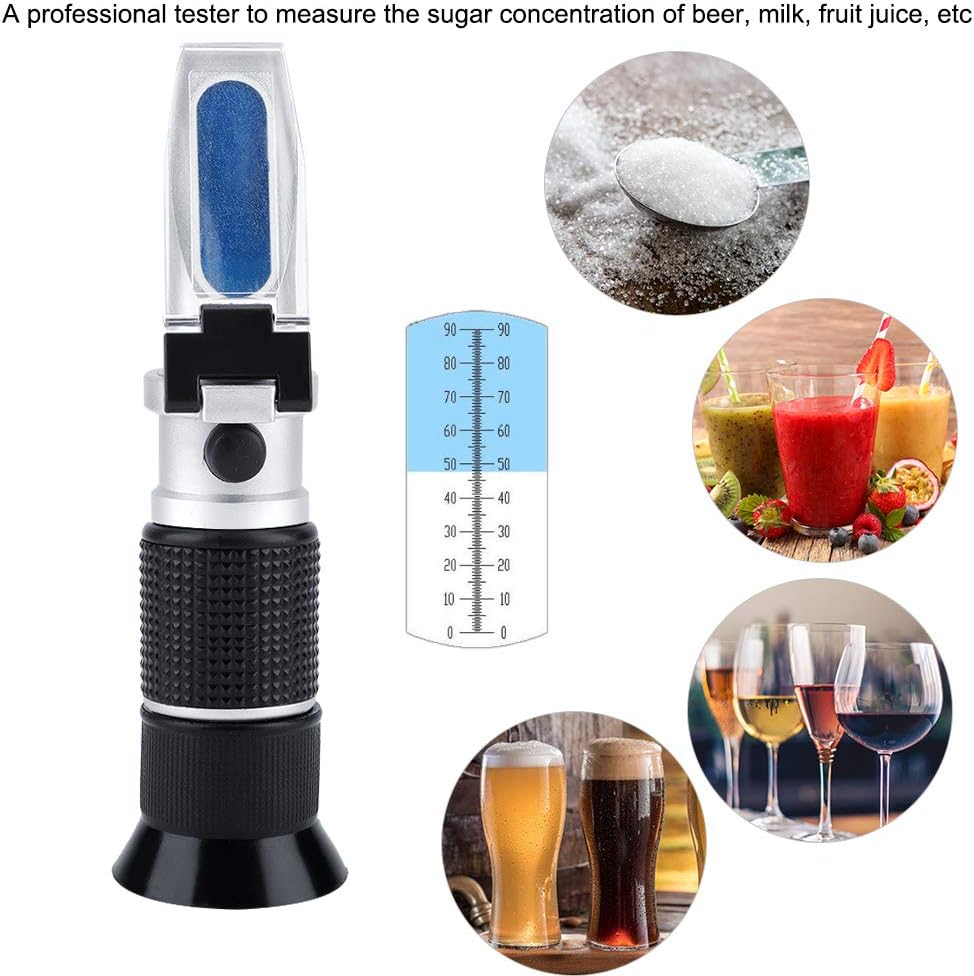
Image 5.1: The refractometer displaying its internal scale, used for measuring sugar concentration in various beverages.

Image 5.2: Applying a sample of honey to the refractometer's prism using a pipette.
6. Maintenance and Care
- Cleaning: Always clean the prism and daylight plate immediately after use with a soft, damp cloth. Do not use abrasive materials or harsh chemicals. Do not immerse the instrument in water.
- Storage: Store the refractometer in a dry, clean, and non-corrosive environment. Keep it away from direct sunlight, high temperatures, and humidity. Ensure all parts are stored securely.
- Handling: Handle the instrument with care. Avoid violent shocks, impacts, or dropping the device. Do not loosen any connection parts arbitrarily.
- Lens Care: The eyepiece lens should be kept clean. Use a lens cleaning cloth if necessary.

Image 6.1: The eyepiece of the refractometer, which should be kept clean for clear readings.
7. Troubleshooting
| Problem | Possible Cause | Solution |
|---|---|---|
| Inaccurate readings (e.g., not matching hydrometer) | Improper calibration; temperature not equalized; dirty prism. | Recalibrate with distilled water (Section 4.2). Ensure sample sits for 30 seconds before reading. Clean prism thoroughly. |
| Blurred or unclear scale | Eyepiece out of focus; dirty eyepiece lens. | Rotate the eyepiece to adjust focus. Clean the eyepiece lens with a soft cloth. |
| Blue/white boundary not sharp | Insufficient light; air bubbles in sample; prism not fully covered. | Ensure adequate light source. Reapply sample, ensuring no air bubbles and full prism coverage. |
8. Safety Precautions
- Always use the instrument according to the instructions provided.
- Do not attempt to disassemble any connection parts arbitrarily.
- Protect the device from violent shocks, impacts, and falling.
- Use only a soft cloth to wipe the instrument. Avoid scratching the surface.
- Do not immerse the refractometer in water or other liquids.
- Store the instrument in a dry and non-corrosive environment.
- Keep all parts well-stored to prevent loss or damage.
9. Warranty and Support
For warranty information or technical support, please refer to the documentation provided with your purchase or contact the seller directly. Keep your purchase receipt as proof of purchase.