
Product Overview
The Cambridge Audio Minx X201 is a compact yet powerful 200-watt subwoofer designed to enhance your audio experience by delivering deep, impactful bass. Its small footprint makes it suitable for various room sizes and setups, while its advanced features ensure precise and controlled low-frequency reproduction.
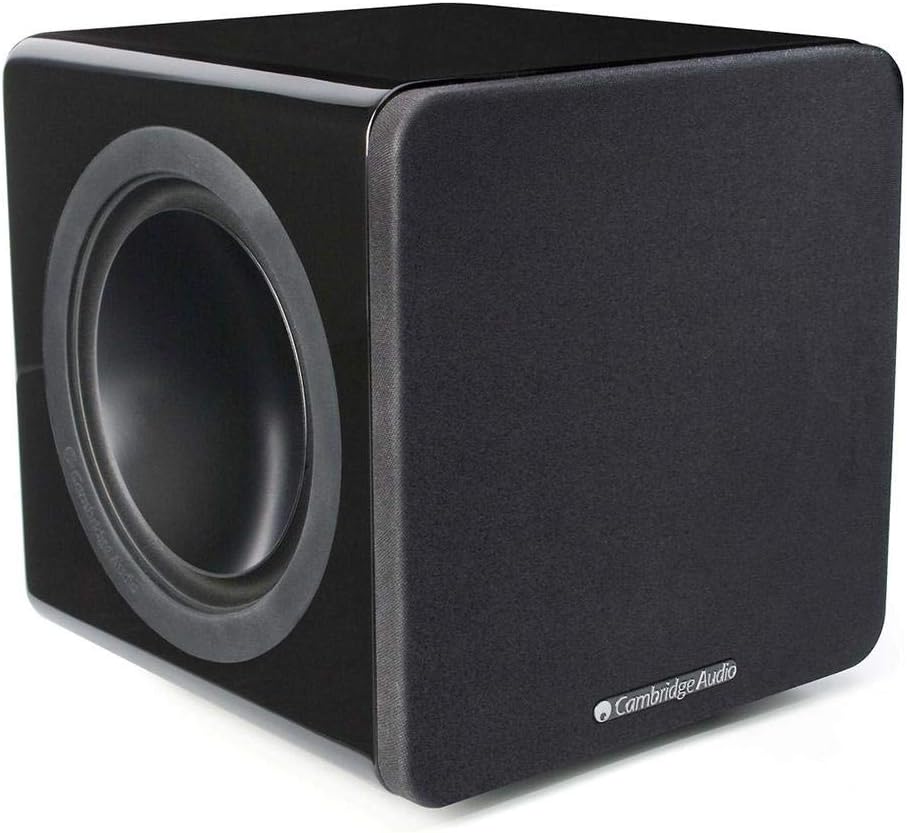
Image: Front and side view of the Cambridge Audio Minx X201 subwoofer in gloss black, showcasing its compact design and front-firing driver.
What's Included:
- Minx X201 Subwoofer
- Installation Guide
- Safety Guide
- Power Cable
Setup
1. Unpacking
Carefully remove the subwoofer and all accessories from the packaging. Retain the packaging for future transport or storage.
2. Placement
The placement of your subwoofer can significantly impact its performance. Experiment with different locations in your room to find the optimal position. Generally, placing the subwoofer in a corner can enhance bass output, while placing it closer to your main speakers can improve integration. Ensure adequate ventilation around the unit.
3. Connections
Before making any connections, ensure the subwoofer and all connected audio equipment are powered off and unplugged from the mains.

Image: Rear panel of the Cambridge Audio Minx X201 subwoofer, displaying the various controls, input/output connections, and power switch.
- Audio Input (RCA): Connect the subwoofer output (LFE or Sub Out) from your AV receiver or amplifier to the 'LFE/Sub' input on the Minx X201 using an RCA cable. If your receiver has stereo pre-outs, connect them to the 'L' and 'R' inputs.
- Audio Output (RCA): If your system requires a pass-through connection, you can use the 'Out' RCA jacks to connect to other audio components.
- Power Connection:
- Verify the Mains Voltage Selector Switch is set to the correct voltage for your region (110-120V or 220-240V). This switch is located near the power inlet.
- Connect the supplied power cable to the 'Power AC~' inlet on the subwoofer and then to a suitable wall outlet.
Operating the Subwoofer
Once connected, you can power on your Minx X201 and adjust its settings for optimal performance with your audio system.
Controls Overview (Refer to Rear Panel Image):
- Volume: Adjusts the overall output level of the subwoofer. Start with a low setting and gradually increase until the bass blends seamlessly with your main speakers.
- Phase (0°/180°): This control helps to integrate the subwoofer's output with your main speakers. If the bass sounds weak or hollow, try switching the phase. The correct setting will result in the most impactful and coherent bass.
- Crossover Frequency (50Hz-200Hz): Determines the highest frequency the subwoofer will reproduce. Frequencies above this setting will be sent to your main speakers. Adjust this based on the low-frequency capabilities of your main speakers. For smaller satellite speakers, a higher crossover frequency (e.g., 120Hz-160Hz) may be appropriate. For larger bookshelf or floorstanding speakers, a lower setting (e.g., 80Hz) is often suitable.
- Standby Feature (Force On / Audio Detect):
- Force On: The subwoofer remains powered on continuously.
- Audio Detect: The subwoofer automatically powers on when an audio signal is detected and enters standby mode after a period of inactivity, conserving energy.
- Power Switch (On/Off): Toggles the main power to the unit.
Initial Tuning:
Play some familiar music or movie content with good bass. Adjust the Volume and Crossover Frequency controls until the bass sounds balanced and natural, without being overpowering or boomy. Experiment with the Phase switch to find the setting that provides the most cohesive sound with your main speakers.
Maintenance
To ensure the longevity and optimal performance of your Minx X201 subwoofer, follow these maintenance guidelines:
- Cleaning: Use a soft, dry, lint-free cloth to clean the cabinet. For gloss finishes, a slightly damp cloth followed by a dry one can be used. Avoid abrasive cleaners, waxes, or solvents as they may damage the finish.
- Ventilation: Ensure that the ventilation openings are not blocked. Do not place the subwoofer on soft surfaces like carpets or rugs that might obstruct airflow.
- Environment: Keep the subwoofer away from direct sunlight, heat sources, excessive dust, moisture, and extreme temperatures.
- Handling: When moving the unit, always lift it carefully from the base. Avoid dropping or subjecting it to strong impacts.
Troubleshooting
If you encounter issues with your Minx X201 subwoofer, refer to the following common problems and solutions:
| Problem | Possible Cause | Solution |
|---|---|---|
| No sound from subwoofer |
|
|
| Distorted or boomy bass |
|
|
| Weak or thin bass |
|
|
If the problem persists after trying these solutions, please contact Cambridge Audio customer support.
Specifications
Detailed technical specifications for the Cambridge Audio Minx X201 Subwoofer:
| Model Name | X201 |
| Speaker Type | Subwoofer |
| Power Output | 200 Watts |
| Frequency Response | 36Hz (-6dB) – 200Hz |
| Crossover | Active – variable 50Hz-200Hz |
| Drivers | 1 x 6.5" subwoofer, 2 x 6.5" passive radiators |
| Product Dimensions (D x W x H) | 8.6"D x 8.7"W x 8.3"H |
| Item Weight | 11.0 lbs (5 Kilograms) |
| Color | Gloss Black |
| Connectivity Technology | RCA (Wired) |
| Control Method | Touch (referring to physical controls) |
| Manufacturer | Cambridge Audio |
| UPC | 813371025288 |
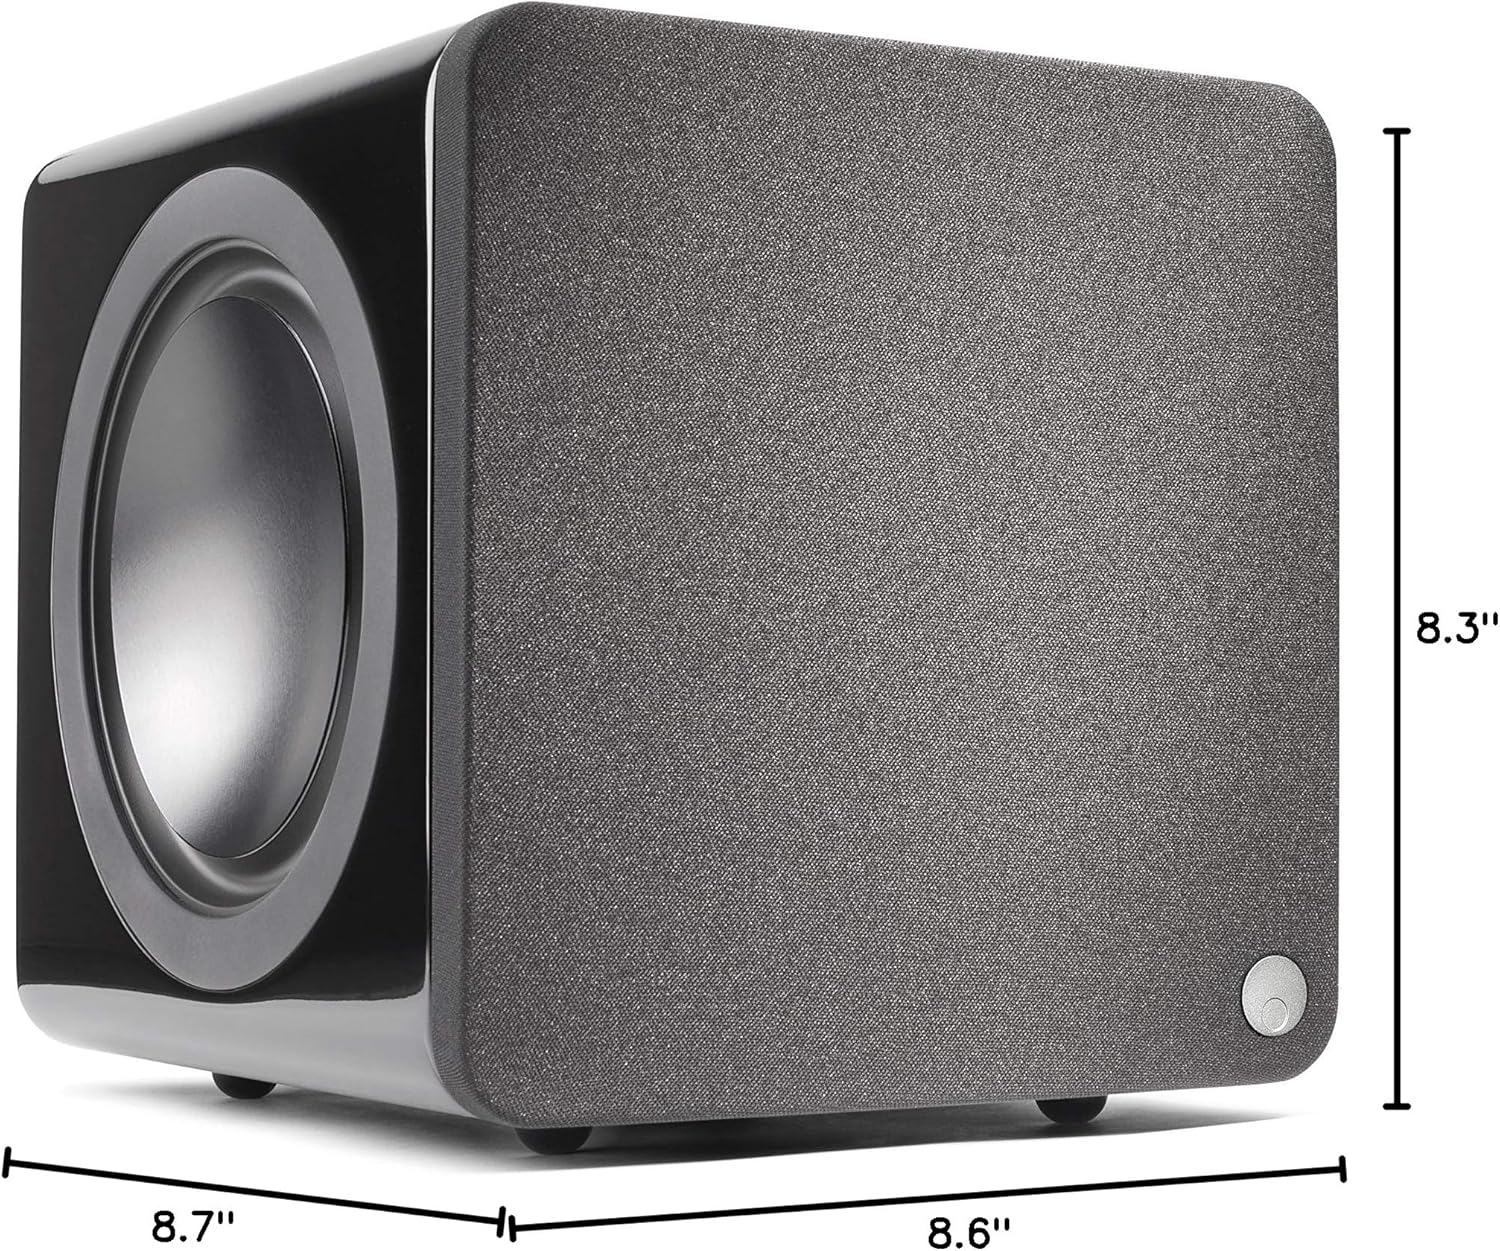
Image: Diagram illustrating the compact dimensions of the Cambridge Audio Minx X201 subwoofer.
Warranty and Support
The Cambridge Audio Minx X201 Subwoofer comes with a Limited Warranty. For specific details regarding warranty coverage, terms, and conditions, please refer to the separate Warranty Card included with your product or visit the official Cambridge Audio website.
For technical assistance, troubleshooting beyond this manual, or warranty claims, please contact Cambridge Audio customer support. Contact information can typically be found on the official Cambridge Audio website or in the included documentation.
Cambridge Audio Official Website: www.cambridgeaudio.com

