1. Introduction
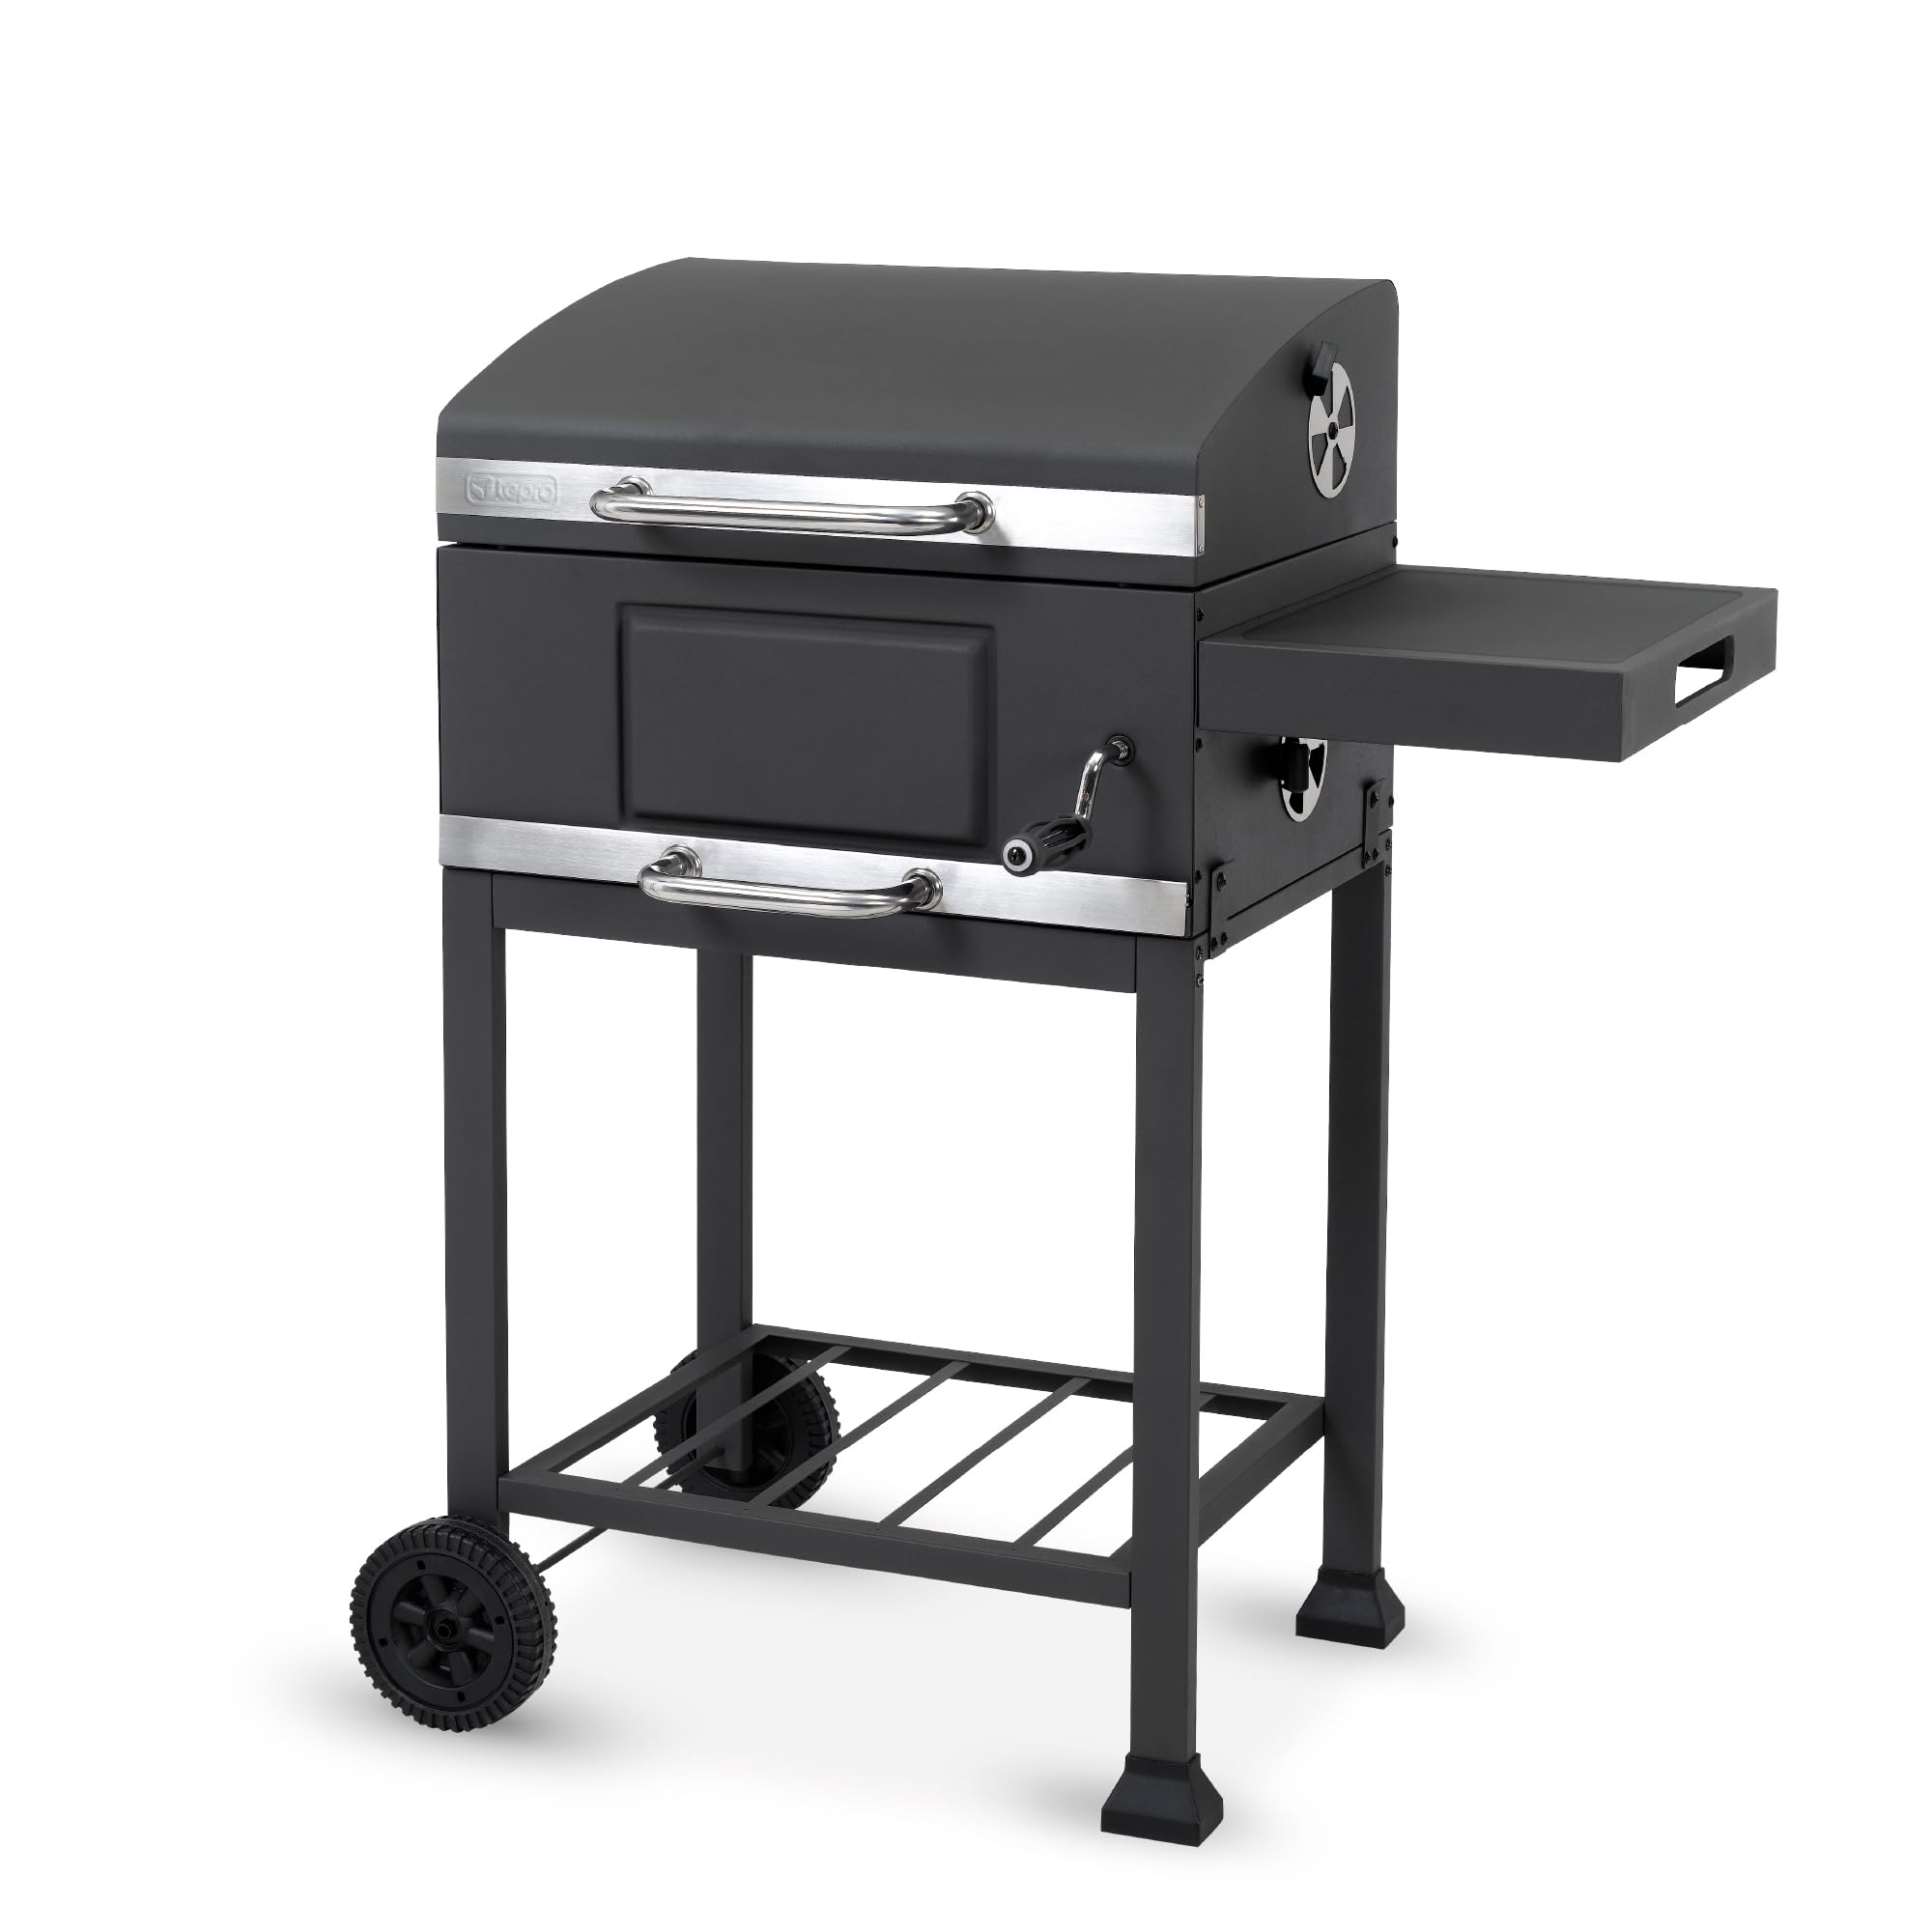
Thank you for choosing the Tepro Toronto Basic Charcoal Grill, Model 1163. This manual provides essential information for the safe assembly, operation, and maintenance of your new grill. Please read these instructions carefully before first use and keep them for future reference. This charcoal grill is designed for outdoor use only and offers a grilling surface of approximately 52 x 36 cm, an adjustable charcoal tray, and convenient side shelves.
2. Safety Information
- Outdoor Use Only: This grill is intended for outdoor use in a well-ventilated area. Do not use indoors or in enclosed spaces.
- Clearance: Maintain a safe distance from combustible materials (e.g., wooden decks, fences, dry leaves).
- Stable Surface: Always place the grill on a firm, level, non-combustible surface.
- Children and Pets: Keep children and pets away from the grill at all times, especially during operation.
- Hot Surfaces: The grill's surfaces become extremely hot during use. Use heat-resistant gloves and appropriate tools.
- Charcoal Safety: Use only charcoal briquettes or lump charcoal. Do not use gasoline, kerosene, or alcohol to light charcoal.
- Ash Disposal: Allow charcoal to cool completely before disposing of ash. Ash can remain hot for several hours.
- Ventilation: Ensure proper airflow to the charcoal for efficient burning and temperature control.
3. Package Contents
Before assembly, ensure all parts are present and undamaged. Refer to the assembly diagram for identification.
- Grill body and lid
- Grilling grates (main and warming rack)
- Adjustable charcoal tray
- Side shelves (2)
- Legs and bottom storage rack
- Wheels (2)
- Ash pan
- Hardware for installation (screws, nuts, washers)
- Handles and ventilation slides

4. Assembly Instructions
Assembly is required for this product. Follow the steps below carefully. It is recommended to have two people for assembly.
- Attach Legs: Securely attach the four legs to the main grill body using the provided hardware. Ensure the legs with wheels are positioned correctly for mobility.
- Install Bottom Rack: Fasten the bottom storage rack between the legs.
- Mount Side Shelves: Attach the two side shelves to the main grill body. These provide convenient space for utensils and ingredients.
- Insert Charcoal Tray: Place the adjustable charcoal tray into the grill body. Ensure the crank mechanism for height adjustment is properly aligned and functional.
- Position Grilling Grates: Place the main grilling grates and the warming rack inside the grill. The main grilling surface features a removable insert for versatility.
- Attach Handles and Ventilation: Secure the lid handle, side handles, and ventilation slides.
- Install Ash Pan: Slide the removable ash pan into its designated slot at the bottom of the grill body.


Assembly and Feature Overview Video
Video 4.1: This video provides a visual guide to the assembly process and highlights key features of a similar charcoal grill.
Video 4.2: A demonstration of the charcoal tray adjustment and other features on a charcoal grill.
5. Operating Instructions
5.1. Preparing the Grill
- Charcoal Loading: Open the lid and place charcoal briquettes or lump charcoal onto the charcoal tray. The maximum charcoal capacity is 0.8 kg.
- Lighting Charcoal: Use a charcoal chimney starter or appropriate firelighters to ignite the charcoal. Never use flammable liquids.
- Preheating: Once the charcoal is covered in a light gray ash, spread it evenly across the tray. Close the lid and allow the grill to preheat for 10-15 minutes.
5.2. Temperature Control
- Adjustable Charcoal Tray: Use the crank handle to raise or lower the charcoal tray. Raising the tray increases heat intensity, while lowering it reduces heat.
- Ventilation Slides: The grill features ventilation slides on the lid and body. Open them to increase airflow and heat, or close them to reduce airflow and lower the temperature.


5.3. Grilling
- Grilling Surface: The main grilling surface measures approximately 52 x 36 cm. It includes a removable insert for various grilling accessories (not included).
- Warming Rack: Use the upper warming rack to keep cooked food warm or to gently cook delicate items.
- Food Placement: Place food directly over the hot charcoal for direct grilling or to the sides for indirect cooking.

Grilling Demonstration Video
Video 5.1: A demonstration of grilling various foods on a charcoal grill, showcasing its capacity and features.
6. Maintenance and Cleaning
- Ash Removal: After the grill has completely cooled, pull out the removable ash pan and dispose of the ash safely.
- Grill Grates: Clean the grilling grates with a grill brush after each use. For stubborn residue, soak them in warm, soapy water.
- Exterior Cleaning: Wipe down the exterior surfaces with a damp cloth and mild detergent. Avoid abrasive cleaners.
- Storage: Store the grill in a dry, covered area when not in use to protect it from weather elements.
7. Troubleshooting
- Low Heat: Ensure sufficient charcoal is used and that ventilation slides are open to allow proper airflow. The charcoal tray may need to be raised.
- Excessive Smoke: This can be normal when starting. Ensure proper ventilation. If food is burning, lower the charcoal tray or reduce airflow.
- Difficulty Lighting: Use a charcoal chimney starter for best results. Ensure charcoal is dry and not packed too tightly.
8. Specifications
| Feature | Specification |
|---|---|
| Model Number | 1163 |
| Dimensions (L x W x H) | 60.5 x 89.5 x 103.3 cm |
| Weight | 18.42 kg |
| Grilling Surface | Approx. 52 x 36 cm |
| Working Height | Approx. 85 cm |
| Max. Charcoal Capacity | 0.8 kg |
| Material | Stainless Steel (grates, handles), Steel (body) |
| Fuel Type | Charcoal |
| Assembly Required | Yes |
9. Warranty and Support
For warranty information or technical support, please refer to the product packaging or contact your retailer. Keep your proof of purchase for any warranty claims.