Sunco Lighting DL_SL6-14W
Sunco Lighting 6-Inch Ultra-Thin LED Recessed Light Manual
Model: DL_SL6-14W
Introduction
This manual provides detailed instructions for the installation, operation, and maintenance of your Sunco Lighting 6-Inch Ultra-Thin LED Recessed Ceiling Lights. These 14W, 5000K Daylight fixtures are designed for easy installation without a can, featuring a wafer-thin profile and an integrated junction box. They offer seamless dimming capabilities and are IC rated for direct contact with insulation.
Safety Information
- Always turn off power at the circuit breaker before installation or maintenance.
- Consult a qualified electrician if you are unsure about the installation process.
- Ensure all electrical connections comply with local and national electrical codes.
- Do not attempt to modify the fixture.
- This product is designed for indoor use only.
- The fixture is IC rated, suitable for direct contact with insulation.
What's in the Box
Each package contains the following components:
- 6x Sunco Lighting 6-Inch Ultra-Thin LED Recessed Lights
- 6x Integrated Junction Boxes
- Installation Hardware (e.g., wire nuts, spring clips)
- Instruction Manual
Specifications
| Feature | Detail |
|---|---|
| Model Number | DL_SL6-14W |
| Size | 6 inch |
| Color Temperature | 5000K Daylight |
| Wattage | 14 Watts |
| Brightness | 850 Lumens |
| Voltage | 120 Volts |
| Dimmable | Yes (10%-100%) |
| Material | Polycarbonate, Copper Wiring |
| Indoor/Outdoor Usage | Indoor |
| Certifications | Energy Star, ETL (5005842), FCC (L10), RoHS |
| Item Weight | 0.01 Ounces (per unit) |
| Product Dimensions | 7 x 1 x 7 inches |
Note: Efficiency is approximately 61 lumens per watt.

Image: Detailed dimensions of the light fixture and junction box.
Setup and Installation
These ultra-thin LED recessed lights are designed for easy, canless installation. Follow these steps for proper setup:
Tools Required:
- Screwdriver
- Wire Strippers
- Measuring Tape
- Hole Saw (appropriate size for 6-inch fixture)
- Safety Glasses
Installation Steps:
- Turn off Power: Before starting, ensure the power to the installation area is turned off at the circuit breaker to prevent electrical shock.
- Cut Hole in Ceiling: Use a hole saw to cut a 6-inch diameter hole in the desired ceiling location. Ensure there are no obstructions (e.g., joists, pipes) behind the ceiling.
- Connect Wiring: Open the junction box. Connect the house electrical wires to the fixture wires using the provided wire nuts:
- Black (Live) to Black (Fixture)
- White (Neutral) to White (Fixture)
- Green or Bare Copper (Ground) to Green (Fixture)
- Place Junction Box: Insert the junction box into the ceiling hole. The compact design allows it to sit above the ceiling.
- Install Light Fixture: Connect the light fixture to the junction box cable. Fold the spring-loaded clips on the side of the light fixture upwards and push the fixture into the ceiling hole. The clips will automatically snap down and hold the fixture securely in place.
- Test Light: Restore power at the circuit breaker and test the light fixture.

Image: Installation diagram showing the junction box connected to house wiring and the light fixture with spring clips.
Video: An overview of Sunco Lighting's commitment to quality and customer service, including product testing and design.
Operating Instructions
Your Sunco Lighting LED recessed lights are designed for simple operation and enhanced functionality.
Power On/Off:
Operate the lights using a standard wall switch connected to the circuit. Flip the switch to turn the lights on or off.
Dimming Functionality:
These LED fixtures are fully dimmable from 10% to 100%. To utilize the dimming feature, ensure you have a compatible LED dimmer switch installed on the circuit. Adjust the dimmer switch to achieve your desired brightness level.
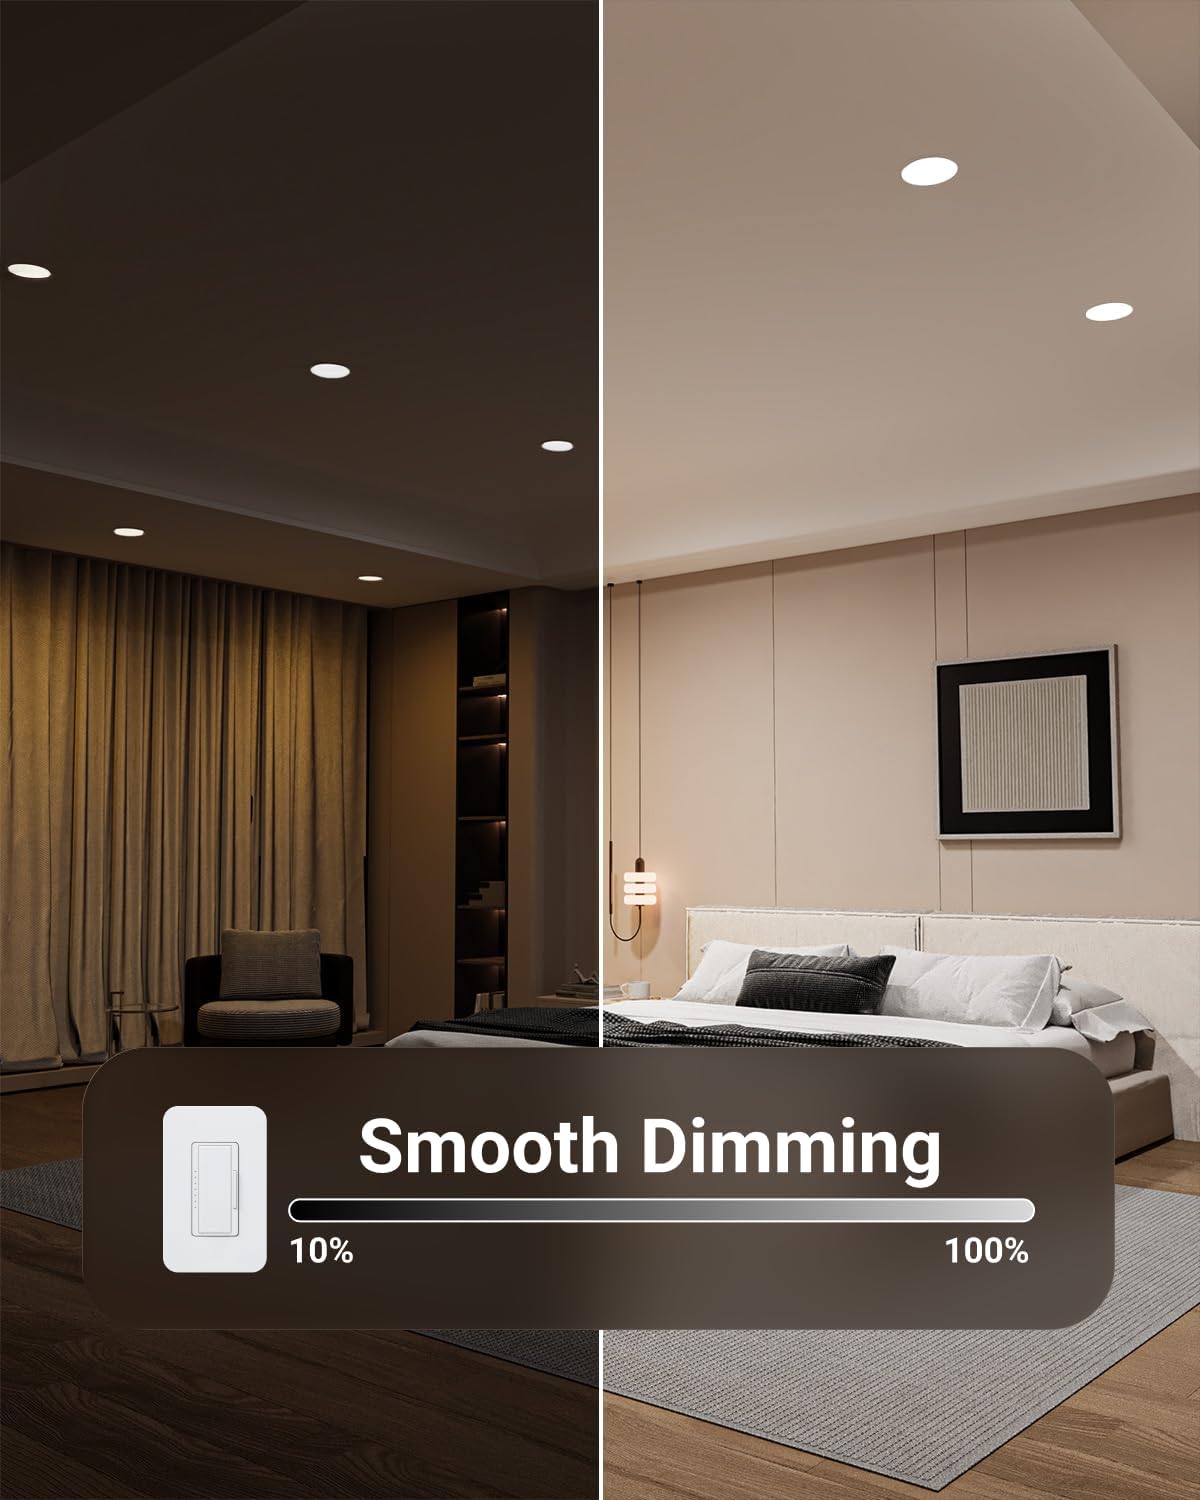
Image: Visual representation of the smooth dimming capability from 10% to 100%.
Maintenance
The Sunco Lighting LED recessed lights require minimal maintenance.
- Cleaning: Ensure power is off before cleaning. Wipe the fixture with a soft, dry, or slightly damp cloth. Do not use harsh chemicals or abrasive cleaners.
- Bulb Replacement: These LED fixtures have integrated LEDs and do not require bulb replacement. The estimated lifespan is 50,000 hours.
- Inspection: Periodically inspect the fixtures for any signs of damage or loose connections. If any issues are found, turn off power and consult a qualified electrician.
Troubleshooting
If you encounter issues with your LED recessed lights, refer to the following common problems and solutions:
| Problem | Possible Cause | Solution |
|---|---|---|
| Light does not turn on. | No power, loose wiring, faulty switch, or faulty fixture. | Check circuit breaker. Verify all wire connections are secure. Test the switch. If issues persist, contact support. |
| Light flickers or dims inconsistently. | Incompatible dimmer switch, loose wiring, or voltage fluctuations. | Ensure a compatible LED dimmer switch is used. Check wiring connections. Consult an electrician for voltage issues. |
| Light is not as bright as expected. | Dimmer setting too low, or incorrect light placement. | Adjust dimmer to 100%. Consider adding more fixtures for larger areas if needed. |
Warranty Information
Sunco Lighting provides a 7-Year Protection warranty for this product. This warranty covers defects in materials and workmanship under normal use. For warranty claims or further details, please contact Sunco Lighting customer support.
Additional protection plans may be available for purchase through authorized retailers.
Support
For technical assistance, troubleshooting, or warranty inquiries, please contact Sunco Lighting customer support. Our knowledgeable specialists are available to assist you.
Visit the official Sunco Lighting website for contact information and additional resources: www.suncolighting.com
Ask a question about this manual
Ask about setup, troubleshooting, compatibility, parts, safety, or missing instructions. Manuals+ will review the question and use this page’s manual context to help answer it.