Introduction
This manual provides detailed instructions for the safe installation, operation, and maintenance of your Progress Lighting Tobin Collection 1-Light Etched White Glass Modern Bath Vanity Light. Please read all instructions carefully before beginning installation and retain this manual for future reference.
The Tobin vanity light features a modern design with tubular arms and an etched white glass shade, finished in Brushed Nickel. It is designed to provide functional and aesthetic lighting for your bathroom space.
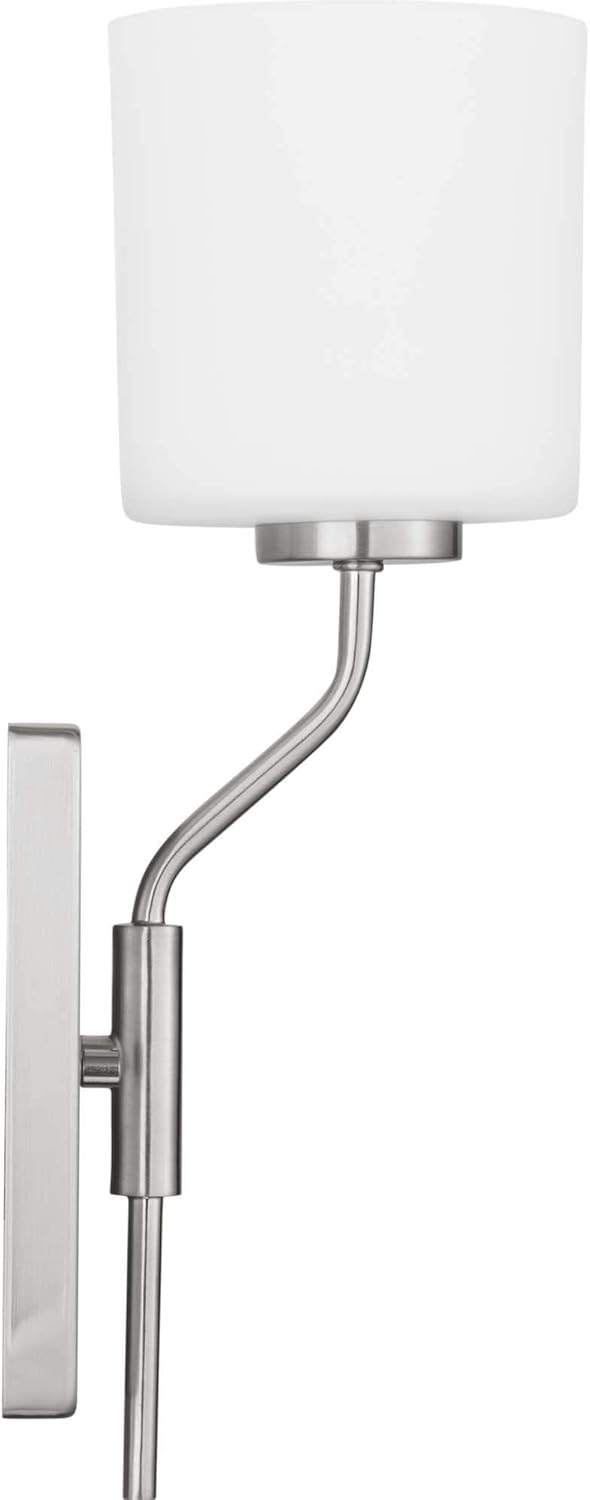
Figure 1: Progress Lighting Tobin 1-Light Vanity Light.
Safety Information
- WARNING: Risk of electric shock. Disconnect power at the fuse box or circuit breaker before installation or servicing.
- All electrical connections must be in accordance with local codes, ordinances, or the National Electric Code (NEC). Contact a qualified electrician if you are unfamiliar with proper electrical wiring connections.
- This fixture is intended for indoor use only.
- Use only the bulb type and wattage specified for this fixture. Exceeding the recommended wattage may cause overheating and damage.
- Handle glass components with care to prevent breakage.
- Ensure the fixture is securely mounted to a structural element of the building.
- This product is UL Listed, ensuring it meets specific safety standards.
Package Contents
Carefully unpack your new fixture and lay out all parts on a clear area. Ensure all components listed below are present before discarding packaging materials.
- Fixture Body (with tubular arm and backplate)
- Etched White Glass Shade
- Mounting Hardware (crossbar, mounting screws, wire nuts)
- Installation Sheet
Specifications
| Brand | Progress Lighting |
| Model Name | Tobin |
| Part Number | P300222-009 |
| Color | Brushed Nickel (Fixture), Etched White (Shade) |
| Material | Alloy Steel (Fixture), Glass (Shade) |
| Style | Modern |
| Light Fixture Form | Vanity |
| Room Type | Bathroom |
| Indoor/Outdoor Usage | Indoor |
| Power Source | AC |
| Installation Type | Surface-Mounted |
| Special Feature | Dimmable |
| Light Source Type | Incandescent (compatible with LED) |
| Number of Light Sources | 1 |
| Voltage | 120 Volts |
| Wattage | 100 watts (max) |
| Bulb Base | E26 Medium |
| Brightness | 250 lumens (typical for included bulb, may vary with bulb choice) |
| Item Weight | 3.02 pounds |
| Assembly Required | Yes |
| Specification Met | UL Listed |

Figure 2: Product Dimensions.
Setup and Installation
Before you begin: Ensure power is turned off at the circuit breaker. Read all instructions thoroughly.
- Prepare the Mounting Surface: Ensure the electrical box is securely installed and capable of supporting the fixture's weight.
- Attach Mounting Plate: Secure the mounting crossbar to the electrical box using the provided screws.
- Wire Connections: Connect the fixture's wires to the corresponding house wires (black to black, white to white, ground to ground) using the provided wire nuts. Ensure all connections are secure.
- Mount the Fixture: Carefully align the fixture's backplate with the mounting screws on the crossbar. Secure the fixture in place with the decorative nuts or screws.
- Install Glass Shade: Place the etched white glass shade over the socket and secure it according to the specific design (e.g., with a threaded ring or set screws).
- Install Bulb: Insert one E26 medium base bulb (max 100W incandescent or equivalent LED) into the socket.
This fixture can be mounted with the light facing upwards or downwards, depending on your preference and desired lighting effect.

Figure 3: Mounting Options (Up or Down).
Installation Video Guide
Video 1: Bath and Vanity Sizing and Placement Guidelines. This video provides general guidance on sizing and placement for bathroom vanity lights, which can be helpful during installation.
Operating Instructions
Once installed, restore power at the circuit breaker. The fixture is operated via a standard wall switch (not included). If connected to a compatible dimmer switch, the light output can be adjusted. Ensure the bulb used is dimmable if you intend to use a dimmer switch.
Maintenance
- Cleaning: Always turn off power before cleaning. Wipe the fixture with a soft, dry cloth. Do not use abrasive cleaners or solvents as they may damage the finish.
- Glass Shade: The etched white glass shade can be removed for cleaning. Wash with mild soap and water, rinse thoroughly, and dry completely before reattaching.
- Bulb Replacement: Ensure power is off and the bulb has cooled before attempting to replace it. Use an E26 medium base bulb, not exceeding 100 watts.
Troubleshooting
| Problem | Possible Cause | Solution |
|---|---|---|
| Light does not turn on. |
|
|
| Light flickers. |
|
|
| Glass shade is loose. |
|
|
Warranty and Support
This Progress Lighting product is covered by a 1-year Limited Warranty. This warranty guarantees your complete satisfaction with your purchase and includes professional after-sales customer service support.
For warranty claims or technical assistance, please refer to the contact information provided on your purchase receipt or visit the official Progress Lighting website.


