1. Introduction
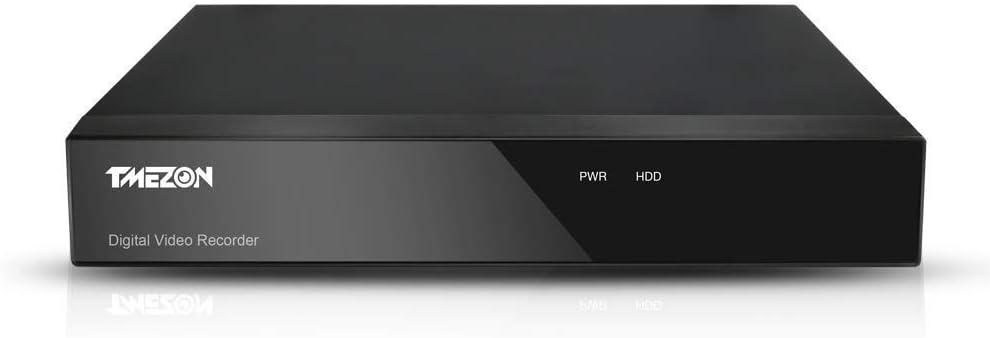
This manual provides detailed instructions for the installation, operation, and maintenance of your TMEZON 4-Channel 1080N DVR/NVR/HVR Security Recorder. Please read this manual thoroughly before using the product to ensure proper and safe operation.
Key Features:
- 5-in-1 Compatibility: Supports traditional analog cameras, AHD, TVI, CVI, and IP cameras.
- H.264 Video Compression: Enables high-definition recording for extended periods. Supports up to 6TB internal SATA 3.5-inch HDD (1TB HDD included with this model).
- Motion Detection: Alerts via email upon detecting abnormal activity.
- Remote Operation: View camera footage anytime, anywhere via iPhone/iPad/Android devices.
- Reliable After-Sales Service: Lifetime technical support.

2. Setup
2.1 Package Contents
Verify that all components are present in the package:
- TMEZON 4-Channel DVR Unit
- Power Adapter
- USB Mouse
- User Manual (this document)
- 1TB HDD (pre-installed in 1TB HDD model)
2.2 Connecting the DVR
Follow these steps to connect your DVR system:
- Connect your cameras to the video input ports (V1-V4) on the back of the DVR.
- Connect a monitor or TV to the HDMI or VGA output port.
- Connect the USB mouse to a USB port.
- Connect the DVR to your network router using an Ethernet cable for remote viewing capabilities.
- Connect the power adapter to the DVR and then to a power outlet.

2.3 Initial Configuration
Upon first power-up, the system will guide you through initial setup. It is recommended to set a strong password for security.
Network Settings:
For remote access, configure the network settings. It is advisable to set a static IP address for the DVR rather than DHCP. Also, configure the TCP port (default is 34567, but changing it is recommended for security).
3. Operating Instructions
3.1 Recording Modes
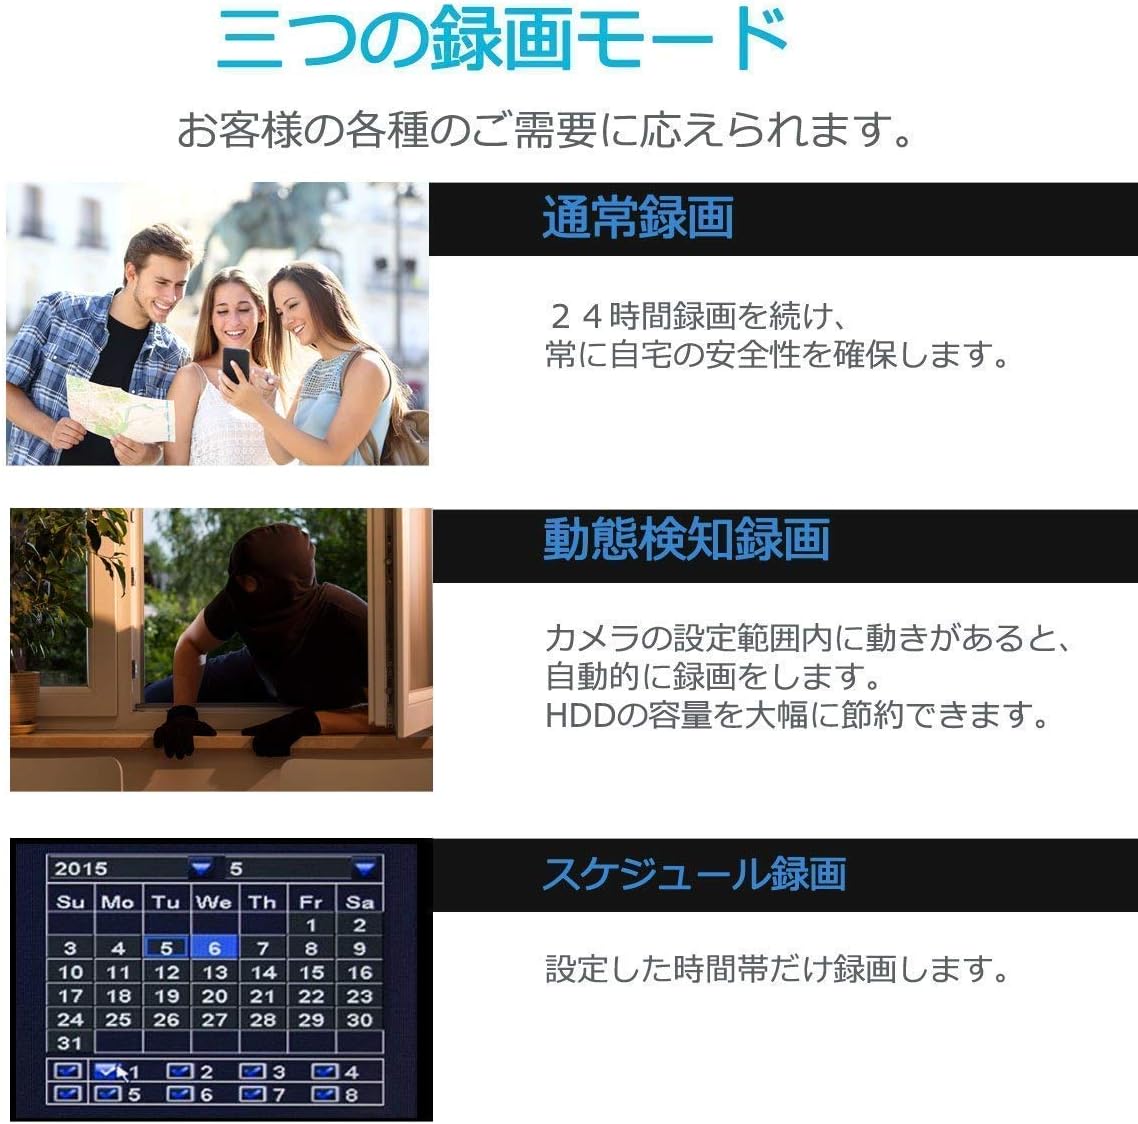
The DVR supports three primary recording modes to suit various needs:
- Normal Recording: Continuous 24-hour recording to ensure constant security.
- Motion Detection Recording: The system automatically records when motion is detected within the camera's configured area. This mode significantly saves HDD capacity.
- Scheduled Recording: Records only during specified time slots.
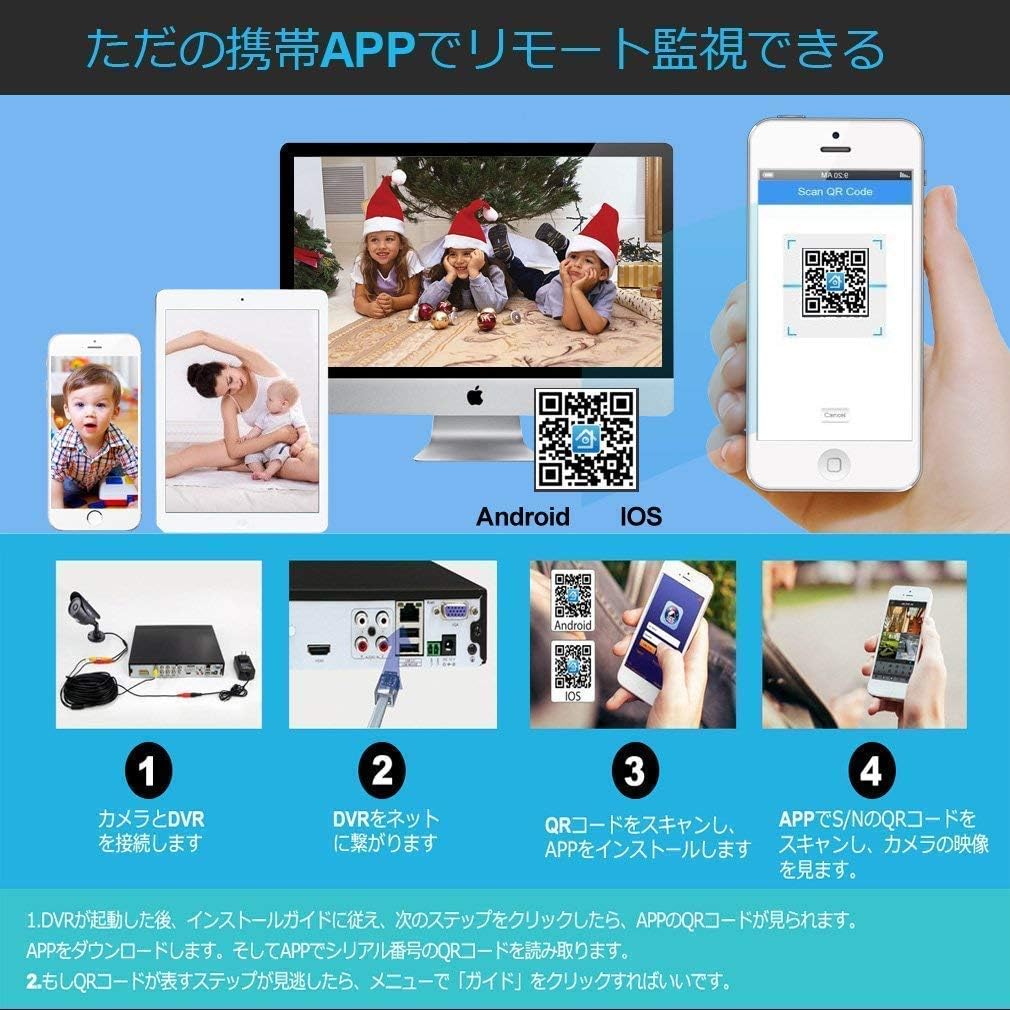
3.2 Remote Monitoring via Smartphone App
The TMEZON DVR allows for remote monitoring using a dedicated smartphone application. This feature enables you to view live camera feeds from anywhere.
- After the DVR starts, follow the installation guide to download the app.
- Scan the QR code provided by the DVR or in the app to download and install the "XMEye" or "XMEye Pro" mobile application (available on Google Play and Apple App Store).
- Once the app is installed, scan the S/N QR code of your DVR to add the device and view camera images.
- For local access via smartphone, use "Local Login" in the app and add the camera via "IP" tab, not serial number. Input the DVR's IP address and device port number configured on the DVR.
- For remote access via smartphone, use "Local Login" and add the camera via "IP" tab. Input your domain name (if registered) or external IP address.
Note:
The default TCP port is 34567. If continuous unauthorized access occurs, leading to unexpected updates, failures, and frequent restarts (interrupting recording for over 1 minute), it is recommended to change the TCP port to a number other than 34567.

Download the app here: http://fir.im/Xmeye
3.3 Motion Detection and Alerts
The DVR system is equipped with advanced motion detection capabilities. When motion is detected, the system can immediately send an email notification to alert you of unusual activity.
Configuring Motion Detection Areas:
You can define specific areas within the camera's view to trigger motion detection. This allows for precise monitoring and reduces false alarms.

Privacy Masking:
The system allows you to block out specific areas from being recorded to protect privacy. This ensures that sensitive areas are not captured.
4. Maintenance
4.1 Hard Disk Drive (HDD) Management
The DVR supports a maximum of one 6TB internal SATA 3.5-inch HDD. If you experience slow playback or recording issues, formatting the HDD may resolve the problem. Regular formatting can help maintain optimal performance and prevent recording omissions.
Note:
This model (4CH 1080N 1TB HDD) comes with a 1TB HDD pre-installed. If you purchased the "NO HDD" model, you will need to install a compatible HDD separately for recording functionality.
4.2 System Updates
Periodically check for firmware updates to ensure your DVR operates with the latest features and security enhancements. Follow the instructions provided with the update files for proper installation.
4.3 Cleaning
Keep the DVR unit clean and free from dust to ensure proper ventilation and prevent overheating. Use a soft, dry cloth for cleaning. Do not use liquid cleaners.
5. Troubleshooting
This section addresses common issues you might encounter with your TMEZON DVR. If the problem persists after following these steps, please contact customer support.
5.1 No Display on Monitor
- Ensure the power adapter is securely connected to the DVR and a working power outlet.
- Verify that the HDMI or VGA cable is properly connected between the DVR and the monitor/TV.
- Check if the monitor/TV is set to the correct input source (HDMI/VGA).
- If the screen flashes or remains black after the logo appears, the unit might be faulty. Contact support for assistance.
5.2 No Recording
- Ensure a compatible HDD is installed and properly connected (for models without pre-installed HDD).
- Check the HDD status in the DVR's system settings. Format the HDD if necessary.
- Verify that recording schedules or motion detection settings are correctly configured.
5.3 Remote Viewing Not Working
- Ensure the DVR is connected to the internet via an Ethernet cable.
- Check the network settings on the DVR (IP address, gateway, DNS).
- Verify that port forwarding is correctly configured on your router for the DVR's TCP port (default 34567, but recommended to change).
- Ensure the "XMEye" or "XMEye Pro" app is installed correctly on your smartphone and the DVR is added using the correct method (IP or serial number).
- If using a domain name, ensure it is correctly registered and configured.
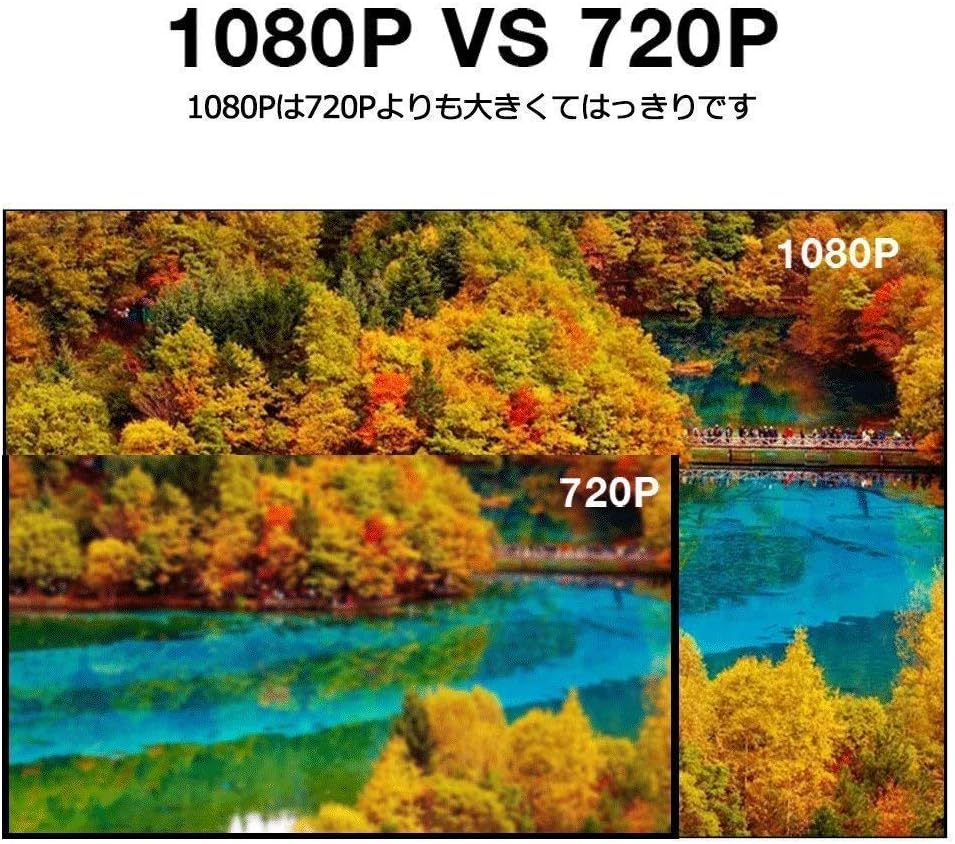
5.4 Poor Image Quality (1080P vs 720P)
The DVR supports various camera resolutions. Ensure your cameras are capable of 1080P resolution to achieve the best image quality. Lower resolution cameras (e.g., 720P) will result in less clear images.

6. Specifications
| Feature | Specification |
|---|---|
| Brand | TMEZON |
| Model Number | MZ-AHD-1004M/10 |
| Video Compression Format | H.264 (also supports H.265 based on user reviews) |
| Video Inputs | 4 Channels |
| HDD Support | Max 6TB (internal SATA 3.5-inch) |
| Included HDD | 1TB (for 4CH 1080N 1TB HDD model) |
| Connectivity | Ethernet (LAN), USB |
| Video Output | HDMI, VGA |
| Remote Monitoring | Smartphone App (XMEye/XMEye Pro for iOS/Android) |
| Dimensions | 26 cm (L) x 22 cm (W) x 4.2 cm (H) |
| Weight | 1.53 kg (approx. with packaging) |
7. Warranty and Support
TMEZON products come with lifetime technical support. If you encounter any issues or have questions regarding the product, please contact us.
Contact Information:
- Email: tmezoncctvsystem@yahoo.com
- Electronic Manual Download: https://yahoo.jp/box/9ps3fN (Please download and use this electronic version)
Please inspect the product upon receipt. If any defects are found, contact us immediately for assistance.