1. Introduction
This manual provides essential instructions for the safe and effective use of your Benson Amps PREAMP Preamp Pedal. Please read this manual thoroughly before operating the device and retain it for future reference.
The Benson Amps PREAMP pedal is a versatile FET-based preamp, overdrive, boost, and fuzz pedal designed to deliver a wide range of tones, from clean enhancement to saturated drive. It features a 2-band EQ for tone shaping.
2. Safety Information
- Power Supply: Use only a 9-volt DC power supply with a center-negative polarity. Incorrect power supplies can damage the unit and void the warranty.
- Environment: Do not expose the pedal to extreme temperatures, humidity, water, or direct sunlight.
- Cleaning: Clean only with a dry, soft cloth. Do not use liquid cleaners.
- Servicing: Do not attempt to service the unit yourself. Refer all servicing to qualified service personnel.
- Placement: Place the pedal on a stable surface to prevent accidental falls.
3. Package Contents
Verify that your package contains the following items:
- Benson Amps PREAMP Preamp Pedal
- User Manual (this document)
- (Power supply not typically included, sold separately)
4. Controls and Features
The Benson Amps PREAMP pedal features several controls to shape your tone:
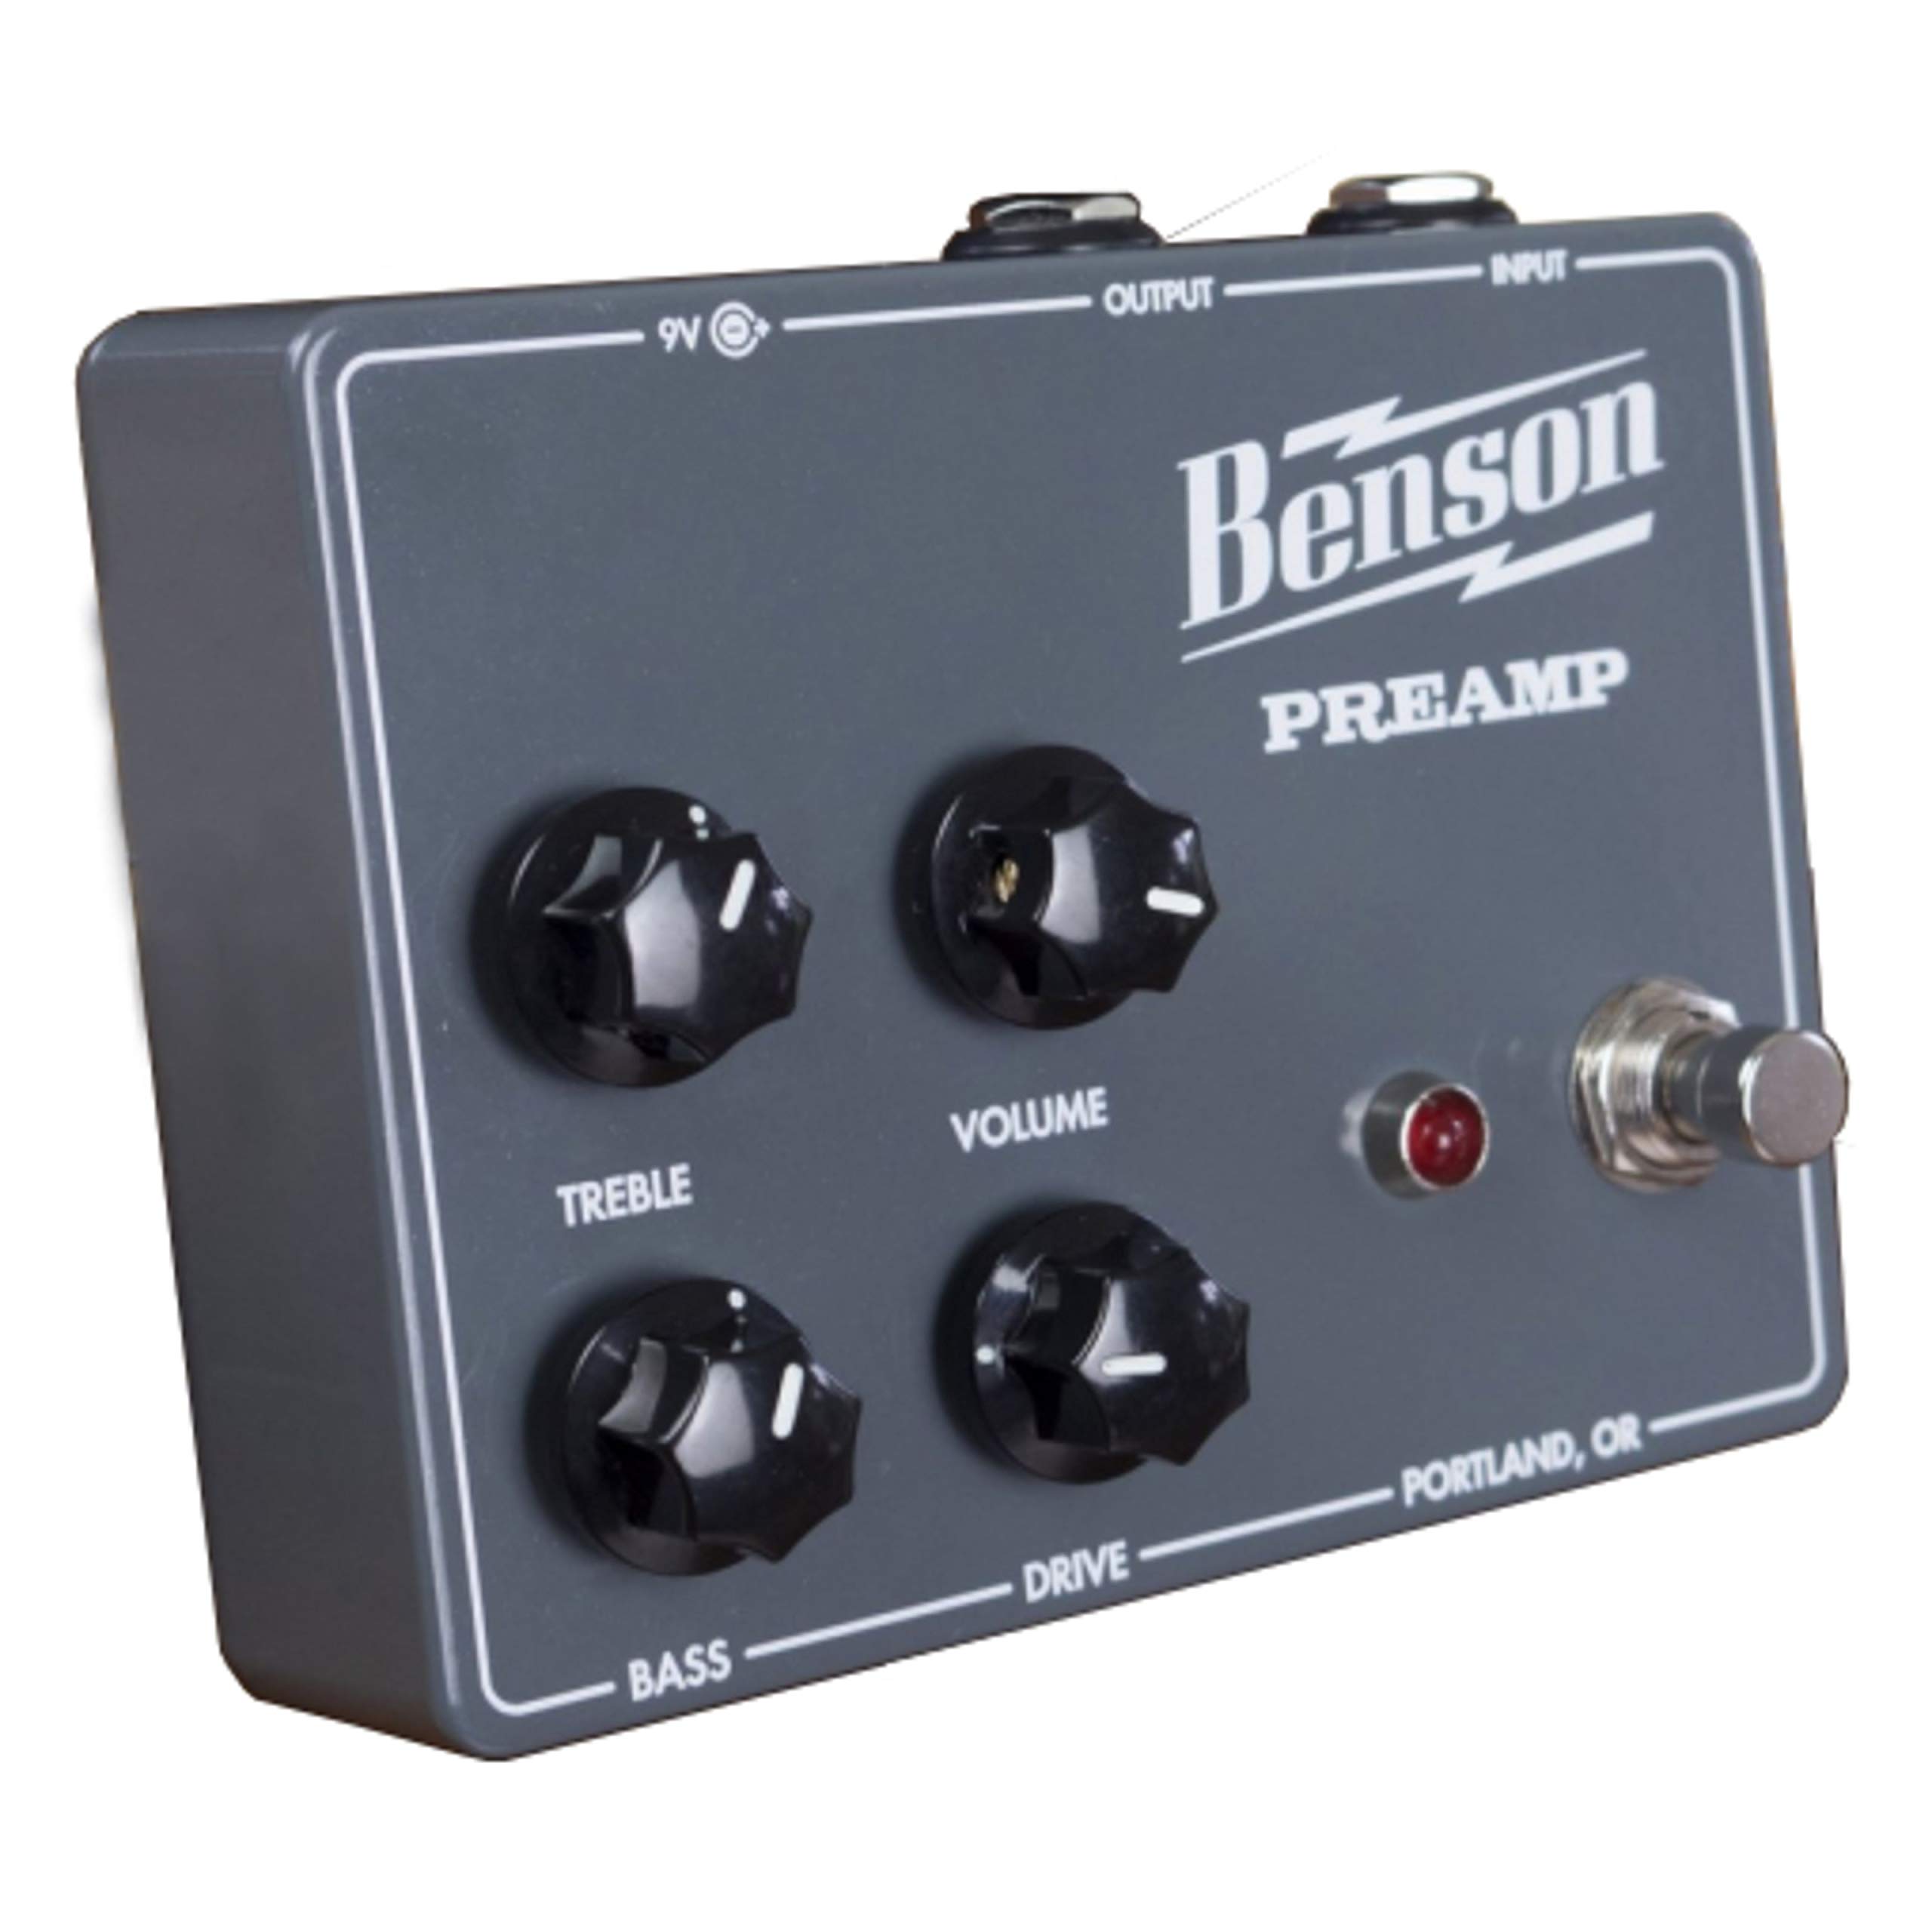
Figure 1: Front view of the Benson Amps PREAMP Preamp Pedal, showing the control layout.
- Gain Knob: Controls the amount of preamp gain, ranging from clean boost to saturated overdrive and fuzz.
- Volume Knob: Adjusts the overall output level of the pedal.
- Treble Knob: A 2-band EQ control for adjusting high frequencies.
- Bass Knob: A 2-band EQ control for adjusting low frequencies.
- Footswitch: Engages or bypasses the effect.
- Input Jack: Connect your instrument (guitar, bass, etc.) here.
- Output Jack: Connect to your amplifier or next pedal in the signal chain.
- DC Input: For connecting a 9V DC center-negative power supply.
5. Setup
- Power Connection: Connect a 9V DC center-negative power supply (not included) to the DC Input jack on the pedal.
- Instrument Connection: Connect your instrument to the Input Jack of the pedal using a standard 1/4-inch instrument cable.
- Amplifier Connection: Connect the Output Jack of the pedal to your amplifier's input or the next pedal in your signal chain using a standard 1/4-inch instrument cable.
- Initial Settings: Before powering on, set all knobs (Gain, Volume, Treble, Bass) to their middle positions (12 o'clock) for a neutral starting point.
- Power On: Ensure your amplifier is on and at a low volume. Then, power on the pedal.

Figure 2: Side view of the Benson Amps PREAMP Preamp Pedal, illustrating input and output connections.
6. Operating the Pedal
6.1 Basic Operation
- Engaging/Bypassing: Press the footswitch to toggle the effect on or off. When the effect is on, the LED indicator will illuminate.
- Volume Adjustment: Use the Volume knob to match the output level of the pedal to your amplifier's input, or to boost your signal.
6.2 Tone Shaping
- Gain Control:
- Low Gain (7-10 o'clock): Provides a clean boost or subtle tube-like enhancement. Ideal for pushing an already overdriven amp or adding clarity.
- Mid Gain (10-2 o'clock): Introduces breakup, offering mild to moderate overdrive tones. Suitable for classic rock and blues.
- High Gain (2-5 o'clock): Delivers saturated distortion and fuzz-like textures. Experiment for heavier tones.
- EQ Controls (Treble & Bass): Adjust these knobs to fine-tune the frequency response.
- Treble: Increase for brighter tones, decrease for warmer, darker sounds.
- Bass: Increase for fuller, thicker tones, decrease to tighten up the low end.
6.3 Using with Different Amplifiers
The PREAMP pedal is designed to interact dynamically with your amplifier. For best results, experiment with its placement in your signal chain and how it drives your amp's input. It can be used as a standalone overdrive/fuzz or as a preamp to drive the power section of an amplifier, potentially bypassing the amp's own preamp via an effects loop return.
7. Maintenance
- Cleaning: Wipe the pedal with a soft, dry cloth to remove dust and fingerprints. Do not use abrasive cleaners or solvents.
- Storage: When not in use for extended periods, store the pedal in a cool, dry place away from direct sunlight.
- Cable Inspection: Periodically check all cables for signs of wear or damage. Replace faulty cables immediately.
8. Troubleshooting
| Problem | Possible Cause | Solution |
|---|---|---|
| No sound when pedal is engaged. |
|
|
| Weak or distorted sound. |
|
|
| Excessive noise or hum. |
|
|
9. Specifications
| Feature | Detail |
|---|---|
| Model | PREAMP |
| Brand | Fulltone |
| Item Weight | 12.6 ounces |
| Product Dimensions | 4.5 x 3.5 x 2 inches |
| Power Source | Battery Powered (9V DC, center-negative adapter recommended) |
| Voltage | 9 Volts |
| Output Wattage | 30 Watts (referring to the amp it emulates, not the pedal's output) |
| Material Type | Metal, Plastic |
| Signal Format | Analog |
| Connector Type | 6.35mm Jack |
| Compatible Devices | Guitar |
10. Warranty and Support
For warranty information and technical support, please refer to the manufacturer's official website or contact their customer service department. Keep your purchase receipt as proof of purchase.
Manufacturer: Fulltone
Model: PREAMP


