Introduction
This manual provides essential information for the safe and efficient operation, installation, and maintenance of your new Whirlpool WTW4855HW 3.8 Cu. Ft. Top-Load Washer. Please read this manual thoroughly before using your appliance to ensure proper usage and to prevent potential hazards. Keep this manual for future reference.
The Whirlpool WTW4855HW features a 3.8 cubic foot stainless steel wash basket, offering ample capacity for your laundry needs. It includes 12 wash cycles and 5 temperature settings, along with a water level selection feature and soak cycles for versatile washing options.
Safety Information
Your safety and the safety of others are very important. We have provided many important safety messages in this manual and on your appliance. Always read and obey all safety messages.
- WARNING: To reduce the risk of fire, electric shock, or injury to persons, read the IMPORTANT SAFETY INSTRUCTIONS before operating this appliance.
- Do not wash articles that have been previously cleaned in, washed in, soaked in, or spotted with gasoline, dry-cleaning solvents, or other flammable or explosive substances as they give off vapors that could ignite or explode.
- Do not allow children to play on or in the appliance. Close supervision of children is necessary when the appliance is used near children.
- Do not reach into the appliance if the tub or agitator is moving.
- Do not install or store this appliance where it will be exposed to the weather.
- Do not tamper with controls.
- Do not repair or replace any part of the appliance or attempt any servicing unless specifically recommended in this manual or in published user-repair instructions that you understand and have the skills to carry out.
Setup and Installation
Proper installation is crucial for the optimal performance and longevity of your washer. Ensure the washer is placed on a level, solid floor capable of supporting its weight when full.
Unpacking
- Remove all packaging materials, including the shipping base and internal packing.
- Inspect the washer for any shipping damage.
Location Requirements
Choose a location with adequate space for installation and maintenance. Ensure there is access to hot and cold water faucets, a drain, and a grounded electrical outlet.

Image: The Whirlpool WTW4855HW washer (left) positioned next to a matching dryer (right), illustrating a typical laundry room setup. This image helps visualize the space required for installation.
Connecting Water Hoses
- Connect the hot water supply hose to the hot water inlet on the back of the washer and to your hot water faucet.
- Connect the cold water supply hose to the cold water inlet on the back of the washer and to your cold water faucet.
- Ensure all connections are tight to prevent leaks.
Drain Hose Installation
- Securely attach the drain hose to the drain outlet on the washer.
- Place the other end of the drain hose into a laundry tub or standpipe, ensuring it is properly secured to prevent dislodging during operation.
Leveling the Washer
- Use a level to check if the washer is perfectly level from front to back and side to side.
- Adjust the leveling feet at the bottom of the washer as needed to ensure stability and reduce vibration during cycles.
Electrical Connection
- Plug the washer's power cord into a grounded 3-prong outlet. Do not use an extension cord.
- Ensure the electrical supply meets the requirements listed in the specifications section.
Operating Instructions
Familiarize yourself with the control panel and various settings to achieve optimal washing results.
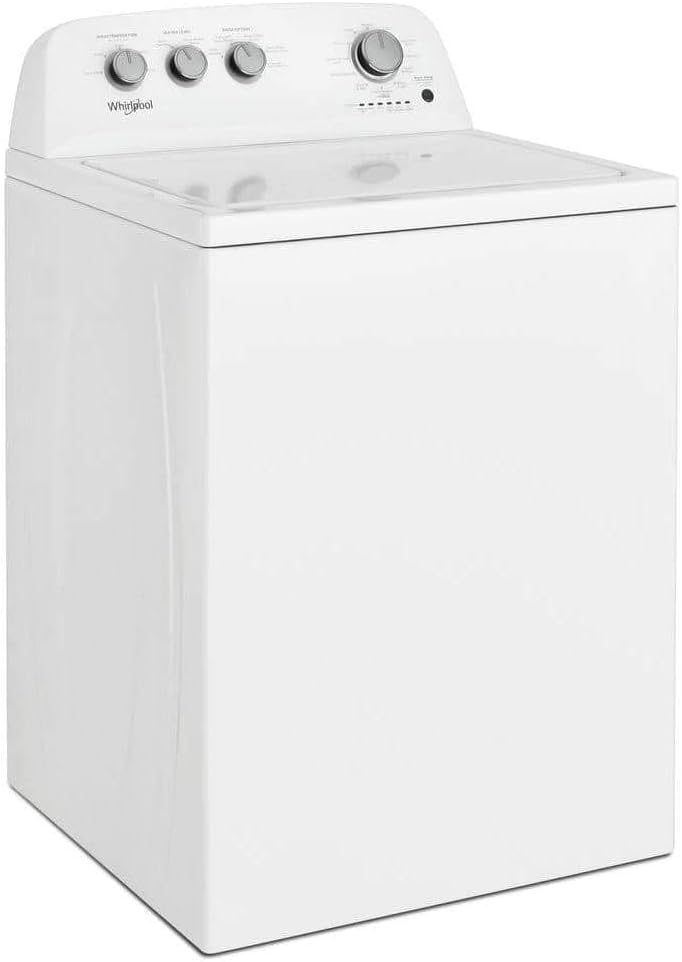
Image: A detailed view of the Whirlpool WTW4855HW control panel, showing the Wash Temperature, Water Level, Rinse Option, and Cycle Selector knobs, along with cycle status indicators.
Control Panel Overview
- Wash Temperature Knob: Selects the water temperature for the wash cycle (Cold, Cool, Warm, Hot, Tap Cold).
- Water Level Knob: Allows selection of water level (Auto Sensing, Deep Water Wash).
- Rinse Option Knob: Choose rinse options (Auto with Extra Rinse, Deep Water Rinse, Fabric Softener).
- Cycle Selector Knob: Turn to select from 12 available wash cycles (e.g., Heavy, Normal, Colors, Delicates, Bulky/Sheets, Whites with Soak, Quick Wash, Drain & Spin, Rinse & Spin, Clean Washer).
- Start/Pause Button: Press to start a cycle or pause an ongoing cycle. Hold for 3 seconds to cancel.
- Cycle Status Lights: Indicate the current stage of the wash cycle (Sensing, Wash, Rinse, Final Spin, Cycle Complete).
Loading the Washer
Distribute laundry evenly around the agitator to maintain balance during the wash cycle. Do not overload the washer.
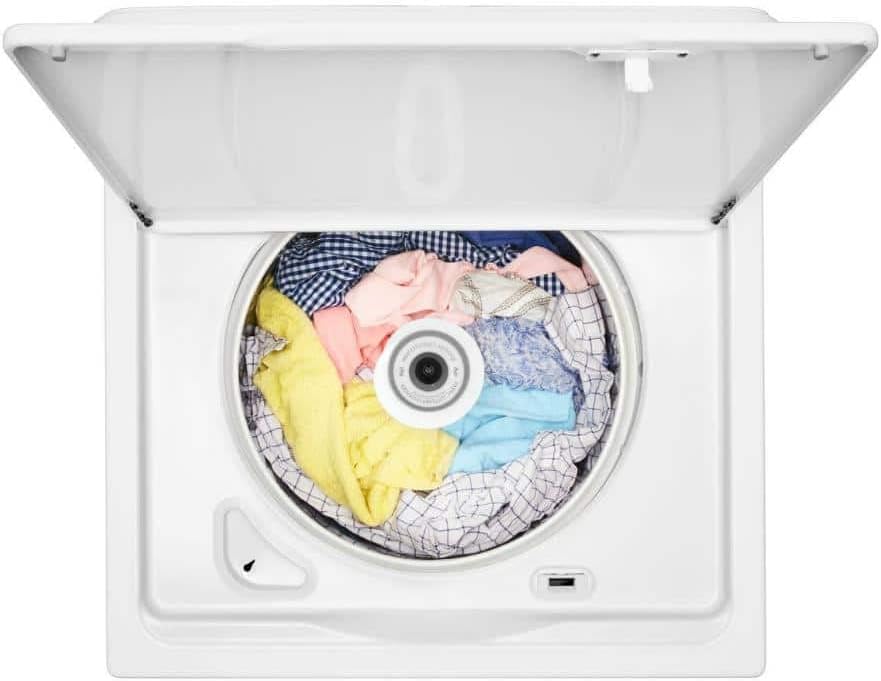
Image: An overhead view of the washer's interior, showing a load of mixed laundry items placed around the central agitator, ready for a wash cycle.
Adding Detergent and Fabric Softener
Always use High-Efficiency (HE) detergent. Add detergent to the dispenser before starting the cycle. If using fabric softener, add it to the designated dispenser.

Image: A hand pouring liquid detergent into the central dispenser of the washer's agitator, which is designed for fabric softener or liquid detergent.
Starting a Wash Cycle
- Sort laundry by fabric type, color, and soil level.
- Load the washer evenly.
- Add HE detergent and any desired fabric softener or bleach.
- Select the appropriate Wash Temperature, Water Level, and Rinse Option.
- Turn the Cycle Selector knob to choose your desired wash cycle.
- Press the Start/Pause button to begin the cycle. The lid will lock, and the washer will begin sensing the load and filling with water.
Maintenance
Regular maintenance helps ensure your washer operates efficiently and extends its lifespan.
Cleaning the Washer
- Clean Washer Cycle with affresh®: Use the "Clean Washer with affresh®" cycle monthly or every 30 washes to keep the washer interior fresh and clean. Follow the instructions on the affresh® Washer Cleaner package.
- Exterior Cleaning: Wipe down the exterior surfaces with a soft, damp cloth. Do not use abrasive cleaners.
- Dispenser Cleaning: Periodically clean the detergent and fabric softener dispensers to prevent buildup.
Water Inlet Hoses
Inspect the water inlet hoses for bulges, kinks, or wear every 5 years and replace them if necessary to prevent leaks.
Vacation and Storage Care
- If leaving for an extended period, turn off the water supply to the washer to prevent accidental flooding.
- If storing the washer in an area subject to freezing temperatures, follow the winterizing procedure outlined in the full product manual to prevent damage from ice.
Troubleshooting
Before calling for service, try the solutions below for common issues.
| Problem | Possible Cause | Solution |
|---|---|---|
| Washer will not start | Power cord unplugged; Lid not closed completely; Start/Pause button not pressed. | Ensure power cord is securely plugged in. Close the lid firmly. Press the Start/Pause button. |
| Washer vibrates or "walks" | Washer not level; Load unbalanced; Shipping materials not removed. | Level the washer using the leveling feet. Redistribute the laundry load evenly. Ensure all shipping bolts and materials are removed. |
| Water leaks | Hoses not properly connected; Drain hose kinked or clogged. | Check and tighten all hose connections. Ensure the drain hose is clear and not kinked. |
| No hot or cold water fill | Water supply faucets turned off; Inlet screens clogged. | Turn on hot and cold water supply faucets. Clean the inlet screens on the water hoses. |
Specifications
| Feature | Detail |
|---|---|
| Brand | Whirlpool |
| Model Name | WTW4855HW |
| Capacity | 3.8 Cubic Feet |
| Access Location | Top Load |
| Finish Type | Stainless Steel (Basket) |
| Color | White |
| Material | Stainless Steel (Basket) |
| Control Type | Push Button / Rotary Knobs |
| Voltage | 120 Volts |
| Standard Cycles | 12 |
Warranty and Support
For detailed warranty information, please refer to the warranty card included with your appliance or visit the official Whirlpool website. Keep your purchase receipt as proof of purchase for warranty claims.
If you require technical assistance or have questions not covered in this manual, please contact Whirlpool Customer Service or visit their support page:
Official Product Videos
No official product videos from the seller are available for this model at this time.


