
1. Product Overview
The Hydra Fitness Exchange Transport Wheel is an original equipment manufacturer (OEM) replacement part designed to facilitate the movement of compatible Nautilus and Schwinn fitness equipment. This wheel allows for easier relocation of your exercise machine within your home or gym environment.
It is crucial to verify compatibility with your specific fitness equipment model before installation to ensure proper fit and function.
2. Compatibility
This transport wheel is compatible with the following fitness equipment models. Please confirm your model number matches one of the listed options:
- Nautilus Residential: NB3000 (2007), NE3000 (2007), NR300 (2007), NR3000 (2002-2006)
- Schwinn: 115p, 117p, 120p, 127 (2003-2004), 127 (2004 W/HR), 217 HRC, 217p, 220P, 227 HRC, 227p, 410i-T, 910i Elite, 910i Gold, 910i HRC Gold, 910i HRC Silver, 910i Silver, 920 / 920 HRC (Pre 2001), 920 i / 920 i HRC (2001 and later), 920i Elite
If your model is not listed, please consult your equipment's original manual or contact Hydra Fitness Exchange for assistance.
3. Safety Information
- Always ensure the fitness equipment is stable and powered off before attempting any installation or maintenance.
- Use appropriate tools and follow all instructions carefully to prevent injury or damage to the equipment.
- If you are unsure about any step, seek professional assistance.
- Keep small parts away from children.
4. Installation
This section outlines the general steps for replacing or installing the transport wheel. Specific procedures may vary slightly depending on your fitness equipment model. Refer to your equipment's original manual for detailed instructions if available.
Required Tools (May Vary):
- Wrench set (e.g., adjustable wrench, socket wrench)
- Screwdriver (Phillips or flathead, as needed)
- Gloves (optional, for grip and protection)
Installation Steps:
- Prepare the Equipment: Position your fitness equipment on a stable, flat surface. Ensure it is powered off and unplugged.
- Locate Existing Wheel (if replacing): Identify the transport wheel(s) on your equipment. These are typically located at the front or rear base of the machine.
- Remove Old Wheel (if replacing): Using the appropriate tools, carefully loosen and remove any bolts, nuts, or pins securing the old transport wheel. Keep all hardware for potential reuse.
- Install New Wheel: Align the new Hydra Fitness Exchange Transport Wheel with the mounting points on your equipment. Insert the securing hardware (bolts, nuts, pins) and tighten them firmly. Do not overtighten, as this can damage the wheel or frame.
- Verify Stability: Once installed, gently test the wheel's movement and ensure it is securely attached and does not wobble.
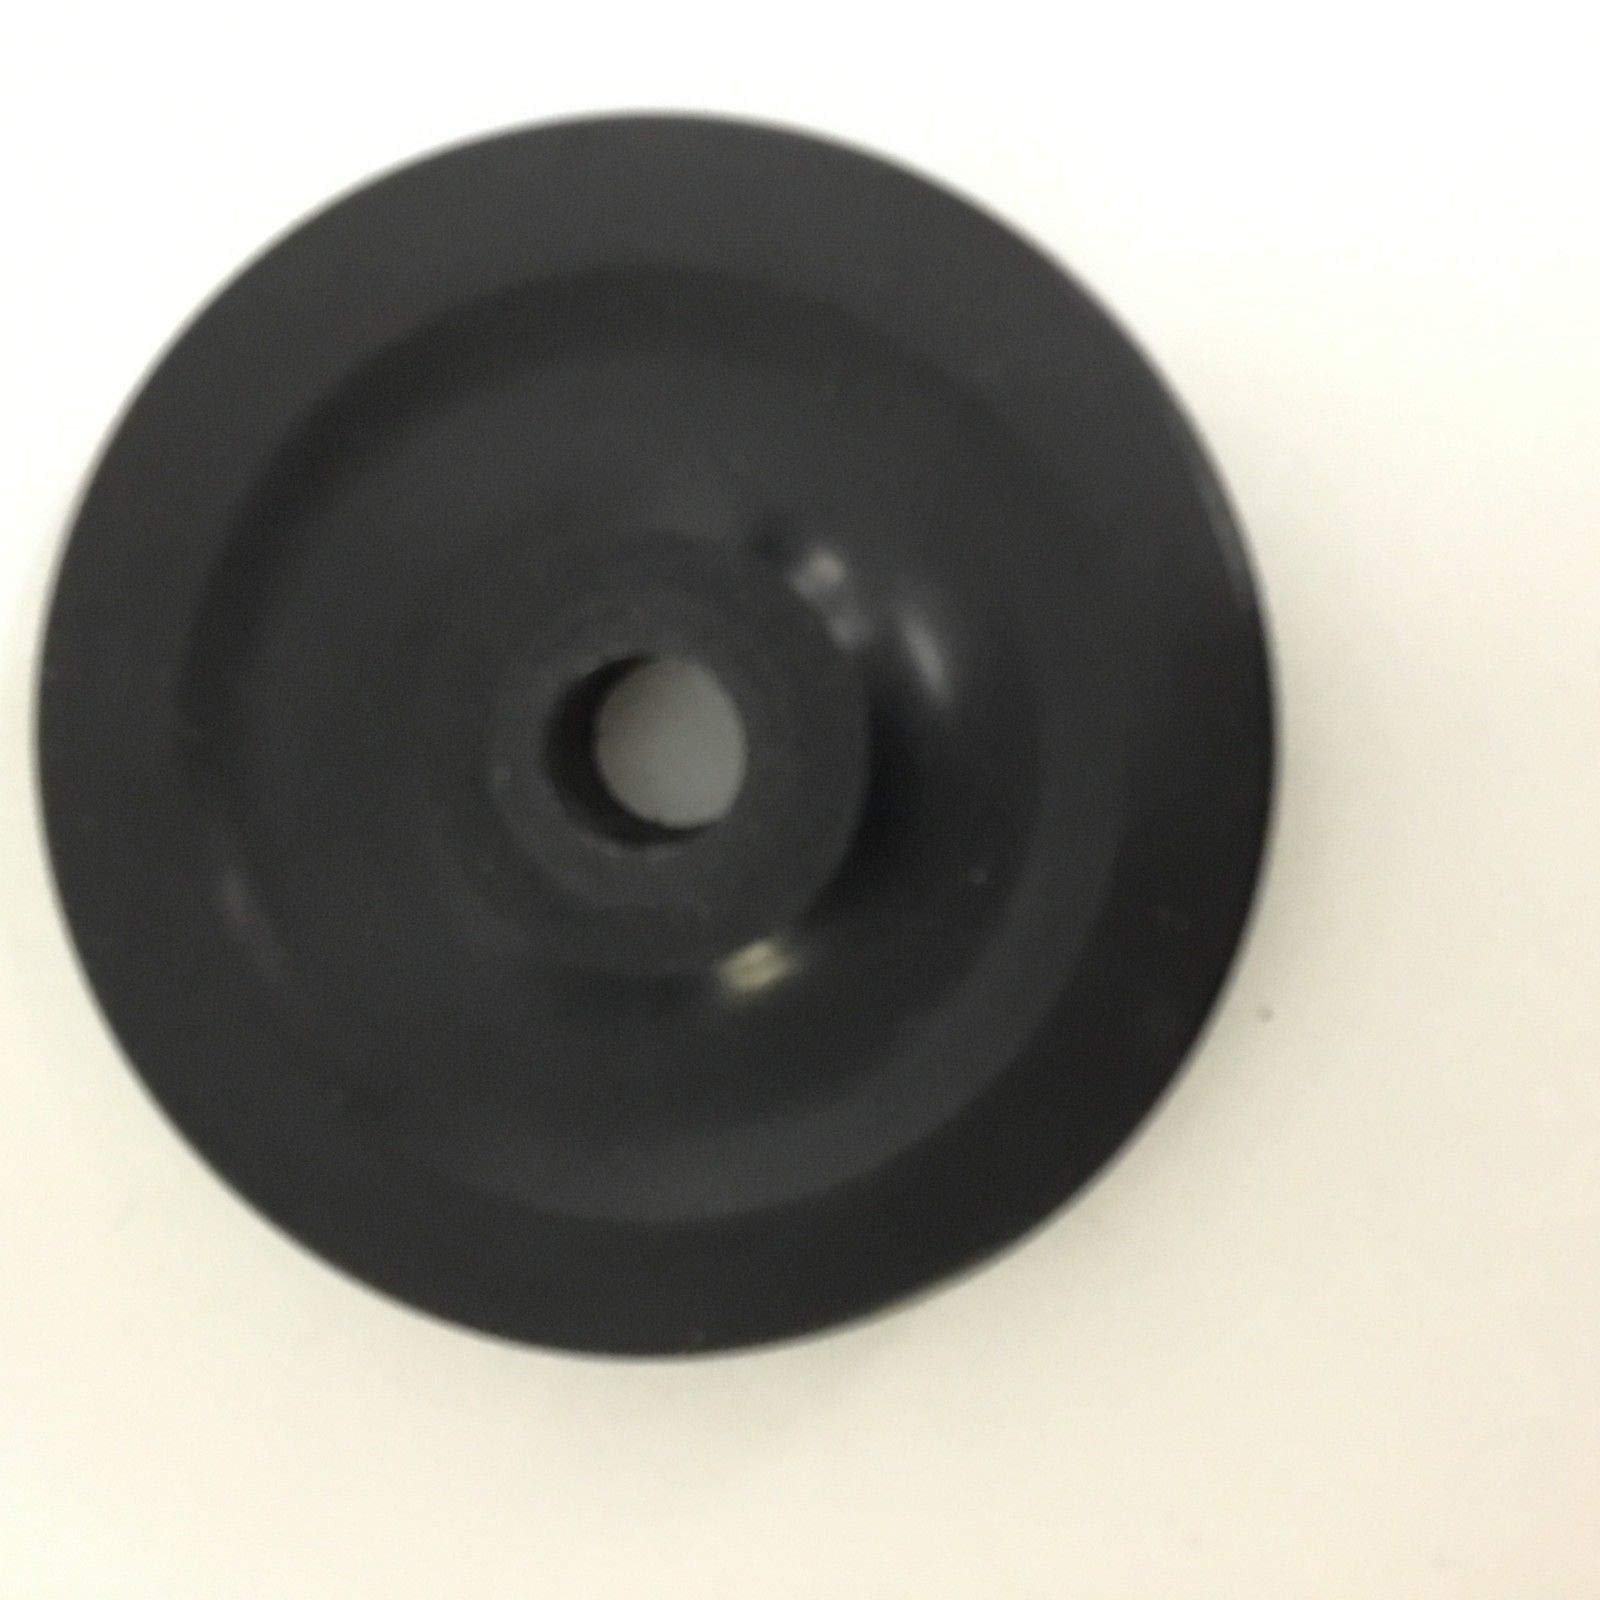
Image: Hydra Fitness Exchange Transport Wheel. This image shows the wheel from a side angle, highlighting its robust construction and central axle hole for mounting.
5. Operating the Transport Wheel
The transport wheel is designed for moving your fitness equipment short distances. Follow these guidelines for safe operation:
- Lift and Tilt: To engage the transport wheels, carefully lift the opposite end of your fitness equipment until the wheels make contact with the floor.
- Move Slowly: Gently push or pull the equipment to its desired location. Avoid sudden movements or excessive speed.
- Clear Path: Ensure your path is clear of obstacles, cords, or uneven surfaces that could cause the equipment to tip or get stuck.
- Lower Carefully: Once at the new location, slowly lower the equipment back onto its stabilizers or base, ensuring it is level and stable before use.
6. Maintenance
Regular maintenance helps ensure the longevity and smooth operation of your transport wheel.
- Cleaning: Periodically wipe the wheel clean with a damp cloth to remove dust and debris. Avoid harsh chemicals that could damage the material.
- Inspection: Regularly inspect the wheel for signs of wear, cracks, or damage. Check that it spins freely and that its axle is secure.
- Hardware Check: Ensure all mounting bolts and nuts remain tight. Retighten if necessary.
7. Troubleshooting
If you encounter issues with your transport wheel, consider the following:
- Wheel Not Turning Smoothly: Check for debris caught in the wheel or axle. Ensure the mounting hardware is not overtightened, which could restrict movement.
- Wobbling Wheel: Verify that all mounting bolts and nuts are securely tightened. Inspect the wheel and axle for any damage or bending.
- Difficulty Moving Equipment: Ensure the equipment is properly tilted to engage the transport wheels. Check the floor surface for unevenness or obstacles.
If problems persist, contact Hydra Fitness Exchange customer support.
8. Specifications
| Attribute | Value |
|---|---|
| Brand | Hydra Fitness Exchange |
| Product Dimensions | 15.24 x 20.32 x 2.54 cm |
| Item Weight | 453.59 g (1 Pounds) |
| Exterior Finish | Machined |
| UPC | 826736603823 |
| ASIN | B07LCSTSXL |
9. Warranty and Support
Specific warranty information for this Hydra Fitness Exchange Transport Wheel is not provided in this manual. For details regarding warranty coverage, returns, or technical support, please refer to the original product packaging, the seller's website, or contact Hydra Fitness Exchange directly.
Manufacturer: Hydra Fitness Exchange