1. Introduction
Thank you for choosing the TOPVISION 100-inch 16:9 HD Foldable Anti-Crease Projector Screen. This manual provides essential information for the proper setup, operation, and maintenance of your projector screen. Please read these instructions carefully before use and retain them for future reference.
This projector screen is designed for both indoor and outdoor use, offering a clear and bright projection surface. Its foldable, lightweight design ensures convenient storage and portability.
Key Features:
- Anti-Crease Material: Made from natural polyester fabric, ensuring a smooth, wrinkle-free projection surface for sharper and brighter images.
- Portable Design: Lightweight and foldable into a compact size for easy transport and storage in a backpack or bag.
- Easy Installation: Can be quickly set up using various methods including hooks, ropes, brackets, nails, or double-sided tape.
- Wide Application: Suitable for home theater, education, business presentations, public displays, and outdoor movie nights.
- Easy Maintenance: Simple to clean with mild soap and water.
2. Setup Instructions
Follow these steps to set up your TOPVISION projector screen:
- Unpack the Screen: Carefully remove the projector screen from its packaging.
- Address Creases (if any): Due to the foldable nature of the screen, minor creases may be present upon receipt. To remove them:
- Hang the screen for a few days, allowing gravity to naturally smooth out creases.
- Alternatively, place heavy objects on the creased areas for a period.
- You may also use a steam iron on a low-heat setting. Ensure the iron is not too hot to avoid damaging the fabric. Iron from the back side if possible.
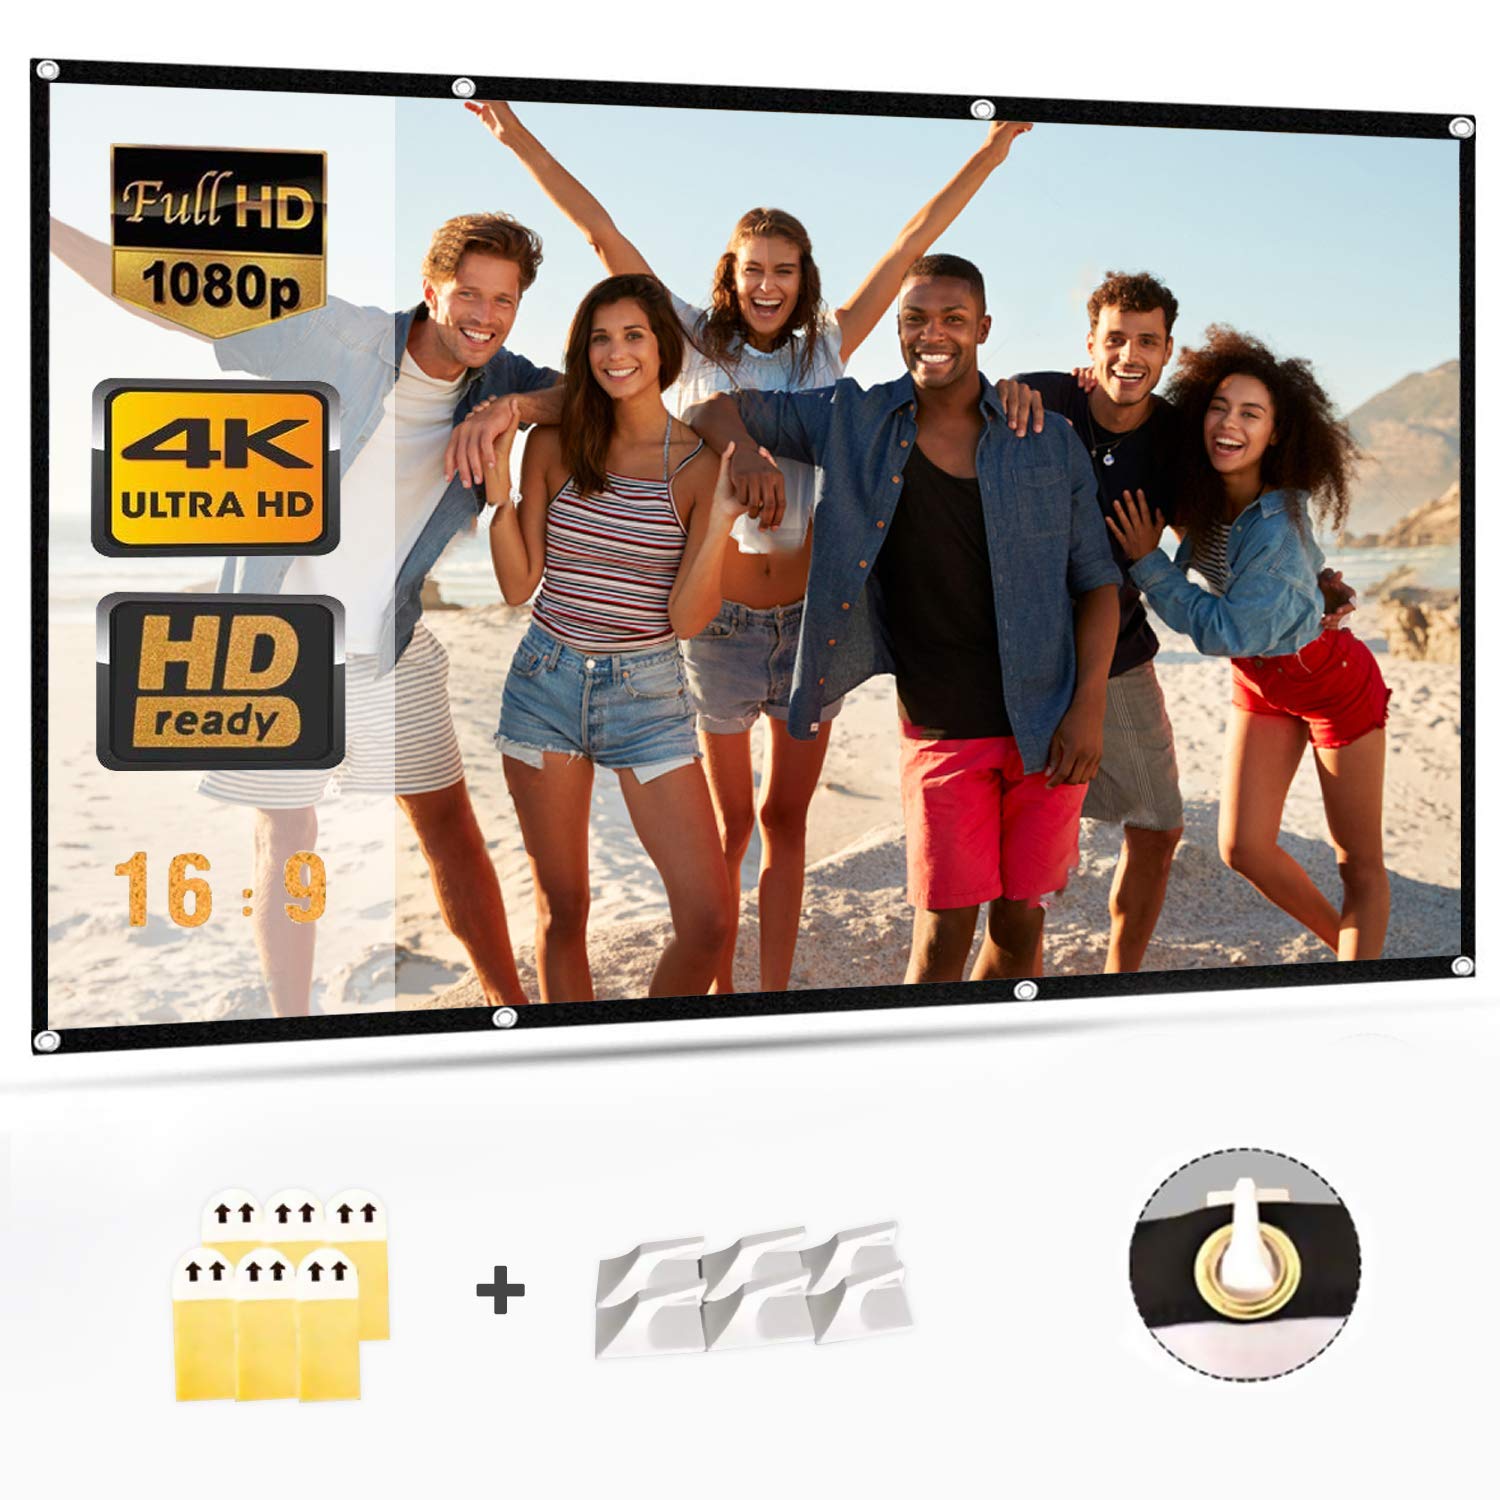
- Choose Installation Method: The screen features a wide black border with grommets for easy hanging. Select one of the following methods:
- Hooks: Use adhesive hooks or screw-in hooks on a wall or ceiling. Thread ropes through the grommets and attach them to the hooks.
- Ropes: Tie ropes directly to the grommets and secure them to a frame, tree, or other suitable support.
- Brackets/Nails: If using a permanent setup, secure the screen to a frame or wall using small nails or mounting brackets through the grommets.
- Double-Sided Tape: For temporary wall mounting, apply strong double-sided tape to the black border and press firmly onto a clean, dry surface.
- Position the Screen: Ensure the screen is taut and flat for optimal viewing. Adjust tension as needed to eliminate any remaining wrinkles.
3. Operating Instructions
Once the screen is properly installed, operating it is straightforward:
- Connect Your Projector: Ensure your projector is connected to its power source and input device (e.g., laptop, media player).
- Power On Projector: Turn on your projector according to its manufacturer's instructions.
- Adjust Projector Settings: Position the projector to project the image onto the screen. Adjust the focus, zoom, and keystone correction settings on your projector to ensure the image fills the screen correctly and is sharp and clear.
- Optimal Viewing: The screen offers a 160-degree viewing angle, allowing for clear visibility from various positions. For the best experience, ensure the viewing area is free from direct light sources that could cause glare.
4. Maintenance and Cleaning
Proper care will extend the life and maintain the quality of your projector screen:
- Cleaning: To clean the screen, use a soft cloth dampened with mild soap and water. Gently wipe away any spots or dirt.
- Avoid Abrasives: Do not use abrasive cleaning materials, harsh chemicals, or stiff brushes, as these can damage the screen surface and shorten its lifespan.
- Drying: Allow the screen to air dry completely before folding or storing.
- Storage: When not in use, fold the screen neatly and store it in a dry, cool place away from direct sunlight and extreme temperatures. Avoid creasing the screen unnecessarily during storage.
5. Troubleshooting
Here are solutions to common issues you might encounter:
| Problem | Possible Cause | Solution |
|---|---|---|
| Image appears blurry or out of focus. | Projector focus not adjusted correctly. | Adjust the focus ring on your projector until the image is sharp. |
| Image is distorted (trapezoid shape). | Projector is not perpendicular to the screen. | Use the keystone correction feature on your projector to square the image. Reposition the projector if necessary. |
| Creases visible on the screen. | Screen was folded during shipping or storage. | Hang the screen taut for several days, apply heavy objects to creased areas, or gently iron with a low-heat steam iron from the back. |
| Image is dim or washed out. | Ambient light interference; projector brightness setting. | Reduce ambient light in the viewing area. Check your projector's brightness settings. |
6. Product Specifications
- Brand: TOPVISION
- Model Number: 8541719304
- Part Number: TYYMB0010
- Material: Polyester Fabric
- Screen Surface: Wrinkle Free
- Diagonal Size: 100 inches (254 cm)
- Aspect Ratio: 16:9
- Product Dimensions (L x H): 221 cm x 125 cm (approximately 87 x 49.2 inches)
- Net Weight: 0.72 kg (approximately 1.59 lbs)
- Light Transmission: 85%
- Viewing Angle: 160 degrees
- Installation Type: Wall Mount (manual operation)
- UPC/GTIN: 681013249121
- ASIN: B07LCGHBZ7
7. Warranty Information
This TOPVISION projector screen is covered by a standard manufacturer's warranty against defects in materials and workmanship. The specific terms and duration of the warranty may vary by region and retailer. Please retain your proof of purchase for warranty claims.
The warranty does not cover damage caused by:
- Improper installation or use not in accordance with this manual.
- Accidental damage, misuse, abuse, or neglect.
- Unauthorized repairs or modifications.
- Normal wear and tear.
For detailed warranty information, please refer to the documentation provided with your purchase or contact customer support.
8. Customer Support
If you have any questions, require technical assistance, or need to make a warranty claim, please contact TOPVISION customer support through the retailer where you purchased the product or visit the official TOPVISION website for contact information.
When contacting support, please have the following information ready:
- Product Model Number (8541719304)
- Date of Purchase
- Description of the Issue